

As I whisk together the vibrant yellow lemon curd, the sharp citrus aroma fills the kitchen, igniting memories of sunlit Picnics in Paris. This Classic Lemon Tart is not just a dessert; it’s a celebration of bright flavors and buttery goodness wrapped in a flaky crust. With its creamy filling that strikes the perfect balance between sweet and tangy, this tart is a delightful crowd-pleaser, making it an ideal choice for any gathering or family dinner. Plus, the best part? You can whip it up in advance, ensuring you’re always prepared for those unexpected guests. Are you ready to impress with your very own slice of culinary magic? Let’s get started!
Why Is This Tart So Irresistible?
Bright, Tangy Goodness: The balance of sweet and tart flavors makes each bite refreshing, awakening your taste buds.
Simplicity in Preparation: With just a few simple steps, you can create a stunning dessert that looks as good as it tastes.
Impressive Presentation: This tart not only satisfies the palate but also dazzles on the dessert table, ideal for special occasions.
Make Ahead Convenience: Prep it in advance and store it for a few days, making entertaining a breeze without the last-minute rush.
Versatility at Its Best: Try infusing the curd with fresh herbs like basil or experimenting with alternative citrus for a unique twist! You’ll also love pairing this with a light dessert like our Lemon Garlic Chicken for a cohesive meal experience.
Classic Lemon Tart Ingredients
Discover the essential components for crafting your Classic Lemon Tart that will surely delight!
For the Tart Crust
- Fully baked tart crust – Forms the base of the tart; you can purchase or make your own using a sweet tart recipe.
For the Lemon Curd
- 2 large eggs plus 2 egg yolks – Provides richness and structure to the filling; substitute with 3 whole eggs for a lighter texture.
- ¾ cup (150 g) granulated sugar – Sweetens the curd without overpowering the lemon flavor; use less sugar for a more tart profile.
- 1 tablespoon lemon zest – Enhances the lemon flavor with aromatic oils; fresh zest yields the best results.
- ½ cup (120 ml) freshly squeezed lemon juice – The key flavor component of the tart; ideally from 2-3 fresh lemons.
- 2 tablespoons heavy cream (optional) – Adds creaminess to the filling, making it richer; can be omitted or substituted with a lighter option.
- ½ cup (1 stick/115 g) unsalted butter, cut into small pieces – Contributes a silky smooth texture to the curd; unsalted butter gives more control over seasoning.
Step‑by‑Step Instructions for Classic Lemon Tart
Step 1: Prepare the Lemon Curd
In a heatproof bowl, combine 2 large eggs, 2 egg yolks, ¾ cup of granulated sugar, 1 tablespoon of lemon zest, and ½ cup of freshly squeezed lemon juice. Place the bowl over a simmering pot (bain-marie) and whisk continuously for 10-20 minutes. The mixture is ready when it thickens enough to coat the back of a spoon and reaches 170°F (75°C).
Step 2: Strain the Curd
Once thickened, remove the bowl from heat and strain the lemon curd through a fine sieve into another bowl to eliminate any lumps. This step ensures your Classic Lemon Tart filling will be silky smooth and luxurious. Allow the strained curd to cool slightly before moving to the next step.
Step 3: Incorporate the Butter
Gradually whisk in ½ cup of unsalted butter, cut into small pieces, into the warm lemon curd. Continue to whisk until all the butter is melted and the mixture is entirely smooth. This rich buttery addition complements the tangy lemon perfectly, creating a flavorful base for your tart.
Step 4: Cool and Fill the Tart
Let the lemon curd cool to room temperature before pouring it into your pre-baked tart shell. Use a spatula to smooth the top for an even finish, showcasing that beautiful, glossy lemon curd. This Classic Lemon Tart is now ready for chilling.
Step 5: Chill the Tart
Refrigerate the filled tart for at least 4 hours, allowing the curd to set properly. This step is crucial for the best slicing results, ensuring that each piece holds its shape when served. The chilling time deepens the flavors, making every bite delightful.
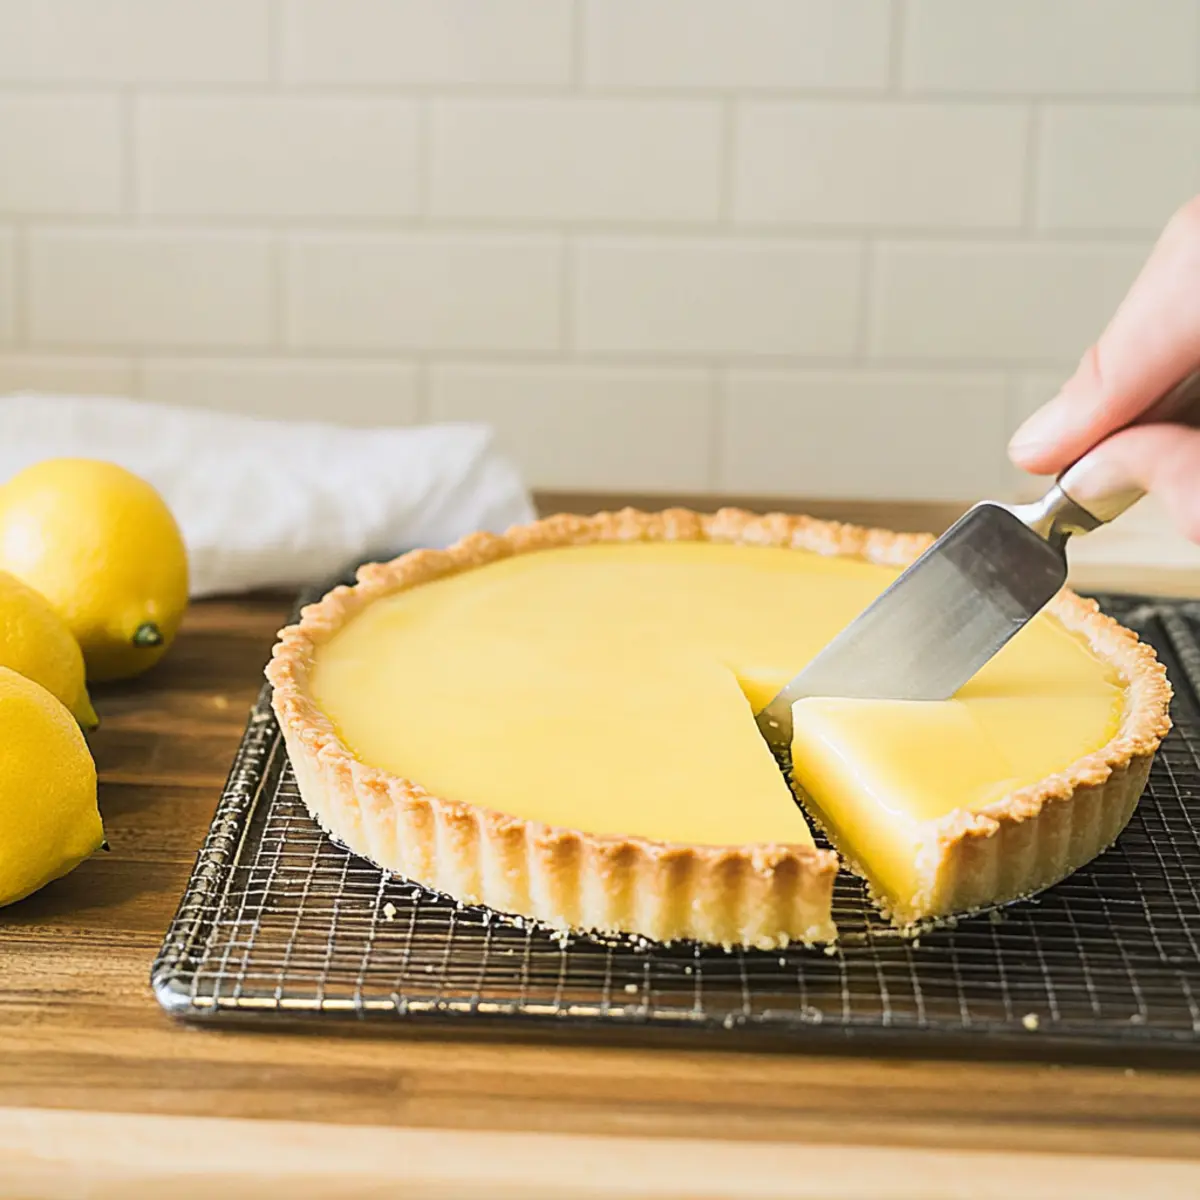
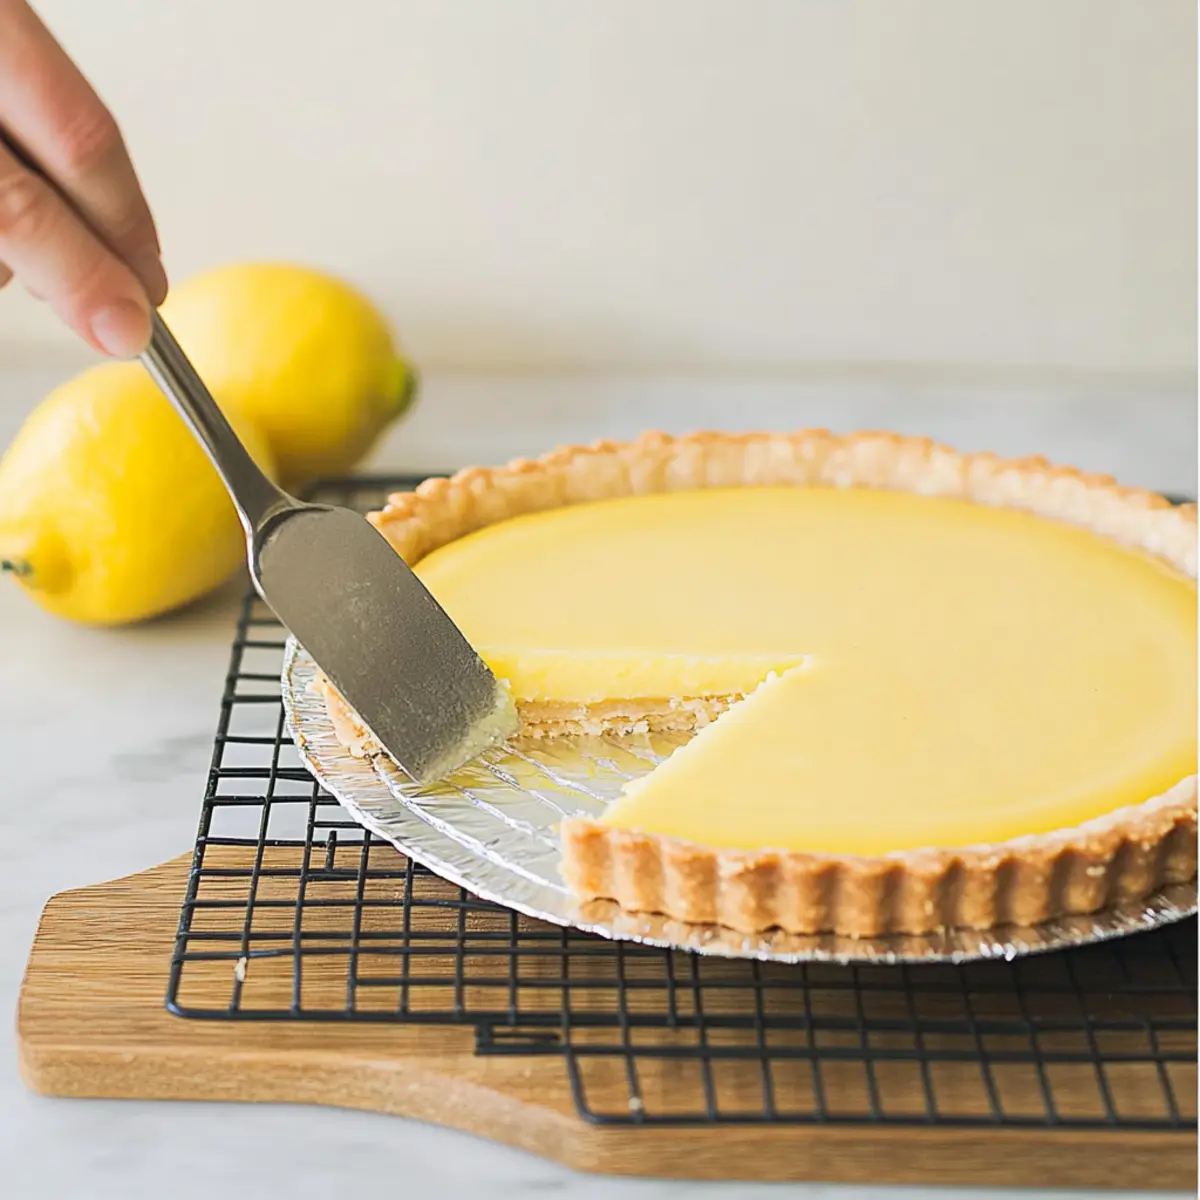
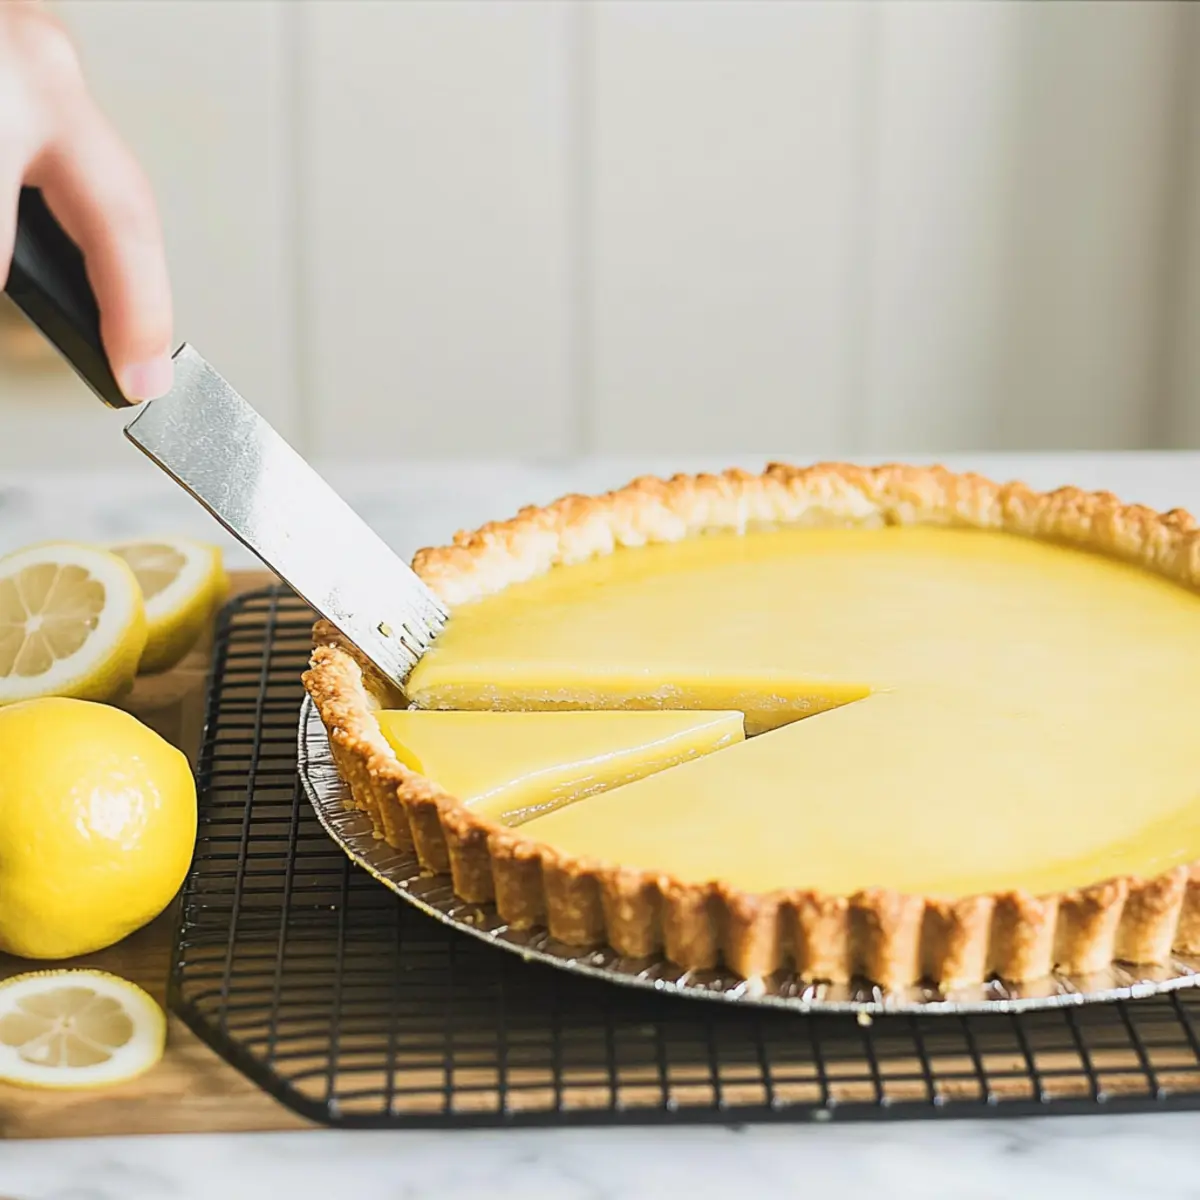
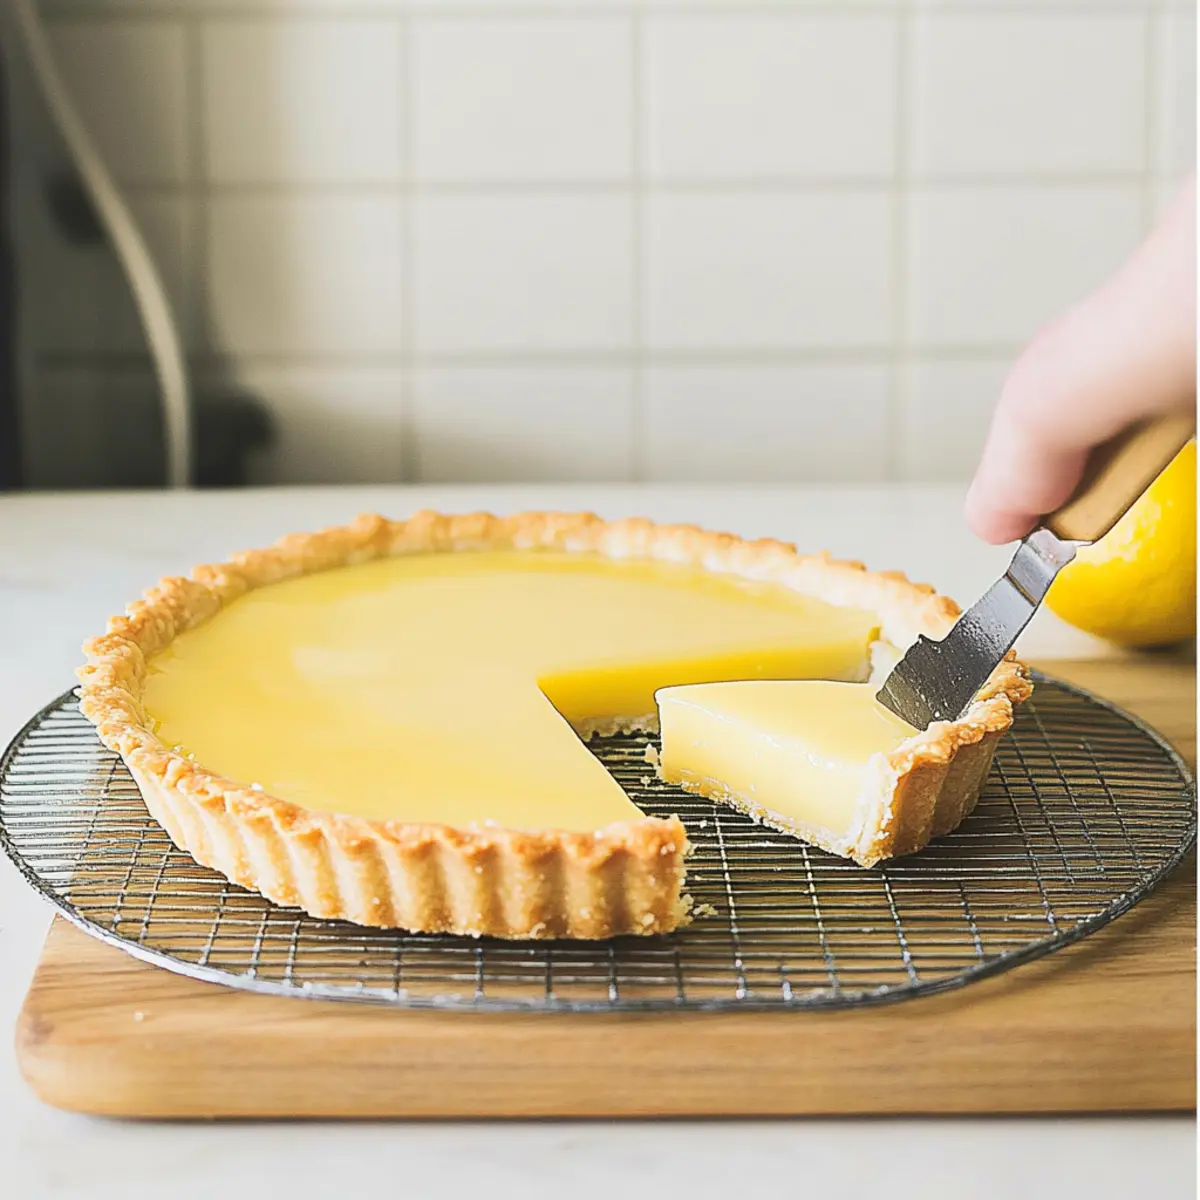
Step 6: Serve and Enjoy
Once set, slice your Classic Lemon Tart into wedges and serve chilled. For extra flair, consider garnishing with lightly whipped cream or fresh berries. The combination of tartness and creaminess makes this dessert a crowd-pleaser, perfect for any occasion.
Make Ahead Options
These Classic Lemon Tarts are perfect for meal prep enthusiasts! You can prepare the lemon curd up to 3 days in advance and store it in an airtight container in the refrigerator to keep it fresh. Just remember to press a piece of plastic wrap directly onto the surface of the curd to prevent a skin from forming. The pre-baked tart crust can also be made up to 24 hours ahead and stored at room temperature, wrapped in foil. When you’re ready to assemble, simply fill the cool tart shell with the chilled lemon curd, smooth the top, and refrigerate for at least 4 hours before serving. This way, your Classic Lemon Tart retains its vibrant flavor and luscious texture with minimal last-minute effort!
What to Serve with Classic Lemon Tart
Delight your guests with a complete meal experience that perfectly complements the zesty brightness of this unforgettable tart.
- Creamy Mashed Potatoes: The richness of buttery mashed potatoes offers a satisfying contrast to the tart’s refreshing flavors.
- Roasted Asparagus: The subtle sweetness of roasted asparagus enhances the citrus notes, adding a touch of freshness to your table.
- Light Garden Salad: A crisp salad featuring mixed greens and a lemon vinaigrette beautifully ties in the tart’s citrus essence while providing a refreshing crunch.
- Grilled Salmon: The smoky richness of grilled salmon mirrors the tart’s creaminess, making for a delightful seafood pairing. A squeeze of lemon on the fish brings it all together beautifully.
- Honey-Glazed Carrots: Sweet, tender carrots drizzled with honey create a warm and inviting side that balances the tart’s acidity.
- Sparkling Water with Mint: A refreshing drink option, sparkling water infused with mint cleanses the palate between bites and enhances the overall dining experience.
- Lemon Sorbet: For a sweet finale, serve a scoop of lemon sorbet. This light, icy treat echoes the tart’s flavors while finishing the meal on a refreshing note.
- Chocolate-Filled Croissants: The decadence of chocolate crescents serves as a rich counterpoint to the lemon tart, making for a luxurious dessert spread.
Classic Lemon Tart Variations
Feel free to let your creativity shine with these variations that will take your Classic Lemon Tart to the next level!
-
Herb-Infused Curd: Blend fresh basil leaves into the curd; this adds a refreshing herbal twist that beautifully complements the lemon.
-
Alternative Citrus: Swap lemon juice for lime or orange juice to discover new flavor profiles. Each brings a unique zest that’ll surprise your palate!
-
Creamy Coconut: Replace the heavy cream with coconut milk for a tropical vibe. This adds a delightful coconut flavor while keeping the tart super creamy.
-
Nutty Crust: Incorporate finely ground almonds into your tart crust for a rich, nutty base. The added texture and flavor enhance your dessert experience.
-
Spicy Kick: Infuse your lemon curd with a hint of cayenne pepper or ginger for a tantalizing heat that contrasts beautifully with the sweetness.
-
Serving Suggestions: Elevate your presentation by topping the tart with lightly whipped cream, fresh mint leaves, or seasonal berries for a burst of color and flavor.
-
Drizzle Delight: Create a citrus glaze with powdered sugar and lemon juice to drizzle over the top. This adds a lovely shine and an extra layer of sweetness.
For even more delicious inspiration, consider pairing your tart with our Lemon Garlic Salmon or trying a fresh twist in our Honey Lemon Pepper Wings. Happy baking!
How to Store and Freeze Classic Lemon Tart
Fridge: Store leftover Classic Lemon Tart in the refrigerator, covered with plastic wrap or in an airtight container, for up to 3 days. For the best flavor, consume within 2 days.
Freezer: For longer storage, freeze the unfilled tart shell for up to 2 months. Wrap it tightly in plastic wrap and foil to prevent freezer burn.
Thawing: To enjoy frozen tart shell, thaw it in the fridge overnight before filling it with the lemon curd. Avoid freezing the filled tart, as it may alter the texture and flavor.
Reheating: The tart is best served cold, straight from the fridge. If you prefer a slightly warm dessert, let it sit at room temperature for about 15 minutes before serving.
Tips for the Best Classic Lemon Tart
-
Temperature Check: Use a thermometer to ensure the lemon curd reaches 170°F (75°C); this prevents it from being runny and ensures perfect texture.
-
Strain for Smoothness: Always strain the curd through a fine sieve. This essential step eliminates lumps, resulting in a silky-smooth filling for your Classic Lemon Tart.
-
Chill Time Matters: Refrigerate the tart for at least 4 hours after filling. This duration is crucial for ensuring clean, beautiful slices and enhances the flavors.
-
Mind the Crust: If your tart crust is too thick, it can overshadow the lemon flavor. Aim for a thin, even layer to let the Classic Lemon Tart shine its bright flavors.
-
Experiment with Flavors: Don’t hesitate to infuse the curd with fresh herbs or swap lemons for limes or oranges for a unique twist. Your guests will be delighted by the surprises!
Classic Lemon Tart Recipe FAQs
What is the best way to choose ripe lemons for my Classic Lemon Tart?
Absolutely! When selecting lemons, look for ones that are bright yellow, firm, and slightly heavy for their size. Avoid any that have dark spots or feel too soft, as these can indicate overripeness. Freshness is key, so try to use them within a week of purchase for the brightest flavor in your tart.
How should I store my Classic Lemon Tart and for how long?
To maintain its delightful flavor, store any leftovers of your Classic Lemon Tart in the refrigerator, covered with plastic wrap or in an airtight container, for up to 3 days. However, it’s best to consume it within 2 days for optimal taste and texture!
Can I freeze my Classic Lemon Tart?
I often prefer to freeze the tart shell separately for the best results. To do this, wrap the unfilled tart shell tightly in plastic wrap and then in foil, allowing it to freeze for up to 2 months. When you’re ready, simply thaw it in the refrigerator overnight before filling it with lemon curd; avoid freezing the filled tart, as it might change the texture!
What should I do if my lemon curd doesn’t thicken properly?
No need to worry! If your lemon curd isn’t thickening after 15-20 minutes over the bain-marie, check the temperature. It should reach 170°F (75°C). If it hasn’t yet, keep whisking over the heat. If it still doesn’t thicken, you can try whisking in a cornstarch slurry (1 tablespoon cornstarch mixed with 1 tablespoon cold water) for additional thickening power.
Is this Classic Lemon Tart suitable for people with dietary restrictions?
This tart does contain eggs, butter, and dairy, making it unsuitable for vegans and those with egg or dairy allergies. For a dairy-free option, you could try substituting the heavy cream with coconut cream, and the butter with a vegan butter alternative. However, I recommend they monitor the texture, as it may vary with substitutions.
Classic Lemon Tart: Creamy, Tangy Bliss You'll Adore
Ingredients
Equipment
Method
- Prepare the Lemon Curd: Combine eggs, egg yolks, sugar, lemon zest, and lemon juice in a heatproof bowl over a simmering pot. Whisk continuously for 10-20 minutes until thickened.
- Strain the Curd: Remove from heat, strain through a fine sieve into another bowl to eliminate lumps. Allow to cool slightly.
- Incorporate the Butter: Gradually whisk in unsalted butter until melted and smooth.
- Cool and Fill the Tart: Let curd cool to room temperature, then pour into the pre-baked tart shell and smooth the top.
- Chill the Tart: Refrigerate for at least 4 hours to set the curd.
- Serve and Enjoy: Slice into wedges and serve chilled, optionally garnished with whipped cream or fresh berries.