

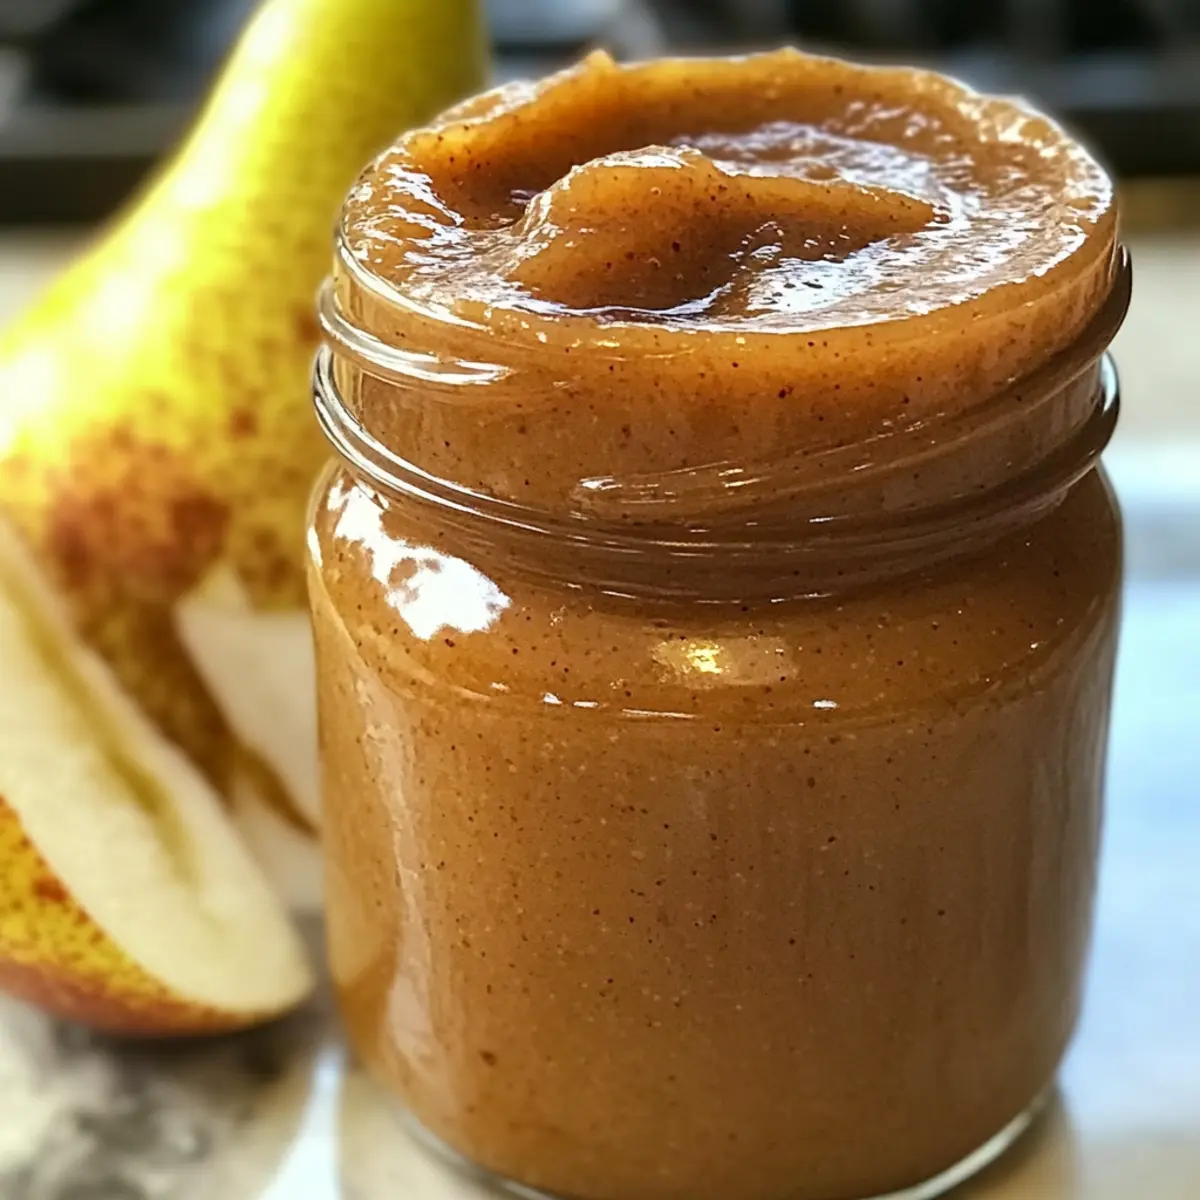
As the leaves begin to turn and the air takes on a crisp bite, there’s something utterly enchanting about crafting homemade spreads that warm the soul. This season, I invite you to discover the magic of Vanilla Chai Pear Butter—a delightful fusion of sweet, ripe pears and aromatic chai spices that brings a cozy charm to your breakfast or afternoon snack. Not only is this recipe a breeze to prepare in just over an hour, but it also makes a wonderful gift for friends and family, spreading joy along with its sweet, spiced flavor. Imagine slathering this velvety butter on warm toast or drizzling it over pancakes—it’s the perfect way to embrace the flavors of fall. So, are you ready to fill your kitchen with the inviting aromas of autumn? Let’s dive in!
Why You’ll Love Vanilla Chai Pear Butter
Comforting Warmth: This spread embodies the cozy vibes of fall, combining sweet, ripe pears with the fragrant chai spices.
Easy Prep: With just over an hour of your time, you can create something truly homemade that elevates your breakfast game.
Versatile Use: Enjoy it on warm toast, pancakes, or even as a delectable addition to a cheese platter.
Thoughtful Gift: Share joy this season by offering this delightful spread as a heartfelt gift to loved ones.
Simple Substitutions: Feeling adventurous? Easily swap pears for apples or peaches to customize your butter, like in my Garlic Butter Salmon or Seared Garlic Butter.
Vanilla Chai Pear Butter Ingredients
For the Pear Butter
• Ripe Pears – Choose pears that are at peak ripeness for the sweetest flavor in your Vanilla Chai Pear Butter.
• Lemon Juice – This keeps your pears from browning and brightens the overall taste.
• Sugar – Sweeten to taste; adjust according to the natural sweetness of the pears.
• Chai Spices (Cinnamon, Ginger, Cardamom) – These spices create a warm, inviting aroma that’s perfect for fall; feel free to personalize the spice blend.
• Vanilla Extract – Adds depth to the flavor; incorporate it at the end for the best results.
For Optional Variations
• Other Fruits (Apples or Peaches) – Swap in these fruits if you want to experiment while making your unique version of pear butter.
• Splash of Liqueur – For an adult twist, you might consider adding a splash of your favorite liqueur.
• Lower Sugar – Reduce the sugar for a less sweet option if desired.
Step‑by‑Step Instructions for Vanilla Chai Pear Butter
Step 1: Prepare the Pears
Begin by peeling and chopping your ripe pears into bite-sized pieces, ensuring to select fruit that’s at peak ripeness for maximum sweetness. This step will yield roughly 4 cups of chopped pears. Use a sturdy peeler and a sharp knife, taking care to create uniform pieces that will cook evenly.
Step 2: Toss with Lemon Juice
In a large pot, toss the chopped pears with freshly squeezed lemon juice to prevent browning and enhance their flavor. This mixture will help maintain the vibrant color of the pears as they cook. Make sure the pears are well-coated in lemon juice before moving on to the next step.
Step 3: Add Sugar and Spices
Stir in granulated sugar along with a blend of chai spices—cinnamon, ginger, and cardamom—mixing thoroughly until everything is well combined. Allow the fragrant spices to infuse into the pears as you prepare to cook them. The mixture should now have a delightful aroma, signaling a cozy autumn inspired dish in the making.
Step 4: Cook the Pears
Place the pot over medium heat and let the mixture cook for 20 to 30 minutes, stirring occasionally. You’ll know it’s ready when the pears are tender and can be easily mashed with a spoon. Keep an eye on the pot to ensure nothing sticks to the bottom and creates a scorched flavor, stirring gently.
Step 5: Blend Until Smooth
Using an immersion blender, carefully blend the mixture until it reaches a smooth consistency. Be cautious of hot splatter if you decide to use a regular blender; transferring may create messes. Aim for a rich and silky texture that embodies the comforting essence of Vanilla Chai Pear Butter.
Step 6: Simmer for Thickness
Reduce the heat to low and allow the blended pear mixture to continue simmering for another 30 to 45 minutes. During this time, stir frequently to prevent sticking, and keep an eye on the consistency until it is thickened to your liking. The color will deepen, and the aroma will fill your kitchen, enhancing the cozy vibe.
Step 7: Stir in Vanilla Extract
Once the desired thickness is achieved, stir in a splash of vanilla extract and let it cook for an additional 5 minutes. This final touch will enhance the flavors of your Vanilla Chai Pear Butter, making it even more inviting. Make sure to mix well to evenly distribute the vanilla throughout the spread.
Step 8: Jar Your Pear Butter
Finally, pour the hot Vanilla Chai Pear Butter into sterilized jars while it’s still warm, sealing them immediately to lock in freshness. Ensure there’s minimal air in the jars to prolong shelf life. Once cooled, store them in the refrigerator for up to two weeks or follow proper canning techniques if you wish to keep them for longer.
Vanilla Chai Pear Butter Variations
Feel free to get creative with your Vanilla Chai Pear Butter and make it your own with these delightful twists!
-
Apple Surprise: Swap pears for tart apples, adjusting spice levels to balance the natural sweetness for a vibrant twist on flavor.
-
Peach Bliss: Try using ripe peaches for a luscious, fruity flair; their juiciness will create a refreshing contrast with the chai spices.
-
Chai Latte Boost: Add a teaspoon of brewed chai tea concentrate while cooking, which enhances the chai flavor for a more aromatic butter.
-
Spicy Kick: Incorporate a dash of cayenne or red pepper flakes for a surprising heat that compliments the sweetness beautifully.
-
Nutty Crunch: Mix in finely chopped nuts, like pecans or walnuts, after blending for a delightful texture and nutty richness.
-
Vanilla Liqueur: A splash of vanilla liqueur, like Frangelico, can elevate the flavor profile; just add it in after blending for an adult-friendly version.
-
Cinnamon Swirl: Create a cinnamon-sugar swirl in your butter by reserving a tablespoon of sugar and cinnamon mixture, folding it in at the end for a visually appealing twist.
-
Maple Delight: Swap out some sugar for maple syrup to impart a rich, earthy sweetness that perfectly complements the pears.
For more delightful ideas, be sure to explore my recipes for Bottom Peanut Butter and Seared Garlic Butter that also embrace the love of homemade flavors!
Expert Tips for Vanilla Chai Pear Butter
Peak Ripeness: Ensure your pears are perfectly ripe for the sweetest and most flavorful Vanilla Chai Pear Butter. Under-ripe or overripe fruit can affect texture and taste.
Avoid Browning: Toss chopped pears with lemon juice immediately after slicing to retain their vibrant color and enhance the overall flavor profile in your butter.
Blender Caution: If using a regular blender, let the mixture cool slightly to avoid splattering. An immersion blender offers more control and safety for blending hot ingredients.
Sterilization Matters: Properly sterilize jars to extend the shelf life of your Vanilla Chai Pear Butter. Follow safe canning practices for long-term storage.
Flavor Tweaks: Don’t be afraid to experiment with your spice ratios or substitute some of the pears with apples or peaches to create a flavor that resonates with your taste buds.
Make Ahead Options
Creating Vanilla Chai Pear Butter has never been easier, especially for the busy home cook! You can prep the chopped pears with lemon juice up to 24 hours in advance, keeping them vibrant and fresh in the refrigerator. Additionally, you can combine the sugar and chai spices ahead of time to save even more effort during cooking. On the day you plan to finish your butter, simply cook the pear mixture as directed, blend until smooth, and simmer until thickened. This method not only helps you manage your time effectively but also ensures your Vanilla Chai Pear Butter is just as delicious when served fresh!
How to Store and Freeze Vanilla Chai Pear Butter
Fridge: Store your Vanilla Chai Pear Butter in an airtight container for up to 2 weeks to enjoy its delightful flavors.
Freezer: If you want to keep it longer, freeze the butter in freezer-safe jars or zip-top bags for up to 6 months. Make sure to leave space for expansion.
Reheating: When ready to enjoy, thaw the butter overnight in the refrigerator, then gently reheat on the stove or in the microwave before serving.
Canning: For extended shelf life, consider canning your Vanilla Chai Pear Butter following safe canning techniques to preserve it for up to a year.
What to Serve with Vanilla Chai Pear Butter
Indulge your senses with delightful pairings that elevate your homemade spread into a full, heartwarming meal experience.
- Warm Toast: Perfectly toasted bread pairs wonderfully with the smooth, spiced butter, creating a cozy breakfast treat that’s hard to resist.
- Fluffy Pancakes: Drizzle Vanilla Chai Pear Butter over fluffy pancakes for a sweet, seasonal twist that adds warmth to your brunch table.
- Cheese Platter: Serve with creamy brie or sharp cheddar, where the sweetness of the butter contrasts beautifully with savory cheeses, creating a delightful charcuterie experience.
- Oatmeal Bowl: Stir a spoonful of the butter into warm oatmeal; it adds sweetness and chai flavor, making your morning routine feel special.
- Yogurt Parfait: Layer in a bowl of creamy yogurt with granola, fruit, and Vanilla Chai Pear Butter to create a nutritious breakfast that bursts with flavor.
- Tea Pairing: Complement your spread with a warm cup of chai tea; the spices in both will enhance each other, enveloping you in cozy aromas.
- Spiced Cocktails: For an adult treat, mix a bit of the butter into a fall-flavored cocktail; it adds a unique twist that guests will love.
- Baked Goods: Use Vanilla Chai Pear Butter as a filling in pastries or as a topping for muffins, bringing extra flavor and moisture in every bite.
- Ice Cream Topping: Warm some for a decadent and seasonal topping over vanilla ice cream, creating a comforting dessert perfect for chilly nights.
Vanilla Chai Pear Butter Recipe FAQs
What type of pears should I use for Vanilla Chai Pear Butter?
Absolutely! Choosing ripe pears is key for the best flavor. Look for pears that are fragrant and slightly soft to the touch—these often indicate peak ripeness. Varieties like Bartlett or Bosc work beautifully. Avoid pears with dark spots all over or those that feel mushy, as they may not yield the desired sweetness or texture.
How long can I store Vanilla Chai Pear Butter in the refrigerator?
You can store your Vanilla Chai Pear Butter in an airtight container in the fridge for up to 2 weeks. Just make sure it’s properly sealed to keep the freshness intact. If you find yourself with leftovers, I always recommend labeling them with the date they were prepared for easy tracking!
Can I freeze Vanilla Chai Pear Butter?
The more the merrier! You can definitely freeze your Vanilla Chai Pear Butter. Transfer it to freezer-safe jars or zip-top bags, leaving some space for expansion—about an inch at the top. It will last up to 6 months in the freezer. When you’re ready to enjoy it, simply thaw it overnight in the fridge and gently reheat it before serving.
What if my Vanilla Chai Pear Butter is too thin?
If your butter ends up too thin for your liking, don’t worry! You can cook it down a bit longer on low heat. Stir it frequently as it simmers; this will help evaporate excess moisture and thicken the mixture. Just keep an eye on it to avoid burning. Aim for a spreadable consistency that reminds you of apple sauce.
Is Vanilla Chai Pear Butter safe for pets or allergies?
Great question! This recipe is primarily vegetarian, but it’s important to note that it contains sugar and spices that may not be suitable for pets, especially if given in large amounts. If you have allergies, ensure all ingredients are safe for you—some people may react to cinnamon or other chai spices. Always check with a healthcare provider if you’re unsure about dietary restrictions.
How can I use Vanilla Chai Pear Butter beyond toast?
Very! This delightful spread is incredibly versatile. Use it as a topping for pancakes or waffles, swirled into yogurt, or even as a flavorful filling in pastries. It also makes for an excellent addition to cheese platters, pairing wonderfully with sharp cheeses for a lovely contrast. Don’t hesitate to get creative; it can add a lovely sweetness to savory dishes as well!
Cozy Up with Homemade Vanilla Chai Pear Butter Delight
Ingredients
Equipment
Method
- Prepare the Pears by peeling and chopping them into bite-sized pieces, yielding roughly 4 cups.
- Toss chopped pears with freshly squeezed lemon juice to prevent browning.
- Stir in granulated sugar and chai spices until well combined.
- Cook the mixture over medium heat for 20 to 30 minutes until pears are tender.
- Blend the mixture until smooth using an immersion blender.
- Simmer the blended mixture on low for another 30 to 45 minutes until thickened.
- Stir in vanilla extract and cook for an additional 5 minutes.
- Pour the hot pear butter into sterilized jars and seal immediately.