


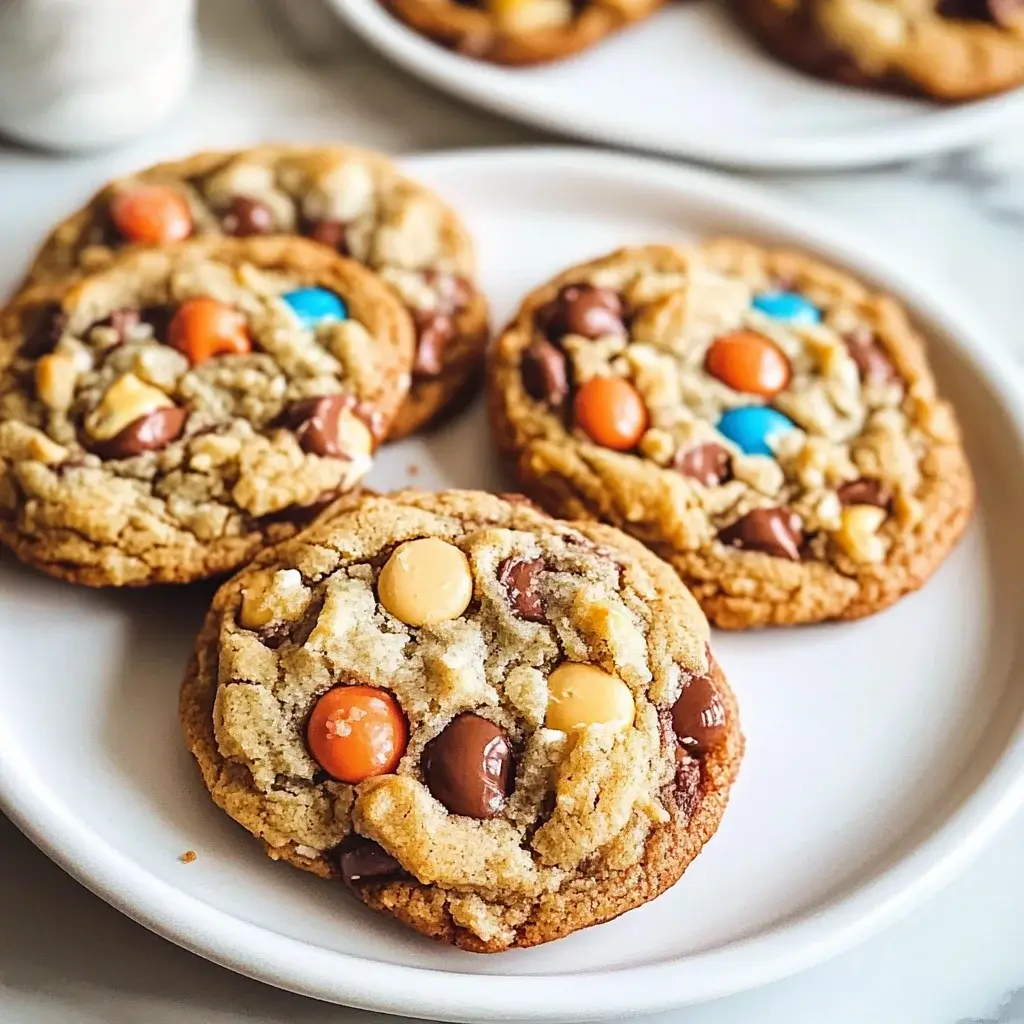
Introduction to Ultimate Kitchen Sink Cookies
There’s something magical about cookies that brings back memories of childhood. The aroma wafting through the house, the anticipation of that first warm bite—it’s pure bliss. The Ultimate Kitchen Sink Cookies are my go-to recipe for those moments when I want to whip up something special without spending hours in the kitchen. Packed with a delightful mix of flavors and textures, these cookies are perfect for busy days or when you want to impress friends and family. Trust me, once you try them, you’ll understand why they’re a favorite in my home!
Why You’ll Love This Ultimate Kitchen Sink Cookies
These cookies are a game-changer in the baking world. They come together in just 15 minutes, making them perfect for those last-minute cravings or surprise guests. The blend of sweet and salty flavors creates a taste explosion that will have everyone reaching for seconds. Plus, the versatility means you can customize them with your favorite mix-ins. Who wouldn’t love a cookie that’s as easy to make as it is delicious?
Ingredients for Ultimate Kitchen Sink Cookies
Gathering the right ingredients is the first step to cookie perfection. Here’s what you’ll need for these Ultimate Kitchen Sink Cookies:
- All-purpose flour: The backbone of any cookie, providing structure and chewiness.
- Baking soda: This little leavening agent helps the cookies rise and become fluffy.
- Salt: A pinch enhances the sweetness and balances flavors.
- Unsalted butter: Softened butter creates a rich, creamy texture and flavor.
- Granulated sugar: Adds sweetness and helps the cookies spread during baking.
- Brown sugar: Brings moisture and a hint of caramel flavor to the mix.
- Vanilla extract: A must-have for that warm, comforting aroma and taste.
- Large eggs: They bind the ingredients together and add richness.
- Semi-sweet chocolate chips: For that classic chocolatey goodness in every bite.
- Chopped nuts: Walnuts or pecans add crunch and a nutty flavor; feel free to swap them out for your favorites.
- Shredded coconut: Adds a tropical twist and chewy texture.
- Pretzel pieces: For a salty crunch that contrasts beautifully with the sweetness.
- Toffee bits: These little nuggets of caramelized sugar bring a delightful crunch and extra sweetness.
For those looking to mix things up, you can substitute nuts with dried fruits or different types of chocolate. If you need a gluten-free option, a 1:1 gluten-free flour blend works wonders. Exact measurements for each ingredient can be found at the bottom of the article, ready for printing!
How to Make Ultimate Kitchen Sink Cookies
Now that you have all your ingredients ready, it’s time to dive into the fun part—baking! Follow these simple steps to create your Ultimate Kitchen Sink Cookies. Trust me, the process is as enjoyable as the final product!
Step 1: Preheat the Oven
First things first, preheat your oven to 350°F (175°C). This ensures your cookies bake evenly. While the oven warms up, line two baking sheets with parchment paper. This little trick prevents sticking and makes cleanup a breeze!
Step 2: Mix Dry Ingredients
In a medium bowl, whisk together the all-purpose flour, baking soda, and salt. This step is crucial as it evenly distributes the leavening agent and salt throughout the flour. Set this mixture aside for now; it’ll come into play shortly.
Step 3: Cream Butter and Sugars
In a large bowl, cream together the softened butter, granulated sugar, brown sugar, and vanilla extract. Use a hand mixer or a sturdy spatula to beat until the mixture is light and fluffy. This step adds air to the dough, making your cookies tender and delicious.
Step 4: Add Eggs
Next, add the eggs one at a time, mixing well after each addition. This helps to incorporate them fully into the batter, ensuring a smooth and cohesive dough. You’ll notice the mixture becoming even creamier!
Step 5: Combine Wet and Dry Ingredients
Gradually add the dry ingredients to the wet mixture. Stir gently until just combined. Be careful not to overmix; a few flour streaks are okay. This keeps your cookies from becoming tough, which is a common baking pitfall.
Step 6: Fold in Mix-Ins
Now comes the fun part! Fold in the chocolate chips, chopped nuts, shredded coconut, pretzel pieces, and toffee bits. Use a spatula to ensure everything is evenly distributed. Each bite will be a delightful surprise with all these textures and flavors!
Step 7: Shape and Bake
Drop rounded tablespoons of dough onto the prepared baking sheets, spacing them about 2 inches apart. This allows room for spreading. Bake for 10-12 minutes, or until the edges are golden brown. The centers may look a bit soft, but they’ll firm up as they cool. Let them cool on the baking sheets for about 5 minutes before transferring to wire racks.
Tips for Success
- Chill the dough for at least 30 minutes for chewier cookies.
- Use a cookie scoop for uniform sizes and even baking.
- Don’t skip the parchment paper; it prevents sticking and makes cleanup easy.
- Experiment with mix-ins based on your cravings—dried fruits or different chocolates work great!
- Keep an eye on the cookies; they can go from perfect to overbaked quickly.
Equipment Needed
- Baking sheets: If you don’t have these, a large, flat oven-safe dish works too.
- Parchment paper: Aluminum foil can be a substitute, but it may stick more.
- Mixing bowls: Any large bowl will do, even a pot in a pinch.
- Whisk: A fork can work for mixing dry ingredients.
- Spatula: A wooden spoon or even your hands can help fold in the mix-ins.
Variations
- Nut-Free: Swap out the nuts for seeds like sunflower or pumpkin seeds for a crunchy texture without the allergens.
- Chocolate Lovers: Double the amount of chocolate chips or add white chocolate chips for a sweet twist.
- Fruit-Infused: Incorporate dried fruits like cranberries or apricots for a chewy, fruity flavor.
- Spiced Up: Add a teaspoon of cinnamon or nutmeg to the dry ingredients for a warm, spiced cookie.
- Vegan Option: Substitute the eggs with flaxseed meal mixed with water and use vegan butter for a plant-based treat.
Serving Suggestions
- Pair these cookies with a tall glass of cold milk for a classic treat.
- Serve warm with a scoop of vanilla ice cream on top for an indulgent dessert.
- For a fun twist, drizzle melted chocolate over the cookies before serving.
- Present them on a colorful platter for a festive touch at gatherings.
FAQs about Ultimate Kitchen Sink Cookies
Got questions about these delicious Ultimate Kitchen Sink Cookies? You’re not alone! Here are some common queries that might help you out:
Can I freeze the cookie dough?
Absolutely! You can freeze the dough for up to three months. Just scoop the dough onto a baking sheet, freeze until solid, then transfer to a freezer bag. When you’re ready to bake, just add a couple of extra minutes to the baking time.
What can I use instead of eggs?
If you’re looking for an egg substitute, try using 1/4 cup of unsweetened applesauce or a flaxseed meal mixture (1 tablespoon of flaxseed meal mixed with 2.5 tablespoons of water). Both options work well in this recipe!
How do I store the cookies?
Store your Ultimate Kitchen Sink Cookies in an airtight container at room temperature for up to a week. If you want to keep them fresh longer, you can refrigerate them, but they might lose some of their chewy texture.
Can I use different mix-ins?
Definitely! The beauty of these cookies is their versatility. Feel free to swap in your favorite mix-ins like dried fruits, different types of chocolate, or even crushed candy bars. The sky’s the limit!
Why are my cookies flat?
If your cookies turn out flat, it could be due to softened butter that’s too warm or not enough flour. Make sure to measure your ingredients accurately and chill the dough if needed for a thicker cookie.
Final Thoughts
Baking the Ultimate Kitchen Sink Cookies is more than just a recipe; it’s an experience filled with joy and creativity. Each bite is a delightful mix of flavors and textures, reminding me of the simple pleasures in life. Whether you’re sharing them with family or enjoying a quiet moment with a cup of coffee, these cookies bring warmth and happiness to any occasion. Plus, the versatility allows you to make them your own, ensuring that every batch is a new adventure. So, roll up your sleeves and let the baking magic begin—your taste buds will thank you!
Ultimate Kitchen Sink Cookies: The Best Recipe You’ll Love!
Ingredients
Method
- Preheat your oven to 350°F (175°C). Line two baking sheets with parchment paper.
- In a medium bowl, whisk together the flour, baking soda, and salt. Set aside.
- In a large bowl, cream together the softened butter, granulated sugar, brown sugar, and vanilla extract until light and fluffy.
- Add the eggs one at a time, mixing well after each addition.
- Gradually add the dry ingredients to the wet mixture, stirring until just combined.
- Fold in the chocolate chips, chopped nuts, shredded coconut, pretzel pieces, and toffee bits until evenly distributed.
- Drop rounded tablespoons of dough onto the prepared baking sheets, spacing them about 2 inches apart.
- Bake for 10-12 minutes, or until the edges are golden brown. Remove from the oven and let cool on the baking sheets for 5 minutes before transferring to wire racks to cool completely.
Nutrition
Notes
- For a chewier cookie, chill the dough for at least 30 minutes before baking.
- You can substitute the nuts with your favorite mix-ins like dried fruit or different types of chocolate.
- For a gluten-free version, use a 1:1 gluten-free flour blend.