

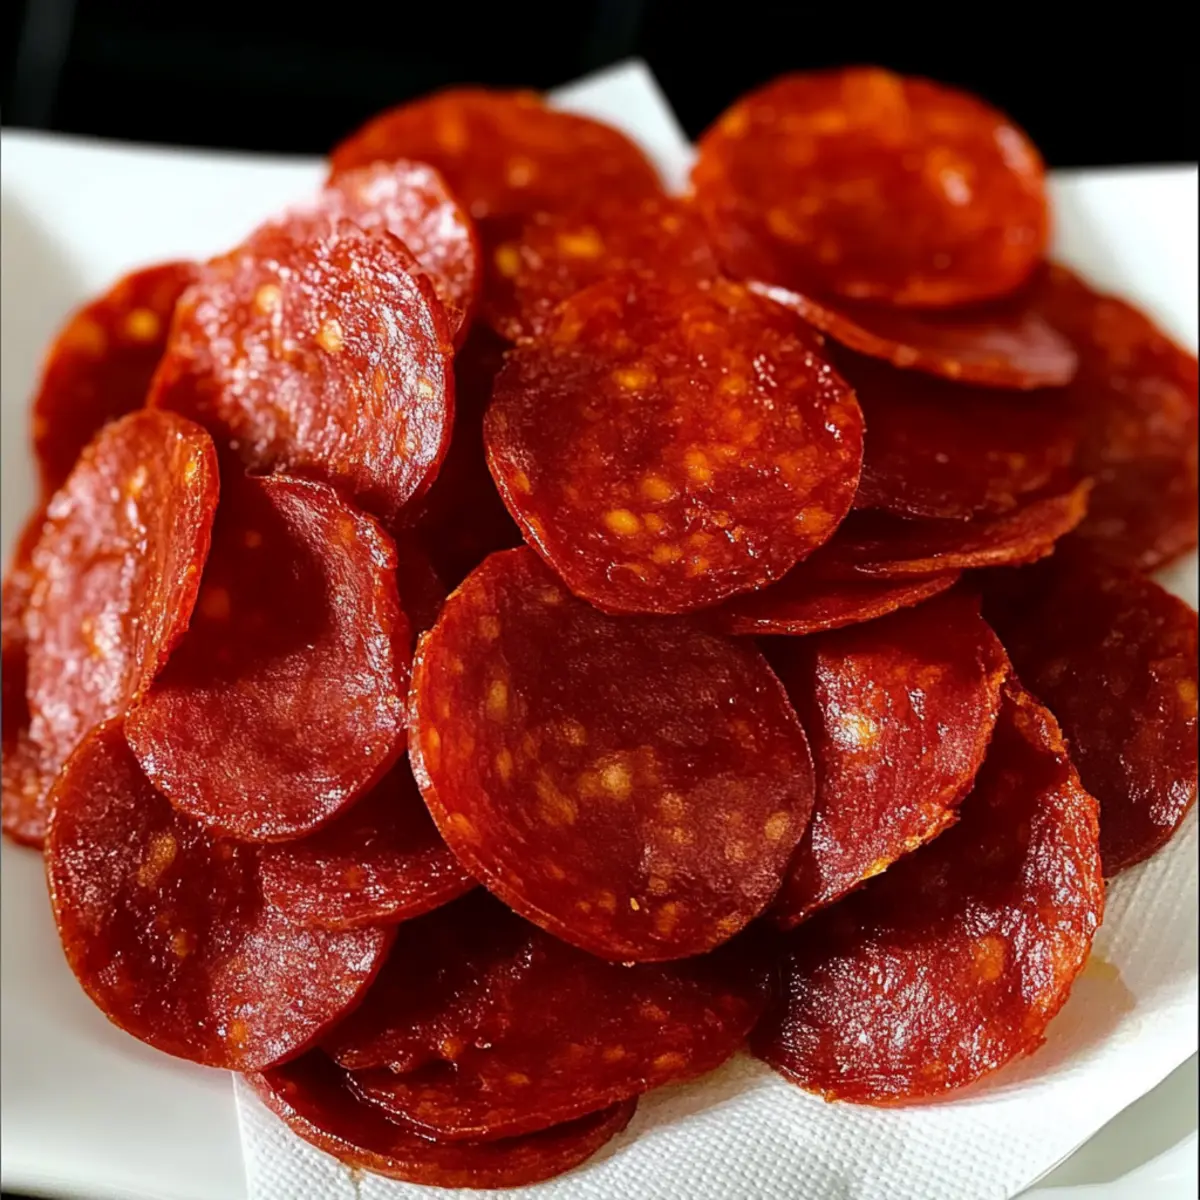
As I reached for a snack during a long road trip, I realized that the usual fast options just didn’t cut it anymore. That’s when I decided to whip up some homemade Pepperoni Jerky. This crunchy, keto-friendly treat is a game changer—delivering all the savory satisfaction with none of the carbs, making it perfect for those of us on low-carb diets. Not only is it a breeze to prepare, but it also stores beautifully, so you can have a protein-packed snack ready anytime, whether you’re camping or simply craving a tasty nibble at home. Curious about how to make this surprisingly easy treat? Let’s dive into the savory world of Pepperoni Jerky!
Why is Pepperoni Jerky a Must-Try?
Savory Satisfaction: Pepperoni Jerky delivers an explosive burst of flavor that’s hard to resist, making it the perfect solution for those snack attacks.
Quick & Simple: The recipe is incredibly easy, requiring just a few steps to whip up this delicious treat, perfect for even novice cooks.
Keto-Friendly: With zero carbs, it fits seamlessly into any low-carb or keto lifestyle, allowing you to indulge without guilt.
Versatile Snacking: Enjoy it as an on-the-go snack, in lunch boxes, or as a standout feature on a charcuterie board.
Stay Fresh: Store effortlessly in airtight containers for weeks; no refrigeration needed, making it ideal for camping trips or road adventures.
Treat yourself to this scrumptious snack, and if you’re interested in exploring more low-carb delights, check out my guide on delicious keto snacks.
Pepperoni Jerky Ingredients
• Here’s everything you need to create your delicious, low-carb Pepperoni Jerky!
For the Jerky
- 6 oz Pepperoni Slices – Choose your favorite brand for the best flavor; the fat content will affect cooking time.
- Parchment Paper – This will help with easy cleanup and prevent sticking during baking.
- Paper Towels – Use these to absorb excess grease, enhancing the jerky’s shelf life and crunchiness.
- Food Dehydrator – Essential for that perfect jerky texture; if you don’t have one, the oven works just fine!
Step‑by‑Step Instructions for Pepperoni Jerky
Step 1: Preheat and Prepare
Begin by preheating your oven to 350°F (175°C). While it’s heating, line a large baking sheet with parchment paper to facilitate easy cleanup and prevent the pepperoni slices from sticking. Having everything ready sets you up for success as you create your homemade Pepperoni Jerky.
Step 2: Arrange the Slices
Take your pepperoni slices and arrange them in a single layer on the prepared baking sheet. Make sure none of the slices overlap, as this will ensure even cooking and help them crisp up nicely. This step is crucial for the perfect texture in your Pepperoni Jerky, so take your time to space them out evenly.
Step 3: Bake the Pepperoni
Slide the baking sheet into the oven and bake for 8-10 minutes. Keep an eye on them; you’ll know they’re ready when they appear fairly dry and a good amount of fat has rendered out. The slices should look slightly shriveled but not burnt, as you’ll want that perfect balance of crunch and flavor.
Step 4: Blot the Grease
After baking, carefully remove the pepperoni slices from the oven. Using paper towels, gently blot the slices to absorb any excess grease. It’s best to do this in batches to ensure every slice is touched, enhancing the long shelf life and maintaining the desired crunchiness of your Pepperoni Jerky.
Step 5: Dehydrate for Texture
Once blotted, transfer the pepperoni slices to a food dehydrator. Set it to the appropriate setting and dehydrate for about 4 hours. Check the texture towards the end; you’re aiming for crispy but not too brittle. This step gives your Pepperoni Jerky its unmistakable chewiness and flavor intensity.
Step 6: Cool and Store
After the dehydration process, allow your Pepperoni Jerky to cool completely on the counter. Once cooled, transfer the jerky to airtight bags or containers for storage. Keeping them sealed properly ensures you can snack on this delicious treat anytime, whether you’re heading out on a road trip or enjoying it at home.
What to Serve with Crispy Keto Pepperoni Jerky
Elevate your snacking experience with delightful pairings that complement the bold flavors of this crunchy treat.
- Creamy Guacamole: Smooth and rich, guacamole balances the savory pepperoni with its fresh avocado goodness, creating a pleasing contrast.
- Cheddar Cheese Platter: A selection of sharp cheddar pairs perfectly with the bold spice of the jerky, offering a satisfying chewiness that enhances every bite.
- Vegetable Sticks: Crunchy carrots and celery sticks provide a refreshing crunch, brightening the palate and adding a crunchy texture to your snacking spread.
- Spicy Mustard Dip: A zesty mustard dip adds a punchy flavor, enhancing the pepperoni’s richness and giving your jerky a flavorful twist.
- Olives and Pickles: Tangy and briny, these bites complement the robust meatiness of the jerky, creating a delightful balance of flavors for your palate.
- Sparkling Water with Lime: Refreshing and light, this drink cleanses the palate between bites, highlighting the jerky’s savory allure without overpowering it.
- Chocolate-Covered Almonds: For a sweet contrast, these chocolatey bites provide a creamy richness that contrasts beautifully with the jerky’s spiciness, appealing to every taste bud.
- Charcuterie Board Delight: Serve the jerky on a charcuterie board alongside cured meats and assorted cheeses for a beautifully curated snack spread that delights the senses.
- Low-Carb Beer: If you’re enjoying the jerky with company, a crisp low-carb beer pairs splendidly, enhancing the meatiness while staying in line with your keto lifestyle.
Expert Tips for Perfect Pepperoni Jerky
-
Thickness Matters: Ensure that pepperoni slices are uniform in thickness to guarantee even cooking and crispiness. Uneven slices can lead to a mix of chewy and hard pieces.
-
Blotting Technique: Don’t skip the blotting step! Removing excess grease not only improves texture but also enhances shelf life significantly.
-
Proper Storage: For extended freshness, store your jerky in the refrigerator or freezer; it tastes best at room temperature, so let it sit out before enjoying.
-
Flavor Variations: Feel free to explore different types of pepperoni, such as turkey or spicy selections, to personalize your Pepperoni Jerky experience.
-
Dehydration Check: Keep an eye on your jerky as it dehydrates. Start checking for texture about 3 hours in; you want it crispy, not overly brittle.
Pepperoni Jerky Variations & Substitutions
Feel free to personalize your Pepperoni Jerky for a snack that truly resonates with your palate!
-
Spicy Twist: Add crushed red pepper flakes before dehydrating for an extra kick that will tantalize your taste buds. The warmth will complement the savory flavor beautifully.
-
Turkey Jerky: Swap traditional pepperoni for turkey slices to make a leaner, equally delicious version. You’ll enjoy a different but equally satisfying take on a classic favorite.
-
Cheesy Flavor: Sprinkle some grated parmesan or cheddar cheese on the slices before baking for a cheesy infusion that elevates the overall taste. Trust me, it’s a game changer!
-
Sweet Heat: Mix in a touch of honey or sriracha to the slices before dehydrating for a delightful balance of sweetness and spice. This dual flavor profile will keep you coming back for more.
-
Herb Infusion: Enhance your jerky with dried herbs like oregano or rosemary for an aromatic twist. These herbs will add layers of flavor that elevate this snack into new culinary territories.
-
Zesty Kick: Marinate the slices in lemon juice or lime juice prior to baking for a citrusy zing. This bright flavor will cut through the richness of the pepperoni wonderfully.
-
Low-Sodium: Opt for reduced-sodium pepperoni slices to make a heart-friendly version that doesn’t compromise on flavor. You can still enjoy that expertly-crafted taste while watching your salt intake!
-
Custom Seasonings: Experiment with your favorite seasoning blends, such as taco seasoning or Cajun spice mix, to give the jerky a unique flair. Each batch can be an exciting culinary adventure!
If you’re inspired to get adventurous with other low-carb snacks, check out my guide on easy keto snacks that would pair wonderfully with your Pepperoni Jerky!
Make Ahead Options
These Pepperoni Jerky slices are perfect for meal prep enthusiasts! You can bake the pepperoni slices and blot the grease up to 24 hours in advance; simply refrigerate them after that. Transferring the blotted slices to the dehydrator can be done the next day, allowing you to dehydrate for about 4 hours whenever you’re ready. To maintain that delightful crunch, ensure they are kept in airtight containers after cooling and consider refrigerating for added freshness if not consumed right away. When you’re ready to indulge, just grab them and enjoy a delicious protein-packed snack without any extra effort!
How to Store and Freeze Pepperoni Jerky
Airtight Containers: Store your Pepperoni Jerky in airtight containers to keep it fresh for up to 3 weeks at room temperature. This helps maintain its crunch and flavor.
Refrigeration: For extended shelf life, keep the jerky in the fridge, where it can last up to 2 months. Just remember to allow it to come to room temperature for the best taste.
Freezing for Longevity: If you want to preserve your jerky even longer, freeze it in vacuum-sealed bags or airtight containers. It can last up to 6 months in the freezer without losing its tasty qualities.
Reheating Tips: When you’re ready to enjoy the jerky, let it thaw at room temperature. To restore some crunch, you can briefly heat it in the oven for a few minutes.
Pepperoni Jerky Recipe FAQs
What kind of pepperoni should I use for the jerky?
Absolutely! I recommend choosing high-quality pepperoni slices with a good balance of fat and flavor. Look for options that are uniform in thickness to ensure even cooking and crispiness. If you prefer a healthier alternative, turkey or chicken pepperoni can work just as well.
How long can I store my Pepperoni Jerky?
To enjoy your Pepperoni Jerky at its best, store it in an airtight container at room temperature for up to 3 weeks. For longer shelf life, keep it in the refrigerator, where it can last for about 2 months. Just remember to let it come to room temperature before eating for optimal taste!
Can I freeze Pepperoni Jerky?
Very! Freezing is a great option for extended storage. Place your Pepperoni Jerky in vacuum-sealed bags or airtight containers, and you can keep it safely for up to 6 months. When you’re ready to enjoy it, simply thaw at room temperature or briefly heat in the oven to restore some of its crunch.
What should I do if my jerky isn’t drying properly?
If your jerky isn’t drying the way you’d like, start by checking the thickness of your pepperoni slices—thinner slices usually yield better results. Ensure your food dehydrator is set to the correct temperature (around 160°F or 71°C) and allow ample time for dehydration. Sometimes, extending the time to around 5 hours can help achieve that perfect texture. If using an oven, keep a close eye on them during the last few minutes to avoid over-drying.
Can my pets eat Pepperoni Jerky?
It’s best to avoid giving your Pepperoni Jerky to pets. While certain meats are safe for them, the high-fat content and seasonings in pepperoni can be too rich and affect their digestion. Always consult your veterinarian before introducing new snacks into your pet’s diet.
Savory Pepperoni Jerky: Your Perfect Keto-Friendly Snack
Ingredients
Equipment
Method
- Begin by preheating your oven to 350°F (175°C). While it's heating, line a large baking sheet with parchment paper.
- Take your pepperoni slices and arrange them in a single layer on the prepared baking sheet, ensuring none overlap for even cooking.
- Slide the baking sheet into the oven and bake for 8-10 minutes until they appear fairly dry and a good amount of fat has rendered out.
- After baking, carefully remove the pepperoni slices and gently blot with paper towels to absorb excess grease.
- Transfer the pepperoni slices to a food dehydrator and dehydrate for about 4 hours, checking for crispy texture.
- Allow the jerky to cool completely on the counter before transferring to airtight bags or containers for storage.