

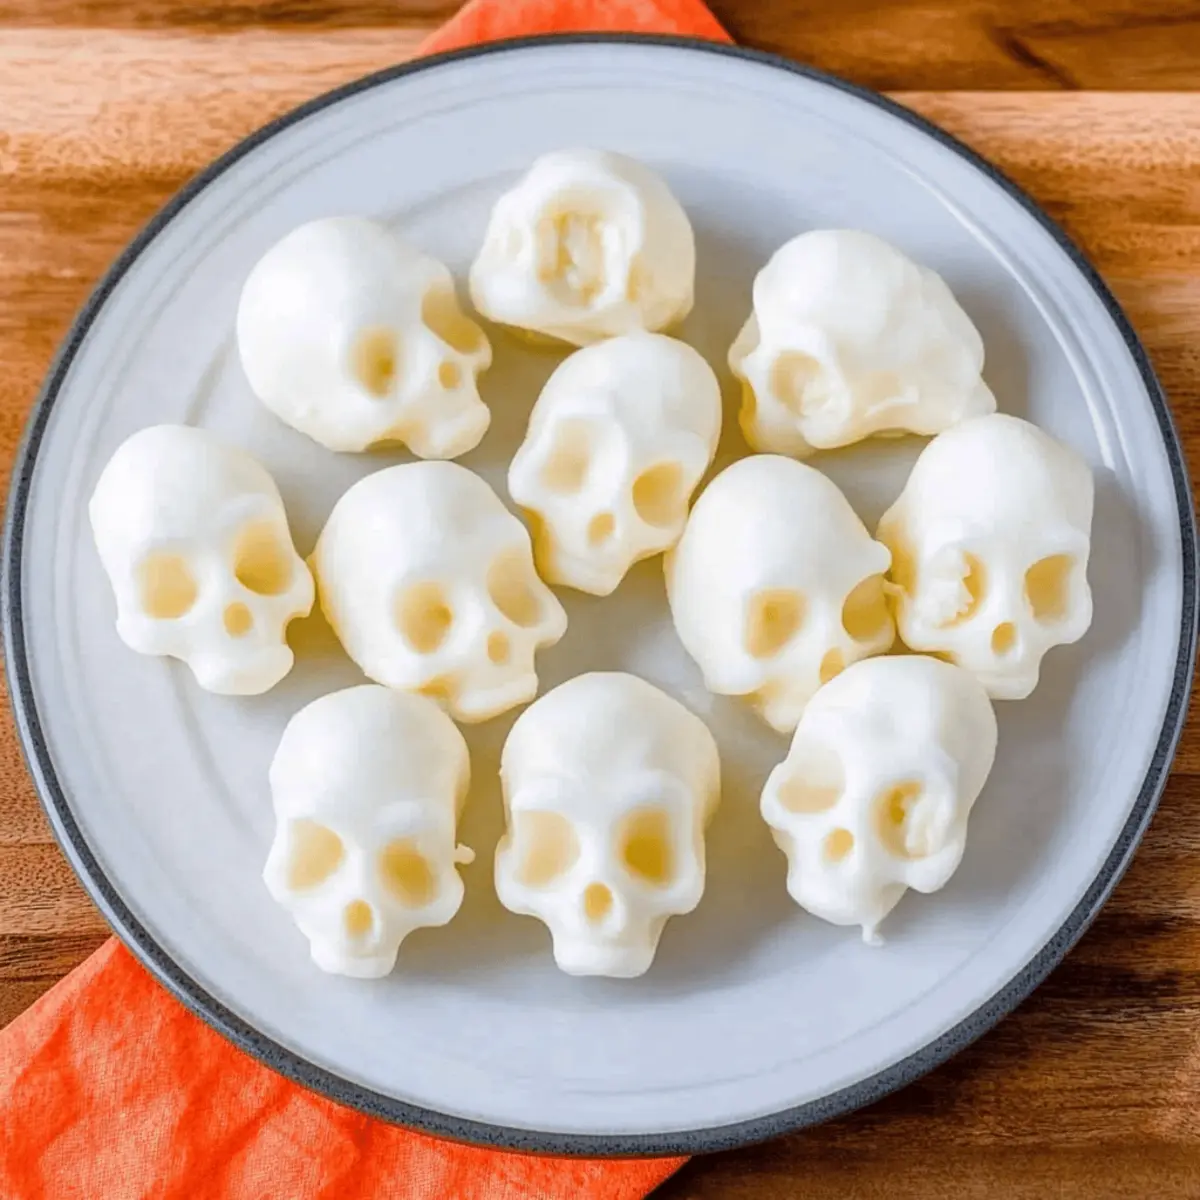
As the leaves change color and the air turns crisp, it’s time to get creative in the kitchen with a fun twist on Halloween snacks: Spooky Mozzarella Cheese Skulls! These delightful little creations not only bring a dash of whimsy to your festive gatherings but also serve as an excellent conversation starter. With their creamy texture and playful shape, they make fantastic party appetizers or an unexpected addition to your charcuterie board. Best of all, they’re quick to whip up, meaning you can spend more time enjoying the festivities and less time in the kitchen. Curious about how these cheesy little skulls can elevate your Halloween fun? Let’s dive into the recipe!
Why Make Mozzarella Cheese Skulls?
Spooky Fun: These mozzarella cheese skulls are the perfect playful addition to your Halloween celebrations, giving your table a festive flair.
Quick Preparation: With a simple baking process, you’ll have these charming bites ready in no time, allowing you to focus on fun activities with friends and family.
Family-Friendly: Their mild flavor and fun design make them a hit with both kids and adults—everyone will delight in these spooky treats!
Versatile Pairing: Serve them on toothpicks with tasty dips like balsamic glaze or pesto, or alongside colorful salads for a festive touch.
Add a unique and delightful twist to your holiday spread with these spooky creations! Your guests will love them, as will your inner culinary artist!
Mozzarella Cheese Skulls Ingredients
For the Skulls
- Mini Mozzarella Balls – The star of the recipe, these small, round balls are essential for creating those adorable skull shapes. Ciliegine mozzarella is a perfect substitution if you can’t find them.
- Silicone Skull Mold – This is your tool for shaping the mozzarella into festive skulls. Make sure your mold is oven-safe! If not, heat-resistant ice cube trays can be used as an alternative.
For the Serving
- Balsamic Glaze – Drizzle this sweet and tangy glaze over the cheese skulls for a delicious depth of flavor.
- Green Pesto – A vibrant layer of pesto adds a burst of color and taste, creating a visual feast on your party platter.
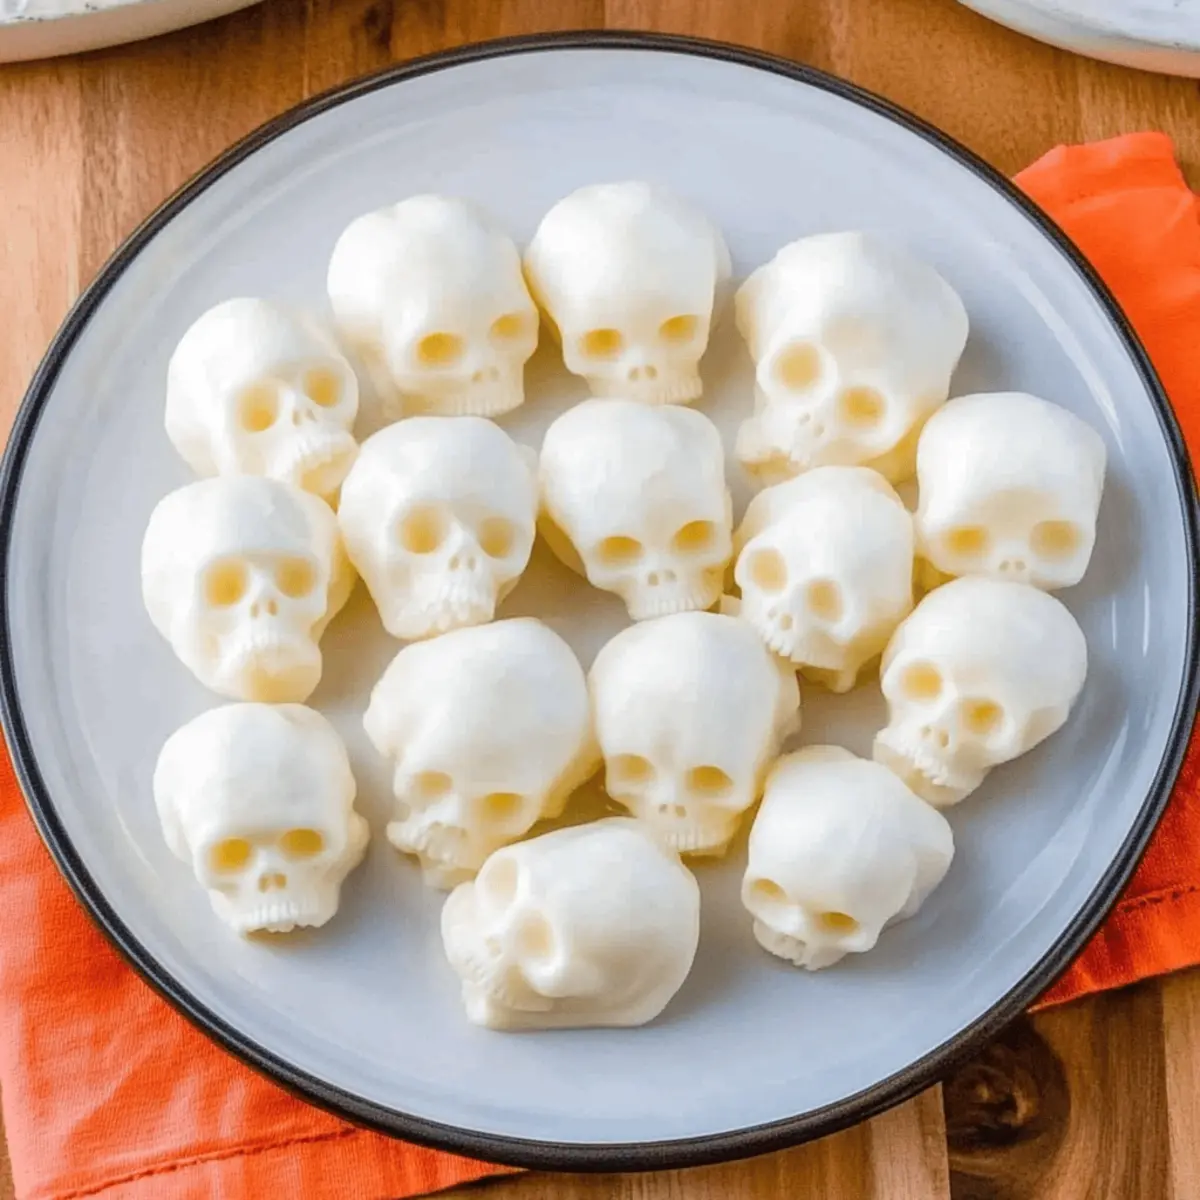
These delightful mozzarella cheese skulls are not only fun to make but also a delicious way to celebrate Halloween!
Step‑by‑Step Instructions for Mozzarella Cheese Skulls
Step 1: Preheat the Oven
Begin by preheating your oven to 350°F (175°C). This temperature is perfect for achieving the ideal softness in your mini mozzarella balls. As the oven warms up, ensure you have your silicone skull mold ready and clean, as this is where the magic of transforming mozzarella cheese into spooky skulls will take place.
Step 2: Prepare the Mozzarella
Take the mini mozzarella balls and gently blot them with a paper towel to remove any excess moisture. This step is crucial, as drier mozzarella will shape better and prevent sogginess when baked. You want the mozzarella to stay firm enough to mold without melting completely.
Step 3: Fill the Mold
Place one mini mozzarella ball into each chamber of the silicone skull mold. Aim for an even distribution to create uniform skull shapes. Make sure the mozzarella is slightly pressed down so it retains its shape during the baking process, enhancing the overall appearance of your Mozzarella Cheese Skulls.
Step 4: Bake the Mozzarella
Carefully place the filled mold into the preheated oven and bake for 8-10 minutes. Keep a close eye on them; you want the mozzarella to be soft but not bubbling or fully melted. The balls should slightly spread to resemble skulls while maintaining their distinct shapes, creating spooky forms for your Halloween platter.
Step 5: Shape the Skulls
Once baked, remove the mold from the oven and let it cool for a minute. Using the back of a spoon, gently press down on the softened mozzarella in each skull mold to create defined features. This step will define the skull shapes further, adding to their whimsical yet eerie appeal.
Step 6: Remove Excess Moisture
If you notice any moisture pooling in the molds, use a paper towel to blot it away gently. This will help maintain the texture and integrity of your Mozzarella Cheese Skulls. It’s essential to ensure they won’t be too watery before you proceed to the next step, as a dry finish will enhance their flavor and presentation.
Step 7: Chill the Skulls
Place the mold in the refrigerator for about 10 minutes to help the mozzarella cheese skulls firm up. Chilling them allows the shapes to set properly, making them much easier to unmold. This cooling period is perfect for tidying up your workspace or preparing your serving dishes!
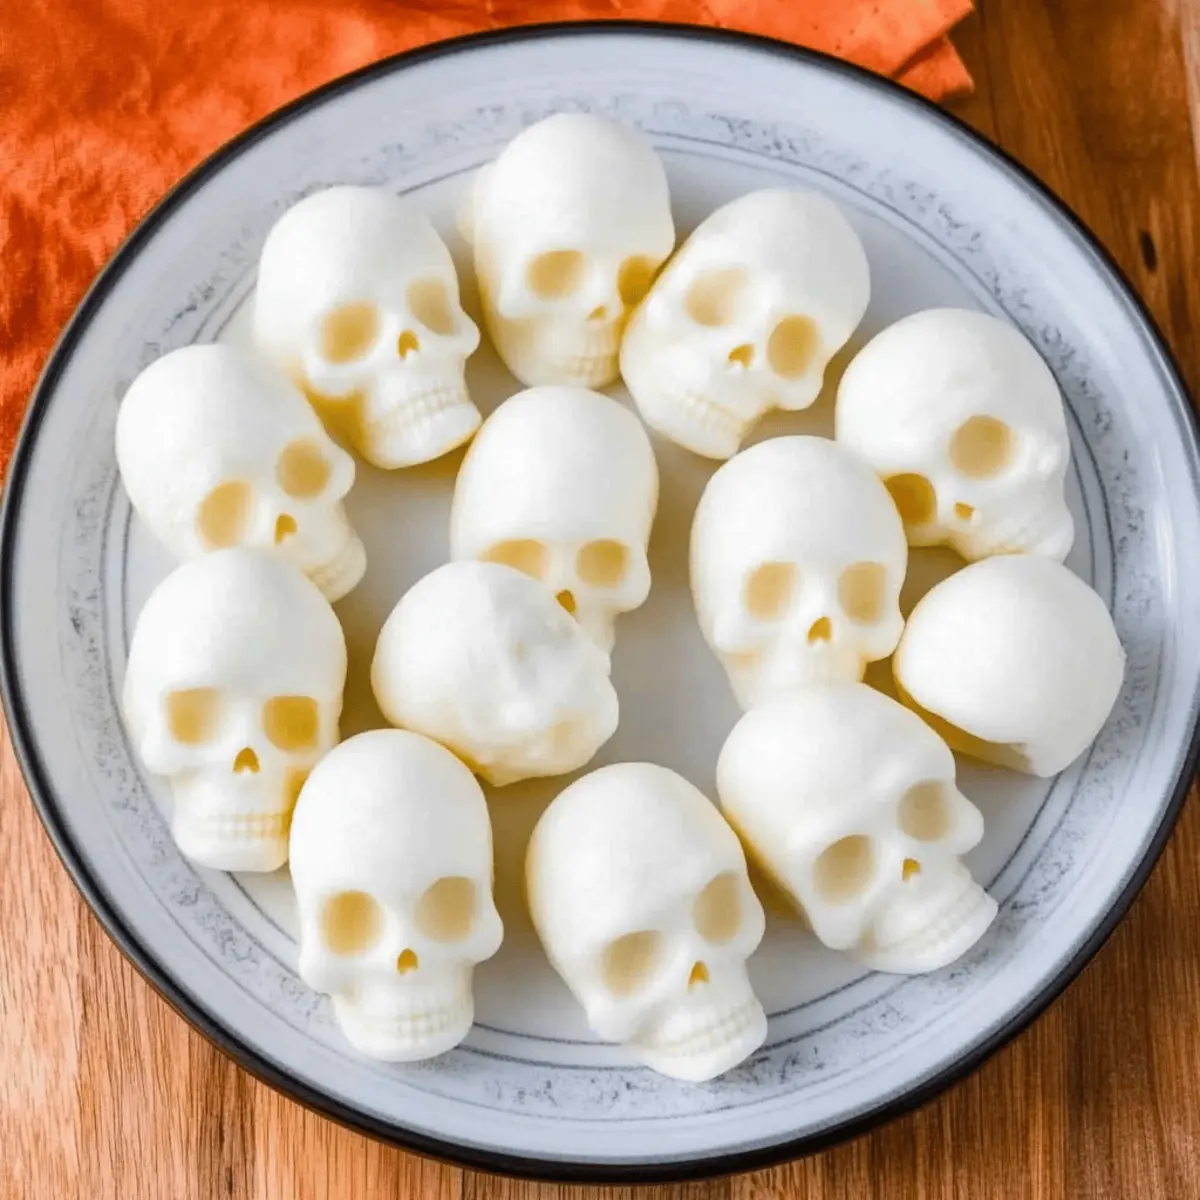
Step 8: Unmold and Serve
Carefully invert the mold over a clean plate and gently press the back to release each skull. With a bit of care, your Mozzarella Cheese Skulls should pop out easily, showcasing their spooky shape. Now, you’re ready to display them on a festive platter alongside delicious dips like balsamic glaze or green pesto for a shimmering Halloween treat!
Make Ahead Options
These Mozzarella Cheese Skulls are perfect for meal prep, allowing you to get a jump on your Halloween festivities! You can prepare the skulls up to 24 hours in advance by following the initial steps: preheat the oven, mold the mozzarella, and bake them. After cooling and shaping, store the unmolded cheese skulls in an airtight container in the refrigerator. Ensure they’re well-blotted to maintain their quality and prevent excess moisture. When you’re ready to serve, simply unmold and arrange them on a festive platter. With these make-ahead tips, you’ll spend less time in the kitchen and more time enjoying the celebration with your loved ones!
Expert Tips for Making Mozzarella Cheese Skulls
-
Proper Drying: Ensure mozzarella balls are thoroughly dried before use; excess moisture can interfere with shaping and baking, resulting in soggy cheese skulls.
-
Non-Stick Advantage: Lightly spray the silicone skull mold with non-stick cooking spray to help with easier removal of the mozzarella cheese skulls after baking.
-
Monitor Baking Time: Keep a close eye as they bake; the goal is to soften the mozzarella without allowing it to melt completely. Too much time in the oven can lead to misshaped skulls.
-
Chilling Matters: Don’t skip the chilling step; refrigerating helps the mozzarella cheese skulls hold their shape more effectively and makes for a delightful presentation.
-
Flavor Boost: Consider adding herbs or spices to the mozzarella before molding. This will elevate the flavor of your mozzarella cheese skulls beyond just the mild taste.
These expert tips ensure your spooky mozzarella cheese skulls turn out perfectly at your Halloween gatherings!
How to Store and Freeze Mozzarella Cheese Skulls
Fridge: Store mozzarella cheese skulls in an airtight container in the refrigerator. They’ll maintain optimal freshness for up to 2 days, allowing you to enjoy them as Halloween snacks.
Freezer: While it’s best to consume mozzarella cheese skulls fresh, you can freeze them in a single layer on a baking sheet for about an hour. Once firm, transfer them into a freezer-safe bag for up to 1 month.
Thawing: To enjoy frozen cheese skulls, thaw them overnight in the fridge before serving. This gentle approach helps retain their texture and flavor.
Reheating: If needed, gently reheat the thawed cheese skulls in the oven at 350°F (175°C) for about 5-7 minutes to restore their softness without melting.
Mozzarella Cheese Skulls Variations
Get ready to unleash your creativity in the kitchen with these delightful twists for your mozzarella cheese skulls!
- Herb-Infused: Mix in dried herbs like oregano or basil for a burst of flavor. This subtle enhancement makes a delicious difference that pairs beautifully with dips.
- Spicy Kick: Add a pinch of crushed red pepper flakes to the mozzarella for a fiery surprise. The heat adds excitement to the creamy cheese, making these treats even more enticing for spice lovers!
- Colorful Edible Dye: Use food-safe coloring to dye the mozzarella different shades for a vibrant platter. Your cheese skulls will be an eye-catching centerpiece at any Halloween gathering, delighting both kids and adults alike!
- Sweet Surprise: Incorporate a few drops of truffle oil or flavored vinegars for an unexpected taste twist. This unique pairing elevates the flavor profile and takes your cheese skulls to new culinary heights.
- Mini Skull Sandwiches: Shape the mozzarella into larger skulls for sandwiches, placing them between slices of your favorite bread. These spooky sandwiches are fun for lunch or snacks, making Halloween meals even more festive!
- Cheesy Variations: Experiment with different cheeses, such as goat cheese or feta, for added creaminess and flavor. Mixing cheeses can create a uniquely delicious combo that impresses your guests!
- Glazed Delights: Consider glazing your mozzarella skulls with a honey-balsamic reduction for a touch of sweet and savory. This makes each bite incredibly flavorful and is sure to be a hit!
- Accompaniment Ideas: Serve your mozzarella skulls alongside vibrant dips like spicy harissa or roasted red pepper hummus. These delightful additions can really ramp up the flavor experience for your guests.
With these fun variations and little twists, your mozzarella cheese skulls are sure to be a highlight of your festive celebrations! Dive deeper into deliciousness by pairing them with delightful sides like our Crockpot Cheeseburgers or delicious Strawberry Cheesecake Bars. Happy cooking!
What to Serve with Spooky Mozzarella Cheese Skulls?
Create the perfect Halloween spread that captivates both the eyes and the palate!
-
Creamy Tomato Soup: The rich flavors and velvety texture make this soup a comforting pairing for the cheesy skulls, enhancing their fun presentation. Imagine dipping each skull into this warm, delightful concoction.
-
Garlic Breadsticks: The crispy exterior and soft, buttery interior contrast beautifully with the creamy mozzarella, providing a satisfying bite alongside.
-
Mixed Green Salad: Fresh greens topped with colorful veggies add a refreshing balance to the richness of the cheese skulls, making your meal feel light and festive.
-
Balsamic Glaze: Drizzle this tangy-sweet sauce over the mozzarella skulls for an elevated taste experience that complements their creamy texture perfectly.
-
Savory Pumpkin Hummus: This seasonal spread adds a touch of earthy flavor while maintaining the Halloween spirit, creating a colorful dip for your skulls.
-
Crisp Apples: For an unexpected twist, serve sliced apples on the side. Their crunch and sweetness contrast the creamy cheese and make for delightful bites.
Each of these pairings will elevate your Halloween gathering while making your spooky mozzarella cheese skulls the star of the show!
Mozzarella Cheese Skulls Recipe FAQs
What should I look for when selecting mini mozzarella balls?
Choose mini mozzarella balls that are firm to the touch and without dark spots or excessive moisture. Fresh balls should have a smooth surface and a mild, creamy scent. If you’ve got access to ciliegine mozzarella, that’s a great alternative, especially for a sweeter bite!
What is the best way to store mozzarella cheese skulls?
Store your mozzarella cheese skulls in an airtight container in the refrigerator for up to 2 days. If you notice any moisture building up within the container, use a paper towel to absorb it. This helps maintain their delightful texture until you’re ready to serve!
Can I freeze mozzarella cheese skulls?
Absolutely! To freeze mozzarella cheese skulls, place them in a single layer on a baking sheet and freeze for about 1 hour. Once firm, transfer them into a freezer-safe bag, where they can last for up to 1 month. This makes them a fun treat you can prepare ahead of time!
What should I do if my mozzarella skulls don’t come out of the mold easily?
If your skulls are sticking to the mold, try lightly spraying it with non-stick cooking spray before filling it. If they’re still stubborn, gently wiggle the mold while applying light pressure to the bottom with your hands. If they still resist, pop the mold in the freezer for 5-10 minutes to firm them up slightly, making removal easier.
Are there any dietary considerations for mozzarella cheese skulls?
If you’re serving to guests with dietary restrictions, remember that mozzarella is a dairy product. For lactose-intolerant individuals, look for lactose-free mozzarella alternatives. And if you’re catering to vegans, consider using plant-based mozzarella options available in most grocery stores, ensuring your spooky treats are enjoyed by everyone!
How can I enhance the flavor of my mozzarella cheese skulls?
To elevate the flavor, you can mix in dried herbs, like oregano or basil, directly into the mozzarella before molding them into skulls. Alternatively, feel free to drizzle an herb-infused olive oil over the finished skulls for an extra boost that complements their creamy texture beautifully!
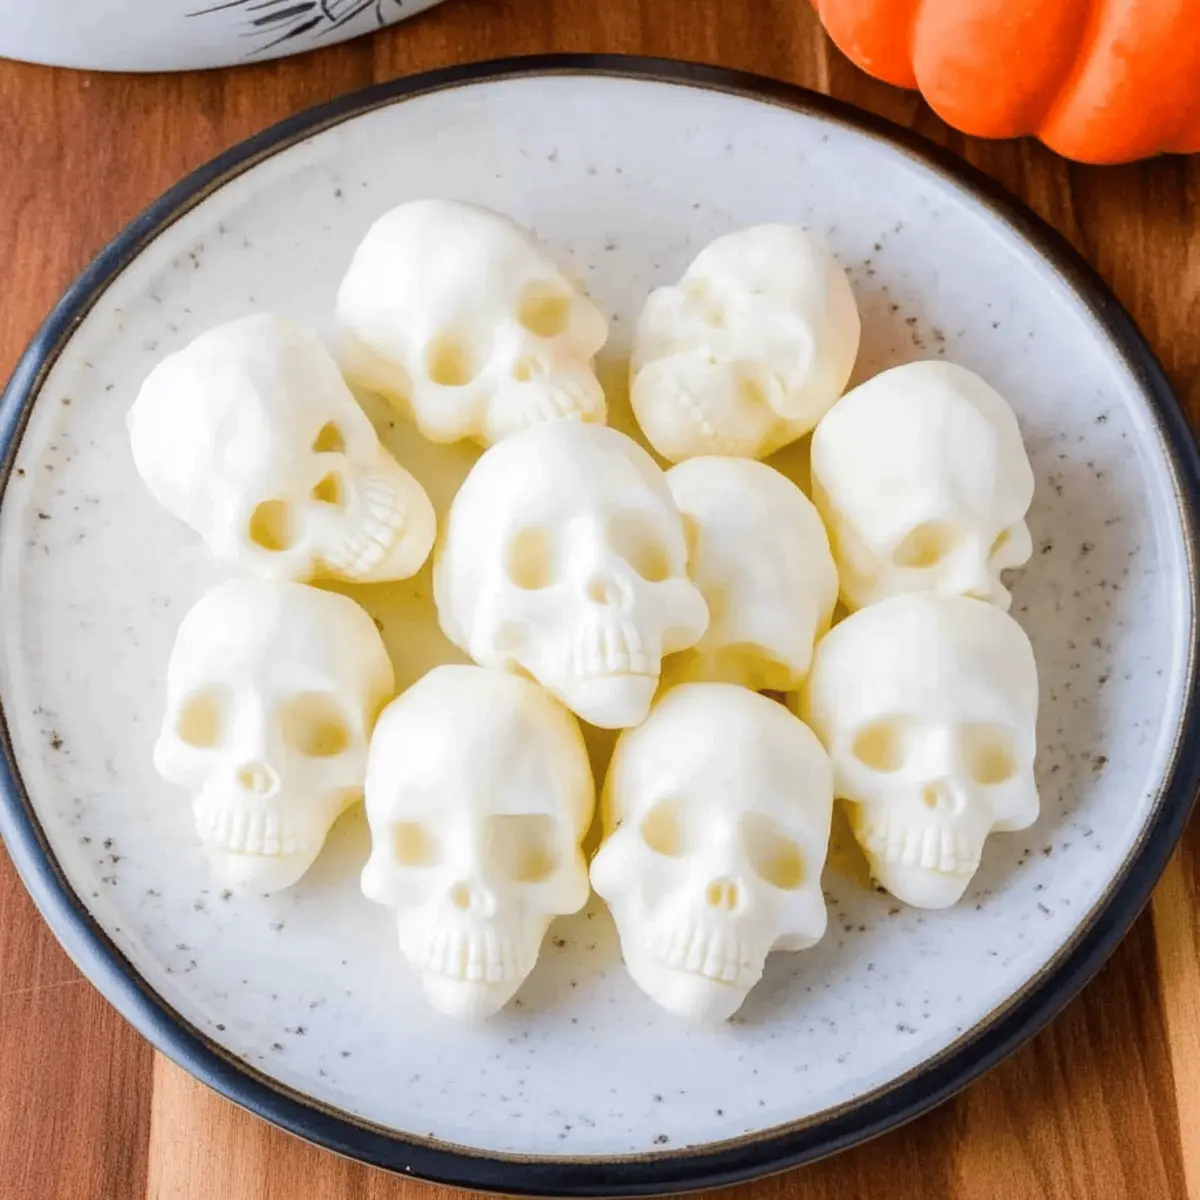
Delightful Mozzarella Cheese Skulls for Halloween Fun
Ingredients
Equipment
Method
- Preheat your oven to 350°F (175°C).
- Blot the mini mozzarella balls with a paper towel to remove excess moisture.
- Place one mini mozzarella ball into each chamber of the silicone skull mold.
- Bake the filled mold in the preheated oven for 8-10 minutes.
- Remove from oven and let cool for a minute, then press down using the back of a spoon to define features.
- Blot away any excess moisture pooling in the molds.
- Chill the mold in the refrigerator for about 10 minutes.
- Invert the mold over a clean plate to release each skull.