


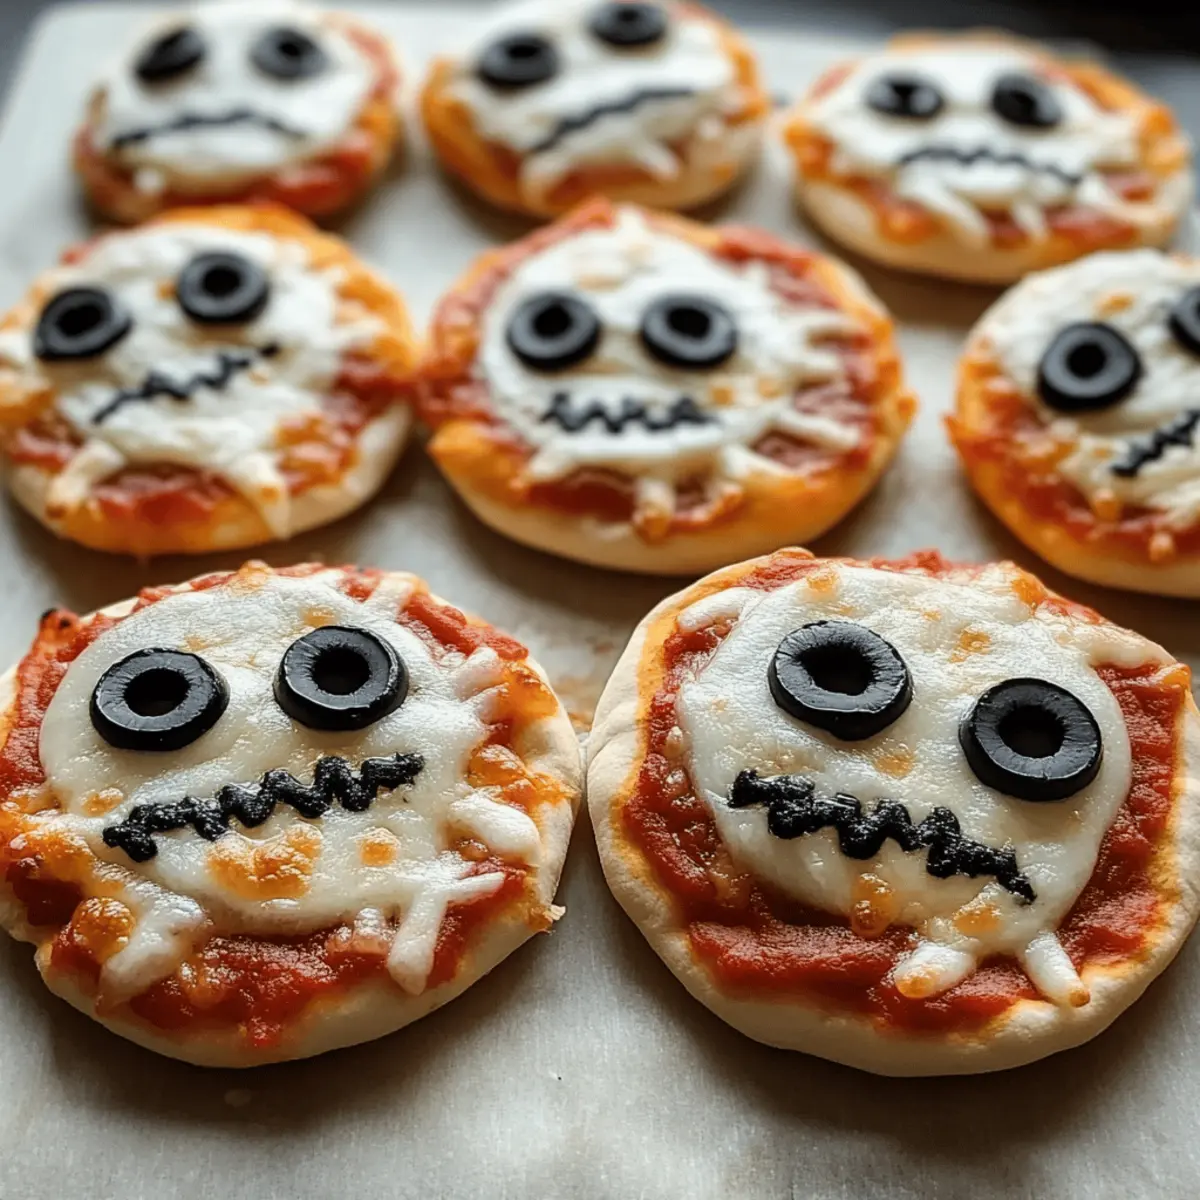
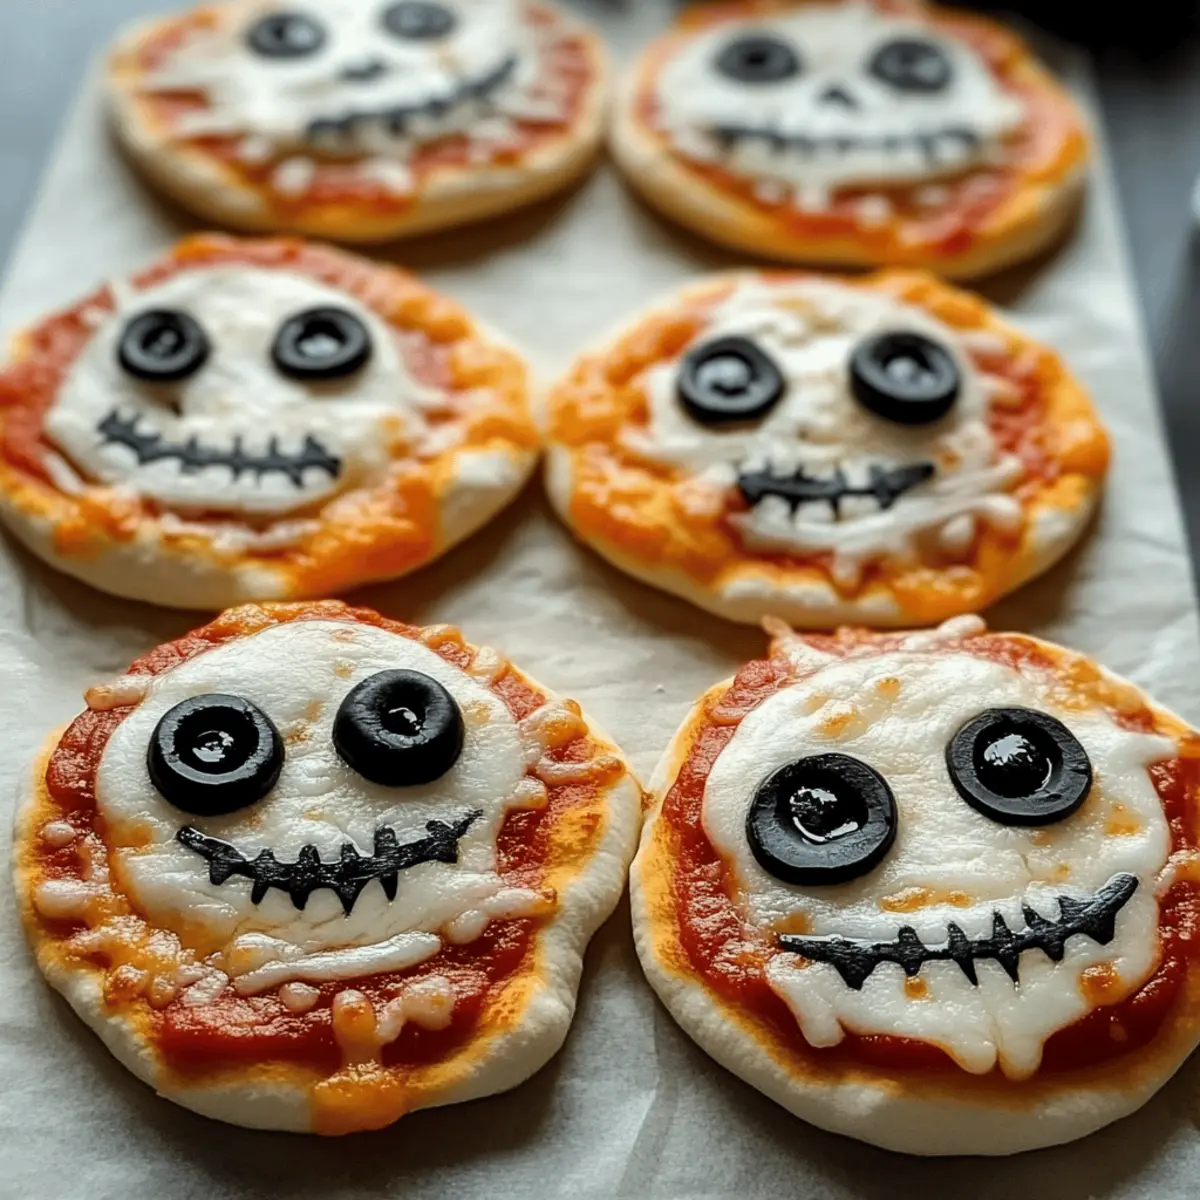
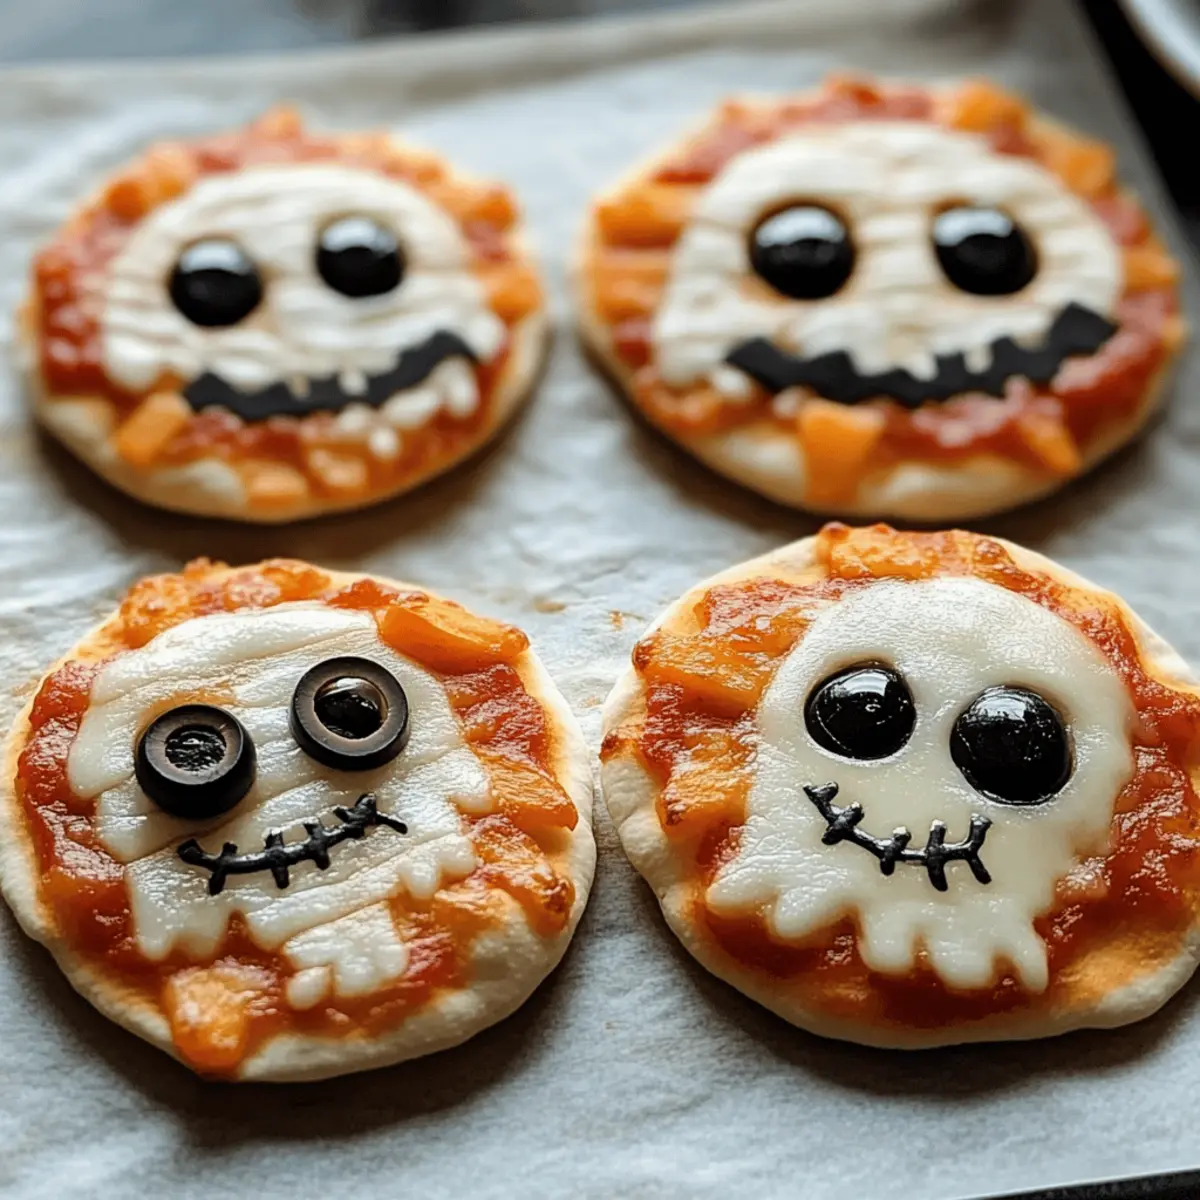
Amidst the rustling leaves and the crisp autumn air, I found myself dreaming of a Halloween bash decked out in fun, playful eats. Enter my latest obsession: Halloween Mini Pizzas! These delightful little creations are not just super easy to whip up; they’re a canvas for your culinary imagination. Whether you’re crafting ghostly faces, mummy wraps, or mischievous jack-o’-lanterns, everybody can personalize their own spooky masterpiece. Not only do these mini pizzas make for a fantastic party treat, but they also offer a fun way to engage the little ones in the kitchen. Imagine the joy on their faces as they pile on the toppings! So, are you ready to turn your kitchen into a haunted pizzeria? Let’s dive into these spooktacular recipes!
Why Are Mini Halloween Pizzas So Fun?
Customization is at the heart of these festive treats! With endless possibilities for toppings, everyone can join in the fun and create their own unique pizza. Quick and Easy to prepare, these mini delights come together in just minutes, making them perfect for last-minute Halloween gatherings. Kid-Friendly fun means they’re not just tasty but an exciting activity that brings families together in the kitchen. Plus, vegetarian options mean everyone can enjoy spooky pizza night! For more Halloween-themed inspiration, consider checking out these Patriotic Mini Cheesecakes to complete your festive menu! Enjoy the laughter and memories these mini pizzas will create at your party!
Halloween Mini Pizzas Ingredients
• Gather all your spooky supplies to create delightful Halloween Mini Pizzas that will thrill everyone!
For the Crust
- Mini Pizza Crusts – Opt for store-bought for a quick assembly or make your own for a homemade touch.
For the Sauce
- Pizza Sauce – Provides a flavorful base; swap with garlic butter or pesto for a delightful twist.
For the Cheese
- Shredded Mozzarella Cheese – Offers that gooey goodness; combine with other cheeses for a richer flavor.
- Mozzarella Cheese Slices – Perfect for cutting into fun ghost shapes; use cookie cutters for creative designs!
For the Toppings
- Pepperoni – Adds a savory kick; feel free to switch it up with veggies for a vegetarian feast.
- Black Olives – Ideal for creating spooky “eyes”; capers or pimentos work as fun alternatives.
- Orange Bell Pepper – Great for crafting pumpkin faces; consider using carrot or zucchini shapes for added variety.
Step‑by‑Step Instructions for Halloween Mini Pizzas
Step 1: Preheat the Oven
Start by preheating your oven to 400°F (200°C) to get it ready for baking those delightful Halloween Mini Pizzas. Line a baking sheet with parchment paper to ensure a non-stick surface for your mini pizza crusts. This preparation will help in achieving a crispy crust and makes clean-up a breeze!
Step 2: Arrange the Crusts
Place the mini pizza crusts evenly spaced on your prepared baking sheet. Using a spoon or spatula, generously spread pizza sauce onto each crust, making sure to cover the surface without overdoing it. This flavorful base will bring all your toppings together while creating that classic pizza flavor everyone loves.
Step 3: Create the Ghost Pizzas
For a spooky twist, cut mozzarella cheese slices into ghost shapes using cookie cutters or a knife. Carefully arrange the ghost cutouts on top of the sauced mini pizzas, adding black olive pieces as eyes. These ghostly figures will surely add an eerie charm to your Halloween Mini Pizzas!
Step 4: Assemble the Mummy Pizzas
Next, take your shredded mozzarella cheese and layer it in criss-cross patterns over the sauce on the pizza crusts designated for mummies. Leave space in the middle to place black olive slices for the eyes. This fun design resembles classic mummies while packing in that delicious cheesy flavor!
Step 5: Add the Jack-o’-Lantern Faces
To make jack-o’-lantern pizzas, sprinkle shredded mozzarella cheese on the crusts, covering the sauce thoroughly. Then, cut orange bell peppers into shapes for the eyes and mouth, arranging them creatively to mimic a spooky jack-o’-lantern face on each pizza. This will not only look festive but will also provide a tasty crunch!
Step 6: Bake the Pizzas
Transfer the baking sheet into the preheated oven and bake your creative Halloween Mini Pizzas for 8-10 minutes. Keep an eye on them as the cheese melts and the crust turns golden brown. Once done, remove them from the oven and let them cool for a minute while devising a plan for serving your spooky treats!
Step 7: Serve and Enjoy
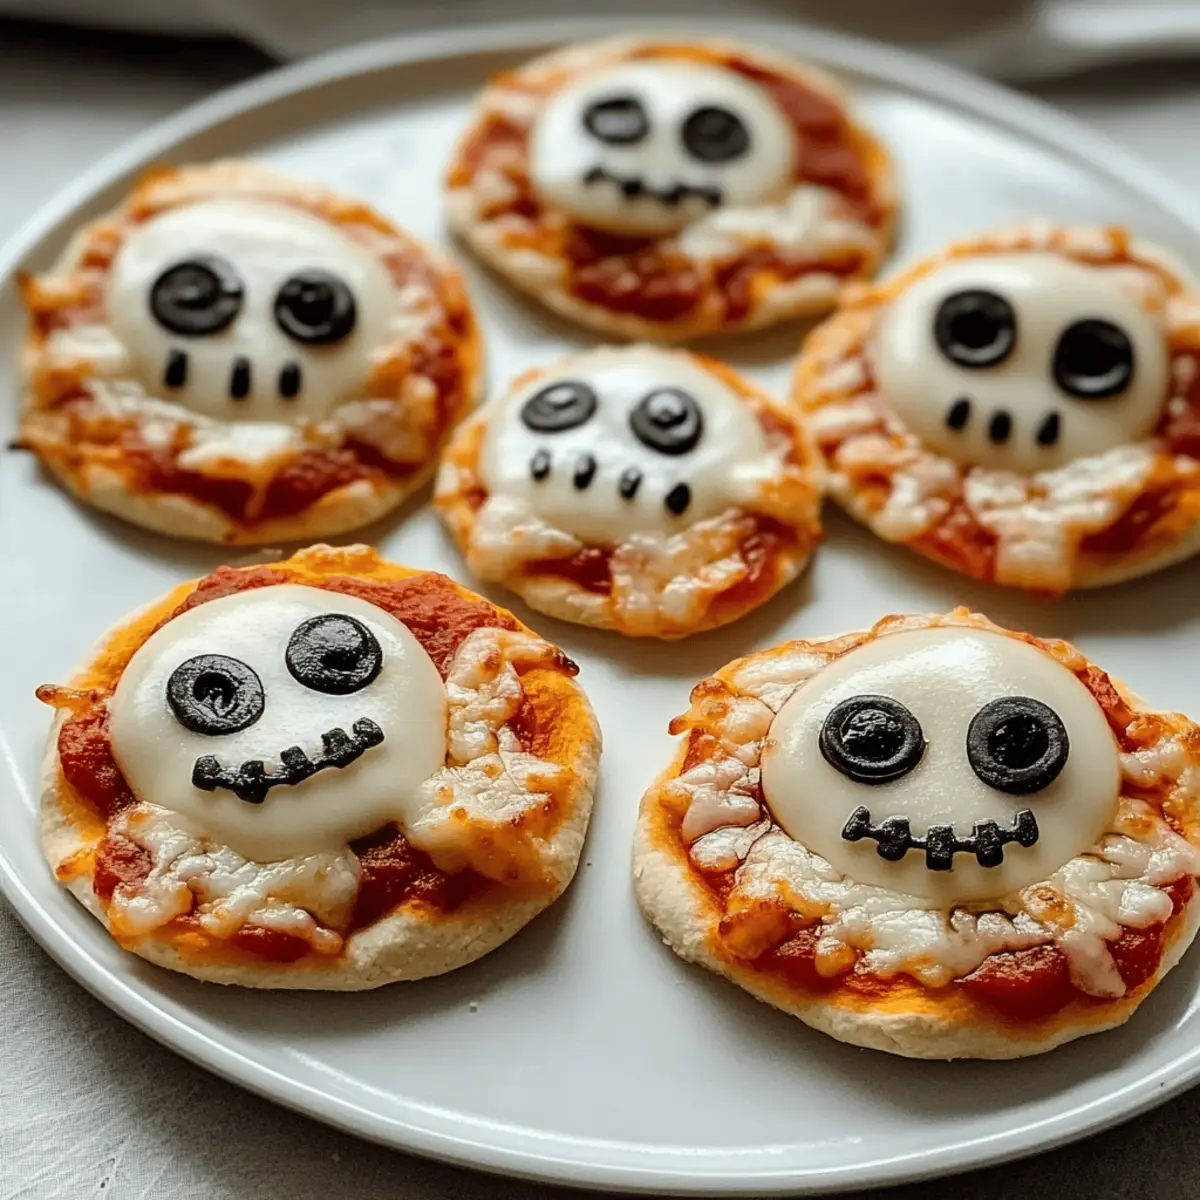
Once your Halloween Mini Pizzas have cooled slightly, they are ready to be served warm. Gather your family or friends and watch as the delightful designs spark joy and excitement. Enjoy this festive and fun dish together, and celebrate the creativity behind each spooky pizza masterpiece!
Expert Tips for Halloween Mini Pizzas
- Creative Toppings: Use a variety of colorful veggies to create unique spooky designs, preventing a dull appearance. Don’t be afraid to experiment with flavors in your Halloween Mini Pizzas!
- Cheese Choices: Mix different cheeses for a richer taste, such as cheddar or a Mexican blend, enhancing the delightful gooeyness.
- Watch Baking Time: Keep an eye on your pizzas while baking to avoid overcooking. A quick broil at the end can add a golden finish!
- Use Parchment Paper: Line your baking sheet with parchment paper to prevent sticking; this also allows for easy removal and cleanup.
- Customize for Dietary Needs: Consider gluten-free crusts or vegan cheese to make Halloween Mini Pizzas accessible for everyone.
Halloween Mini Pizzas: Exciting Variations
Feel free to get creative and make these Halloween Mini Pizzas uniquely yours with these tasty ideas!
-
Cheese Swap: Try using cheddar or a blend of different cheeses for a bold flavor twist that will surprise your guests.
-
Sauce Alternatives: Instead of traditional pizza sauce, experiment with barbecue sauce or pesto for a fun and unexpected taste.
-
Veggie Fun: Add colorful vegetables like sliced bell peppers and zucchini to enhance flavor and nutrition, while keeping it visually appealing.
-
Sweet Treats: Create a sweet version using fruit toppings like banana slices and chocolate, turning your pizzas into a delightful dessert!
-
Spicy Kick: For those who enjoy heat, incorporating jalapeños or a sprinkle of red pepper flakes will elevate the flavor profile for your daring guests.
-
Gluten-Free Crusts: Utilize gluten-free pizza crusts or cauliflower crusts to cater to gluten-sensitive friends without compromising on deliciousness.
-
Theme It Up: Craft creative designs with toppings to form spooky faces, enhancing the holiday spirit while keeping everyone entertained in the kitchen.
-
Dairy-Free Option: Use vegan cheese and sauces for a dairy-free delight that everyone at the gathering can enjoy, proving that Halloween treats can be inclusive too!
With these variations, you can ensure that your Halloween Mini Pizzas are not just tasty but also engaging, inviting everyone to gather around and share in the fun! If you want more festive ideas, check out these delicious Patriotic Mini Cheesecakes to sweeten your spooky celebrations!
Make Ahead Options
These Halloween Mini Pizzas are perfect for busy cooks looking to save time during the festive season! You can prepare the mini pizza crusts and assemble the toppings (excluding the cheese) up to 24 hours in advance, storing them in an airtight container in the refrigerator to maintain freshness. The individual components, like the cut vegetables and cheese, can be prepped and stored separately for up to 3 days. When you’re ready to bake, simply assemble the pizzas by adding the cheese on top and pop them in the oven. This way, you’ll have delicious, fun, and customizable treats ready to delight your guests with minimal effort!
How to Store and Freeze Halloween Mini Pizzas
Fridge: Store leftover Halloween Mini Pizzas in an airtight container for up to 3 days to maintain their freshness and flavor. Reheat them in the oven for crispy results!
Freezer: If you want to freeze your mini pizzas, wrap them individually in plastic wrap, then place them in a freezer-safe bag. They can stay frozen for up to 2 months.
Reheating: When ready to enjoy, reheat frozen pizzas in the oven at 375°F (190°C) for about 15-20 minutes or until heated through. Microwaving is quicker but may result in a softer crust.
Make-Ahead Tip: Prepare the toppings and crusts in advance, assembling them just before baking for a delicious, fresh pizza night!
What to Serve with Spooky Mini Halloween Pizzas
As you gather around for a hauntingly delightful meal, consider how to enhance the experience with vibrant accompaniments that complement every cheesy bite.
-
Crispy Garlic Bread: The buttery, garlic-infused flavor of crispy bread pairs perfectly with the gooey cheesiness of the pizzas, allowing for a satisfying crunch.
-
Seasonal Salad: A fresh salad with roasted pumpkin seeds and crisp autumn greens brightens up the meal while balancing the heaviness of the pizzas.
-
Witch’s Brew Drink: Serve a playful punch made with grape juice and sparkling water. Its eerie hue captures the Halloween spirit, making sips feel festive!
-
Spooky Fruit Platter: Offer a colorful array of sliced fruits like oranges, grapes, and apples to cleanse the palate and add a sweet, fresh finish.
-
Mini Corn Dogs: These bite-sized treats bring a fun twist to your gathering, adding an indulgent, savory element that pairs well with the pizzas.
-
Dessert Pizza: Top off the spooky feast with a dessert pizza, featuring a sweet crust layered with Nutella and decorated with fruits, offering a delightful contrast to your savory treats.
-
Hot Chocolate: Serve warm mugs of rich hot chocolate, perhaps swirled with marshmallows, to add a cozy, comforting touch, perfect for enjoying as the night cools.
-
Homemade Pumpkin Spice Muffins: These delightful treats can be served as a sweet side, filling the air with seasonal aromas while echoing the warm flavors of autumn.
Halloween Mini Pizzas Recipe FAQs
How do I choose the best mini pizza crusts?
When selecting mini pizza crusts, look for ones that are golden and crispy. If you’re making them at home, ensure the dough is soft and pliable. I often recommend a thin crust for a crispier bite, which complements the toppings wonderfully!
How should I store leftover mini pizzas?
Absolutely! To keep your Halloween Mini Pizzas fresh, store them in an airtight container in the refrigerator for up to 3 days. Just reheat them in the oven at 350°F (175°C) for about 5-8 minutes until they’re warmed through and the crust gets nice and crispy again.
Can I freeze Halloween Mini Pizzas?
Yes, you can! For freezing, wrap each assembled mini pizza individually in plastic wrap, then place them into a freezer-safe bag or container. They’ll stay good for up to 2 months. When you’re ready to eat, preheat your oven to 375°F (190°C) and bake them for 15-20 minutes or until heated through.
What should I do if the cheese isn’t melting properly while baking?
If the cheese isn’t melting as expected, it’s likely because the oven isn’t hot enough. Make sure your oven is preheated fully before adding the pizzas. Another tip is to broil them for 1-2 minutes at the end of baking to achieve that perfect gooey texture. Just keep a close eye to prevent burning!
Are there any dietary considerations for kids with allergies?
Definitely! When making Halloween Mini Pizzas, consider potential allergies by using gluten-free crusts and dairy alternatives if necessary. Always check labels for sauces and cheese, and feel free to substitute veggies for pepperoni to keep it completely vegetarian or vegan-friendly!
What’s a fun topping alternative for kids who don’t like olives?
Very! If olives aren’t a hit with your kids, try using sliced bell peppers or little pieces of cooked sausage for the eyes. You can also use capers for a tangy flavor that still adds a whimsical touch to the spooky designs!
Spooky Halloween Mini Pizzas for a Fun Family Feast
Ingredients
Equipment
Method
- Preheat your oven to 400°F (200°C). Line a baking sheet with parchment paper.
- Arrange the mini pizza crusts on the baking sheet. Spread pizza sauce on each crust.
- Cut mozzarella cheese slices into ghost shapes and arrange on the pizzsa. Add black olives as eyes.
- Layer shredded mozzarella cheese in criss-cross patterns on the mummies. Leave space for black olives.
- Sprinkle shredded mozzarella cheese on pizza crusts and use bell peppers for jack-o'-lantern faces.
- Bake the mini pizzas for 8-10 minutes until cheese melts and crust is golden.
- Let the pizzas cool for a minute before serving.