

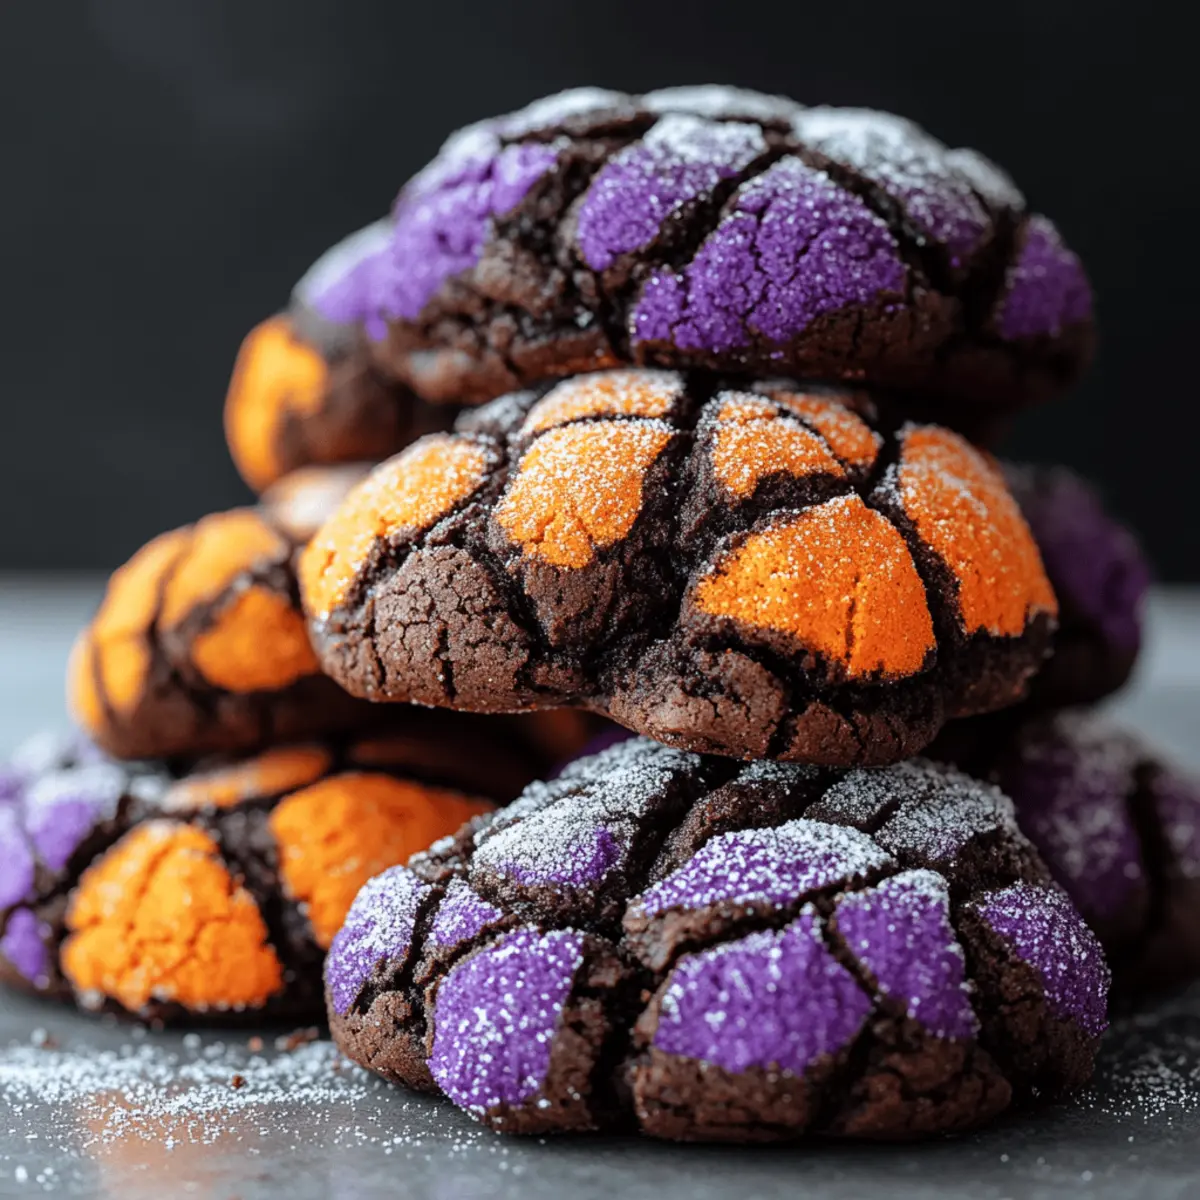
As October whispers its magic, my kitchen transforms into a whimsical wonderland filled with the sweet scent of spookiness. These Halloween Crinkle Cookies are the stars of this festive show—soft, chewy delights cloaked in a snow-white layer of powdered sugar, they invite playful creativity as you choose vibrant colors like orange, purple, or classic black. The best part? These treats are not only an easy and enjoyable baking project, but they also make for a memorable addition to any Halloween gathering, delighting both novice bakers and seasoned pros alike. Whether you’re crafting spooky platters for kiddos or indulging in them yourself, these cookies promise a fun twist on tradition. Curious to discover how to create these enchanting bites? Let’s dive in!
Why Are Halloween Crinkle Cookies Special?
Easy and Fun: These Halloween Crinkle Cookies combine simple ingredients with a playful twist, making them perfect for bakers of all skill levels.
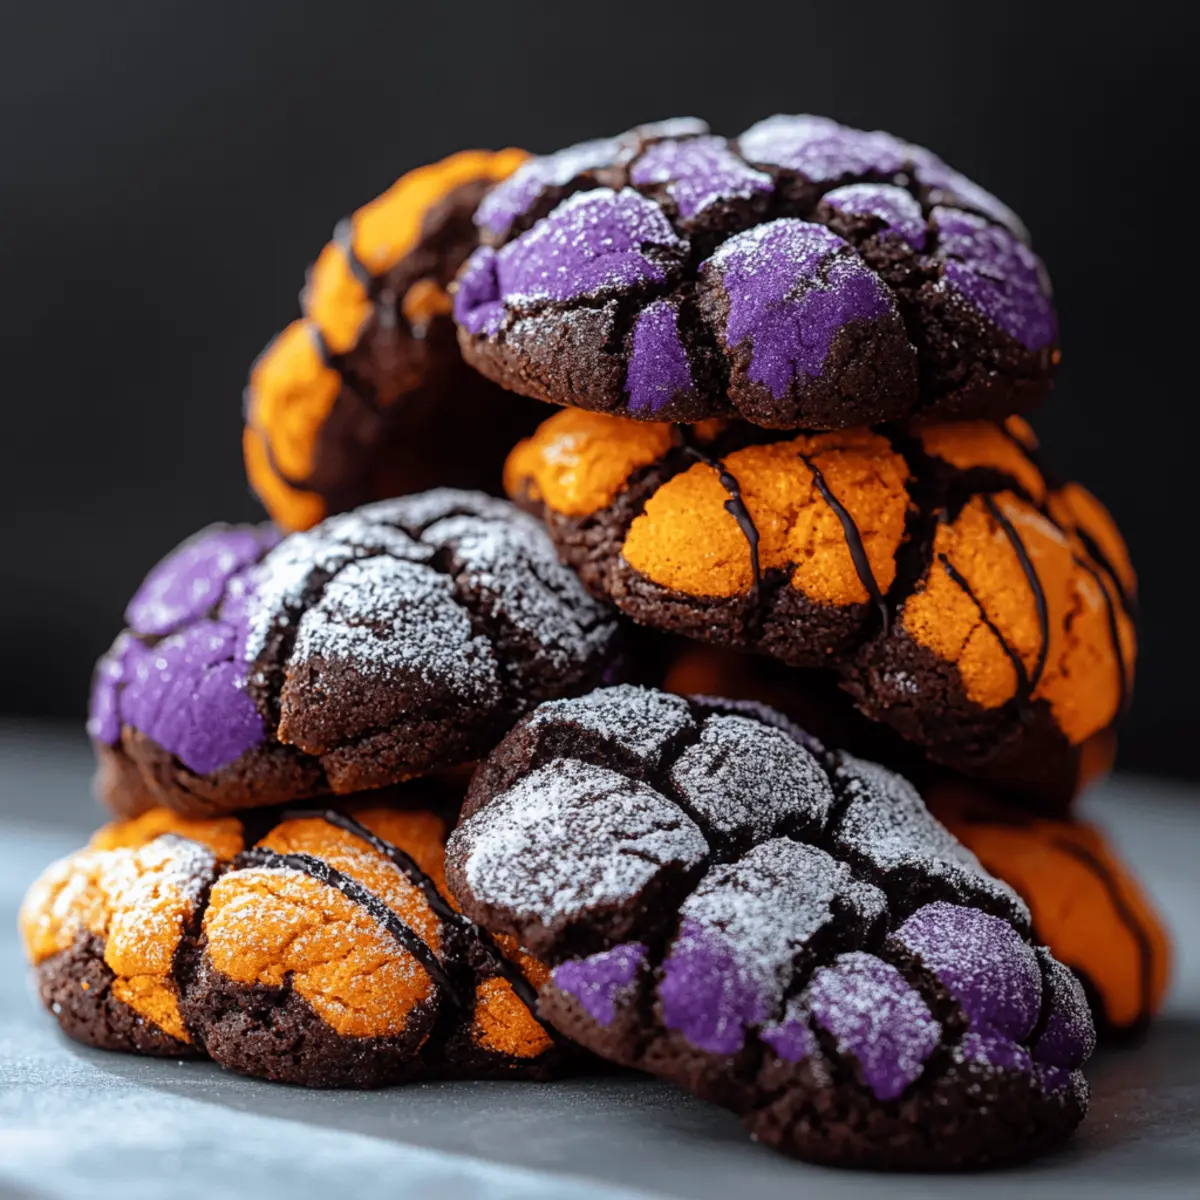
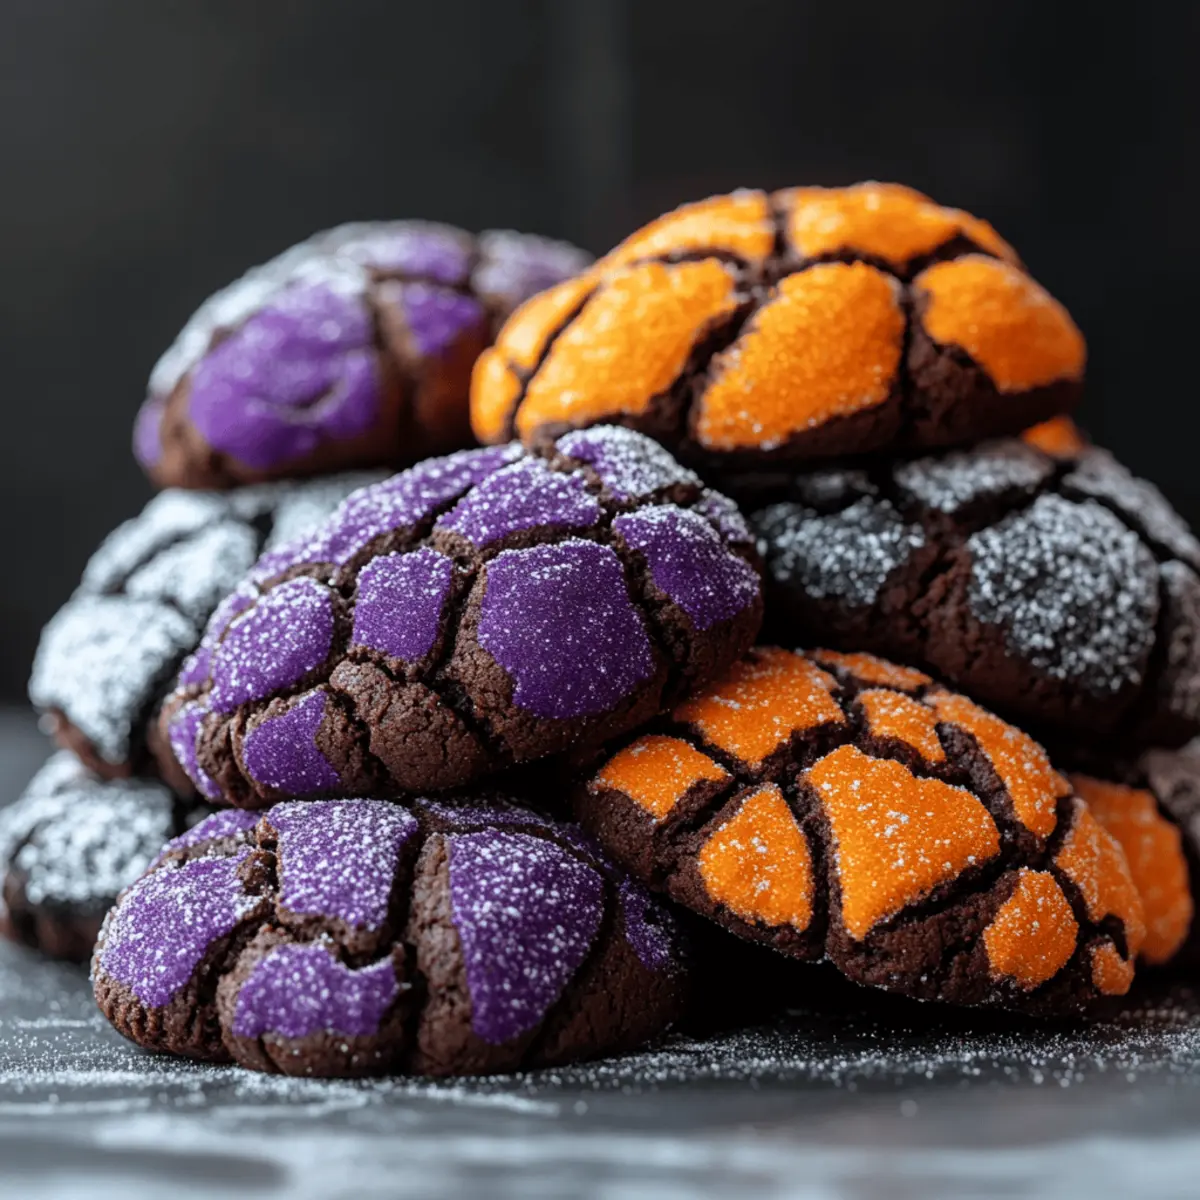
Visually Appealing: Adorned in powdered sugar and colored with vibrant hues, they’re not just tasty—they’re a festive feast for the eyes!
Soft, Chewy Texture: Enjoy a delightful fudgy interior that melts in your mouth, complemented by a slight crispness on the outside.
Crowd-Pleaser: Whether for a Halloween party or a cozy family treat, these cookies are sure to impress.
Versatile Variations: Experiment with different colors and flavors—try using matcha for a spooky green version or rolling them in sprinkles!
Looking for more cookie inspiration? Check out my recipes for Birthday Cake Cookies or those delightful Coffee Cake Cookies to satisfy your sweet tooth!
Halloween Crinkle Cookies Ingredients
Unleash your creativity with these fun, festive treats!
For the Cookie Dough
- All-Purpose Flour – Provides the structure; a gluten-free blend works great as a substitute.
- Unsweetened Cocoa Powder – Delivers a rich chocolate flavor; make sure to sift if lumpy for a smooth texture.
- Baking Powder – Acts as a leavening agent for that perfect rise; ensure it’s fresh for the best results.
- Salt – Enhances the sweetness; essential for balancing all flavors.
- Granulated Sugar – Sweetens the dough; coconut sugar can give a deeper flavor if preferred.
- Vegetable Oil – Adds moisture and richness; melted coconut oil is a delicious swap!
- Eggs – Help bind the ingredients together and provide moisture; room temperature eggs blend better.
- Vanilla Extract – Boosts the flavor; try almond extract for a unique twist.
- Gel Food Coloring – Essential for achieving vibrant colors like orange, purple, or black; avoid liquid coloring to keep the dough’s consistency.
For the Coating
- Powdered Sugar – Creates that enchanting snowy finish; rolling in powdered sugar again before baking makes the cookies look even more magical.
These Halloween Crinkle Cookies are not only a delightful treat, but they also bring a certain charm to your Halloween festivities!
Step‑by‑Step Instructions for HALLOWEEN CRINKLE COOKIES
Step 1: Prepare Dry Ingredients
In a medium bowl, whisk together 1 cup of all-purpose flour, 1/3 cup of sifted unsweetened cocoa powder, 1 teaspoon of baking powder, and a pinch of salt until well combined. This ensures an even distribution of ingredients, which is key for perfect texture. Set this mixture aside as you move on to the wet ingredients, allowing for a smoother batter later on.
Step 2: Combine Wet Ingredients
In a larger bowl, using a hand mixer, beat together 1 cup of granulated sugar and 1/3 cup of vegetable oil until it forms a smooth mixture. Next, add 2 room temperature eggs and 1 teaspoon of vanilla extract, mixing until fully incorporated. For a splash of color, incorporate your desired gel food coloring during this stage, blending until you achieve a vibrantly spooky hue perfect for HALLOWEEN CRINKLE COOKIES.
Step 3: Combine Mixtures
Gradually fold the dry ingredients into the wet mixture, being careful not to overmix. Use a spatula to combine until just incorporated—small flecks of flour should still be visible. This careful folding will keep your cookies soft and chewy, ensuring the fudgy interior remains intact as you work toward the next step in creating these delightful treats.
Step 4: Chill Dough
Cover the bowl with plastic wrap and refrigerate the dough for at least 1 hour, or up to 3-4 hours for the best texture. Chilling helps the flavors meld and ensures that the dough holds its shape while baking, which is essential for achieving the classic crinkled look of HALLOWEEN CRINKLE COOKIES. Feel free to prepare during this time by preheating your oven!
Step 5: Preheat Oven
About 15 minutes before you’re ready to bake, preheat your oven to 350°F (175°C). As the oven warms, line your baking sheets with parchment paper to prevent sticking and ensure easy cleanup. This step prepares you for the delicious transformation your chilled dough will soon undergo, filling your home with the essence of Halloween treats.
Step 6: Shape Cookies
Once the dough has chilled, use a tablespoon to scoop out dough portions and roll them into balls. Aim for about 1 inch in diameter for each ball, then generously coat them in powdered sugar until fully covered. This sugary exterior will create that signature snowy appearance on your HALLOWEEN CRINKLE COOKIES, signaling the delightful sweetness hidden inside.
Step 7: Bake
Space the coated balls on your prepared baking sheets, ensuring they are about 2 inches apart to allow for spreading. Bake in your preheated oven for 10–12 minutes, watching for the tops to crack while preserving a soft center. The cookies should appear set around the edges while the centers remain slightly underbaked, giving you that irresistible chewy texture.
Step 8: Cool Cookies
After baking, let the cookies cool on the baking sheet for about 5 minutes. This resting time helps them firm up a little before transferring them to a wire rack. Carefully transfer each cookie to the rack to cool completely, allowing the warm aromas to envelop your kitchen and create the perfect atmosphere for sharing these delightful HALLOWEEN CRINKLE COOKIES with family and friends.
HALLOWEEN CRINKLE COOKIES Variations & Substitutions
Feel free to get creative with these Halloween Crinkle Cookies! With a little imagination, you can make them even more delightful.
-
Gluten-Free: Swap all-purpose flour with a 1:1 gluten-free blend for a deliciously safe treat. Enjoy the same soft, chewy goodness without any gluten!
-
Coconut Sugar: Use coconut sugar instead of granulated sugar for a deeper, caramel-like flavor. This subtle change can offer a unique twist that pairs beautifully with the chocolatey base.
-
Flavor Variations: Try substituting cocoa powder with matcha for a green Halloween version. The earthy flavor complements the sweetness and adds a fun surprise!
-
Spicy Kick: Add a pinch of cayenne pepper or cinnamon for an unexpected warmth in your cookies. The heat enhances the chocolate flavor while giving your taste buds something to tingle about.
-
Sprinkled Delight: Roll the cookies in crushed candy corn or Halloween sprinkles after the powdered sugar for a festive touch. These little bits of crunch add a fun texture to the indulgently soft cookie!
-
Mini Chocolate Chips: Incorporate semi-sweet or white chocolate chips into the dough for an extra burst of sweetness. The melty bits inside each cookie will create a wonderfully gooey experience.
-
Almond Extract: Swap vanilla extract for almond extract to bring a nutty flavor melody to the cookies. The subtle richness can elevate the overall taste and make these treats stand out even more.
-
Double Dipped: For an extra snowy appearance, coat the cookies in powdered sugar twice. Not only will they look stunning, but they’ll also be irresistibly sweet!
Looking for more cookie inspiration? Check out my recipes for Style Oreo Cookies or those delightful Coffee Cake Cookies to satisfy your sweet tooth!
Make Ahead Options
These Halloween Crinkle Cookies are perfect for busy home cooks looking to save time during the Halloween rush! You can prepare the cookie dough up to 3 days in advance; simply cover the bowl tightly with plastic wrap and refrigerate it. Alternatively, roll the dough into balls and coat them in powdered sugar, then freeze the prepared cookie balls for up to 1 month. When you’re ready to bake, just place the frozen balls on a lined baking sheet and add a couple of extra minutes to the baking time. This way, you’ll have delicious, freshly baked Halloween treats on hand, just as delightful as if they were made that day!
Expert Tips for Halloween Crinkle Cookies
-
Chill the Dough: Ensure your dough is thoroughly chilled for at least 1 hour. This helps achieve the perfect crinkling effect during baking.
-
Avoid Overmixing: Mix the dry and wet ingredients just until combined. Overmixing can make the cookies tougher, losing their soft and chewy texture.
-
Use Gel Coloring: Stick with gel food coloring for vibrant hues; avoid liquid options as they can alter the dough consistency, resulting in flat cookies.
-
Double Coating Sugar: For an eye-catching snowy finish, roll the dough balls in powdered sugar twice—once before baking and again for extra visual impact!
-
Monitor Baking Time: Keep a close eye on the oven while baking. Look for cracked tops and soft centers to ensure your HALLOWEEN CRINKLE COOKIES are perfectly chewy.
What to Serve with Halloween Crinkle Cookies
As you embrace the spooky spirit of Halloween, these delightful cookies are sure to steal the spotlight—now let’s think about the perfect accompaniments!
- Chilled Milk: A classic pairing that brings out the rich chocolate flavor, helping to balance the sweetness of these cookies.
- Hot Cocoa: Cozy up with a warm cup, enhanced with whipped cream and marshmallows for a delightful autumn treat.
- Pumpkin Spice Latte: This festive drink harmonizes perfectly with the cookies’ fudgy richness, adding a touch of seasonal warmth.
- Caramel Apple Slices: The crispness of apples drizzled with warm caramel complements the soft texture of the Halloween Crinkle Cookies.
- Gummy Worms: Perfect for a fun, Halloween-themed platter, these chewy candies add a playful touch to your dessert spread.
- Spooky Cupcakes: Keep the theme going with Halloween-themed cupcakes, decorated with orange and black frosting for visual appeal.
- Candy Corn: This seasonal favorite adds a colorful crunch that contrasts nicely with the soft, chewy cookies, making it a festive snack.
- Chocolate-Dipped Pretzels: Salty meets sweet in this crunchy snack, creating a satisfying balance alongside the indulgent Halloween Crinkle Cookies.
- Fruit Salad: A fresh mix of seasonal fruits can provide a refreshing contrast to the cookies’ sweetness, perfect for a well-rounded treat.
- Autumn Spiced Sangria: For the adults, this fruity and spiced drink brings a festive flair that enhances any Halloween gathering.
How to Store and Freeze Halloween Crinkle Cookies
-
Room Temperature: Store baked Halloween Crinkle Cookies in an airtight container at room temperature for up to 1 week to maintain their soft, chewy texture.
-
Fridge: If you live in a warm climate, consider refrigerating the cookies in an airtight container for up to 2 weeks. Just allow them to come to room temperature before enjoying!
-
Freezer: For longer storage, freeze unbaked cookie dough balls coated in powdered sugar. Place them in a freezer-safe bag for up to 3 months. Bake straight from the freezer, adding a couple of minutes to the baking time.
-
Reheating: If you prefer warm cookies, reheat baked treats in the microwave for about 5-10 seconds or pop them in a 300°F (150°C) oven for a few minutes until warmed through.
Halloween Crinkle Cookies Recipe FAQs
How do I choose the right cocoa powder?
Look for unsweetened cocoa powder that has a rich, deep color and a fresh smell. Sifting it is crucial to avoid lumps in your batter, ensuring a smooth and silky cookie dough. If you’re looking for a unique taste, consider using Dutch-processed cocoa for a slightly milder flavor and darker color.
What’s the best way to store Halloween Crinkle Cookies?
Store your baked Halloween Crinkle Cookies in an airtight container at room temperature for up to 1 week to keep them soft and chewy. If you live in a warm climate, you can refrigerate them for up to 2 weeks. Just let them return to room temperature before devouring!
Can I freeze the cookie dough?
Absolutely! To freeze your Halloween Crinkle Cookies, shape the cookie dough into balls and roll them in powdered sugar. Place the dough balls in a single layer on a baking sheet and freeze them for about 1 hour until firm. Afterward, transfer them to a freezer-safe bag for up to 3 months. When you’re ready to bake, pop them straight from the freezer into the oven, adding a couple of extra minutes to the baking time.
What should I do if my cookies spread too much while baking?
If your cookies spread too much, it might be due to warm dough or an insufficient chilling time. Ensure you’ve chilled your dough for at least 1 hour. If you find they still spread, increase the baking time slightly and consider chilling the unbaked dough balls longer before baking.
Can these cookies be made gluten-free?
Yes! You can substitute all-purpose flour with a 1:1 gluten-free flour blend. Just make sure to choose a blend designed for baking to maintain a similar texture and structure. This allows everyone to enjoy these Halloween Crinkle Cookies, regardless of dietary restrictions.
Are there any dietary considerations for pets?
Yes, it’s crucial to remember that chocolate is toxic to dogs and other pets. Be sure to keep your delicious Halloween Crinkle Cookies out of their reach to ensure they stay safe and sound.

Halloween Crinkle Cookies - Soft, Chewy Treats for Spooky Fun
Ingredients
Equipment
Method
- In a medium bowl, whisk together the all-purpose flour, cocoa powder, baking powder, and salt until well combined.
- In a larger bowl, beat together the granulated sugar and vegetable oil until smooth. Add the eggs and vanilla, mixing fully. Incorporate gel food coloring.
- Gradually fold the dry ingredients into the wet mixture until just combined.
- Cover the bowl with plastic wrap and refrigerate for at least 1 hour.
- Preheat your oven to 350°F (175°C) and line baking sheets with parchment paper.
- Roll the chilled dough into 1-inch balls and coat them generously in powdered sugar.
- Space the coated balls on baking sheets and bake for 10–12 minutes.
- Let the cookies cool on the baking sheet for about 5 minutes before transferring to a wire rack.