

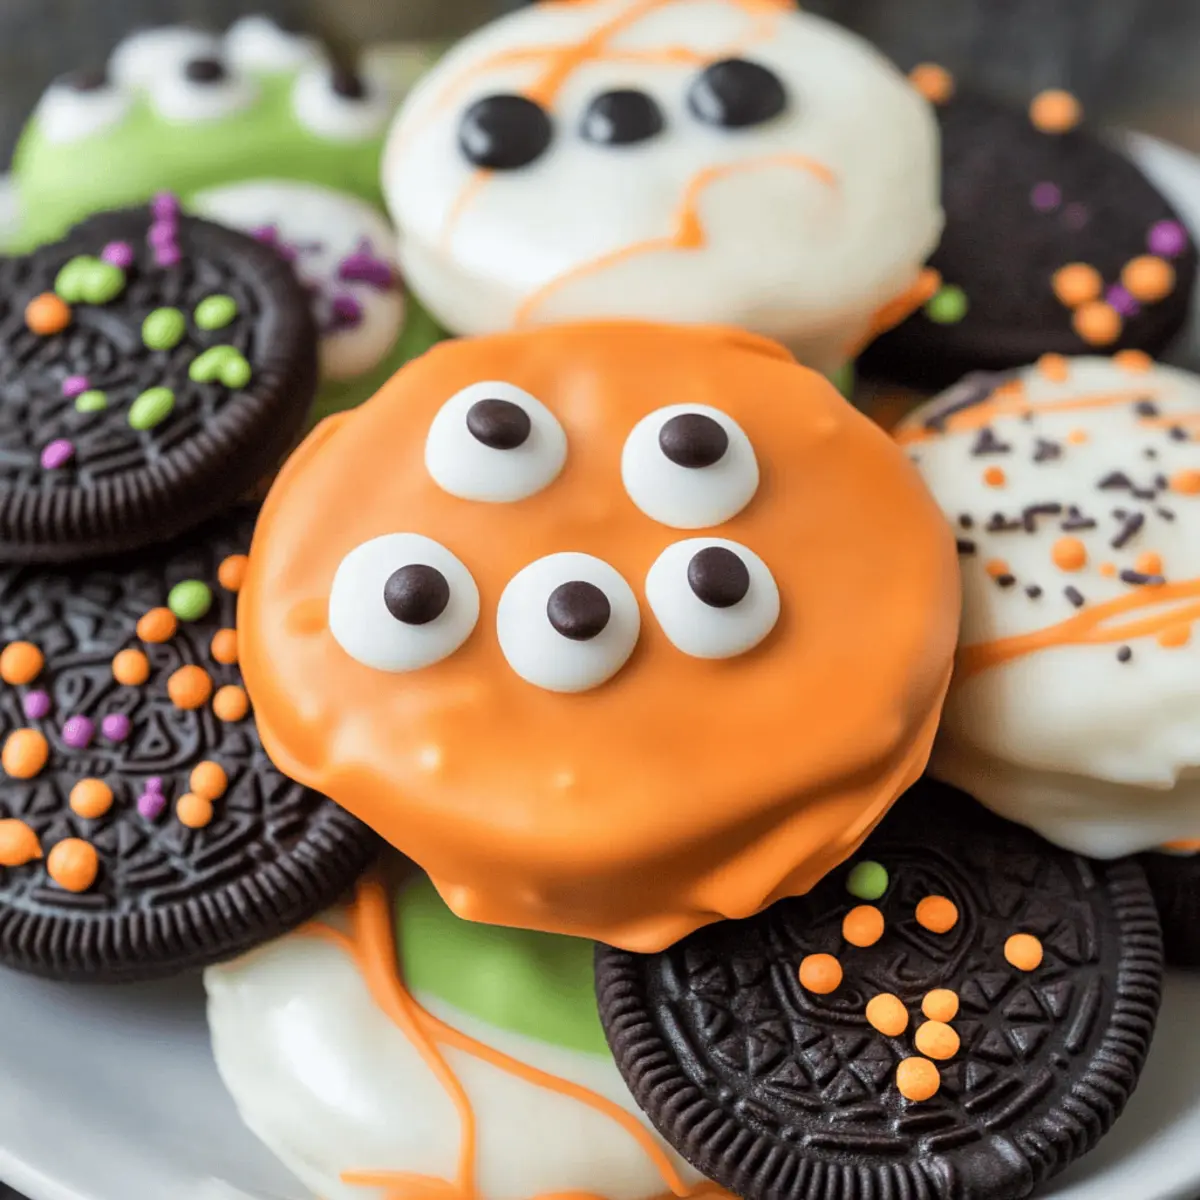
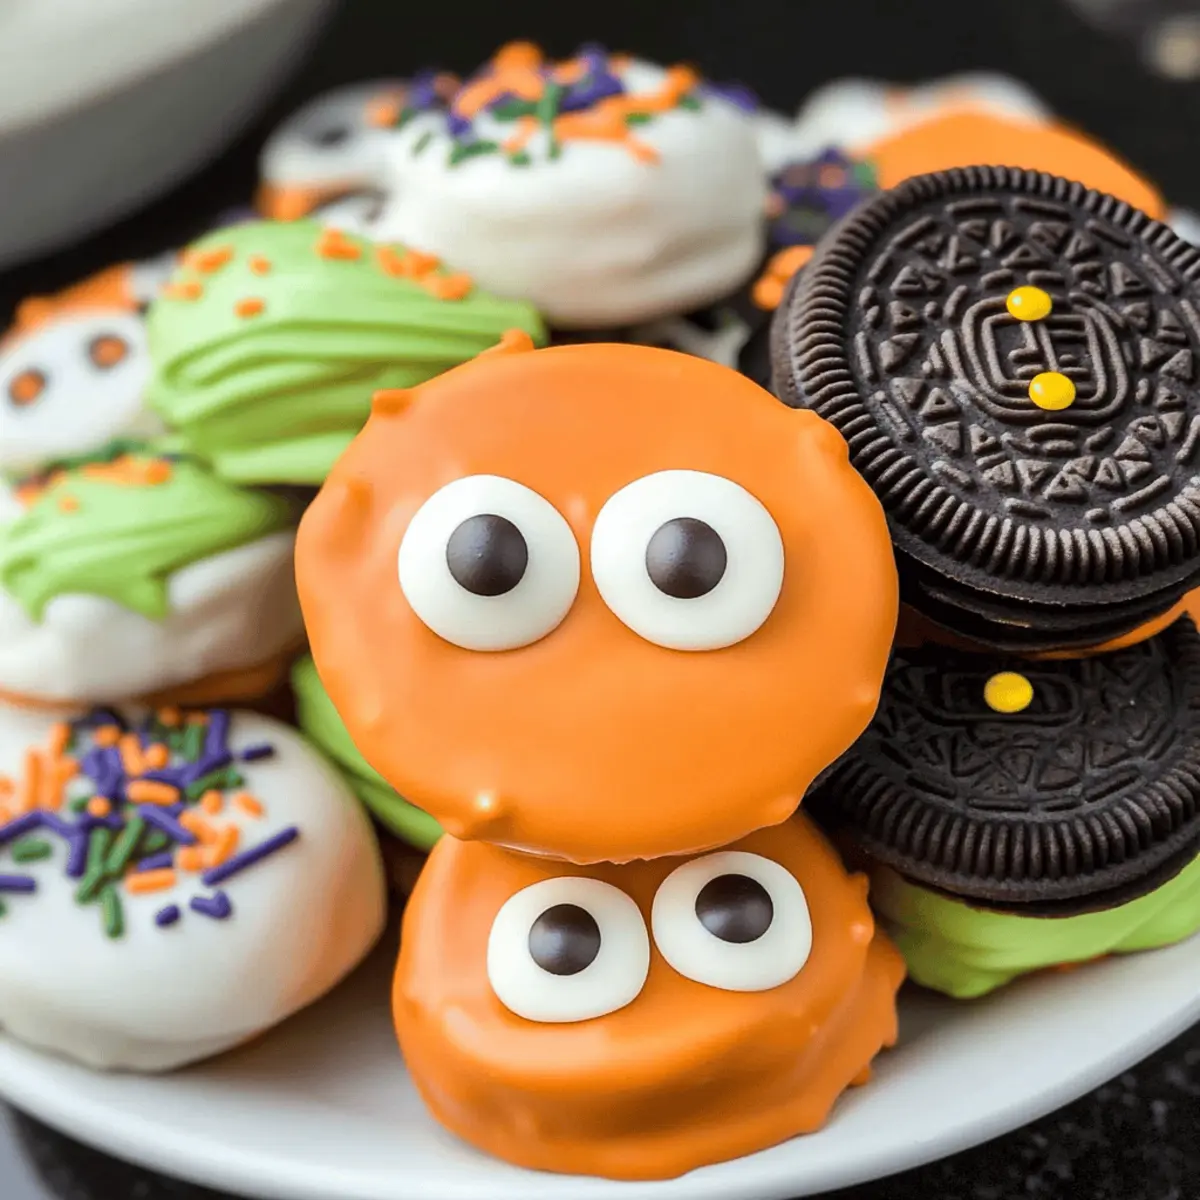
As I stirred the melting chocolate, a delightful nostalgia washed over me, transporting me back to carefree childhood Halloweens filled with laughter and spooky shenanigans. It’s this magic that inspired my latest creation: Easy Spooky Halloween Dipped Oreo Cookies. These adorable treats are wrapped in luscious chocolate and adorned with whimsically haunting designs, making them a guaranteed hit for both kids and adults at any Halloween gathering. Best of all, they whip up in just 25 minutes, saving you precious time during the festive frenzy. Plus, with a gluten-free and dairy-free option available, you can easily cater to all dietary needs. Are you ready to dip into a perfectly sweet and eerie experience? Let’s dive in!
Why Are These Halloween Cookies a Must?
Simplicity at Its Best: The method is incredibly easy, requiring just a few ingredients and minimal time—perfect for busy parents and party planners alike.
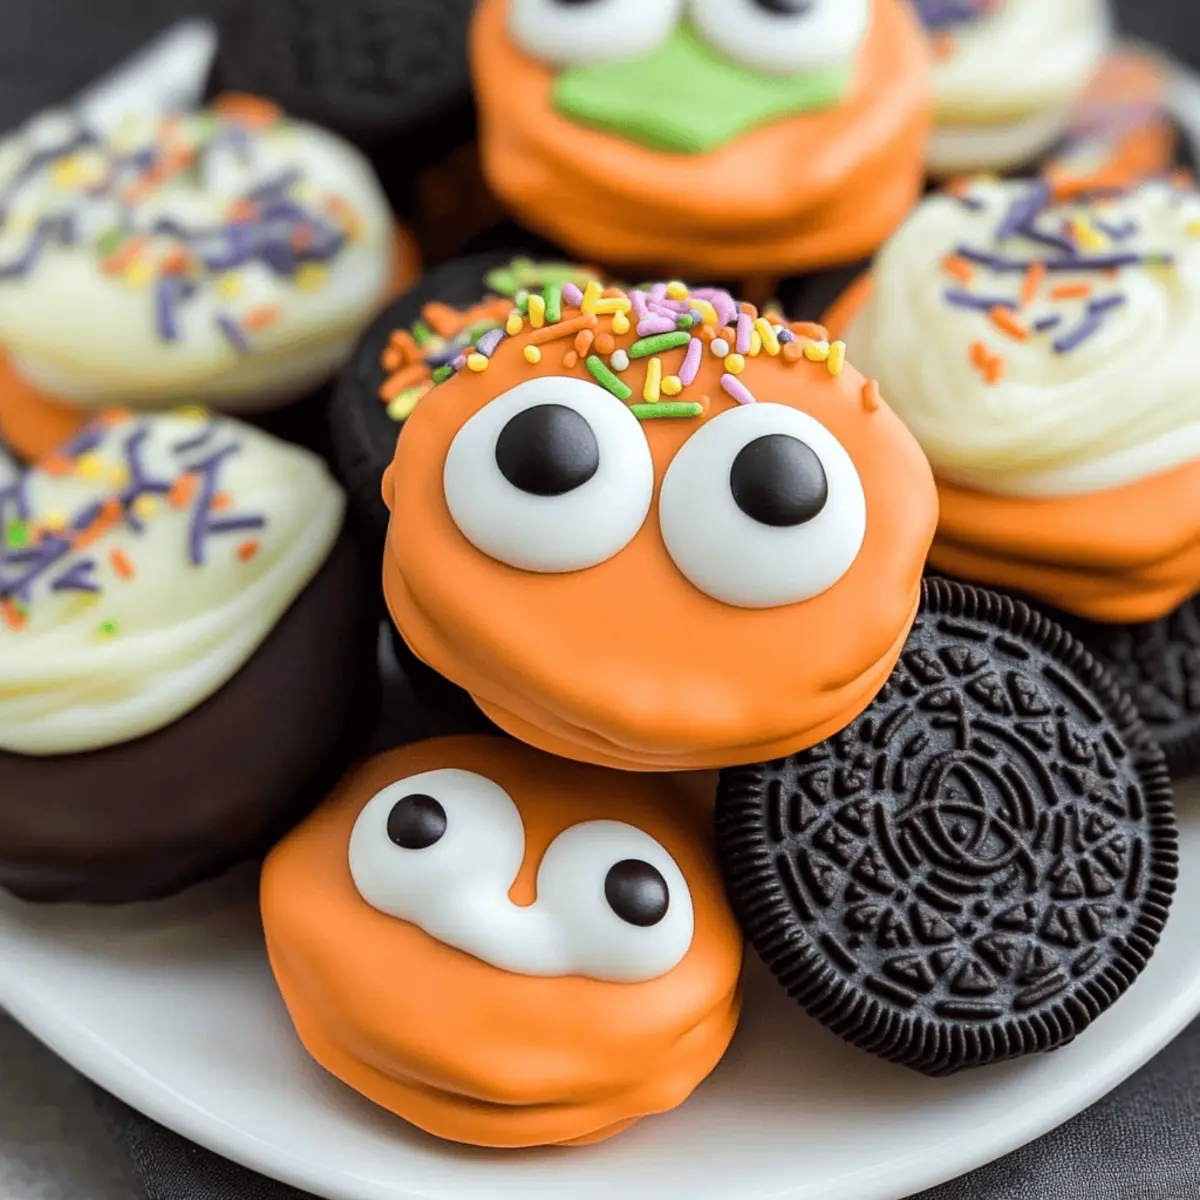
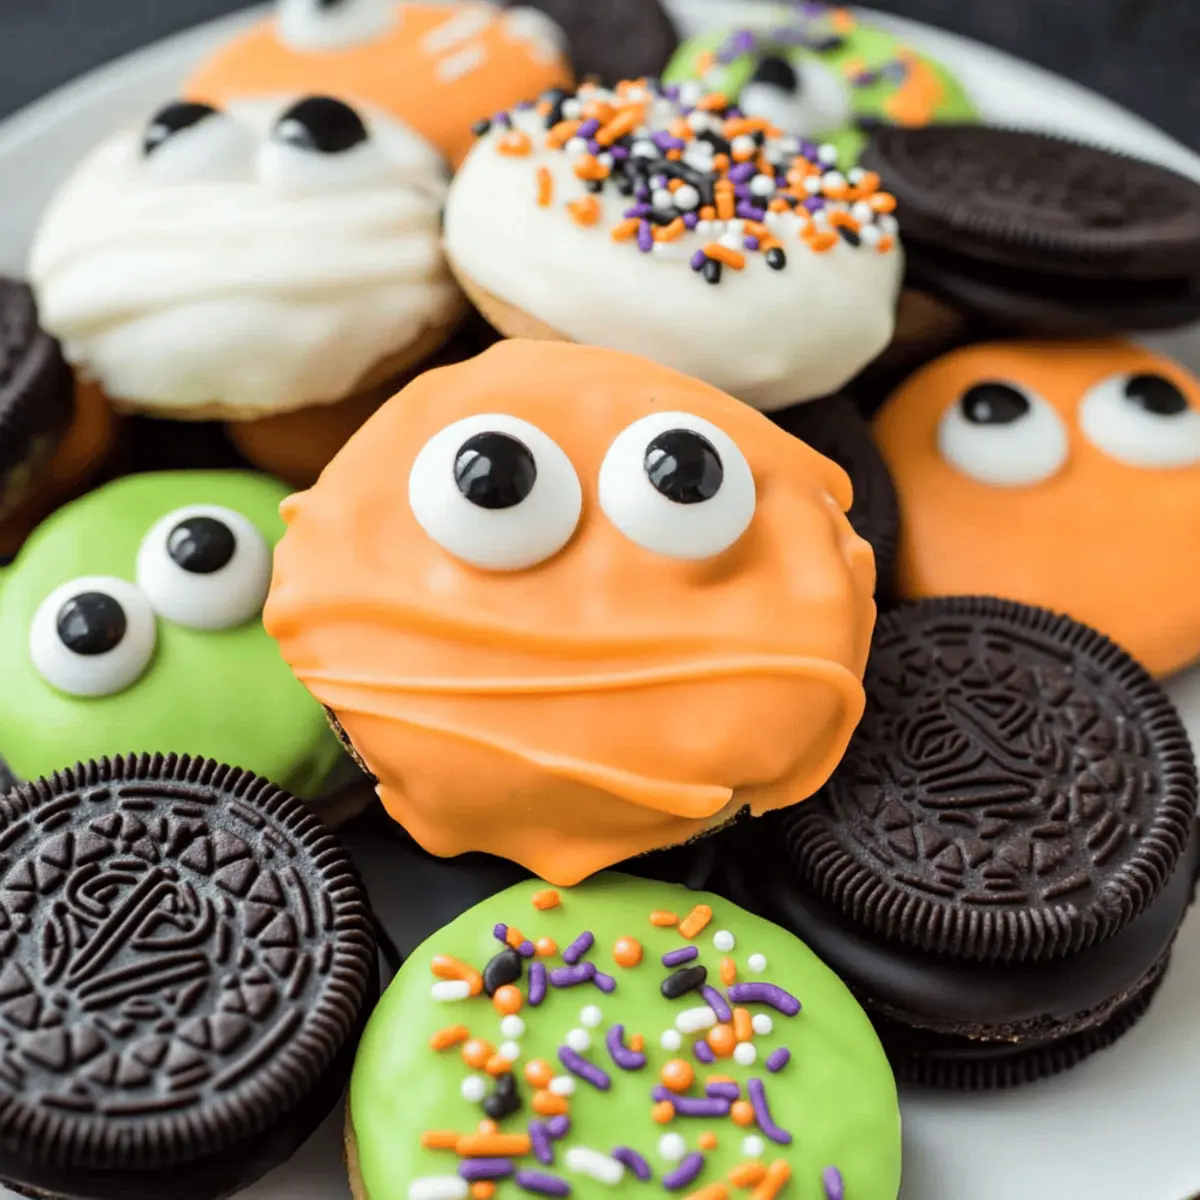
Versatile Designs: Customize with spooky mummy or silly monster themes, ensuring creativity flows while you bake.
Diet-Friendly Options: With gluten-free and dairy-free substitutes available, everyone can join in on the fun!
Crowd Favorite: These vibrant cookies are not just treats; they’re engaging conversation starters at any gathering.
Perfect for Any Occasion: Beyond Halloween, change up the colors and designs for other festive celebrations, making your baking skills shine year-round!
These cookies are sure to be a delightful addition to your Halloween festivities or any special occasion!
Easy Spooky Chocolate Covered Halloween Dipped Oreos Ingredients
For the Cookies
- Halloween Oreos (or any type of sandwich cookie) – The perfect base that delivers sweetness and texture; use standard Oreos if Halloween-themed aren’t on hand.
For the Candy Coating
- Chocolate melting wafers – These provide a rich chocolate flavor that envelops the cookies perfectly; feel free to experiment with dark or white chocolate for a twist.
- Orange candy melting wafers – Add vibrant color and flavor that brings the Halloween theme to life; any bright chocolate melts can be used if orange is unavailable.
- White candy melting wafers – These offer a lovely base for decoration with a nice contrast; chocolate wafers can also work if you prefer fewer types.
- Purple candy melting wafers – Sprinkle in some spooky flair with this eye-catching color; switch it up with any colorful melts you might have on hand.
For the Decoration
- Sprinkles and candy eyes – These fun toppings elevate the design and add a playful touch; seasonal sprinkles are a great alternate choice to mix things up.
Dive into the Halloween spirit with these Easy Spooky Chocolate Covered Halloween Dipped Oreos!
Step‑by‑Step Instructions for Easy Spooky Chocolate Covered Halloween Dipped Oreos
Step 1: Prep Your Surface
Begin by lining a cookie sheet with wax or parchment paper, ensuring a non-stick surface for the Easy Spooky Halloween Dipped Oreos. This preparation prevents any mess as the cookies will be laid out for hardening. Make sure the paper covers the entire sheet for easy removal later.
Step 2: Melt the Candies
In separate microwave-safe bowls, measure out your chocolate and candy melting wafers. Heat them in the microwave in 30-second increments at medium power, stirring after each round to create a smooth consistency. The melted chocolate should be glossy and free of lumps, which will provide a scrumptious coating for your Oreos.
Step 3: Dip the Oreos
Take one Oreo at a time and carefully dip it into the melted chocolate using a fork. Ensure the cookie is fully submerged so that it gets an even coat. Gently tap the fork against the bowl’s edge to allow any excess chocolate to drip off before placing it on the prepared cookie sheet.
Step 4: Add Fun Decorations
Before the chocolate coating sets, unleash your creativity! Scatter fun sprinkles and place candy eyes onto the dipped Oreos for a spooky effect. The melted chocolate will act as glue for the decorations, so make sure to work swiftly while the coating is still moist and can hold the toppings.
Step 5: Allow to Set
Once decorated, leave the cookies on the lined cookie sheet to harden for about 1 hour at room temperature. You may place them in the refrigerator to speed up this setting process if desired. The glossiness of the coating will diminish, yielding a hardened finish that looks as great as it tastes.
Step 6: Pipe Additional Designs (Optional)
For extra flair, you can use a piping bag filled with melted candy wafers to create fun shapes or designs atop the set cookies. This step allows you to personalize your Easy Spooky Halloween Dipped Oreos further, making them an even bigger hit at your celebration.
Step 7: Store or Serve
Once fully set, your Easy Spooky Halloween Dipped Oreos are ready to be enjoyed! Serve them immediately at your Halloween party or store them in an airtight container at room temperature for up to 2 weeks. For longer storage, consider freezing them for up to 2 months for a later festive treat.
Storage Tips for Easy Spooky Halloween Dipped Oreos
Room Temperature: Store the cookies in an airtight container at room temperature for up to 2 weeks, keeping them fresh while maintaining their delicious chocolate coating.
Fridge: If you prefer a cooler treat, you can keep them in the fridge for a firmer texture; just remember to allow them to sit at room temperature for a few minutes before enjoying.
Freezer: For longer storage, freeze the cookies in a single layer on a baking sheet; once hardened, transfer them to an airtight container or freezer bag. They can be frozen for up to 2 months.
Reheating: If your cookies have been frozen, let them thaw in the fridge or on the counter for about an hour before serving to bring back their delightful texture!
What to Serve with Easy Spooky Halloween Dipped Oreo Cookies
As you prepare these delightful cookies, envision a charming spread that enhances your Halloween festivities and delights your guests.
- Crispy Witch’s Broomstick Pretzels: Dipped in chocolate and adorned with orange sprinkles, these treats add a salty crunch to balance the sweetness of the cookies. A fun, whimsical addition to your dessert table!
- Apple Slices with Caramel Dip: Fresh, crisp apple slices provide a refreshing contrast, while the creamy caramel sauce is a delicious companion that enhances the Halloween spirit.
- Spooky Fruit Salad: Toss together seasonal fruits like oranges, grapes, and bananas, creating a colorful mix that perks up the plate with healthy, juicy bites.
- Pumpkin Spice Hot Chocolate: This warm, spiced beverage perfectly complements the cookies—just imagine sipping on this with a sweet cookie in hand, a cozy pairing for chilly Halloween nights.
- Ghostly Marshmallows: Dip marshmallows in white chocolate and add chocolate chip eyes for a playful and thematic dessert that echoes the spirit of Halloween treats.
- Chocolate-Dipped Strawberries: Enhance the dessert offering with these elegant treats—both sweet and slightly tart, they add a gourmet touch to your festive spread.
- Mummy Dogs: Serve these cute, wrapped sausage snacks alongside your cookies for a savory treat that adds a fun bite-sized option to your party.
- Spiced Cider: Offering a warm, aromatic drink with hints of cinnamon and cloves will elevate the evening atmosphere and be a favorite among guests.
- Ghoulish Ghost Cake Pops: These fun, cake-on-a-stick treats are perfect for those who enjoy a little more sweetness while echoing Halloween vibes beautifully!
- Haunted Juice Punch: Create a spooky drink by mixing fruit juices and adding floating eyeball-shaped ice cubes for a refreshing and fun beverage to wash down the delightful cookies.
Make Ahead Options
These Easy Spooky Halloween Dipped Oreo Cookies are perfect for busy home cooks looking to save time during the spooky season! You can prepare the dipped Oreos up to 24 hours in advance. Simply dip and decorate the cookies as instructed, then place them in an airtight container to prevent moisture from affecting the chocolate coating. For optimal quality, store them at room temperature if consuming within a few days or refrigerate if keeping longer. When ready to serve, simply set them out on a platter, and they’ll be just as delicious as if made the same day. This keeps your Halloween festivities stress-free and enjoyable!
Expert Tips for Easy Spooky Chocolate Covered Halloween Dipped Oreos
-
Batch Size Matters: Work in small batches of 6-8 Oreos to avoid melting chocolate hardening before dipping is complete.
-
Coloring Tips: If you want unique colors, use gel food coloring for tinting melting wafers, adding it after melting for even distribution.
-
Decoration Timing: Add sprinkles and candy eyes while the chocolate coating is still wet to ensure they adhere perfectly, avoiding common decoration pitfalls.
-
Reviving Melts: If your candy melts seize up, gently stir in 1 teaspoon of vegetable oil and reheat in short bursts to get that smooth consistency back for your Easy Spooky Halloween Dipped Oreos.
-
Experiment Freely: Don’t hesitate to swap out the cookie types or colors to personalize your spooky creations for various themes throughout the year!
Easy Spooky Chocolate Covered Halloween Dipped Oreos Variations
Feel free to get creative with these delightful treats, tailoring them to your family’s tastes and dietary needs!
- Gluten-Free: Use gluten-free sandwich cookies to keep this recipe safe for those with gluten sensitivities. They’ll still be irresistibly delicious!
- Dairy-Free: Opt for dairy-free chocolate melting wafers to make this treat accessible for those avoiding dairy—everyone deserves a spooky cookie!
- Flavored Oreos: Swap standard Oreos with peanut butter or mint-flavored varieties for a fun twist that enchants every bite. Imagine the delicious melding of flavors!
- Holiday Transformations: Change up the color and design to make festive treats for other holidays like Christmas or Valentine’s Day. Chocolate-dipped hearts, anyone?
- Decorative Drizzles: Grab a piping bag and create fun chocolate drizzles on your cooled cookies for added flair. This is a perfect way to personalize each spooky masterpiece!
- More Crunch: Incorporate crushed nuts or flavored cereals into the melting chocolate for added texture and a fun crunch—think caramel corn or Halloween trail mix!
- Spicy Kick: If you’re feeling adventurous, add a dash of cayenne pepper or chili powder to the chocolate coating for a surprising flavor boost. Spicy and sweet can be a delightful combination!
And if you’re on the hunt for more sweet ideas, don’t miss out on these Chocolate Chip Oatmeal cookies or try a delicious twist with our Chocolate Strawberry Shortcake. Happy baking, and enjoy those spooky delights!
Easy Spooky Chocolate Covered Halloween Dipped Oreos Recipe FAQs
How do I choose the right Oreos for this recipe?
Absolutely! You can use either Halloween-themed Oreos or regular ones. If you can’t find the spooky variety, classic Oreos work just as wonderfully for this recipe and deliver the sweet crunch you’ll love.
What is the best way to store these cookies?
To keep your Easy Spooky Chocolate Covered Halloween Dipped Oreos fresh, store them in an airtight container at room temperature for up to 2 weeks. This helps to retain their delicious texture and vibrant decorations. If you want to store them longer, they can also be frozen for up to 2 months—just make sure to keep them in a single layer on a baking sheet until hard and then transfer them into a container.
Can I freeze these Halloween Dipped Oreos?
Yes, of course! To freeze, place the cookies in a single layer on a baking sheet and freeze them until solid. Then, transfer them to an airtight container or a freezer bag, where they can be stored for up to 2 months. Thaw them in the refrigerator or at room temperature for about an hour before serving.
What should I do if my candy melts are too thick?
Very! If you find that your candy melts are too thick or have seized, you can revive them by adding 1 teaspoon of vegetable oil and reheating in short bursts in the microwave, stirring in between until you achieve a smooth consistency again. This will help get your dipping chocolate back on track!
Are there any dietary considerations I should keep in mind?
Absolutely! This recipe can be made gluten-free by using gluten-free Oreos, which are widely available. For a dairy-free option, ensure the melting wafers you select are dairy-free, since many brands offer great dairy-free varieties. Always check the ingredient list to accommodate any allergies or dietary restrictions.
How long does it take for the chocolate to set?
Once dipped and decorated, the cookies typically need about 1 hour at room temperature to fully harden. However, if you’re in a hurry, you can place them in the refrigerator for about 20-30 minutes to speed up the setting process, ensuring they’re ready for your spooky celebration in no time!
Spooktacular Easy Spooky Chocolate Covered Halloween Dipped Oreos
Ingredients
Equipment
Method
- Line a cookie sheet with wax or parchment paper to prevent sticking.
- Melt the chocolate and candy wafers in separate bowls in the microwave, stirring every 30 seconds.
- Dip each Oreo into the melted chocolate using a fork, ensuring it's fully coated.
- Before the chocolate sets, add sprinkles and candy eyes for decoration.
- Let the cookies sit on the cookie sheet to harden for about 1 hour.
- Optionally, pipe additional designs with more melted candy wafers.
- Once set, serve the cookies or store them in an airtight container.