

“Have you ever stared at a jar of peanut butter and wondered how to elevate it from everyday spread to a delicious indulgence?” If that sounds familiar, you’re in for a treat! In my latest blog post, I’ll take you through 23 easy peanut butter desserts that are as comforting as they are versatile. Whether you’re craving a quick-to-make Peanut Butter Mug Cake or an impressive no-bake dessert, these recipes require minimal baking skills and promise instant gratification. Best of all, they not only satisfy sweet cravings but also offer healthier alternatives to store-bought snacks. Ready to turn snack time into something special? Let’s dive into these irresistible creations together!
Why is Peanut Butter Mug Cake So Amazing?
Instant Gratification: This recipe comes together in mere minutes, making it the perfect quick treat for when cravings hit.
Rich and Creamy: The peanut butter adds a delightful creaminess that transforms a simple cake into an indulgent experience.
Single Serving: Enjoy a delicious dessert without the guilt of a whole batch—perfect for those watching their portions!
Versatile Options: Experiment with toppings like chocolate chips or drizzles of caramel, just like in my Birthday Cake Cookies or Strawberry Bliss Cake, to tailor the flavor to your mood!
Minimal Effort Required: No complex techniques here—it’s straightforward and suitable for all baking skill levels, so you’ll impress without stress.
Crowd-Pleaser: Whether for a solo snack or to share with friends, this Peanut Butter Mug Cake is sure to receive rave reviews!
Peanut Butter Mug Cake Ingredients
For the Mug Cake
• Peanut Butter – the star ingredient, use creamy for a smooth texture or crunchy for added flair.
• Sugar – provides sweetness; feel free to swap with honey or agave for a unique twist.
• Flour – gives structure; consider using oat or almond flour for gluten-free options.
• Butter – adds richness; you can substitute with coconut oil for a dairy-free alternative.
• Egg – acts as a binding agent; for a vegan version, try 1 tbsp flaxseed meal mixed with 2.5 tbsp water.
• Baking Powder – ensures your mug cake rises to a fluffy delight, making each bite irresistible.
• Milk – adds moisture; use any milk of your choice, including non-dairy alternatives.
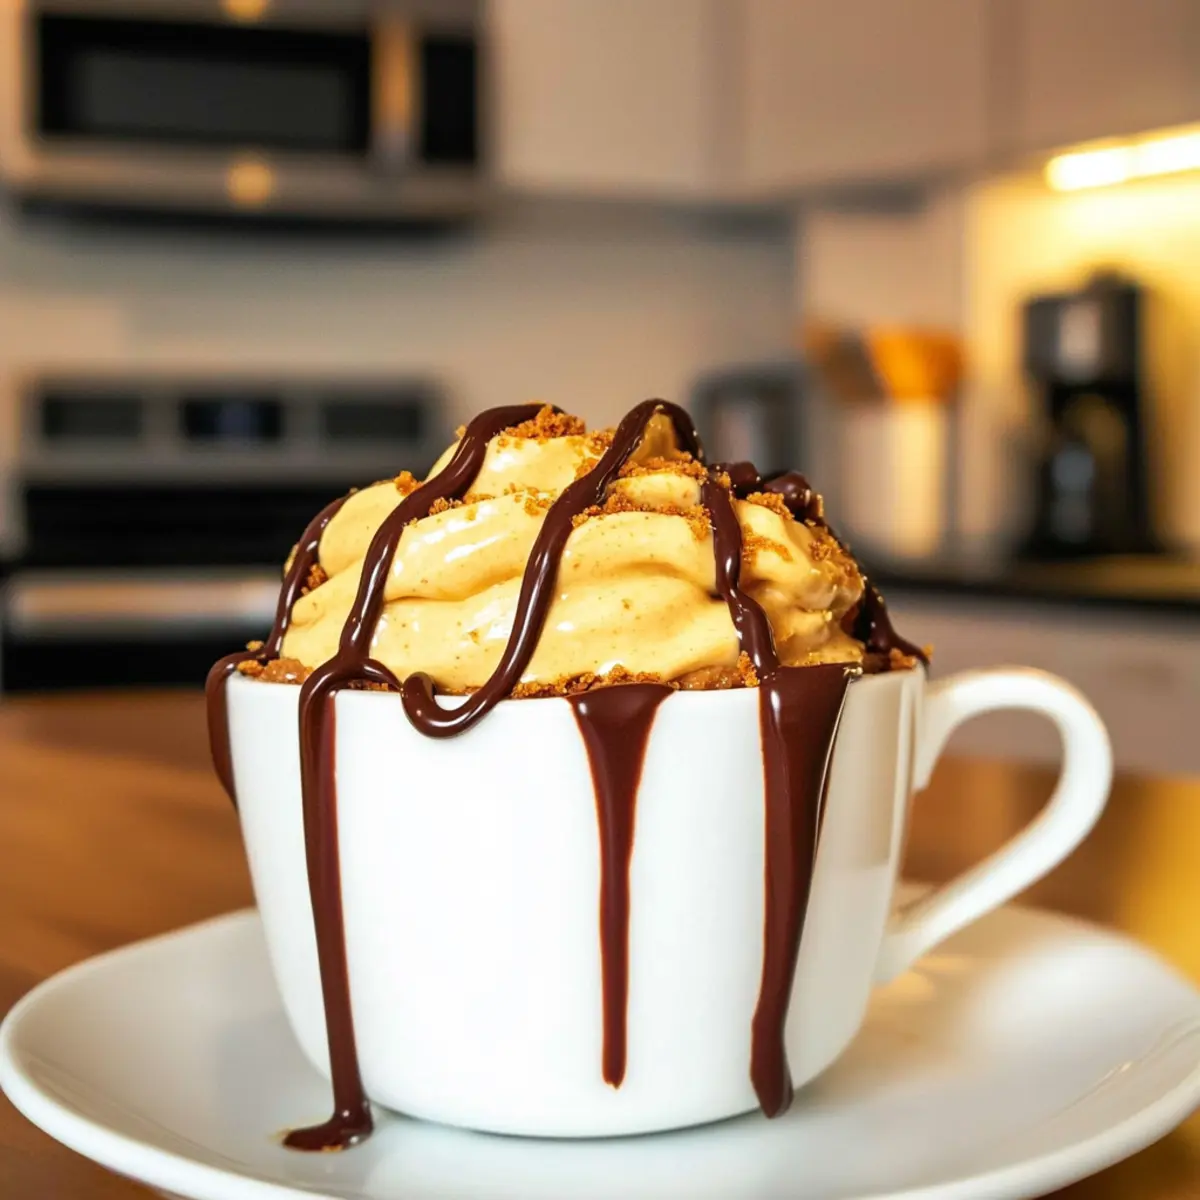
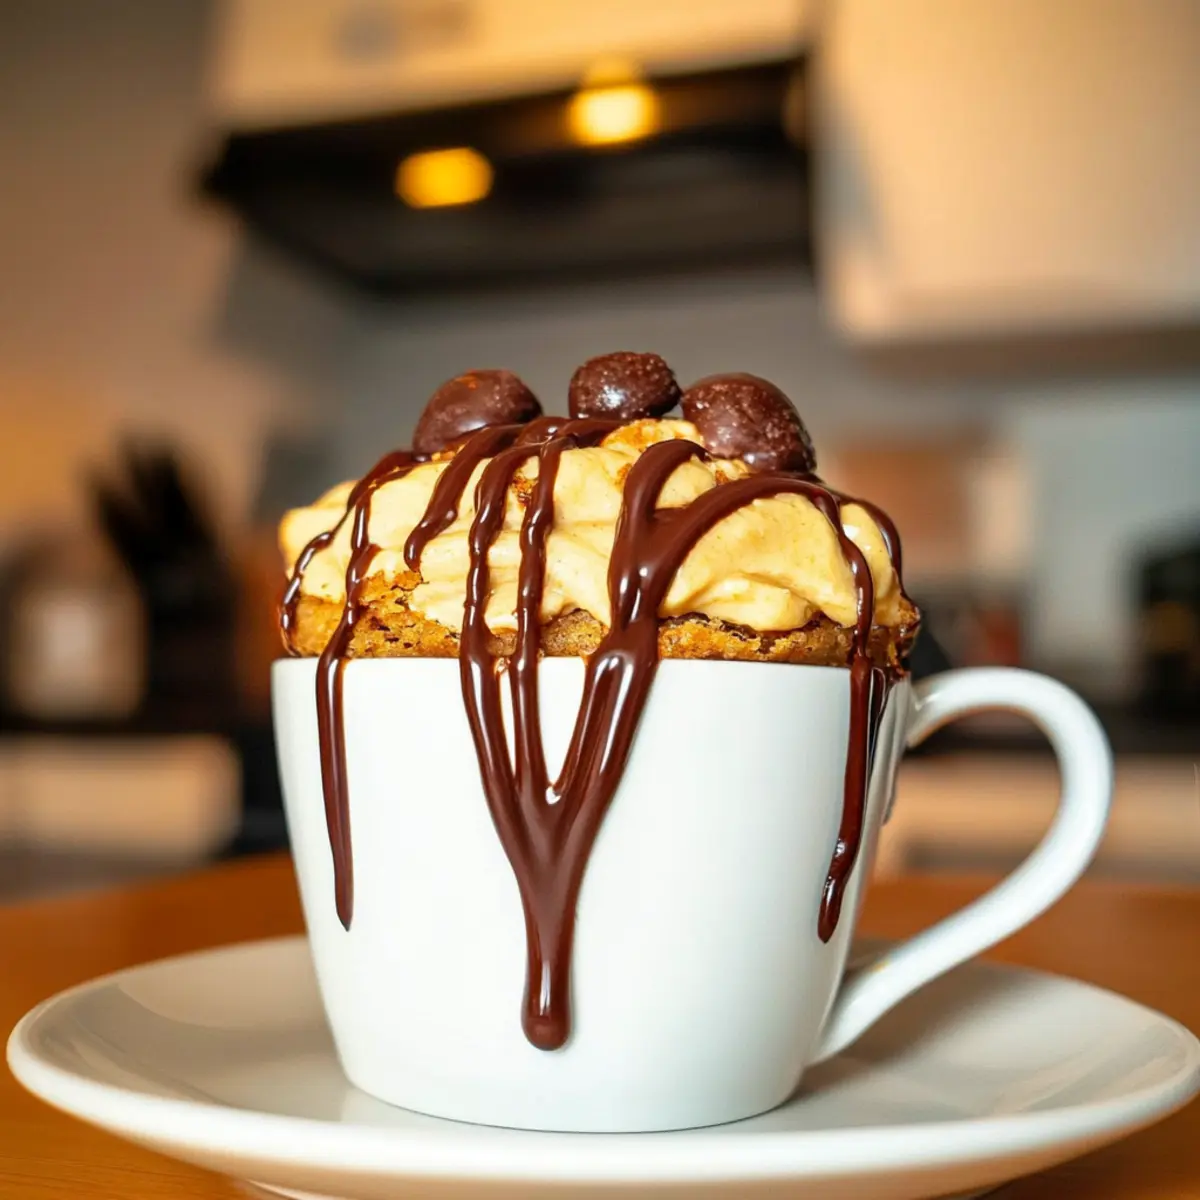
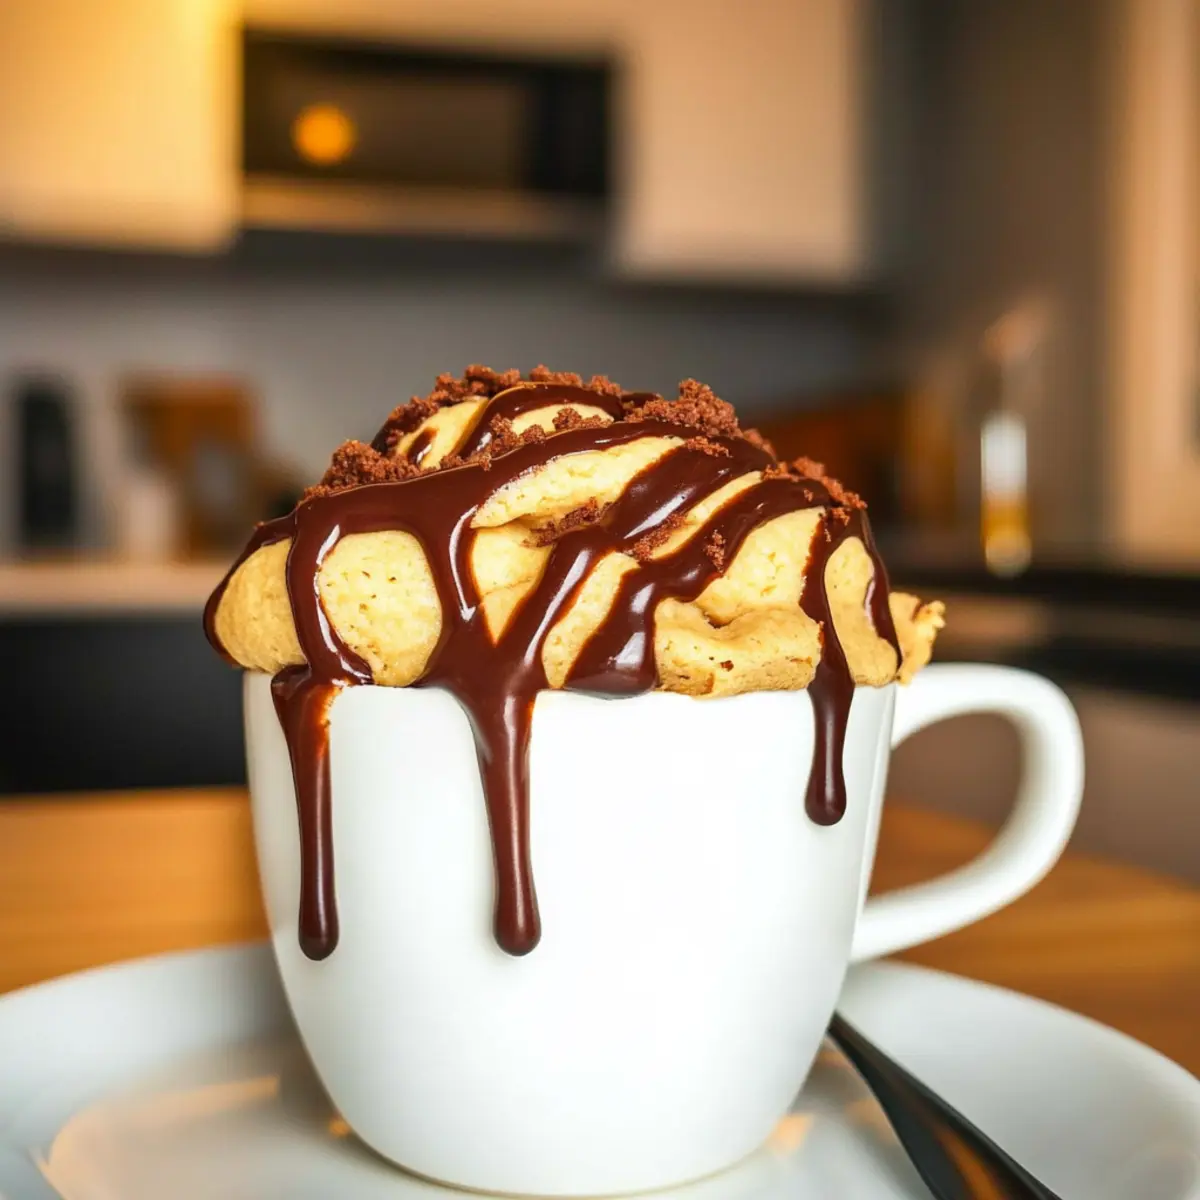
Optional Toppings
• Chocolate Chips – elevate your dessert with a pop of sweetness; dark chocolate pairs beautifully with peanut butter.
• Caramel Sauce – a drizzle adds a decadent touch that takes your mug cake to the next level.
• Nuts – sprinkle on top for extra crunch and flavor, or use them in the batter for added texture.
This Peanut Butter Mug Cake is not only delicious but also provides a quick and satisfying treat to elevate any snack time!
Step‑by‑Step Instructions for Peanut Butter Mug Cake
Step 1: Mix the Base Ingredients
In a microwave-safe mug, combine 4 tablespoons of creamy peanut butter, 2 tablespoons of sugar, and 1 tablespoon of melted butter. Stir well until the mixture is smooth and creamy, about 30 seconds of mixing. This forms the delightful base of your Peanut Butter Mug Cake, ensuring every bite is rich in flavor.
Step 2: Incorporate the Dry Ingredients
Add 4 tablespoons of flour and a pinch of baking powder to the peanut butter mixture. Mix thoroughly to eliminate any lumps, ensuring the flour is fully integrated. The batter should become thick and uniform in texture, which will help the mug cake rise to a fluffy perfection as it cooks.
Step 3: Add the Wet Ingredients
Pour in 3 tablespoons of milk (or a dairy-free alternative) and one egg to the mixture. Blend everything together until you have a smooth batter; this should only take about 45 seconds. Make sure there are no dry clumps left, as these could affect the cake’s texture when baked in the microwave.
Step 4: Optional Flavor Enhancements
If you want to elevate your Peanut Butter Mug Cake, fold in a handful of chocolate chips or nuts at this stage. This will add both sweetness and texture. Mix them gently into the batter, ensuring even distribution so every bite has that delightful surprise of chocolate or crunch.
Step 5: Microwave the Cake
Place your mug in the microwave and cook on high for about 40 to 60 seconds. Start checking at 40 seconds, as microwaves can vary greatly in power; the cake should be firm but springy to the touch when done. Avoid overcooking, as this can lead to a dry mug cake instead of the moist treat you desire.
Step 6: Let it Cool
Once done, carefully remove the mug from the microwave (it will be hot!) and let it cool for a couple of minutes. This cooling step allows the flavors to meld and the cake to firm up slightly. As it cools, prepare any toppings you’d like to add, such as a drizzle of caramel or a sprinkle of additional chocolate chips.
Step 7: Serve and Enjoy
Your Peanut Butter Mug Cake is now ready to indulge in! You can enjoy it straight from the mug or transfer it to a plate for presentation. Whether you’re topping it with ice cream or savoring it plain, this quick and delightful dessert is perfect for satisfying your sweet cravings in a flash.

Expert Tips for Peanut Butter Mug Cake
• Use Quality Ingredients: Fresh, high-quality peanut butter and eggs greatly enhance the flavor and texture of your mug cake.
• Don’t Overcook: Microwaves vary, so check your cake at 40 seconds. Overcooking can lead to a dry texture, ruining your delicious creation.
• Chill Before Serving: Allowing your mug cake to cool for a couple of minutes helps it set properly and improves the overall flavor.
• Experiment with Variations: Feel free to add in chocolate chips, nuts, or even a pinch of cinnamon to elevate your Peanut Butter Mug Cake experience!
• Mix Thoroughly: Ensure all your ingredients are well combined for a smooth batter; lumps can create an uneven texture in your cake.
Make Ahead Options
These Peanut Butter Mug Cakes are perfect for busy home cooks looking to streamline dessert preparation! You can mix the dry ingredients (flour, sugar, and baking powder) and combine them with the peanut butter and melted butter up to 24 hours in advance, storing the mixture in an airtight container in the fridge. This prep ensures all the flavors meld beautifully, creating a richer taste. When you’re ready to indulge, simply add the wet ingredients (milk and egg), microwave for 40 to 60 seconds, and enjoy a delicious, warm treat that’s just as satisfying! This way, you can savor your Peanut Butter Mug Cake with minimal fuss on those busy weeknights.
Storage Tips for Peanut Butter Mug Cake
Room Temperature: Store any leftover mug cake at room temperature for up to 1 day in an airtight container to maintain moisture.
Fridge: If you have leftovers, keep them in the fridge for up to 3 days in an airtight container to prevent drying out.
Freezer: For longer storage, freeze individual portions wrapped tightly in plastic wrap for up to 2 months. Thaw in the microwave when you’re ready to indulge again.
Reheating: To reheat the Peanut Butter Mug Cake, place it in the microwave for 15-20 seconds until warm, adding a drizzle of milk if it feels dry.
What to Serve with Peanut Butter Mug Cake
Elevate your dessert experience with delightful pairings that enhance the rich, creamy flavors of this indulgent treat.
-
Vanilla Ice Cream: A scoop of vanilla ice cream adds a creamy contrast, perfectly balancing the warm, soft cake with its coolness.
-
Chocolate Syrup: Drizzling chocolate syrup over your mug cake creates a luscious experience that intensifies the chocolatey goodness.
-
Fresh Berries: Juicy raspberries or strawberries provide a refreshing pop of tartness, cutting through the richness of the peanut butter.
-
Chopped Nuts: Sprinkle some crushed peanuts or walnuts on top for an added crunch and nutty flavor that complements the smooth cake. This adds a delightful texture contrast.
-
Whipped Cream: A dollop of whipped cream enhances the indulgence while softening the cake’s richness, creating a whimsical dessert experience.
-
Coffee: Pair with a warm cup of coffee to bring the flavors of the peanut butter cake to life, offering a satisfying contrast to the sweetness.
-
Caramel Sauce: A drizzle of caramel adds a sweet, buttery touch that indulges your taste buds, making every bite a decadent delight.
-
Milk: Enjoy with a glass of cold milk, amplifying the comforting experience of your mug cake and providing a classic pairing.
Peanut Butter Mug Cake Variations
Feel free to personalize your Peanut Butter Mug Cake with these creative ideas, making each bite a delightful surprise!
-
Nut Butter Swap: Replace peanut butter with almond or cashew butter for a new nutty flavor. You’ll still get that creamy texture, plus a fun twist on the classic.
-
Sweetener Adjustments: Try using maple syrup or agave instead of sugar for a different sweetness profile, giving your mug cake an earthy hint that pairs beautifully with the nutty flavors.
-
Gluten-Free Flour: Substitute regular flour with almond flour or coconut flour to make this recipe gluten-free. These alternatives maintain a delicious texture while ensuring everyone can enjoy it!
-
Add-Ins Galore: Mix in semi-sweet or dark chocolate chips for a decadent touch. If you’re feeling adventurous, incorporate a spoonful of crushed pretzels for a sweet and salty treat reminiscent of my Garlic Butter Salmon.
-
Dairy-Free Delight: Use a dairy-free milk alternative like almond or oat milk, and coconut oil in place of butter. Your mug cake will still have that moist richness, perfect for satisfying cravings without dairy.
-
Spiced Up: Add a pinch of cinnamon or a dash of vanilla extract to the batter for a warm, cozy flavor. These spices elevate the dessert experience, making it feel extra special.
-
Decadent Toppings: Drizzle with homemade caramel sauce or top with whipped coconut cream before serving. This adds a luxurious finish that makes your dessert feel like a restaurant-quality indulgence, similar to the sweet experiences in my Coffee Cake Cookies.
-
Fruit Infusion: Fold in mashed banana or applesauce for added moisture and sweetness. Fruits not only enhance flavor but also add a natural touch that complements the peanut butter beautifully.
Ready to unleash your creativity? The possibilities are endless and every variation will lead to a scrumptious treat worthy of any dessert table!
Peanut Butter Mug Cake Recipe FAQs
What kind of peanut butter should I use?
Absolutely! I recommend using high-quality creamy peanut butter for a smooth and rich texture, but if you enjoy a bit of crunch, go for the chunky variety. Just ensure it’s stirred well to incorporate the oils.
How should I store leftover mug cake?
For room temperature storage, keep any leftover mug cake in an airtight container for up to 1 day to maintain its moisture. If you want to keep it longer, refrigerate it in a sealed container for up to 3 days. This will help prevent it from drying out.
Can I freeze the mug cake?
Yes! You can freeze individual portions of Peanut Butter Mug Cake by wrapping them tightly in plastic wrap or placing them in freezer-safe containers. They can last in the freezer for up to 2 months. To enjoy, simply thaw them in the microwave for a quick treat!
What if my mug cake is dry after microwaving?
If your mug cake turns out dry, it might be because it was overcooked. Always start checking at 40 seconds on high power, as microwaves can vary. If you find it dry upon reheating, add a drizzle of milk to restore some moisture.
Are there any dietary considerations for this recipe?
Definitely! If you’re looking for a vegan option, replace the egg with a flax egg (1 tbsp flaxseed meal mixed with 2.5 tbsp water) and use a dairy-free milk alternative. Also, check the peanut butter for any allergens, especially if you’re serving people with nut allergies.
Delicious Peanut Butter Mug Cake in Minutes for Sweet Cravings
Ingredients
Equipment
Method
- In a microwave-safe mug, combine 4 tablespoons of creamy peanut butter, 2 tablespoons of sugar, and 1 tablespoon of melted butter. Stir well until smooth, about 30 seconds.
- Add 4 tablespoons of flour and a pinch of baking powder. Mix thoroughly to eliminate lumps.
- Pour in 3 tablespoons of milk and one egg. Blend until smooth, about 45 seconds.
- Fold in chocolate chips or nuts if desired, ensuring even distribution.
- Microwave for 40 to 60 seconds, checking at 40 seconds. The cake should be firm and springy.
- Let the mug cake cool for a couple of minutes before serving.
- Enjoy your mug cake as is, or top with ice cream or additional toppings.