

As I rummaged through my fridge one evening, I stumbled upon some leftover rotisserie chicken, a tub of cream cheese, and a stack of tortillas—my culinary creativity was suddenly ignited! That’s when I decided to whip up these Crispy Chicken Taquitos, transforming my leftovers into a savory delight. Perfect for a quick weeknight dinner or a fun appetizer for friends, these taquitos are not only a healthier homemade alternative to frozen options but also allow for endless customization. Whether you choose to bake or air-fry them, the satisfying crunch paired with a creamy, spiced filling is simply irresistible. Get ready to embrace the flavors of Mexico right in your kitchen—what filling will you choose for your own version?
Why are Crispy Chicken Taquitos a Must-Make?
Irresistibly Crunchy: These taquitos achieve the perfect golden-brown exterior that offers a delightful crunch with every bite.
Endless Customization: Mix and match fillings—from spicy jalapeños to tender veggies—for a unique taste tailored to your palate.
Healthier Alternative: Ditch the frozen versions for these homemade delights, packed with fresh ingredients you can feel good about.
Quick and Easy: With just a few simple steps and baking or air-frying options, weeknight dinners can be a breeze! Plus, check out my suggestions for making Baked Ranch Chicken as another effortless meal.
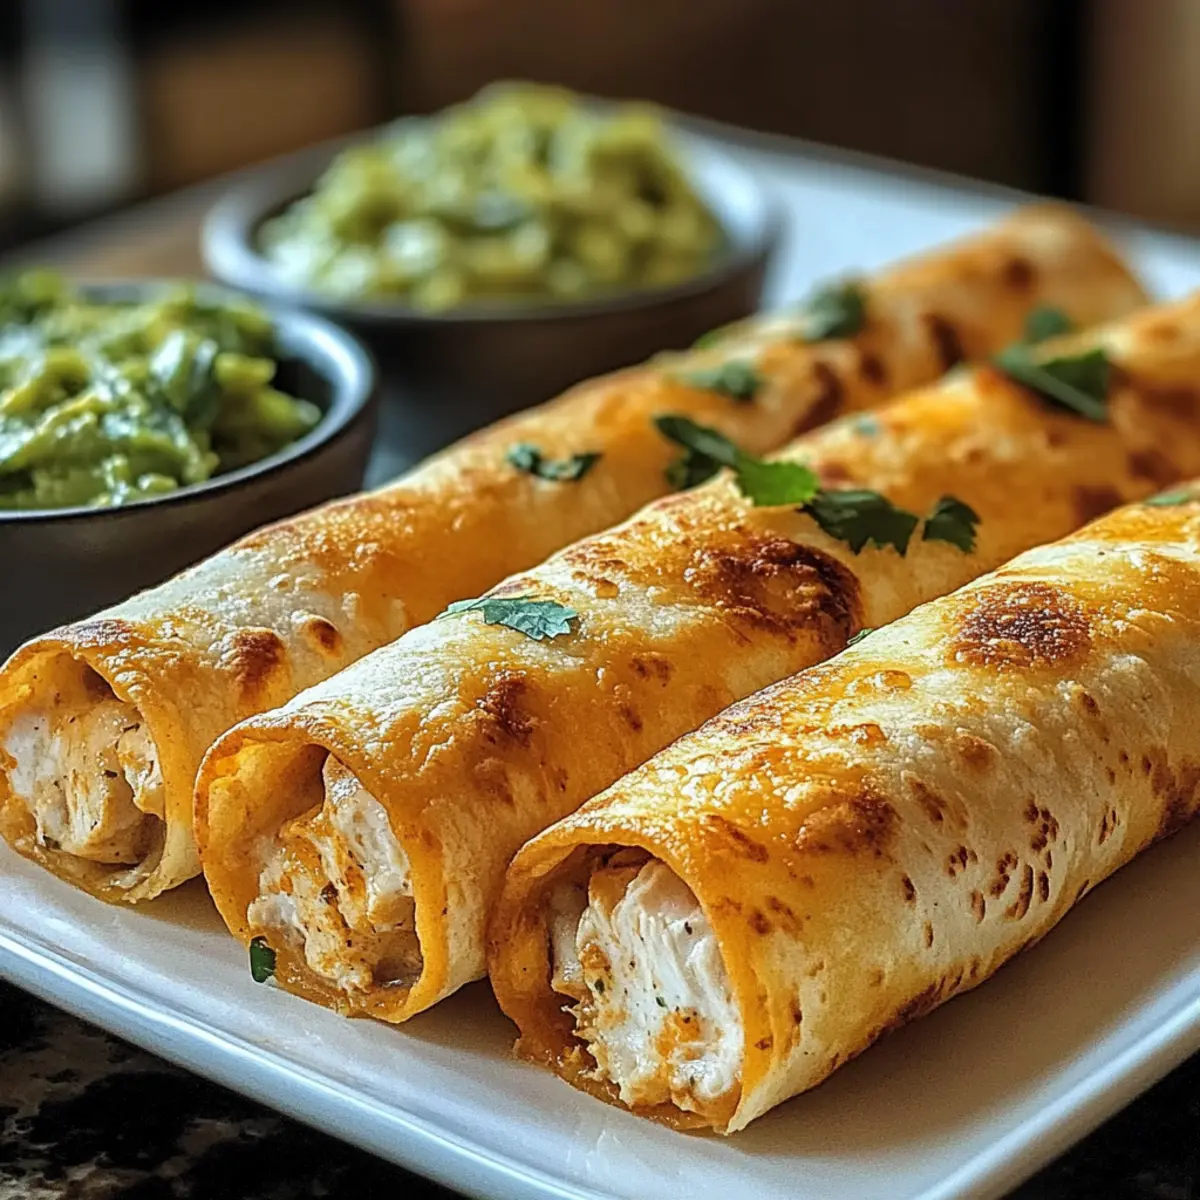
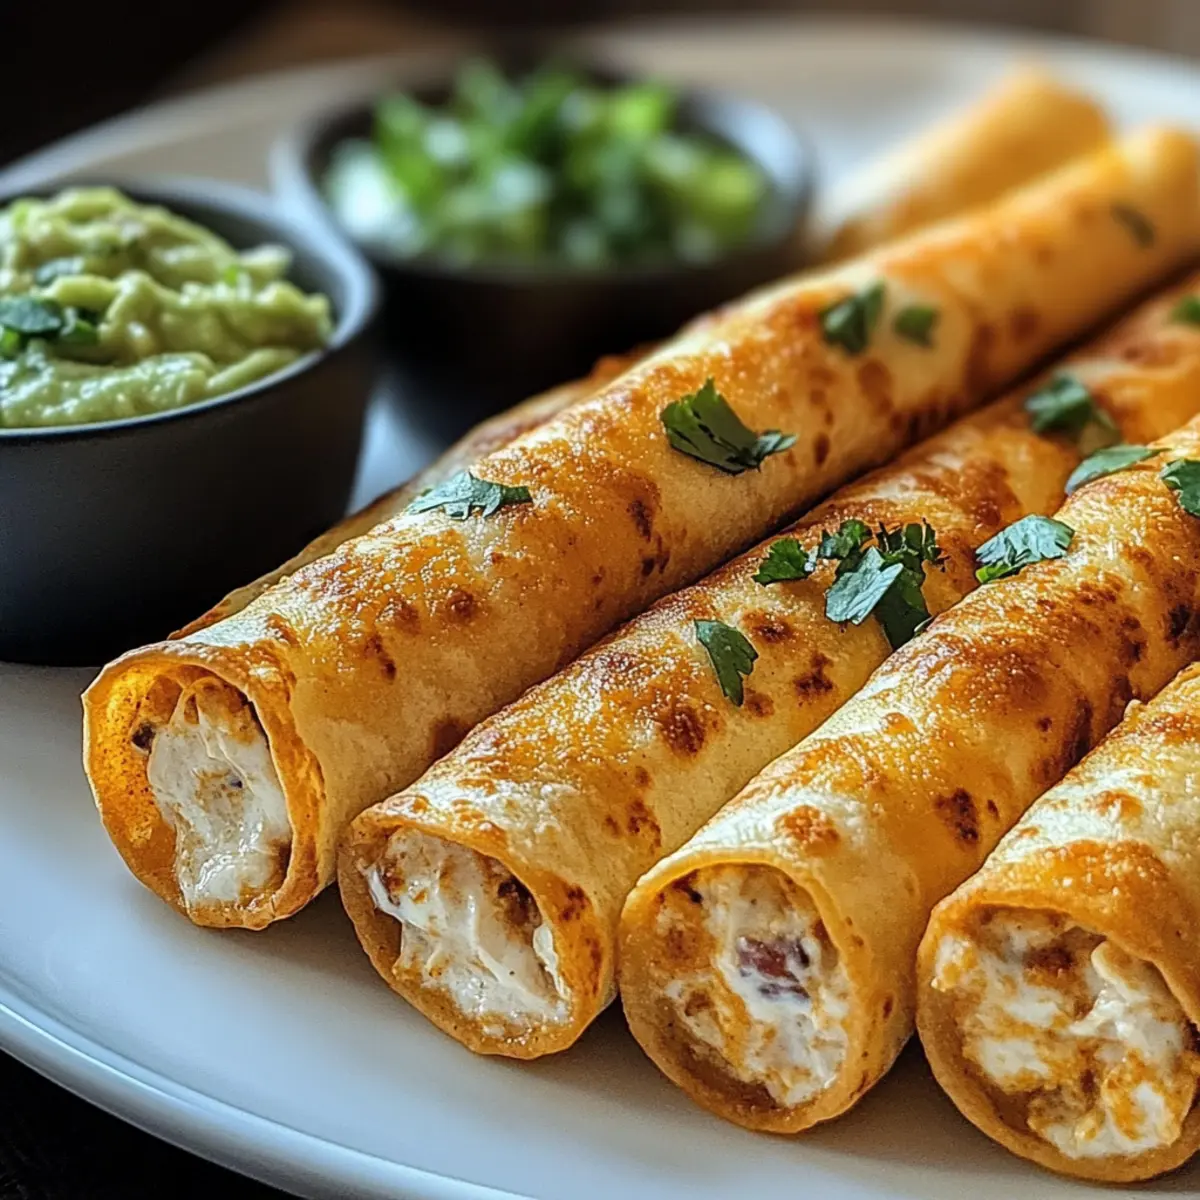
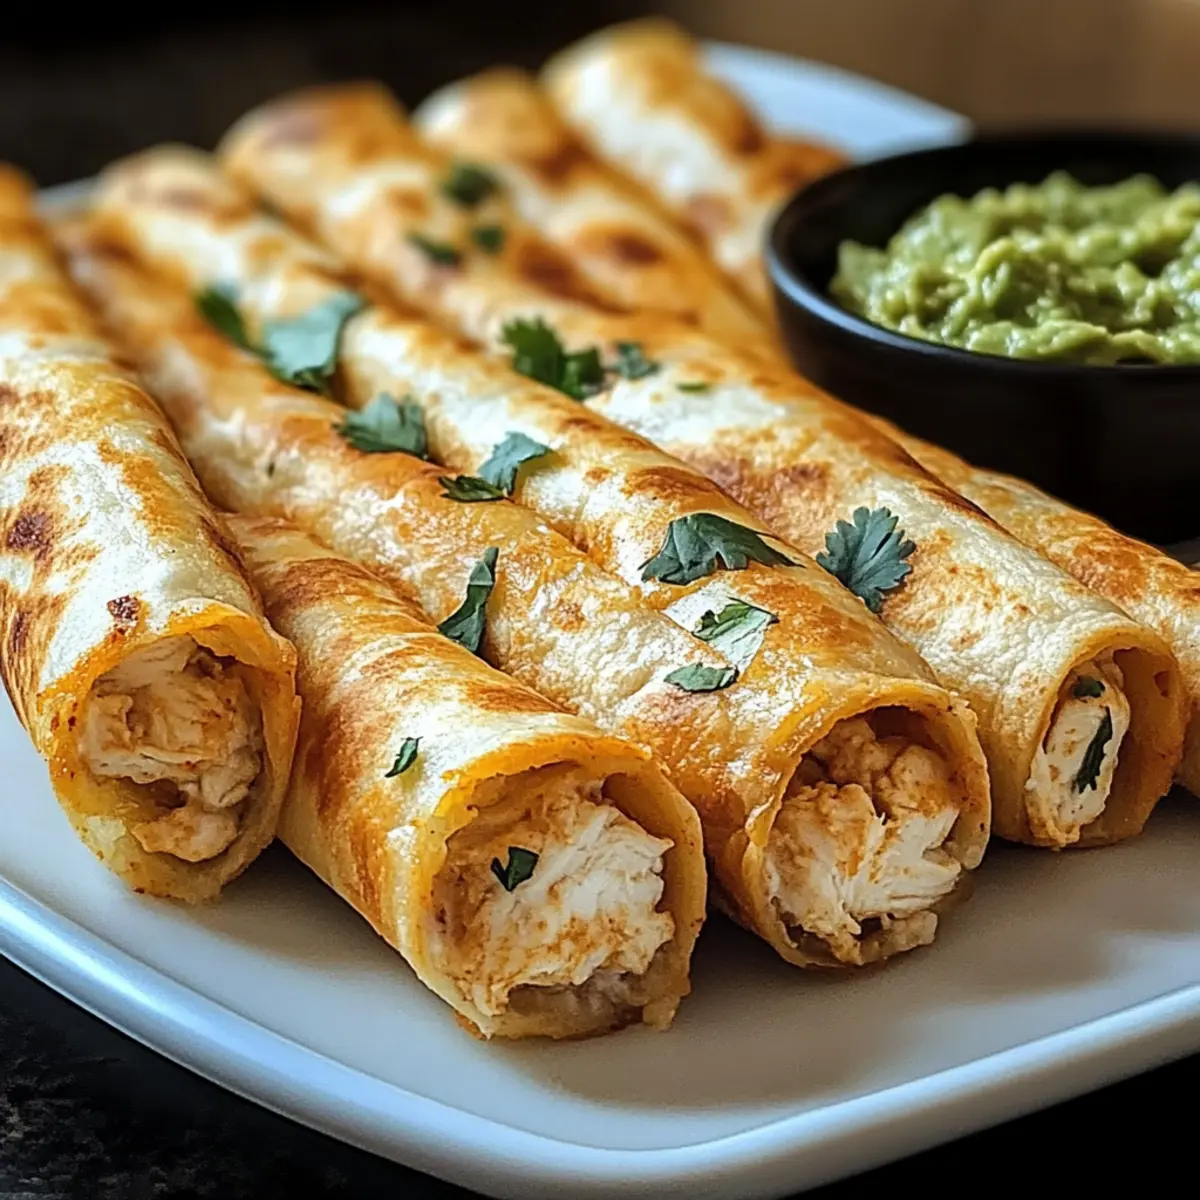
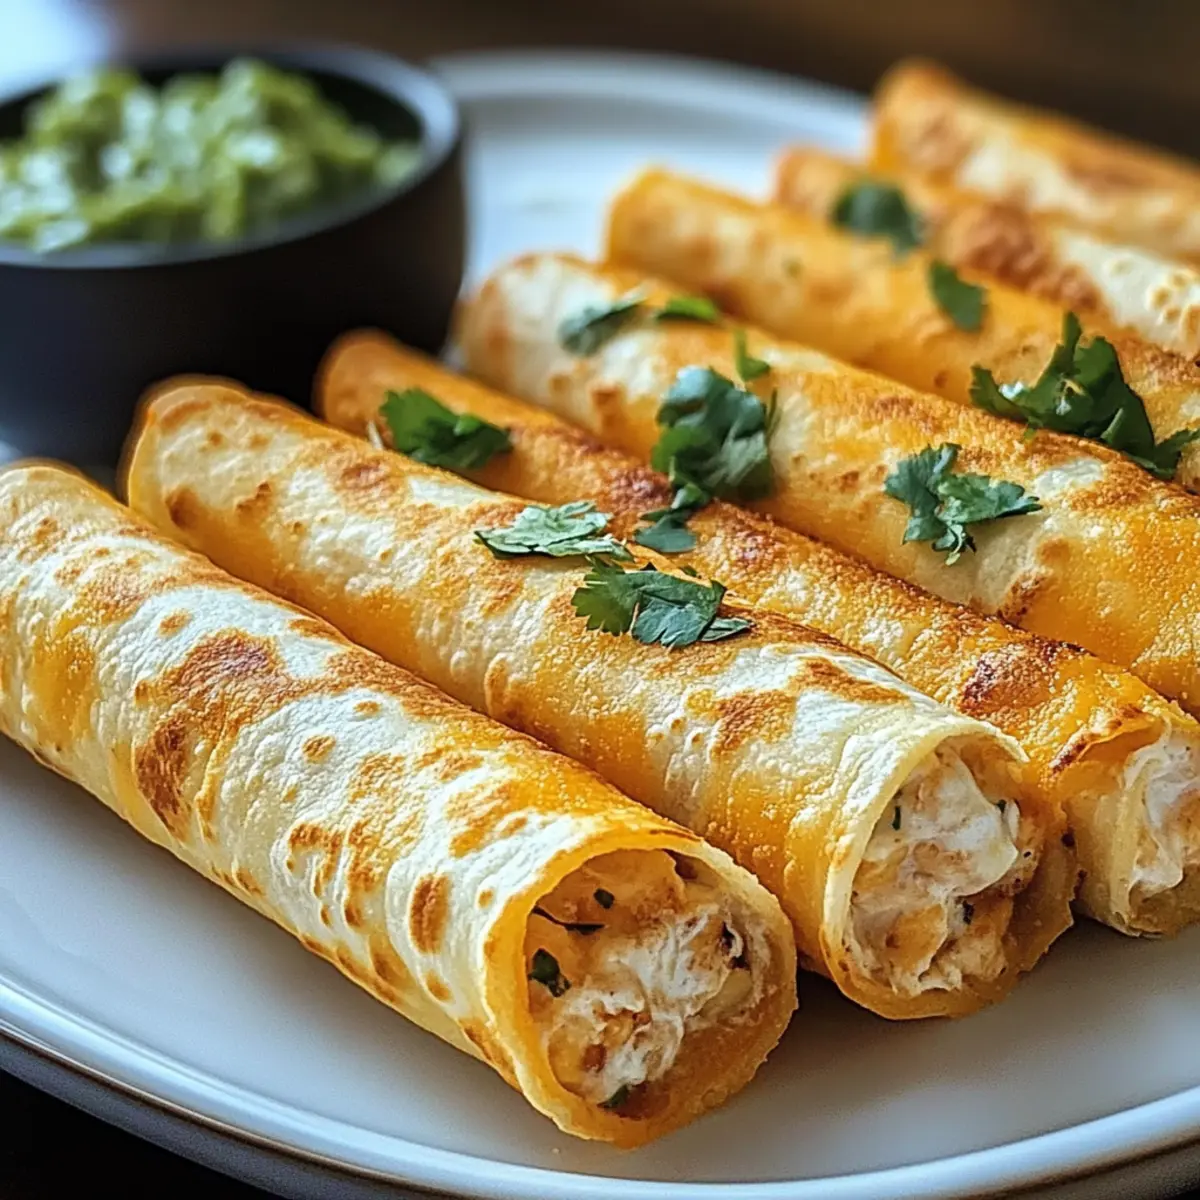
Crowd-Pleasing Snack: Perfect for parties or family movie nights, everyone will love these flavorful rolls. Don’t forget to serve them with dipping sauces like guacamole or sour cream for an added treat!
Crispy Chicken Taquitos Ingredients
Get ready to roll!
For the Filling
- Cooked Shredded Chicken – Use rotisserie chicken for a quick and easy protein option.
- Cream Cheese – Ensure it’s softened for a perfectly creamy filling.
- Shredded Cheese (Cheddar/Mexican Blend) – Adds flavor and helps bind the filling; feel free to use your favorite cheese.
- Salsa – Moistens the mixture and adds flavor; choose mild or spicy based on your preference.
- Garlic Powder – Enhances the taste; fresh garlic can be a great substitute for a bolder flavor.
- Chili Powder – Infuses warmth and spice; adjust according to your heat tolerance.
- Cumin – Adds an earthy depth to the filling; you can skip it if you’re out.
- Salt and Black Pepper – Don’t forget to season to your liking for balanced flavor.
For the Wrapper
- Tortillas (Flour or Corn) – Use corn tortillas for a gluten-free option; warming them prevents cracking.
- Cooking Spray or Oil – Lightly brush to enhance crispiness during baking or air-frying.
Enjoy crafting your own delicious Crispy Chicken Taquitos!
Step‑by‑Step Instructions for Crispy Chicken Taquitos
Step 1: Preheat the Oven
Begin by preheating your oven to 425°F (220°C). While the oven heats, line a baking sheet with parchment paper or lightly grease it with your preferred cooking spray. This preparation will prevent sticking and ensure your Crispy Chicken Taquitos are easy to remove once baked.
Step 2: Prepare the Filling
In a mixing bowl, combine your cooked shredded chicken, softened cream cheese, shredded cheese, salsa, garlic powder, chili powder, cumin, salt, and pepper. Mix these ingredients thoroughly until well combined—this will create a flavorful filling that will pack your taquitos with taste. Set aside to let the flavors meld together.
Step 3: Warm the Tortillas
To make your tortillas pliable and easier to roll without cracking, warm them in the microwave for about 20 seconds. This quick step is essential for achieving the perfect wrap around your delicious filling. Keep them covered with a clean towel to retain warmth while you prepare for the next step.
Step 4: Assemble the Taquitos
On a warmed tortilla, spoon 2-3 tablespoons of your filling onto one side. Carefully roll the tortilla tightly around the filling, tucking in the sides as you go to secure it. This careful assembly will help keep everything contained and make your Crispy Chicken Taquitos easy to handle and bake.
Step 5: Place on Baking Sheet
Position the rolled taquitos seam-side down on your prepared baking sheet. Ensure there’s space between each taquito for even cooking and crisping. Arranging them properly will help them bake uniformly, achieving that irresistible crunch you desire.
Step 6: Brush with Oil
Lightly brush the tops of the taquitos with cooking oil or spray them with cooking spray. This step is key to achieving a golden-brown finish and crisp texture during baking. The oil will help enhance the flavors and create that satisfying crunch that makes Crispy Chicken Taquitos so delightful.
Step 7: Bake until Crispy
Slide the baking sheet into your preheated oven and let the taquitos bake for 15-20 minutes. Keep an eye on them, and when they turn golden and crispy, you’ll know they’re ready. For an extra layer of crunch, consider broiling them for 1-2 minutes at the end, watching carefully to avoid burning.
Step 8: Serve and Enjoy
Once the taquitos are beautifully crisped, remove them from the oven and let them cool slightly. Serve warm with your favorite accompaniments, such as sour cream, guacamole, or salsa, to elevate your eating experience. Delight in the flavors of your homemade Crispy Chicken Taquitos, made fresh just for you!
Expert Tips for Crispy Chicken Taquitos
• Warm Tortillas First: Ensure your tortillas are warm before filling them. This prevents cracking and makes rolling much easier, resulting in perfectly wrapped crispy chicken taquitos.
• Customize to Your Taste: Don’t hesitate to mix and match ingredients! Spice up your filling with jalapeños or add vegetables like spinach for a health boost.
• Perfect Cooking Time: Keep an eye on your taquitos while baking. A golden-brown exterior indicates they’re crispy and ready; broil them briefly for extra crunch.
• Chill or Freeze Ahead: Prepare taquitos in advance by chilling them for up to 24 hours or freeze them. Bake directly from frozen, adding a few extra minutes to cooking time.
• Watch for Filling Overload: Avoid overstuffing your tortillas. Using 2-3 tablespoons of filling is ideal to ensure they roll tightly without bursting.
Crispy Chicken Taquitos Variations & Substitutions
Get ready to unleash your creativity—these taquitos can be easily customized to suit your taste!
-
Protein Swap: Substitute chicken with ground beef or turkey for a different twist. This simple change still delivers that comforting, savory essence we love.
-
Vegetable Boost: Add sautéed spinach, bell peppers, or corn to your filling. Not only does it enhance nutrition, but it also brings delightful color and texture.
-
Vegan Option: Replace cream cheese with a dairy-free alternative and use soy crumble or black beans instead of chicken. You’ll enjoy a tasty, plant-based version of the classic.
-
Cheese Vibes: Experiment with different types of cheese like pepper jack for added flavor or mozzarella for a gooey texture. Each blend brings a unique twist to your taquitos.
-
Flavor Infusions: Spice up your salsa by using a chipotle or tomatillo variety for a smoky or tangy kick. Just a change in salsa transforms each bite into a flavor adventure!
-
Gluten-Free Delight: Stick to corn tortillas for your crispy chicken taquitos and explore with gluten-free flour tortillas as another option. Deliciousness without compromise!
-
Herb Seasoning: Toss in fresh herbs like cilantro or parsley into the filling for an extra burst of freshness. It elevates the taste, making your taquitos irresistible.
-
Heat It Up: If you enjoy heat, include diced jalapeños or a dash of hot sauce in the filling. Just be prepared for a flavor explosion that packs a punch!
And if you’re in need of more enticing chicken recipes, don’t miss out on my delicious Tandoori Chicken or crispy Homemade Chicken Nuggets!
Make Ahead Options
These Crispy Chicken Taquitos are perfect for busy home cooks looking to save time! You can assemble the taquitos and refrigerate them for up to 24 hours before baking. Simply roll the tortillas with the filling, place them seam-side down on a lined baking sheet, cover tightly with plastic wrap, and refrigerate. This will keep them fresh and flavorful. If you’re looking to prep even further in advance, feel free to freeze the assembled taquitos for up to 3 months. When you’re ready to enjoy, bake directly from the freezer, adding an extra few minutes to the cooking time to ensure they reach that crispy perfection! Just like homemade, they’re sure to impress your family and friends.
How to Store and Freeze Crispy Chicken Taquitos
Fridge: Place your leftover crispy chicken taquitos in an airtight container for up to 3 days. This helps maintain their flavor and prevents them from drying out.
Freezer: For longer storage, freeze the assembled but uncooked taquitos in a single layer on a baking sheet. Once frozen solid, transfer them to a zip-top freezer bag for up to 3 months.
Reheating: Bake or air-fry frozen taquitos directly from the freezer, adding an additional 5–7 minutes to the cooking time. This ensures they remain crispy and delicious!
Preparation Tip: If you plan to prepare your crispy chicken taquitos ahead of time, assemble them up to 24 hours in advance, keeping them covered in the fridge before cooking.
What to Serve with Crispy Chicken Taquitos?
Transform your taquito experience with delightful sides and pairings that elevate the meal!
- Guacamole: Creamy and refreshing, it balances the crunchy taquitos with its smooth texture and vibrant flavor.
- Sour Cream: A classic companion, this adds a cooling element that enhances the spices in the fillings.
- Mexican Street Corn Salad: This zesty salad brings a sweet and tangy crunch that contrasts beautifully with the crispy taquitos.
- Pico de Gallo: Fresh and juicy, this salsa brightens the plate with its colorful tomatoes, onions, and cilantro, making each bite pop.
- Refried Beans: Creamy and rich, they provide a hearty side, complementing the taquitos while adding protein to your meal.
- Spicy Salsa Verde: For those who crave heat, a zesty salsa verde pairs perfectly, adding a burst of flavor that’ll keep you reaching for more.
- Queso Dip: Creamy and cheesy, this indulgent dip is perfect for dunking your taquitos, creating an utterly delicious snack experience.
- Chilled White Sangria: Light and fruity, this refreshing drink adds a festive flair, making your taquito night even more cheerful.
- Churros: End your meal on a sweet note with these sugary, cinnamon-dusted delights, contrasting the savory taquitos beautifully.
- Cilantro Lime Rice: Fragrant and zesty, this versatile side enhances the meal with bright lime notes that pair phenomenally with the taquitos.
Crispy Chicken Taquitos Recipe FAQs
How do I select the right chicken for my taquitos?
Absolutely! Using cooked shredded chicken, like rotisserie, is the most convenient option. Just ensure it’s moist and flavorful, as this will impact your filling. If you’re cooking chicken from scratch, poach or bake it plain and shred it once cooled. Adding seasoning will make all the difference!
How should I store leftover taquitos?
Very easy! Place your leftover crispy chicken taquitos in an airtight container in the fridge for up to 3 days. This will keep them fresh and help prevent them from drying out. Before eating, you can reheat them in the oven or air fryer to restore that delightful crunch.
Can I freeze taquitos for later use?
Absolutely! To freeze, assemble the uncooked taquitos and place them in a single layer on a baking sheet. Once frozen solid (about 1-2 hours), transfer them to a zip-top freezer bag. They can be stored in the freezer for up to 3 months. When you’re ready to eat, bake directly from frozen, adding an extra 5-7 minutes to the cooking time for that perfect crispy finish.
What if my tortillas crack while rolling?
Don’t worry; this happens sometimes! To prevent this, be sure to warm the tortillas in the microwave for about 20 seconds before filling them. If you encounter cracks despite warming, you can try using a bit of extra filling to help them seal better. Alternatively, a little water on the edges can aid in sticking.
Are there gluten-free options for the taquito wrappers?
Of course! Using corn tortillas is a fantastic gluten-free option for making your crispy chicken taquitos. Make sure to warm them before rolling to ensure they don’t crack. Many brands offer gluten-free tortillas that taste delicious while keeping your snack aware of dietary needs!
Can my pets eat the taquitos?
It’s best to keep these taquitos away from your furry friends. Ingredients like onion and certain spices are not safe for pets. While a tiny amount of unseasoned chicken might be okay, the filling is specifically tailored for human enjoyment, so it’s better to keep those delicious bites all to yourself!
Crispy Chicken Taquitos: Your New Favorite Homemade Snack
Ingredients
Equipment
Method
- Preheat your oven to 425°F (220°C). Line a baking sheet with parchment paper or lightly grease it.
- In a mixing bowl, combine cooked shredded chicken, softened cream cheese, shredded cheese, salsa, garlic powder, chili powder, cumin, salt, and pepper. Mix thoroughly.
- Warm tortillas in the microwave for about 20 seconds to make them pliable.
- On a warmed tortilla, spoon 2-3 tablespoons of filling onto one side and roll tightly.
- Position the rolled taquitos seam-side down on your prepared baking sheet, leaving space between each.
- Lightly brush the tops of the taquitos with cooking oil or spray.
- Bake for 15-20 minutes until golden and crispy, optionally broil for 1-2 minutes for extra crunch.
- Remove from the oven, let cool slightly, and serve with accompaniments like sour cream or guacamole.