

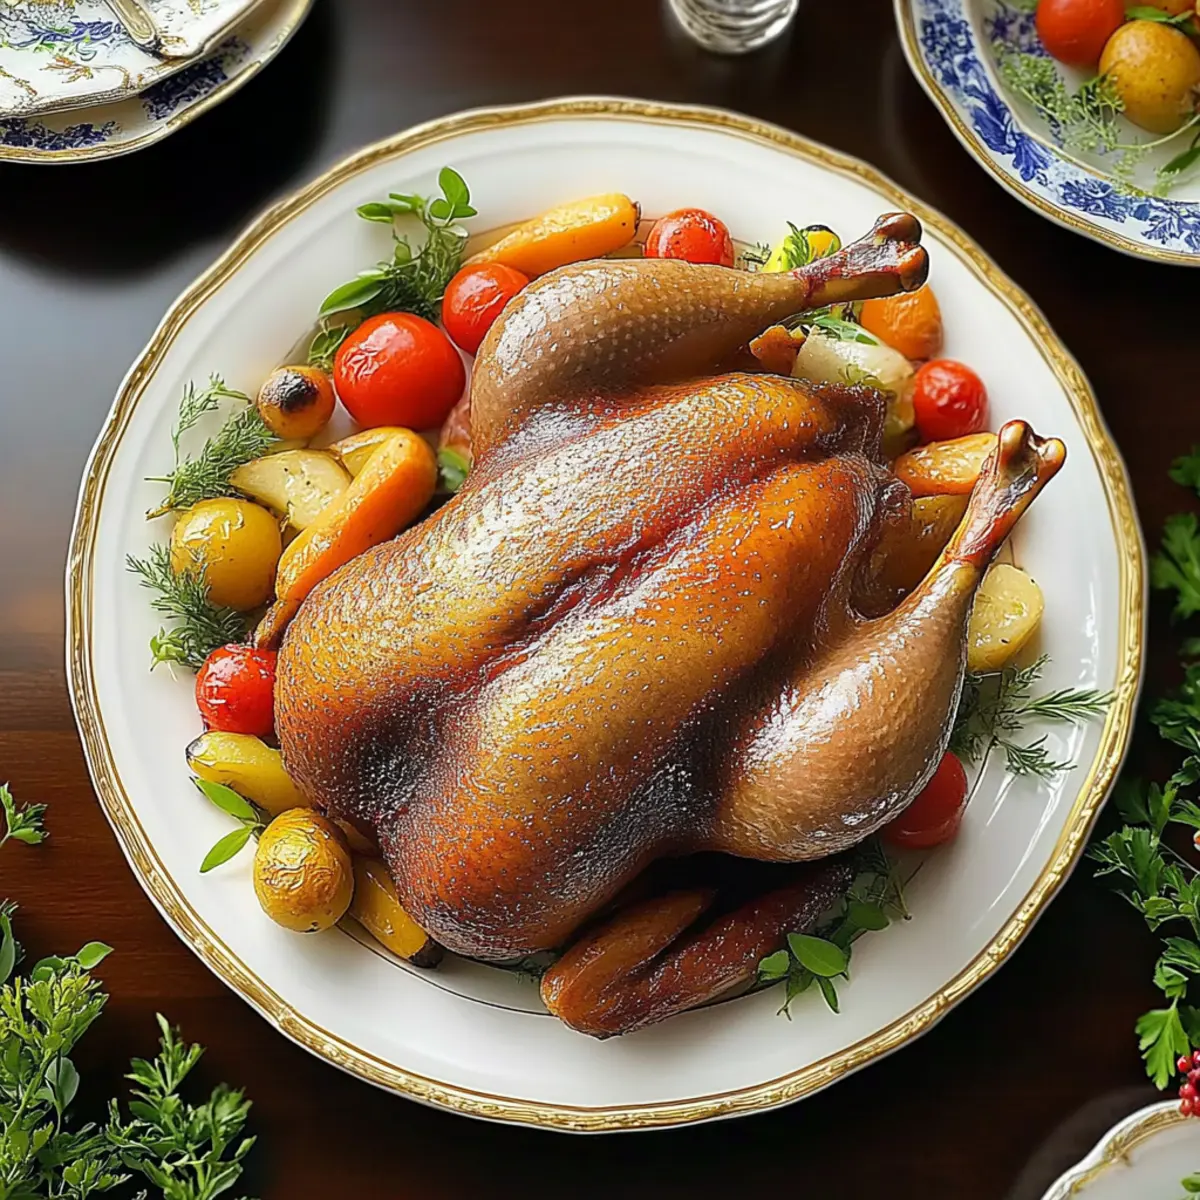
As I entered my kitchen, a comforting wave of nostalgia washed over me, reminding me of family gatherings steeped in laughter and love. It was then that I decided to recreate Grandma’s Roasted Duck, a dish that has the power to transform ordinary nights into cherished celebrations. This heartwarming recipe showcases a succulent duck with perfectly crispy skin, making it an irresistible comfort food choice for special occasions or holiday feasts. Not only is it gluten-free, but it’s also surprisingly straightforward to prepare, ensuring you don’t spend hours slaving away in the kitchen. With endless variations to make it uniquely yours, like a zesty citrus glaze or aromatic herb-infused rub, every bite tells a story. Are you ready to fill your home with the tantalizing aroma of roasted duck? Let’s get started!
Why is This Roasted Duck So Special?
Nostalgic, Comforting Flavor: Each bite brings back warm memories around the dinner table, making every meal feel like a celebration.
Savory Simplicity: With just a handful of ingredients, this recipe proves that delicious doesn’t have to be complicated.
Versatile Delight: From herb-infused to a sweet citrus glaze, the variations allow you to tailor this dish to your taste, ensuring it’s always a hit.
Impressive Crowds: Perfect for holidays or gatherings, this showstopper will leave your guests raving and asking for the recipe. Check out how it pairs beautifully with Roasted Tomato Ricotta for a complete meal!
Quick Make-Ahead Options: With the ability to prep the rub in advance, you can easily whip this up even on busy days, making weeknight dinners feel extra special.
Grandma’s Roasted Duck Ingredients
For the Duck
• Domestic Duck (4 to 5 pounds) – The star of the dish, providing rich, succulent flavor. Best used as is for authentic taste.
For the Seasoning Rub
• Sugar (3 tablespoons) – Enhances browning and balances flavors; brown sugar can substitute for a richer taste.
• Salt (¾ teaspoon) – Essential for seasoning; sea salt or kosher salt recommended for a delightful touch.
• Ground Cloves (¼ teaspoon) – Adds warm, aromatic flavor; can be replaced with ground allspice if needed.
• Pepper (¼ teaspoon) – Provides subtle heat; any type of black or white pepper works.
For Roasting
• Water (2 teaspoons) – Creates a moist roasting environment; broth may be used for additional flavor.
Now that you have all the ingredients ready, let’s bring Grandma’s Roasted Duck to life!
Step‑by‑Step Instructions for Grandma’s Roasted Duck
Step 1: Preheat the Oven
Begin by preheating your oven to 325°F (163°C). This is an essential step, as a properly heated oven will ensure even roasting of your Grandma’s Roasted Duck. While the oven warms up, gather your ingredients and equipment, including a roasting pan and a fork for piercing the duck skin.
Step 2: Prepare the Duck
With the oven preheating, take the domestic duck and use a fork to pierce the skin all over. This crucial action allows the fat to escape during the roasting process, resulting in perfectly crispy skin. Make sure to poke enough holes to encourage proper browning without puncturing the meat.
Step 3: Mix the Seasoning Rub
In a small bowl, combine sugar, salt, ground cloves, and pepper. This aromatic rub elevates the flavor of Grandma’s Roasted Duck. Once mixed, generously apply the rub all over the duck, massaging it into the skin to ensure even coverage. This will create a delicious crust while imparting rich flavors during roasting.
Step 4: Arrange for Roasting
Place the seasoned duck breast-side up on a rack in a shallow roasting pan. This rack allows air circulation, ensuring consistent cooking. Pour about 1 inch of water into the bottom of the pan to keep the environment moist and help with the rendering of the fat throughout the roasting process.
Step 5: Roast the Duck
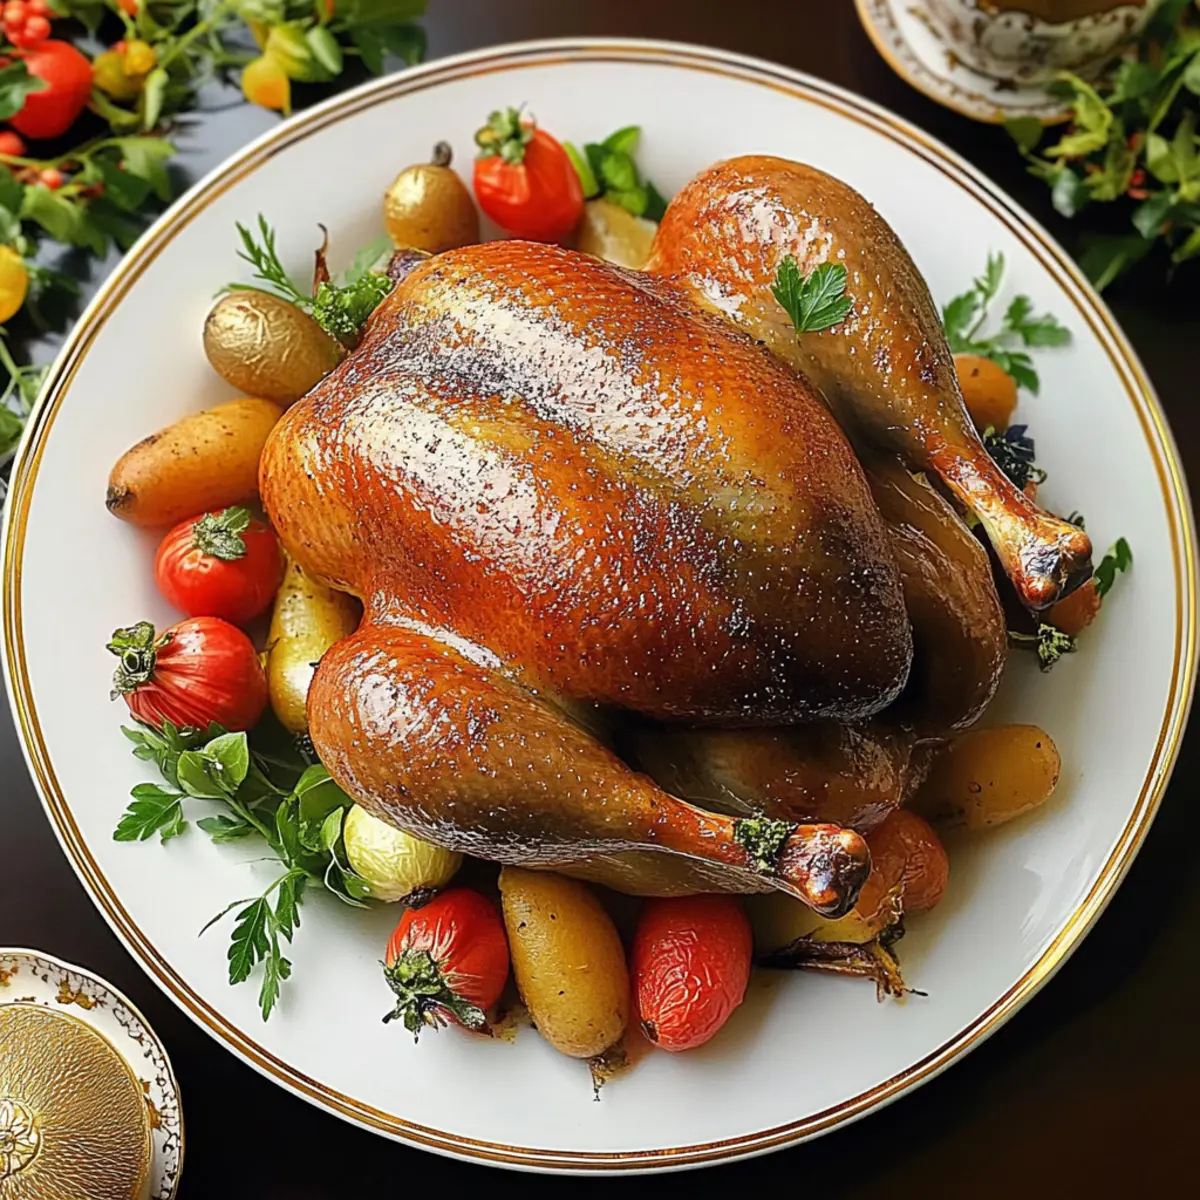
Carefully slide the duck into the oven and roast it uncovered for approximately 1 hour and 45 minutes. During this time, keep an eye on the skin; it should turn a beautiful golden brown. When a meat thermometer registers 180°F (82°C) in the thickest part of the thigh, you’ll know your Grandma’s Roasted Duck is perfectly cooked.
Step 6: Let it Rest
Once the duck reaches the ideal temperature, remove it from the oven and allow it to rest for about 15 minutes before carving. This resting period enables the juices to redistribute, ensuring every bite of your Grandma’s Roasted Duck is moist and flavorful. Use this time to prepare any side dishes or garnishes for serving.
Expert Tips for Grandma’s Roasted Duck
-
Piercing Technique: Ensure adequate skin piercing with a fork; this is essential for achieving that crispy skin as fat renders properly during roasting.
-
Resting Period: Always let the duck rest for about 15 minutes after roasting. This step is crucial for juicy, tender meat, preventing dryness.
-
Temperature Check: Use a meat thermometer to monitor the internal temperature. Overcooking will lead to dry meat, so aim for 180°F (82°C).
-
Broil for Crispiness: If the skin isn’t crispy enough when the duck is done, briefly broil it for additional crispiness, just a few minutes will suffice.
-
Prep Ahead: Consider preparing the seasoning rub up to 24 hours in advance. This not only saves time but also enhances the flavor of Grandma’s Roasted Duck.
-
Overcooking Warnings: Be cautious not to overcook the duck, as this can lead to toughness. Regularly check the temperature and remove it from the oven promptly.
Grandma’s Roasted Duck Variations
Feel free to get creative and tailor Grandma’s Roasted Duck to suit your taste buds!
-
Herb-Infused: Incorporate fresh thyme or rosemary into the rub for an aromatic experience. These herbs elevate the flavors, bringing a garden-fresh touch to every bite.
-
Citrus Glaze: In the last 30 minutes of roasting, brush the duck with a mixture of orange juice and honey for a bright, zesty finish. This glaze adds a delightful contrast to the savory flavors.
-
Spicy Kick: Add a pinch of cayenne pepper to the seasoning for a subtle heat that balances the richness of the duck. It offers a warm, tantalizing kick without overpowering.
-
Fruit Stuffing: Stuff the cavity with apples, oranges, or figs before roasting for an infusion of sweetness. The fruit caramelizes as the duck cooks, creating a mouthwatering contrast that enhances the overall dish.
-
Maple Syrup: Swap out sugar for maple syrup in the rub for a rich, complex sweetness. This natural sweetener complements the duck’s flavor beautifully and immerses your senses in cozy vibes.
-
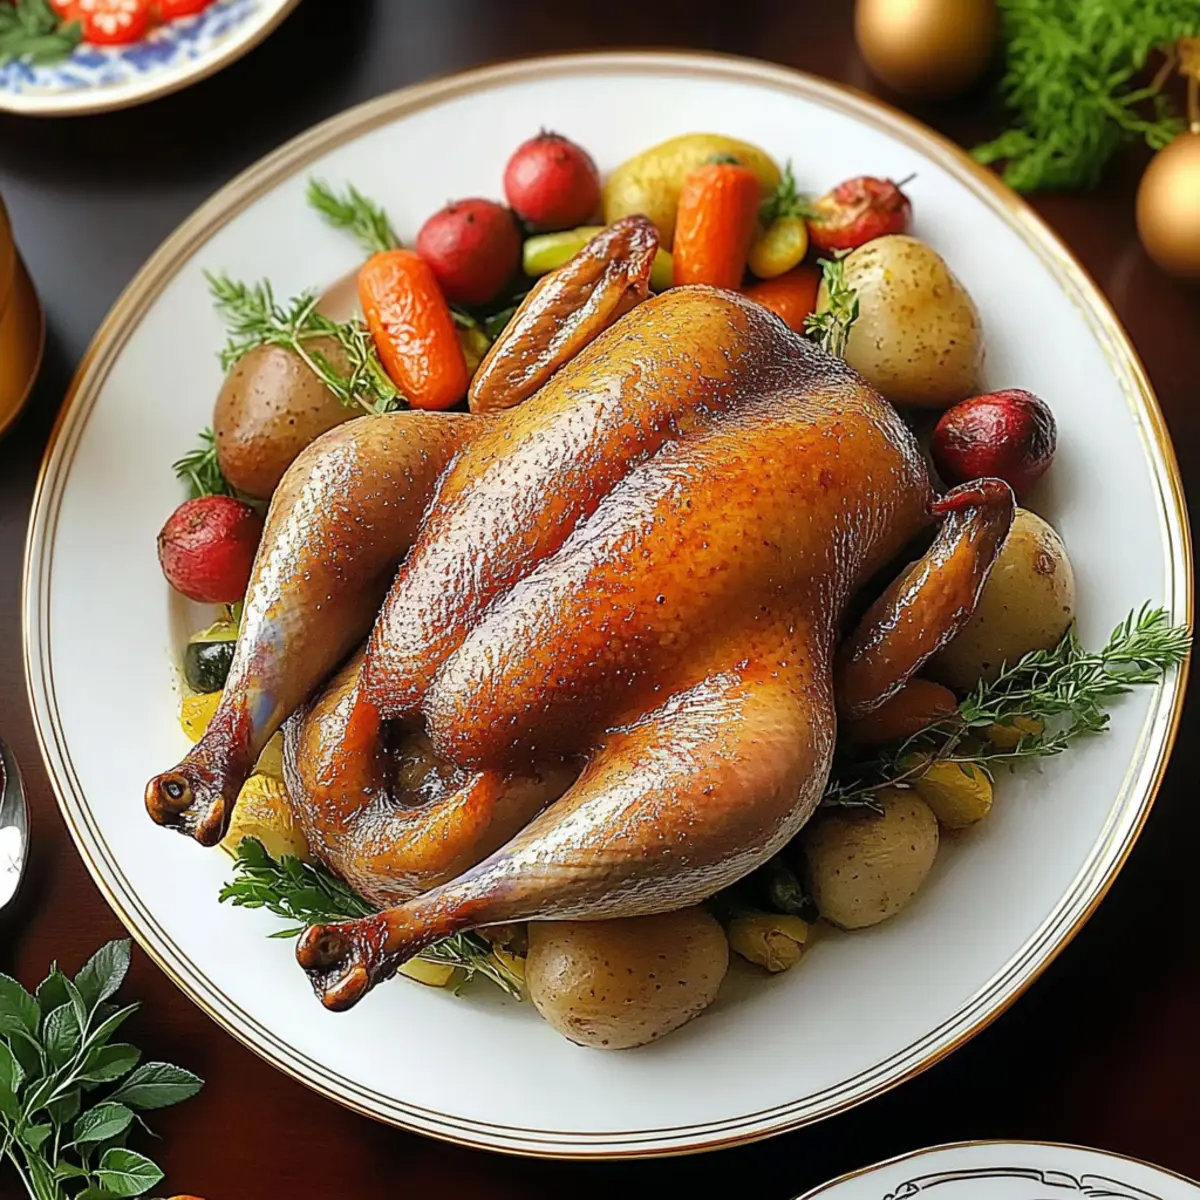
Root Vegetables: Roast chopped root vegetables—like carrots, parsnips, or sweet potatoes—alongside the duck for a colorful, hearty side. The veggies absorb the duck’s rich flavors, making it a complete meal.
-
Asian Fusion: Brush the duck with soy sauce and ginger during the last 20 minutes for a savory twist that pays tribute to bold Asian flavors. This variation will dazzle your taste buds with its umami goodness.
If you’re looking to experience a different flavor profile, try pairing this dish with something light and complementary, like Roasted Tomato Ricotta. Every bite tells a story when you mix and match in cooking!
Make Ahead Options
These Grandma’s Roasted Duck make-ahead tips are perfect for busy home cooks looking to simplify their meal planning! You can prepare the seasoning rub up to 24 hours in advance; just mix the sugar, salt, cloves, and pepper, then store it in an airtight container in the fridge to keep flavors fresh. Additionally, you can pierce the duck skin and apply the rub up to 12 hours ahead, ensuring the flavors infuse beautifully before roasting. When you’re ready to serve, simply place the duck in the oven, roast as instructed, and enjoy delicious, stress-free dining that will impress your family!
What to Serve with Grandma’s Roasted Duck?
Creating a delightful dining experience begins with thoughtful pairings that enhance the flavors of your dish.
-
Creamy Mashed Potatoes: The buttery, smooth texture of mashed potatoes complements the rich, savory notes of the roasted duck beautifully. Their warmth adds an extra layer of comfort to every bite.
-
Honey-Glazed Carrots: Sweet and slightly caramelized, these carrots balance the savory duck. Their vibrant color and tenderness brighten up the plate and bring a pleasing crunch.
-
Garlicky Sautéed Greens: Fresh greens sautéed with garlic lift the meal’s richness and add a delightful touch of bitterness, ensuring every forkful feels balanced and satisfying. This vibrant addition brings freshness to your table.
-
Savory Stuffing: A hearty stuffing, infused with herbs and broth, rounds out the meal. The textures and flavors work harmoniously with the duck, making for a fulfilling family feast.
-
Cranberry Sauce: The tartness of homemade cranberry sauce cuts through the richness of the duck, elevating the dish beautifully. It’s a must-have for any festive gathering, providing a pop of color and flavor.
-
Light Garden Salad: A simple salad with mixed greens and vinaigrette refreshes the palate and adds a rejuvenating crunch that balances the richness of the duck. Consider tossing in some nuts or berries for added texture and flavor.
-
Red Wine: A glass of full-bodied red wine perfectly complements Grandma’s Roasted Duck, enhancing the savory flavors and making your gathering feel even more special.
-
Dark Chocolate Mousse: End your meal with a touch of indulgence. The rich, creamy texture of chocolate mousse provides a sweet contrast to the savory duck, wrapping up the dining experience on a high note.
Storage Tips for Grandma’s Roasted Duck
Fridge: Refrigerate any leftover duck in an airtight container for up to 3 days to maintain its flavor and moisture.
Freezer: For longer storage, tightly wrap portions of Grandma’s Roasted Duck in plastic wrap, followed by aluminum foil, and freeze for up to 3 months.
Reheating: When ready to enjoy, thaw the duck overnight in the fridge and reheat in a 350°F (175°C) oven until warmed through, ensuring it remains juicy and tender.
Serving Suggestion: Pair reheated duck with a fresh salad or roasted vegetables to create a delightful meal even on busy days!

Grandma’s Roasted Duck Recipe FAQs
How do I choose the best duck for roasting?
Absolutely! When selecting a duck, look for one that feels heavy for its size, with smooth and glossy skin. Ideally, you want a domestic duck weighing between 4 to 5 pounds, as this size is perfect for even cooking and maintains a succulent flavor. Avoid any ducks with dark spots or blemishes on the skin, which may indicate quality issues.
What are the best storage methods for leftover roasted duck?
For optimal storage, place leftover Grandma’s Roasted Duck in an airtight container and refrigerate it for up to 3 days. If you want to store it for a longer period, tightly wrap portions in plastic wrap and then in aluminum foil, freezing them for up to 3 months. When you’re ready to enjoy it again, simply thaw in the fridge overnight and reheat gently in a 350°F (175°C) oven until warmed through.
Can I freeze Grandma’s Roasted Duck?
Yes! Freezing is a great way to extend the life of your roasted duck. To do so, cut the duck into portions if necessary, then securely wrap each piece in plastic wrap and follow with aluminum foil to prevent freezer burn. This way, you can preserve its juicy texture and flavor for up to 3 months. Just make sure to label the packaging with the date!
What should I do if the skin isn’t crispy enough?
The crispy skin is important for that classic roasted duck experience! If you find that the skin isn’t as crispy as you’d like after roasting, simply turn on the broiler for the last 2-3 minutes of cooking. Keep a close eye on it, as the broiler’s heat can quickly turn the skin from golden brown to burnt!
Are there any dietary considerations when serving duck?
Very! When serving Grandma’s Roasted Duck, consider your guests’ dietary restrictions. Duck is naturally gluten-free, making it a fantastic option for those with gluten sensitivities. However, be mindful of allergies related to spices or any specific variations you may choose to make, such as a citrus glaze or herb rub. Always check on any potential allergens before serving!
Can I prepare the seasoning rub in advance?
Definitely! Preparing the seasoning rub up to 24 hours in advance is not only convenient but also enhances the flavor of the duck. Simply mix the sugar, salt, ground cloves, and pepper, store it in an airtight container, and keep it refrigerated until you’re ready to use it. This makes the process smoother and allows the flavors to meld beautifully!
Grandma’s Roasted Duck: A Heartwarming Family Favorite
Ingredients
Equipment
Method
- Preheat your oven to 325°F (163°C).
- Pierce the skin of the domestic duck all over with a fork.
- In a small bowl, combine sugar, salt, ground cloves, and pepper. Apply the rub all over the duck.
- Place the seasoned duck breast-side up on a rack in a shallow roasting pan and pour about 1 inch of water into the bottom of the pan.
- Roast the duck uncovered for approximately 1 hour and 45 minutes until golden brown and a meat thermometer registers 180°F (82°C).
- Remove the duck from the oven and let it rest for about 15 minutes before carving.