

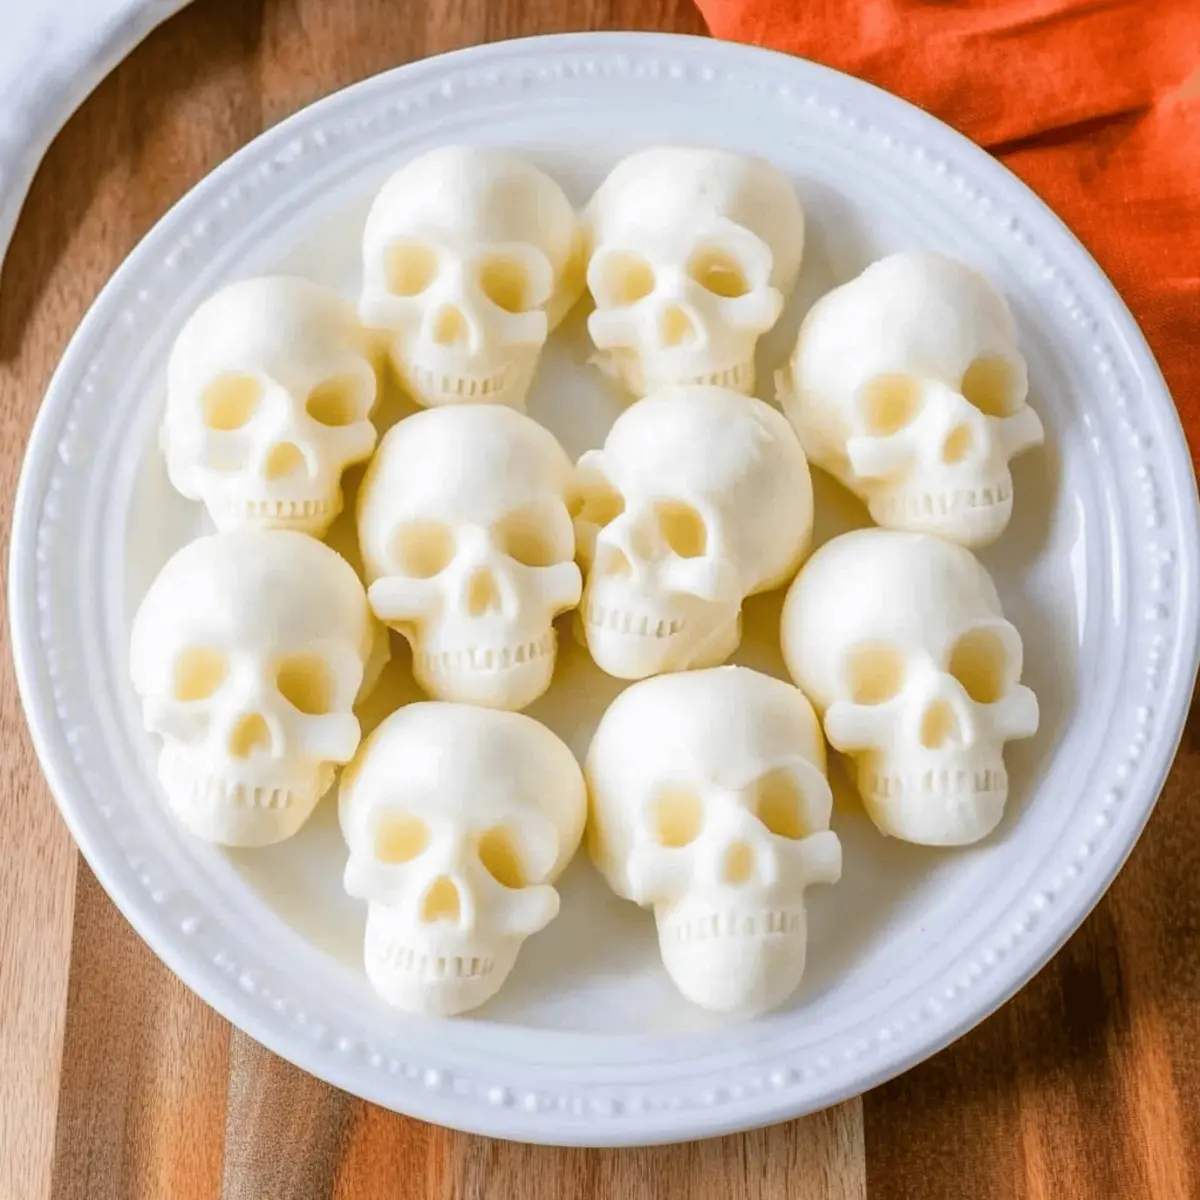
As I rummaged through my pantry for Halloween inspiration, a lightbulb flickered: what if we could blend the spooky with the scrumptious? That’s how these Mozzarella Cheese Skulls came to life! With their eerie yet delightful shape, they make an unforgettable centerpiece for any Halloween gathering—perfect for charcuterie boards or as playful appetizers that guests will be raving about. Plus, they’re incredibly simple to make, ensuring you’ll have plenty of time to enjoy the festivities. Not only do they deliver a fun twist to your spread, but they’re gluten-free, making them a crowd-pleaser even for those with dietary needs. Ready to add some cheesy charm to your Halloween festivities? Let’s dive in!
Why Are These Cheese Skulls So Special?
Uniquely Spooky: These Mozzarella Cheese Skulls aren’t just ordinary snacks; they’re a festive conversation starter at your Halloween bash.
Easy to Make: With just a few simple steps, you can whip up a batch that will impress your guests without breaking a sweat.
Gooey Delight: The soft, creamy texture paired with an eye-catching shape makes every bite fun and delicious.
Versatile Options: Pair them with your favorite dips, or toss them into a Halloween charcuterie board to elevate your appetizer game—just like my Patriotic Mini Cheesecakes add a festive flair!
Diet Friendly: Plus, they’re gluten-free, ensuring everyone can indulge in this delight.
Make-Ahead Joy: Prepare these cheesy treats ahead of time to enjoy hassle-free entertaining on Halloween night!
Mozzarella Cheese Skulls Ingredients
For the Skulls
• Mini Mozzarella Balls – These small cheese balls provide a creamy texture and mild flavor; ciliegine is your best bet from the deli section.
• Silicone Skull Mold – Essential for shaping your mozzarella into spooky forms; make sure it’s oven-safe to withstand the baking process.
For Topping (Optional)
• Balsamic Glaze – Drizzle over the cheese skulls for a tangy kick that is both delicious and visually appealing.
• Fresh Herbs (like Basil or Parsley) – Great for adding a fresh touch; consider them for garnish to enhance the look and taste.
With these ingredients for your Mozzarella Cheese Skulls, you’ll be ready to create unforgettable spooky delights for your Halloween celebration!
Step‑by‑Step Instructions for Mozzarella Cheese Skulls
Step 1: Preheat the Oven
Begin by preheating your oven to 350°F (175°C). This temperature ensures that our mozzarella cheese will melt perfectly without losing its shape. While the oven warms up, gather your mini mozzarella balls and silicone skull mold—this is what will give your cheese its spooky, festive form!
Step 2: Prepare the Mozzarella
Once the oven is preheated, take a paper towel and blot each mini mozzarella ball to remove excess moisture. This drying step is crucial for achieving that ideal gooey texture without overly watery cheese. Make sure each ball is well-dried to ensure a beautiful presentation of your Mozzarella Cheese Skulls after baking.
Step 3: Fill the Mold
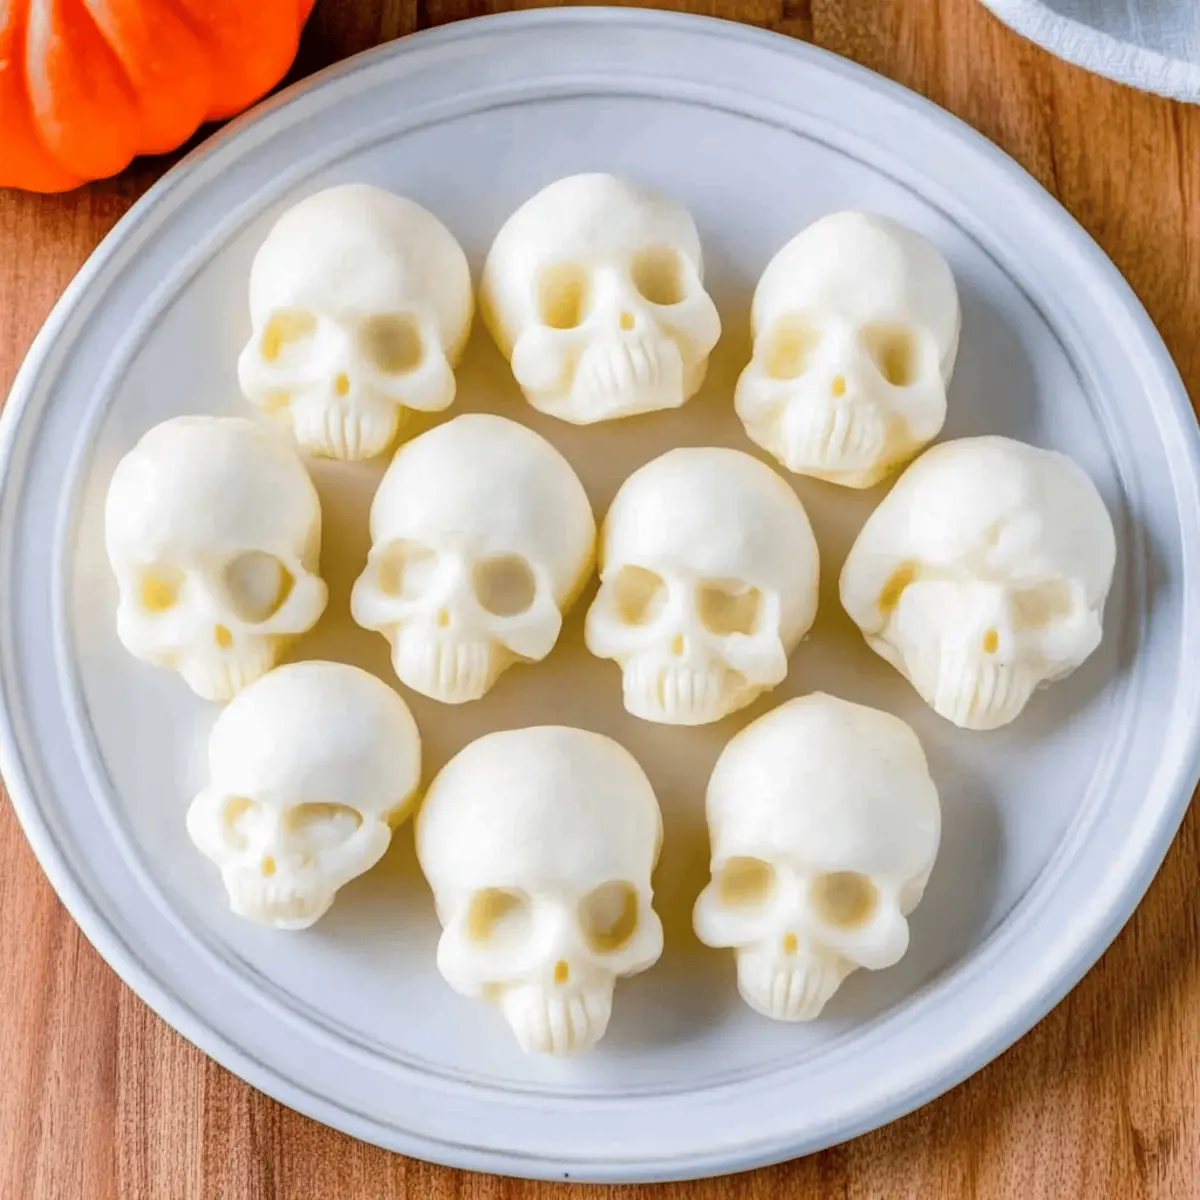
Carefully place one mozzarella ball into each cavity of the silicone skull mold, ensuring they fit snugly. The mold will guide the cheese into a spooky shape that’s perfect for your Halloween gathering. Take a moment to admire how cute and festive these mozzarella balls are as they prepare to transform into cheesy skulls!
Step 4: Bake the Mozzarella
Slide the filled silicone mold into your preheated oven and bake for about 8-10 minutes. Keep an eye on them! You want the mozzarella to soften just enough to spread but not melt completely into a puddle. You’ll know they’re ready when they begin to ooze slightly around the edges, giving that inviting gooey look.
Step 5: Shape the Skulls
Once baked, remove the mozzarella from the oven. Using a spoon, gently press the softened cheese further into the skull mold. This step will help define the spooky skull shapes, ensuring they stand out beautifully when served. Be careful, as the mold and cheese will be hot!
Step 6: Cool and Set
After you have shaped the mozzarella, allow the mold to cool at room temperature for a few minutes. Then, transfer it to the refrigerator and chill for about 10 minutes. This cooling period is essential for the mozzarella cheese skulls to firm up, making it easier to unmold them later.
Step 7: Unmold and Serve
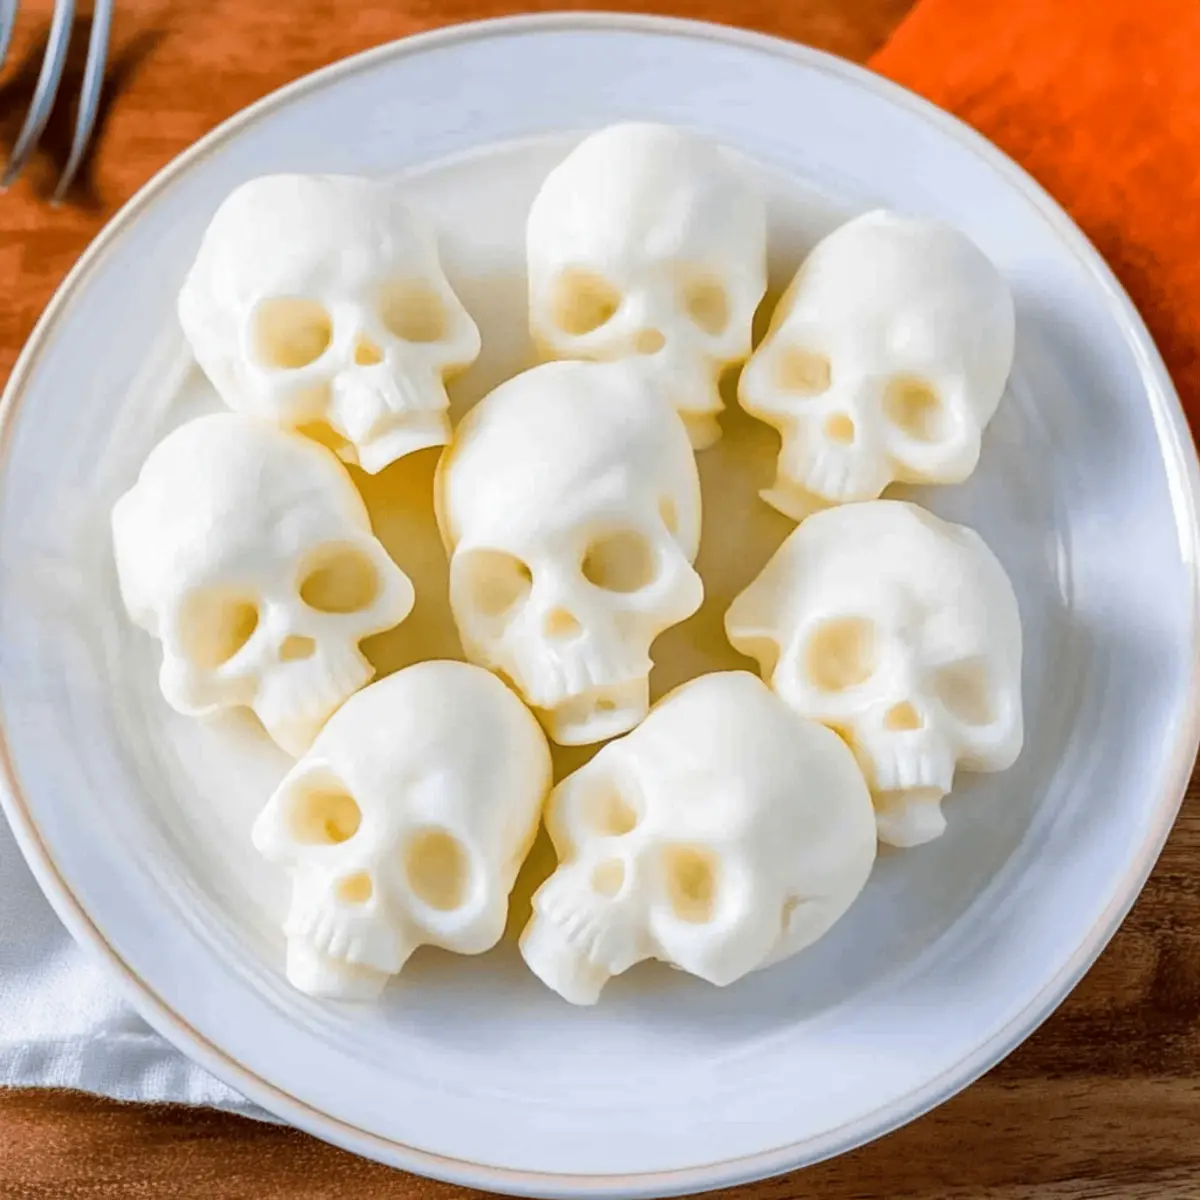
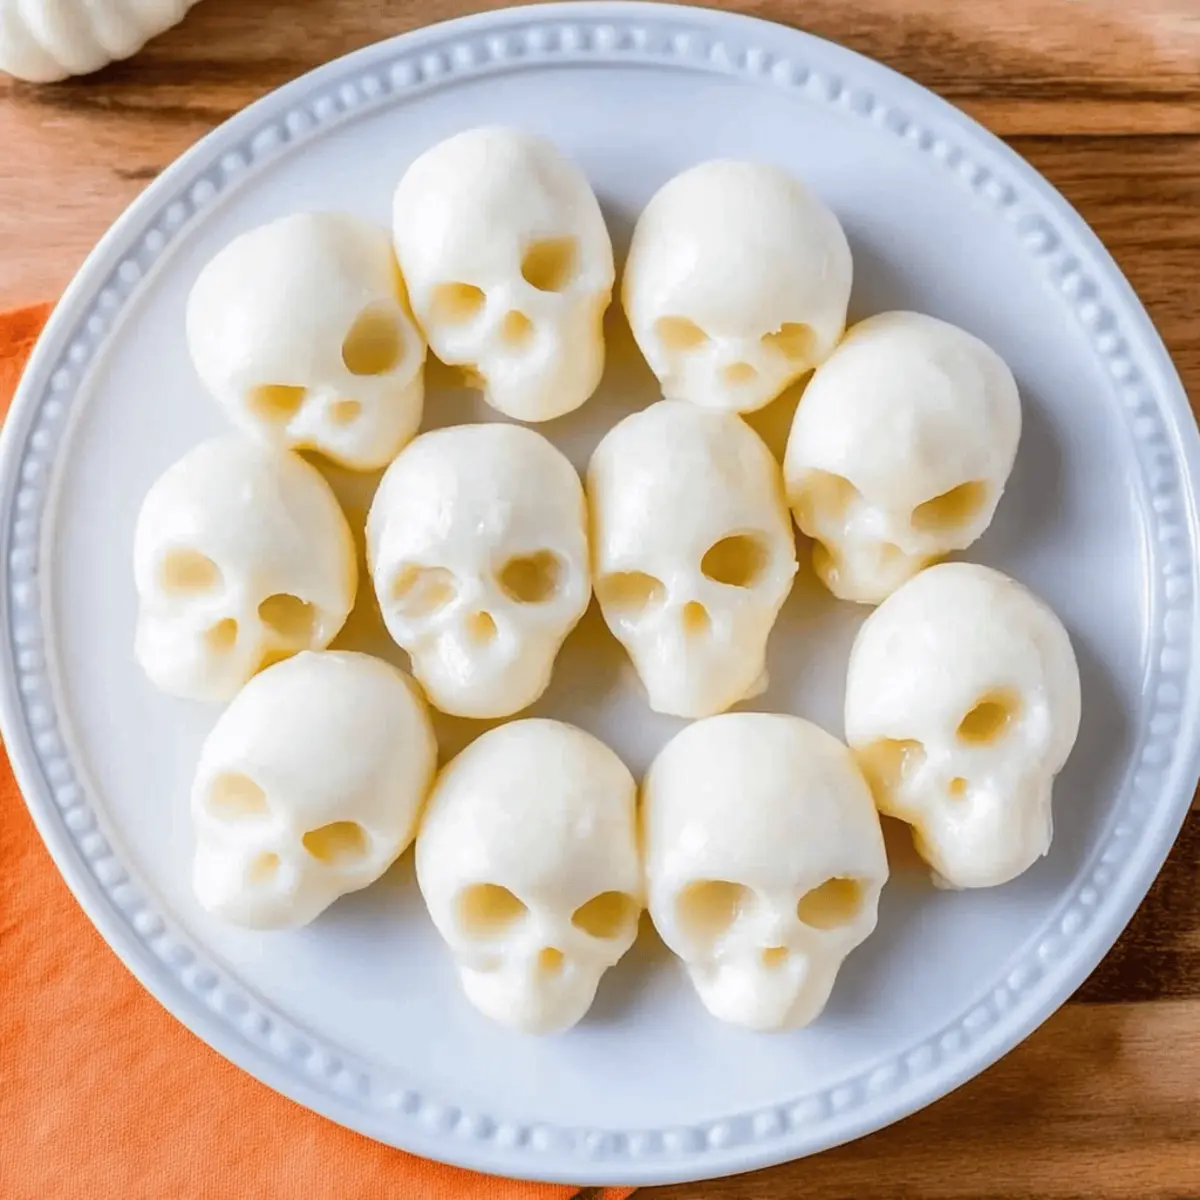
Finally, after they’ve cooled, gently press the bottom of each mold cavity to release your Mozzarella Cheese Skulls. Take your time; you want them to keep their spooky shape intact! Arrange them on a platter, and don’t hesitate to serve them with a drizzle of balsamic glaze or fresh herbs to enhance their festive appearance.
Make Ahead Options
These Mozzarella Cheese Skulls make for a perfect meal prep option for your Halloween gathering! You can prepare the cheese skulls up to 3 days in advance by following the recipe up until the baking step. Once shaped in the mold, simply cover them with plastic wrap and refrigerate to preserve their freshness and prevent drying out. When you’re ready to serve, bake the skulls as instructed, and they’ll be just as delicious and gooey as if made that day. This way, you can enjoy a stress-free Halloween evening, impressing your guests with minimal effort and maximum fun!
Storage Tips for Mozzarella Cheese Skulls
Fridge: Store leftover Mozzarella Cheese Skulls in an airtight container in the refrigerator for up to 3 days to maintain freshness and flavor.
Freezer: For long-term storage, freeze the cheese skulls in a single layer on a baking sheet, then transfer to a freezer bag for up to 1 month.
Reheating: To enjoy the skulls again, thaw them in the fridge overnight and reheat in the oven at 350°F (175°C) for 5-7 minutes, ensuring they remain gooey.
Serving Suggestions: If serving chilled, consider letting the skulls sit at room temperature for about 15 minutes before plating to enhance their creamy texture.
Mozzarella Cheese Skulls Variations
Feel free to put your own spin on these delightful mozzarella cheese skulls for an even more festive touch!
-
Herbed Variation: Add fresh herbs like basil or thyme into the cheese mixture for an aromatic twist. This not only elevates the flavor but also adds a pop of color!
-
Vegan Option: Swap mini mozzarella balls for plant-based cheese alternatives, such as cashew cheese or almond-based mozzarella. This makes the dish inclusive for your vegan friends while still indulging in the fun.
-
Spicy Addition: Sprinkle crushed red pepper flakes or a few dashes of hot sauce into the cheese before baking. This will give your skulls a fiery surprise that will surely amp up the party.
-
Ghoulish Color: Use natural food dyes to tint the mozzarella skulls in spooky colors like green or purple. This eye-catching approach heightens the Halloween atmosphere and makes your appetizer all the more memorable.
-
Cheesy Combo: Blend different cheeses, such as feta or cheddar, with the mozzarella for a robust flavor profile. This mix not only alters the taste but can also change the texture to suit your preferences.
-
Dipping Delight: Serve the mozzarella skulls with a side of zesty marinara or garlic aioli for dipping. This adds extra deliciousness while introducing another layer of fun to your presentation.
-
Savory Stuffing: Consider stuffing the skulls with a mixture of spinach and cream cheese before baking. This makes for a rich and savory bite that complements the creamy mozzarella and dares you to enjoy more.
-
Skull Salad: Toss your mozzarella skulls into a salad with seasonal ingredients like roasted pumpkin or cranberries, creating a perfect Halloween-themed dish that marries textures and flavors beautifully.
These variations will keep your guests excited and entertained while adding your personal touch to the spooky festivities! If you’re looking for more great ways to incorporate delicious bites into your gatherings, check out my Strawberry Cheesecake Bars or enjoy some rich Brownie Bottom Cheesecake dessert delights!
Expert Tips for Mozzarella Cheese Skulls
• Mold Matters: Ensure you’re using a high-quality silicone mold that’s oven-safe to prevent any melting or damage during the baking process.
• Moisture Control: Blot the mozzarella balls thoroughly; excess moisture can lead to watery skulls that lack the desired creamy texture.
• Gentle Pressing: When shaping the mozzarella, press gently but firmly to maintain the skull shape without overcompressing the cheese.
• Chilling Time: Don’t skip the cooling step! Allowing the skulls to firm up in the refrigerator helps them hold their shape when unmolding.
• Presentation Perfected: For a striking display, garnish your Mozzarella Cheese Skulls with fresh herbs or a drizzle of balsamic glaze to elevate both flavor and visual appeal.
What to Serve with Spooky Mozzarella Cheese Skulls
Pair your Halloween-themed cheese with delightful side dishes to create a festive feast.
-
Creamy Tomato Basil Soup: This classic combo warms the soul and complements the gooey mozzarella with rich and savory flavors. The soup’s acidity brightens each bite, inviting guests to indulge.
-
Charcuterie Board Bites: Include assorted meats, cheeses, and crackers for a gourmet touch. The variety adds depth and allows the mozzarella skulls to shine as the star of the board.
-
Olive Tapenade Crostini: Brushed with garlic olive oil, these crispy bites introduce a briny punch. The contrast between textures and flavors enhances the overall experience, providing a salty counterpart to your creamy treats.
-
Spicy Roasted Pumpkin Seeds: These crunchy nuggets pack a flavorful kick and a touch of Halloween spirit. Their nutty flavor balances out the richness of the mozzarella, creating a pleasant interplay of taste.
-
Mixed Greens Salad: Toss together fresh greens with festive toppings like cranberries and candied pecans. The refreshing crunch adds a delightful contrast to the soft mozzarella skulls, bringing balance to the meal.
-
Blackberry Thyme Lemonade: Serve this tangy, refreshing drink to cleanse the palate. Its bright acidity pairs perfectly with the rich mozzarella, making for an inviting seasonal sip.
-
Ghostly Cupcakes: For dessert, these adorable treats bring sweetness and whimsy. Topped with a light buttercream, they provide a sugary finish that rounds out the spooky festivities.
Mozzarella Cheese Skulls Recipe FAQs
What type of mozzarella balls should I use for the Mozzarella Cheese Skulls?
I recommend using mini mozzarella balls, specifically ciliegine, as they provide a creamy texture and mild flavor that’s perfect for shaping into skulls. These small cheese balls are typically found in the deli or cheese section of your grocery store.
How should I store leftover Mozzarella Cheese Skulls?
To keep your leftover mozzarella skulls fresh, store them in an airtight container in the refrigerator for up to 3 days. Be sure to separate them with parchment paper if they’re stacked, to prevent any sticking!
Can I freeze Mozzarella Cheese Skulls?
Absolutely! To freeze your cheese skulls, first lay them out in a single layer on a baking sheet and freeze them until solid. Then, transfer the frozen skulls into a freezer bag, where they can be stored for up to 1 month. Just be sure to thaw them in the fridge overnight before reheating!
What should I do if my mozzarella doesn’t stay in the skull shape after baking?
If your mozzarella skulls lose their shape, it could be due to excess moisture. Ensure you blot each mozzarella ball thoroughly before baking. Also, when pressing the cheese into the mold, make sure to apply gentle but firm pressure—this helps to keep the skulls well-defined. If they do lose shape, you can still enjoy them as gooey cheese bites!
Are Mozzarella Cheese Skulls safe for people with lactose intolerance or dietary restrictions?
Mozzarella cheese generally contains less lactose than some other cheeses, but if you or your guests are highly sensitive, it’s best to consult a dietary expert or use lactose-free mozzarella alternatives to ensure everyone can enjoy these spooky delights.
Can pets eat Mozzarella Cheese Skulls?
While a small amount of mozzarella is usually safe for most dogs, you should avoid giving them the entire cheese skulls, especially if they contain any herbs or toppings like balsamic glaze that may not agree with their digestive system. Always consult your vet if you’re unsure!
Mouthwatering Mozzarella Cheese Skulls for Spooky Fun
Ingredients
Equipment
Method
- Preheat your oven to 350°F (175°C). Gather mini mozzarella balls and silicone skull mold.
- Blot each mini mozzarella ball with a paper towel to remove excess moisture.
- Place one mozzarella ball into each cavity of the silicone skull mold.
- Bake in the oven for 8-10 minutes until softened but not melted completely.
- Remove and gently press the softened cheese further into the skull mold.
- Allow to cool at room temperature for a few minutes, then chill in the refrigerator for 10 minutes.
- Gently unmold the cheese skulls and serve with balsamic glaze or fresh herbs.