

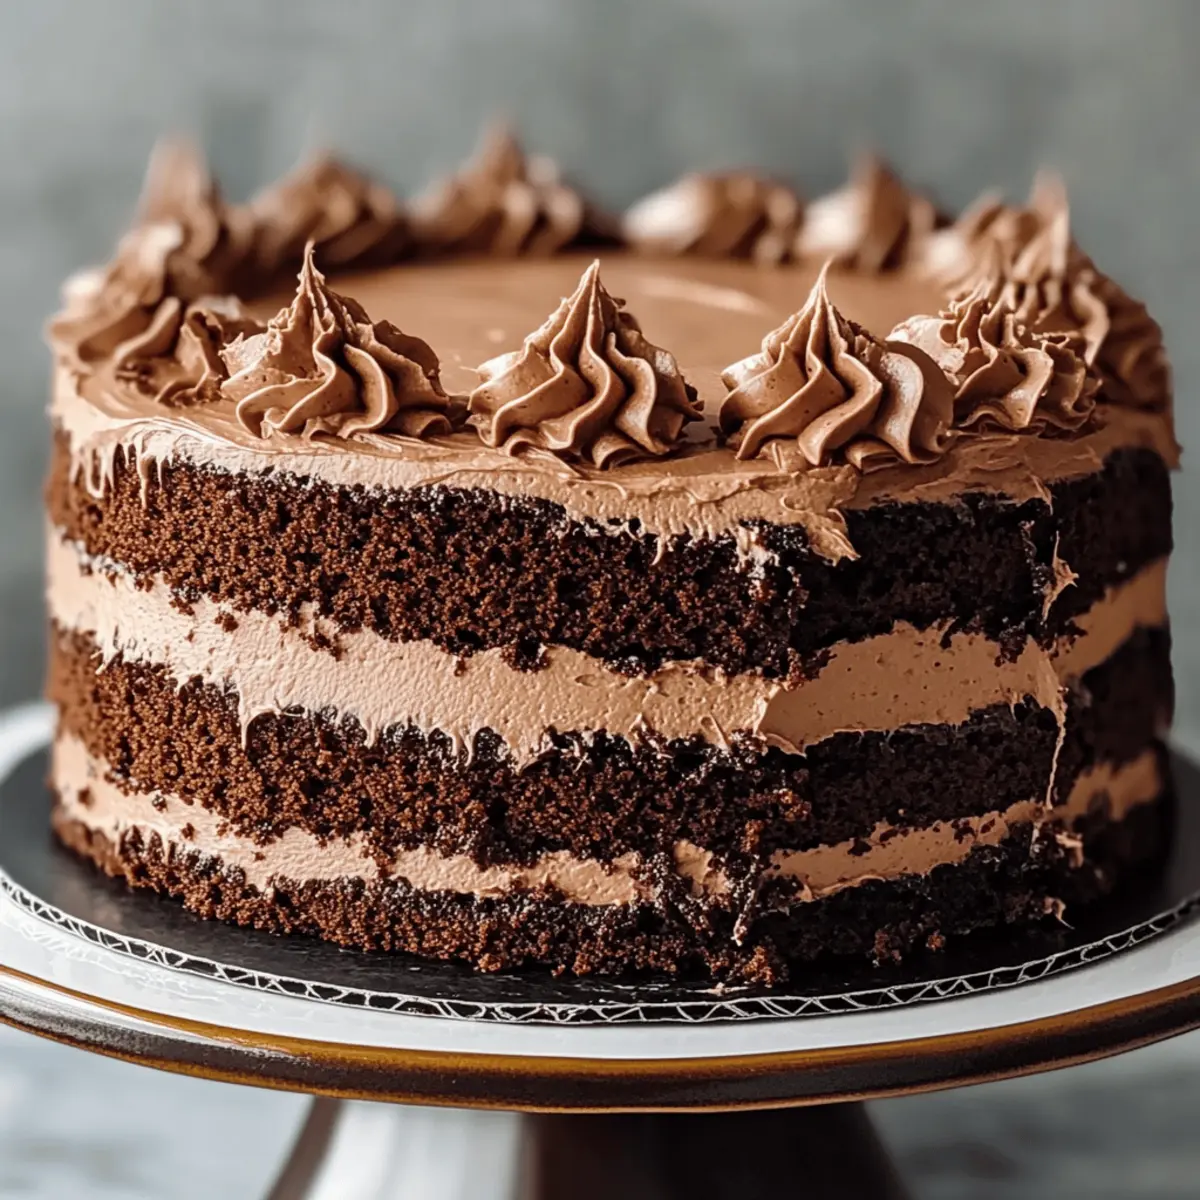
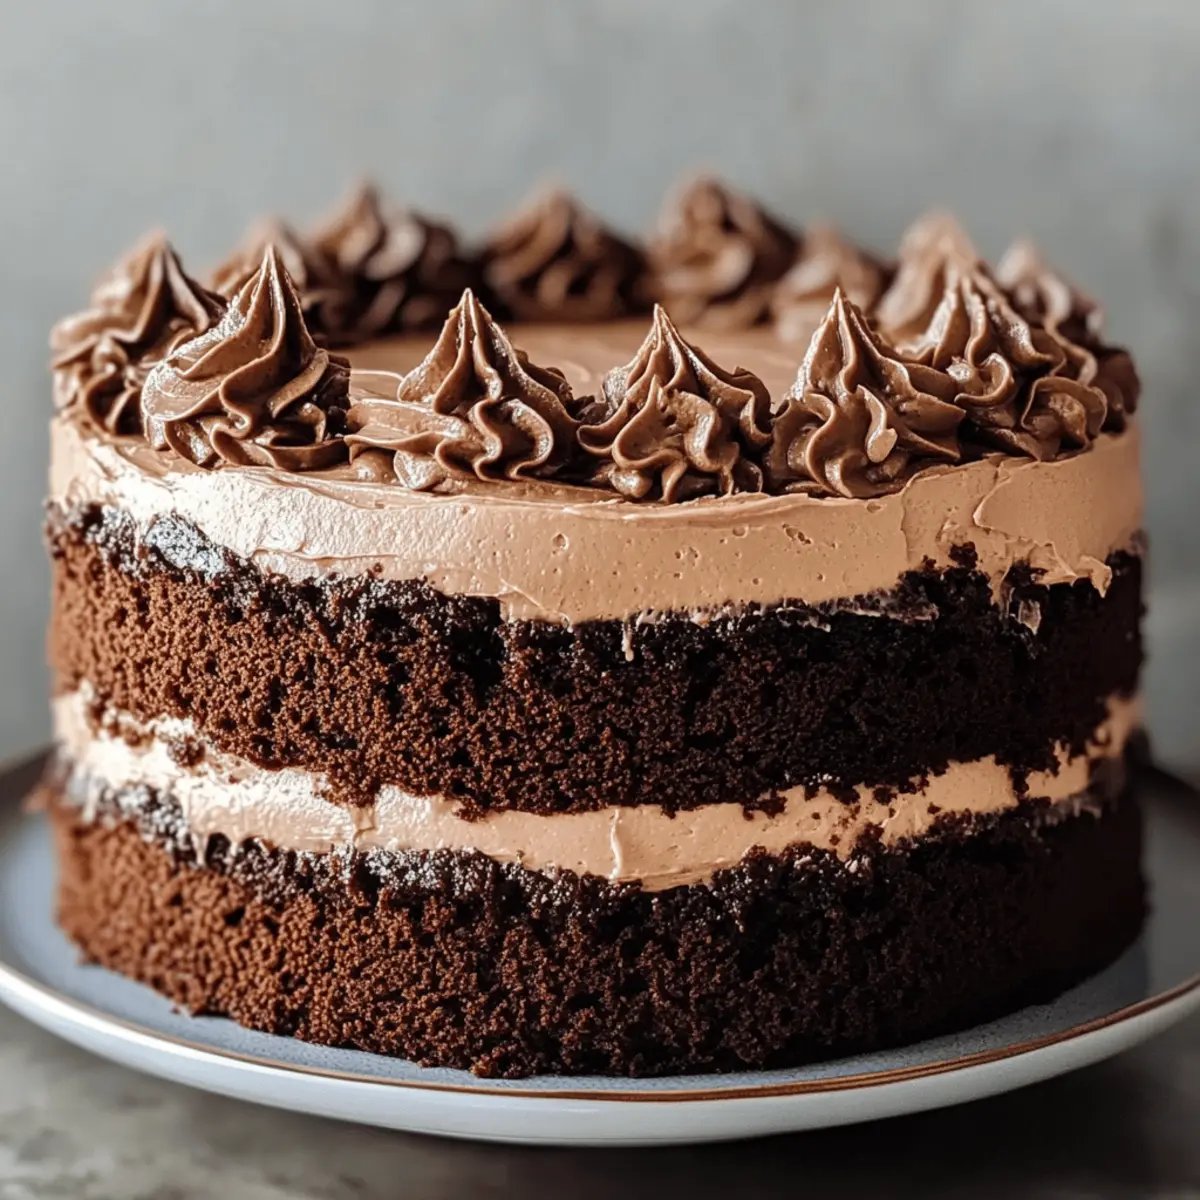
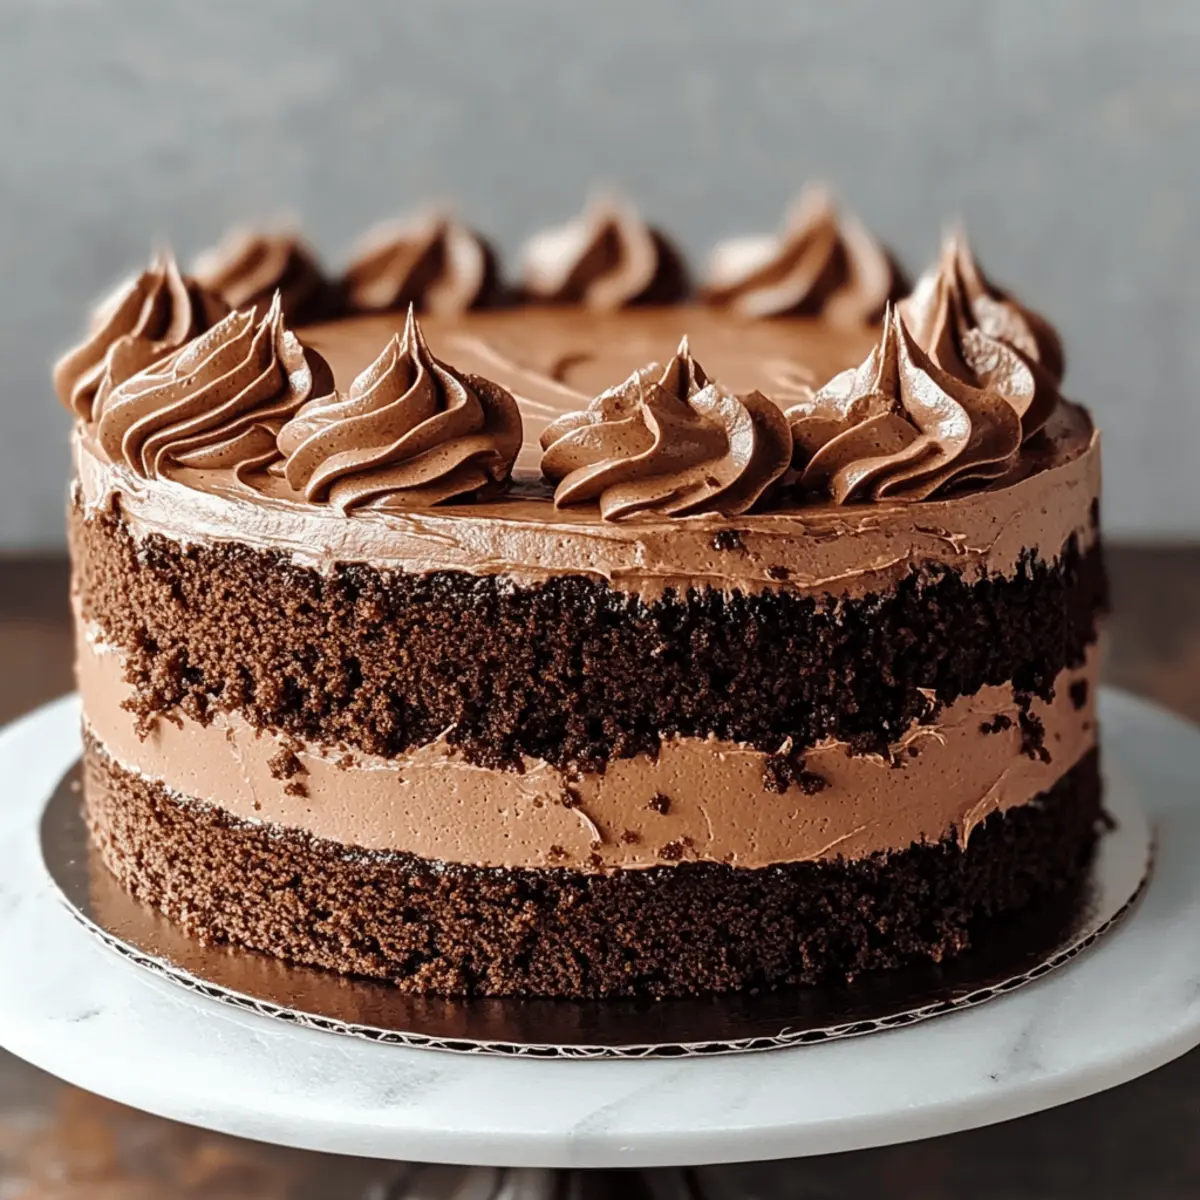
There’s nothing quite like the allure of a warm, freshly baked cake wafting through the kitchen, and my Irresistible Chocolate Layer Cake delivers an unmatched chocolate experience that’s sure to enchant your senses. With simple, everyday ingredients, this Extreme Chocolate Cake brings together moist layers and a silky buttercream frosting that’s as effortless to make as it is to devour. It’s not just a dessert; it’s a delightful centerpiece for celebrations, cozy family evenings, or even just because. Plus, I’ve included a gluten-free option so everyone can indulge in this chocolate bliss. Ready to get your hands a little messy and create something truly scrumptious? Let’s dive into this rich, chocolatey adventure together!
Why is This Cake a Must-Bake?
Decadent Flavor: Each bite offers a luscious chocolate experience that is simply irresistible, making it the star of any gathering.
Versatile Delight: Whether you’re celebrating a birthday or just treating yourself, this cake fits any occasion perfectly.
Simple Steps: You don’t have to be a professional baker! With basic ingredients and easy instructions, cake-making becomes a breeze.
Customizable Options: Feel free to swap in gluten-free flour or try out different flavor extracts for a unique spin.
Mouthwatering Appeal: The combination of moist layers and velvety buttercream frosting will leave guests clamoring for seconds! You’ll love serving this alongside a hot cup of coffee, just like with my Chocolate Chip Oatmeal Muffins for the ultimate dessert experience.
Irresistible Chocolate Layer Cake Ingredients
• Perfect baking begins with these essentials!
For the Cake
- White Sugar – Provides sweetness and moisture; brown sugar can be used for an added depth of flavor.
- All-Purpose Flour – Creates structure; can substitute with gluten-free flour for a gluten-free version.
- Unsweetened Cocoa Powder – Adds rich chocolate flavor; opting for Dutch-processed cocoa enhances taste and color.
- Baking Soda – Acts as a leavening agent; ensure it’s fresh for optimal rise.
- Baking Powder – Another leavening agent; checking its freshness helps avoid a flat cake.
- Salt – Balances sweetness, enhancing overall flavor.
- Large Eggs – Contributes to structure and moisture; using room temperature eggs aids in better incorporation.
- Milk – Adds moisture and richness; almond milk can be a great dairy-free substitute.
- Vegetable Oil – Keeps the cake moist; can easily replace it with melted butter.
- Vanilla Extract – Infuses flavor; choose high-quality extract for the best taste.
- Boiling Water – Essential for a moist batter and improved texture.
For the Frosting
- Unsalted Butter – Key for a fluffy frosting; whip until light and airy.
- Confectioners’ Sugar – Provides a smooth consistency for frosting; avoid substitutions for best results.
- Additional Cocoa Powder – Ensures consistent chocolate flavor in the frosting.
- Milk/Cream – Ideal for glazing; cream can enhance the richness and texture.
Dive into the delightful world of baking with this Irresistible Chocolate Layer Cake that is sure to bring joy to every gathering!
Step‑by‑Step Instructions for Irresistible Chocolate Layer Cake
Step 1: Preheat the Oven and Prepare Pans
Begin by preheating your oven to 350°F (175°C). While it’s warming up, take two 9-inch round cake pans and grease them thoroughly with butter or cooking spray, followed by a light dusting of flour. This ensures a smooth release of your decadent chocolate layers once they’re baked.
Step 2: Combine Dry Ingredients
In a large mixing bowl, whisk together the dry ingredients for your Irresistible Chocolate Layer Cake. Combine the white sugar, all-purpose flour, unsweetened cocoa powder, baking soda, baking powder, and salt. This step infuses the flour with the dry ingredients, promising a sturdy yet moist cake. Look for a uniform mix with no visible clumps.
Step 3: Add Wet Ingredients
Next, add the room-temperature large eggs, milk, vegetable oil, and vanilla extract to the bowl of dry ingredients. Using an electric mixer, beat on high speed for about 3 minutes until the batter is smooth and well combined. You’ll see it transform into a velvety chocolate mixture, perfect for your cake layers.
Step 4: Incorporate Boiling Water
Gradually stir in the boiling water into the batter to thin it out. This key step not only helps create a moist cake but also enhances the chocolate flavor. The mixture will be runny, so be cautious while mixing to avoid splashes.
Step 5: Pour into Prepared Pans
Divide the batter evenly between the two prepared cake pans. Use a spatula to smooth the tops and ensure even distribution, filling each pan about two-thirds full. This thickness will allow for beautiful rising and even layers during baking.
Step 6: Bake the Cakes
Place the pans in your preheated oven and bake for 30 to 35 minutes. Check for doneness by inserting a toothpick into the center of each cake; it should come out clean or with a few moist crumbs. If needed, rotate the pans halfway through for an even bake.
Step 7: Cool the Cakes
Once baked, remove the cakes from the oven and let them cool in the pans for about 10 minutes. Carefully run a knife around the edges to loosen any stuck areas, then gently transfer them onto wire racks to cool completely. This will prepare the layers for a flawless frosting later.
Step 8: Make the Frosting
While the cakes are cooling, prepare the frosting. In a mixing bowl, beat the unsalted butter until light and fluffy. Gradually add the confectioners’ sugar and additional cocoa powder, alternating with milk. Beat until the frosting is smooth and creamy, perfect for enveloping your chocolate layers in deliciousness.
Step 9: Assemble and Frost the Cake
Once the cake layers are completely cooled, use a serrated knife to slice them horizontally if you desire a layered effect. Place one layer on a serving plate, spreading a generous amount of frosting in between. Add the second layer on top and frost the top and sides of the cake until fully covered, creating a stunning presentation for your Irresistible Chocolate Layer Cake.
Make Ahead Options
Preparing your Irresistible Chocolate Layer Cake ahead of time is a fantastic way to save time for busy weeknights or special events! You can bake the cake layers up to 2 days in advance. Allow them to cool completely, then wrap each layer in plastic wrap and refrigerate to maintain moisture. Additionally, the buttercream frosting can be made 24 hours ahead; just store it in an airtight container in the refrigerator. When you’re ready to serve, frost the layers after letting both the cake and frosting sit at room temperature for about 30 minutes. This way, you’ll enjoy a deliciously fresh cake without the last-minute rush!
Expert Tips for Irresistible Chocolate Layer Cake
-
Check Ingredient Freshness: Always ensure your baking soda and baking powder are fresh for optimal rise and texture in your cake.
-
Room Temperature Matters: Using eggs and milk at room temperature helps create a smoother batter, leading to better integration and a fluffier cake.
-
Don’t Rush the Cooling: Allow your cake layers to cool completely before frosting. This prevents melting the icing and ensures smooth application.
-
Great Frosting Technique: When making the frosting, beat the unsalted butter until very light and fluffy for the best texture. Gradual additions of powdered sugar will keep it creamy.
-
Moisture Boost: Incorporating boiling water into the batter not only keeps the layers moist but also intensifies the chocolate flavor. Don’t skip this step!
Irresistible Chocolate Layer Cake Variations
Feel free to let your creativity shine by adapting this cake to fit your taste buds or dietary needs!
-
Gluten-Free: Use a gluten-free flour blend to create the same delicious textures while catering to gluten sensitivities. The cake will still be rich and satisfying!
-
Dairy-Free: Substitute almond milk or coconut milk for regular milk, making this cake a delightful treat for those avoiding dairy. You won’t miss the creaminess at all!
-
Enhanced Chocolate Flavor: For an intense chocolate hit, try swapping in dark cocoa powder instead of regular. This gives the cake an even deeper flavor profile that chocolate lovers will adore.
-
Nutty Add-Ins: Incorporate chopped walnuts or pecans into the batter for a crunchy texture contrast. These nuts add a lovely earthiness while enhancing the cake’s richness.
-
Fruity Twist: Add in fresh raspberries or strawberries between the layers for a refreshing surprise. They beautifully complement the chocolate and elevate the presentation.
-
Minty Freshness: Stir in peppermint extract for a delightful mint chocolate cake that’s perfect for the holidays or special occasions. Your guests will be raving about this cool twist!
-
Spicy Kick: Add a dash of cayenne or cinnamon to the batter for a subtle warm spice. This unexpected flavor note pairs fantastically with the chocolate.
-
Decadent Toppings: Consider finishing with chocolate ganache or a sprinkle of sea salt for that gourmet touch. This elevates your cake to new heights, reminiscent of a fancy dessert found in a bakery.
Whichever variation you choose, serving this Irresistible Chocolate Layer Cake will create a magical experience for you and your loved ones, especially alongside a nice cup of coffee—like with my delightful Coffee Cake Cookies. Enjoy!
How to Store and Freeze Irresistible Chocolate Layer Cake
Room Temperature: Store unfrosted cake layers at room temperature in an airtight container for up to 5 days to maintain freshness and moisture.
Fridge: If frosted, keep the cake in the refrigerator, where it will stay delicious for up to 1 week. Cover loosely with plastic wrap to prevent drying out.
Freezer: For longer storage, freeze either unfrosted or frosted layers wrapped tightly in plastic wrap for up to 3 months. Thaw overnight in the refrigerator before serving.
Reheating: If you prefer your cake slightly warmed, microwave a slice for about 10-15 seconds before enjoying the rich flavors of this Irresistible Chocolate Layer Cake.
What to Serve with Irresistible Chocolate Layer Cake?
Experience the joy of pairing your decadent creation with delightful accompaniments that elevate each bite to new heights.
-
Fresh Berries: The tartness of strawberries or raspberries cuts through the richness, adding a delightful contrast to the chocolate layers.
-
Vanilla Ice Cream: A scoop of creamy vanilla ice cream creates a luscious melt-in-your-mouth experience, perfect for balancing the cake’s richness.
-
Espresso or Coffee: The bold flavors of coffee complement the deep chocolate, enhancing the cake’s taste and providing a warm, comforting finish.
-
Whipped Cream: Light and airy, whipped cream offers a fluffy contrast that makes each bite feel indulgent without overwhelming the cake’s flavor.
-
Cherry Sauce: A glossy cherry sauce drizzled over the cake adds a fruity freshness, visually enhancing your dessert while introducing a tangy sweetness.
-
Chocolate Ganache: Elevate your cake with a glossy chocolate ganache drizzle for an extra layer of indulgence, intensifying the cake’s chocolate flavor.
-
Mint Leaves: For a refreshing touch, garnish with fresh mint leaves. The coolness brightens the cake and adds a dash of color.
-
Sparkling Water: A refreshing sparkling water on the side cleanses the palate between bites, making each slice more appreciated.
-
Nuts: Chopped walnuts or hazelnuts sprinkled on top adds a delightful crunch and enhances the chocolate experience with a nutty richness.
-
Dark Chocolate Shavings: For a beautiful presentation and a rich, extra-chocolatey experience, adorn your servings with dark chocolate shavings.
Irresistible Chocolate Layer Cake Recipe FAQs
What type of flour should I use for a gluten-free version?
Absolutely! You can substitute all-purpose flour with a high-quality gluten-free flour blend. Look for a blend that includes xanthan gum, which helps mimic the structure and texture of traditional flour, ensuring your Irresistible Chocolate Layer Cake retains its delicious moistness.
How should I store my Irresistible Chocolate Layer Cake?
To keep your cake fresh, store it in an airtight container at room temperature for up to 5 days. If it’s frosted, it’s best to refrigerate it where it can enjoy a life span of up to a week. Just cover it loosely with plastic wrap to keep it from drying out!
Can I freeze my cake, and if so, how?
Certainly! You can freeze either unfrosted or frosted layers of your cake. Wrap them tightly in plastic wrap, then place them in a freezer-safe container. They’ll stay fresh for up to 3 months. When you’re ready to enjoy, simply thaw overnight in the refrigerator. This keeps the texture intact and makes it ready for a delightful reunion!
What if my cake layers are flat or dense?
Oh no! If your cake layers turned out flat or dense, it could be due to the freshness of your baking soda and baking powder. Always check these ingredients for freshness before you start. Additionally, using room temperature eggs and properly incorporating your ingredients can help avoid such mishaps. Be sure to avoid over-mixing the batter once the flour is added, as this can create a denser texture.
Is this cake safe for pets or those with allergies?
While your Irresistible Chocolate Layer Cake is perfect for humans, be cautious around pets! Chocolate is toxic to dogs and cats, so make sure to keep your delicious creation out of their reach. If you’re making this cake for someone with allergies, consider checking every ingredient for potential allergens, especially if you’re using alternate products like almond milk or gluten-free flour.

Irresistible Chocolate Layer Cake to Wow Your Guests
Ingredients
Equipment
Method
- Preheat your oven to 350°F (175°C) and grease two 9-inch round cake pans.
- Whisk together the dry ingredients in a large mixing bowl.
- Add the wet ingredients to the bowl and beat on high for about 3 minutes.
- Gradually stir in the boiling water to thin out the batter.
- Divide the batter evenly between the prepared cake pans.
- Bake for 30 to 35 minutes, checking for doneness.
- Cool the cakes in the pans for 10 minutes, then transfer to wire racks.
- Beat the unsalted butter and gradually add the confectioners’ sugar and cocoa powder.
- Once cooled, frost the layers and enjoy your Irresistible Chocolate Layer Cake.