

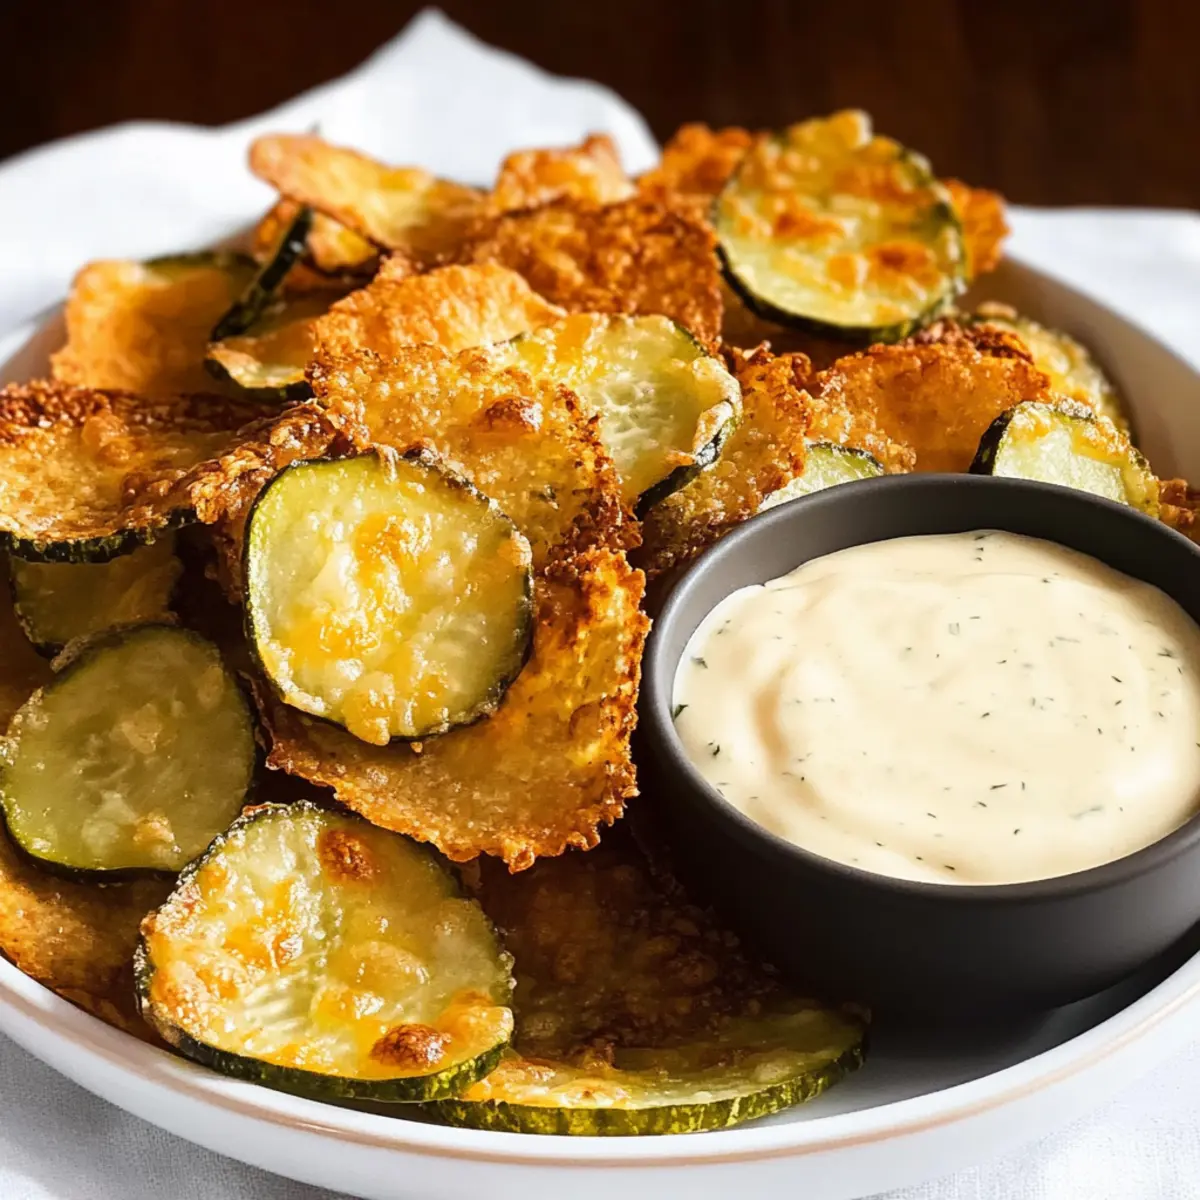
As I opened the fridge to rummage for a quick snack, I stumbled upon some dill pickles that were just begging for a little creativity. Suddenly, an idea sparked—what if I transformed these crunchy delights into a tantalizing dish? Enter my Crispy Baked Dill Pickles Chips Recipe with Cheese! In just 15 minutes, you can whip up these low-carb, gluten-free chips that are perfect for game day gatherings or a cozy movie night. With only two main ingredients—crispy pickles and melty cheese—you’re set for a deliciously easy snack that won’t derail your healthy eating goals. Not only are they ridiculously quick to make, but they also offer a satisfying crunch that rivals any traditional fried option. Are you ready to dive into this cheesy, crispy adventure?
Why are these pickle chips irresistible?
Crispy, Crunchy Delight: You’ll love the satisfying crunch of these baked dill pickle chips, reminiscent of your favorite fried snacks but with none of the guilt.
Quick and Easy: In just 15 minutes, these low-carb bites come together effortlessly, making them perfect for unexpected cravings or last-minute appetizers.
Cheesy Goodness: The melty blend of cheeses not only enhances the flavor but also creates a delightful texture that keeps you coming back for more.
Versatile Snack: Pair them with dips like ranch or Buffalo Wild Wings fried pickle sauce for an extra layer of deliciousness!
Game Day Favorite: Elevate your snack game for parties or family movie nights with a dish that’s sure to impress everyone.
Low-Carb and Gluten-Free: Enjoy these guilt-free snacks without compromising your health goals, making them suitable for a variety of diets.
Crispy Baked Dill Pickle Chips Ingredients
• For this fantastic recipe, you’ll need essential components that elevate your guilt-free snacking experience.
For the Chips
- Dill Pickle Chips – The star ingredient that brings bold flavor and satisfying crunch; opt for thicker slices for the best texture!
- Colby Jack Cheese – This melty cheese adds creaminess and a rich depth of flavor; feel free to swap in pepper jack for a kick!
- Mozzarella Cheese – It brings that glorious meltiness and chewy texture; fresh mozzarella provides an even creamier experience.
- Parmesan Cheese – Imparts a nutty, salty flavor while ensuring a crispy finish; Grana Padano makes a perfect substitute.
For Seasoning
- Paprika – Adds mild warmth and enhances the entire taste profile; smoked paprika introduces a savory twist.
- Garlic Powder – Infuses the chips with delicious savory notes; fresh minced garlic amps up the flavor if you’re feeling adventurous.
- Salt – Essential for flavor enhancement; always adjust according to your dietary preferences.
- Black Pepper – Provides just the right amount of spice; using white pepper gives a milder option.
These ingredients work harmoniously together to create the Crispy Baked Dill Pickles Chips Recipe with Cheese that will captivate your taste buds and keep you reaching for more!
Step‑by‑Step Instructions for Crispy Baked Dill Pickle Chips Recipe with Cheese
Step 1: Preheat the Oven
Begin by preheating your oven to 400°F (200°C). This ensures that your baking environment reaches optimal temperature for achieving that crispy texture we’ve all come to adore. As the oven warms up, prepare your ingredients to keep the momentum going!
Step 2: Shred the Cheeses
While the oven heats, grab your grater and shred the Colby Jack, mozzarella, and Parmesan cheeses. Aim for a fine to medium shred to encourage quick melting and satisfactory cling to the dill pickles. Place the shredded cheese in a bowl and set it aside as you prepare the rest of your ingredients.
Step 3: Prepare the Baking Sheet
Line a baking sheet with parchment paper to prevent sticking and ensure easy cleanup. Once that’s ready, evenly spread the shredded cheese across the baking sheet, forming a single layer. This will serve as the delightful cheesy base for your crispy baked dill pickle chips.
Step 4: Arrange the Pickles
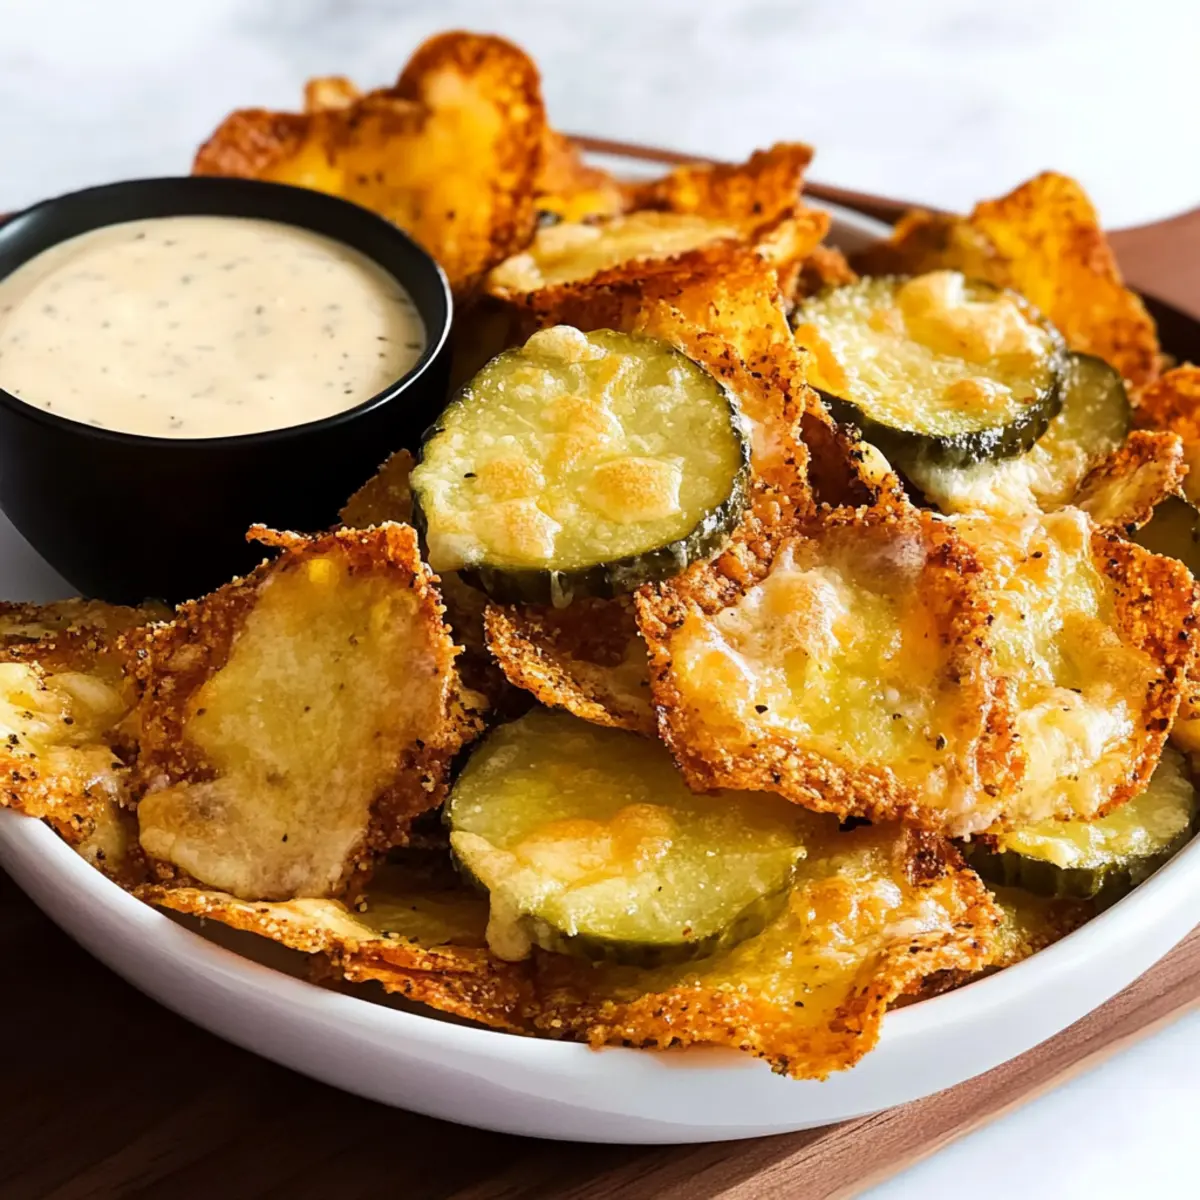
Now it’s time to place your dill pickle chips on top of the cheese. Carefully arrange them in a single layer, ensuring not to overlap. This will allow all the pickles to crisp and meld with the melting cheese, creating the perfect balance of flavors in your Crispy Baked Dill Pickles Chips Recipe with Cheese.
Step 5: Season with Spices
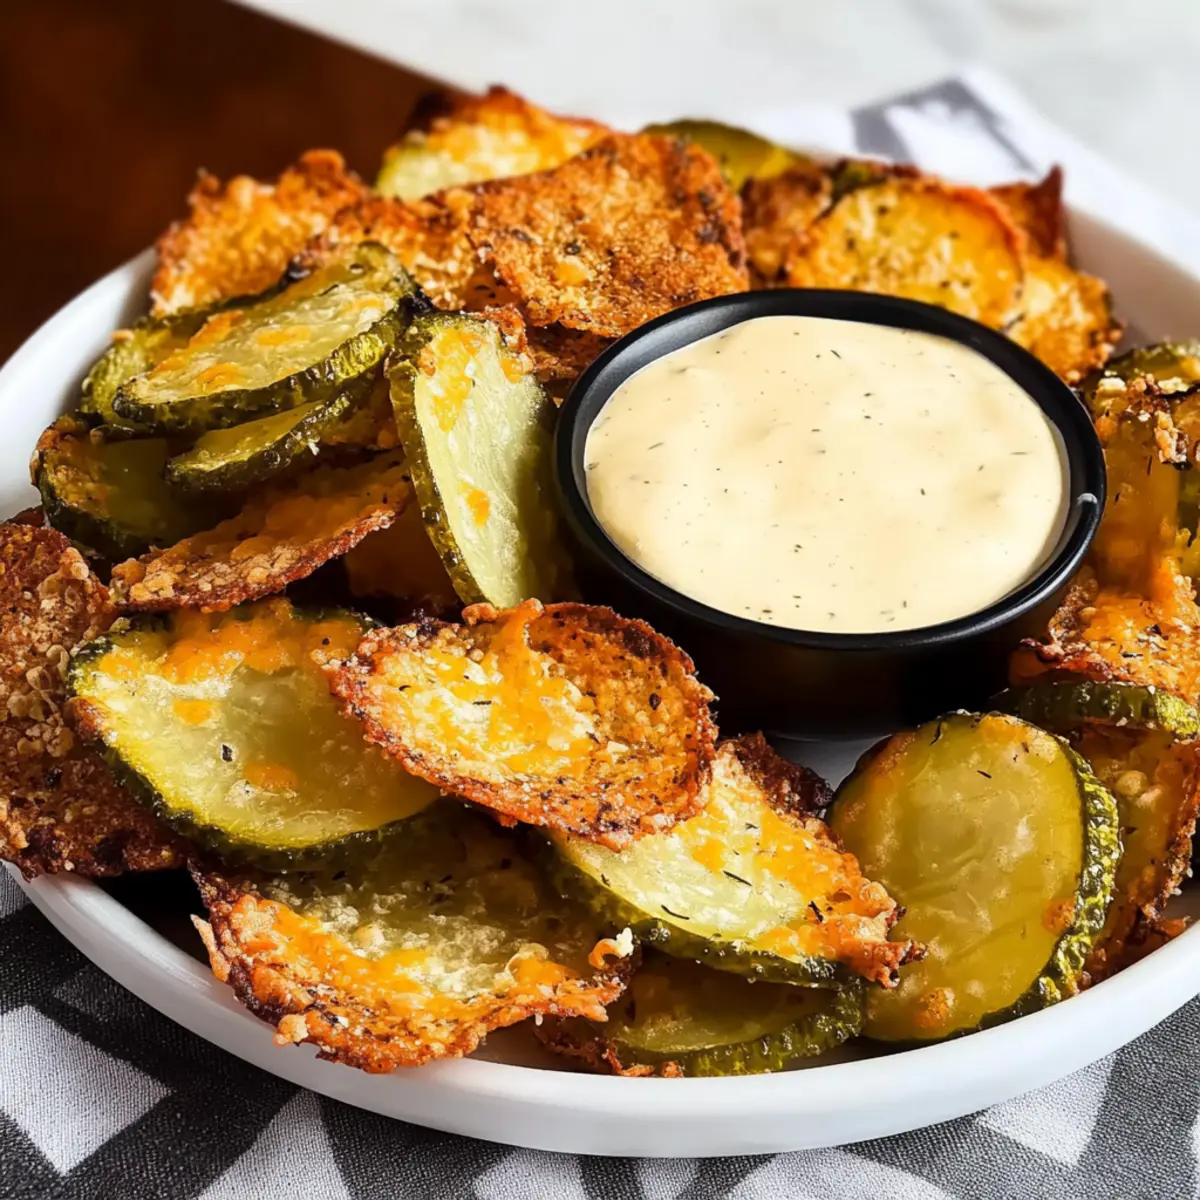
Sprinkle the paprika, garlic powder, salt, and black pepper over the arranged dill pickle slices. Be generous but even, as this will enhance the flavors beautifully! The vibrant colors will excite your taste buds before even taking a bite.
Step 6: Bake to Perfection
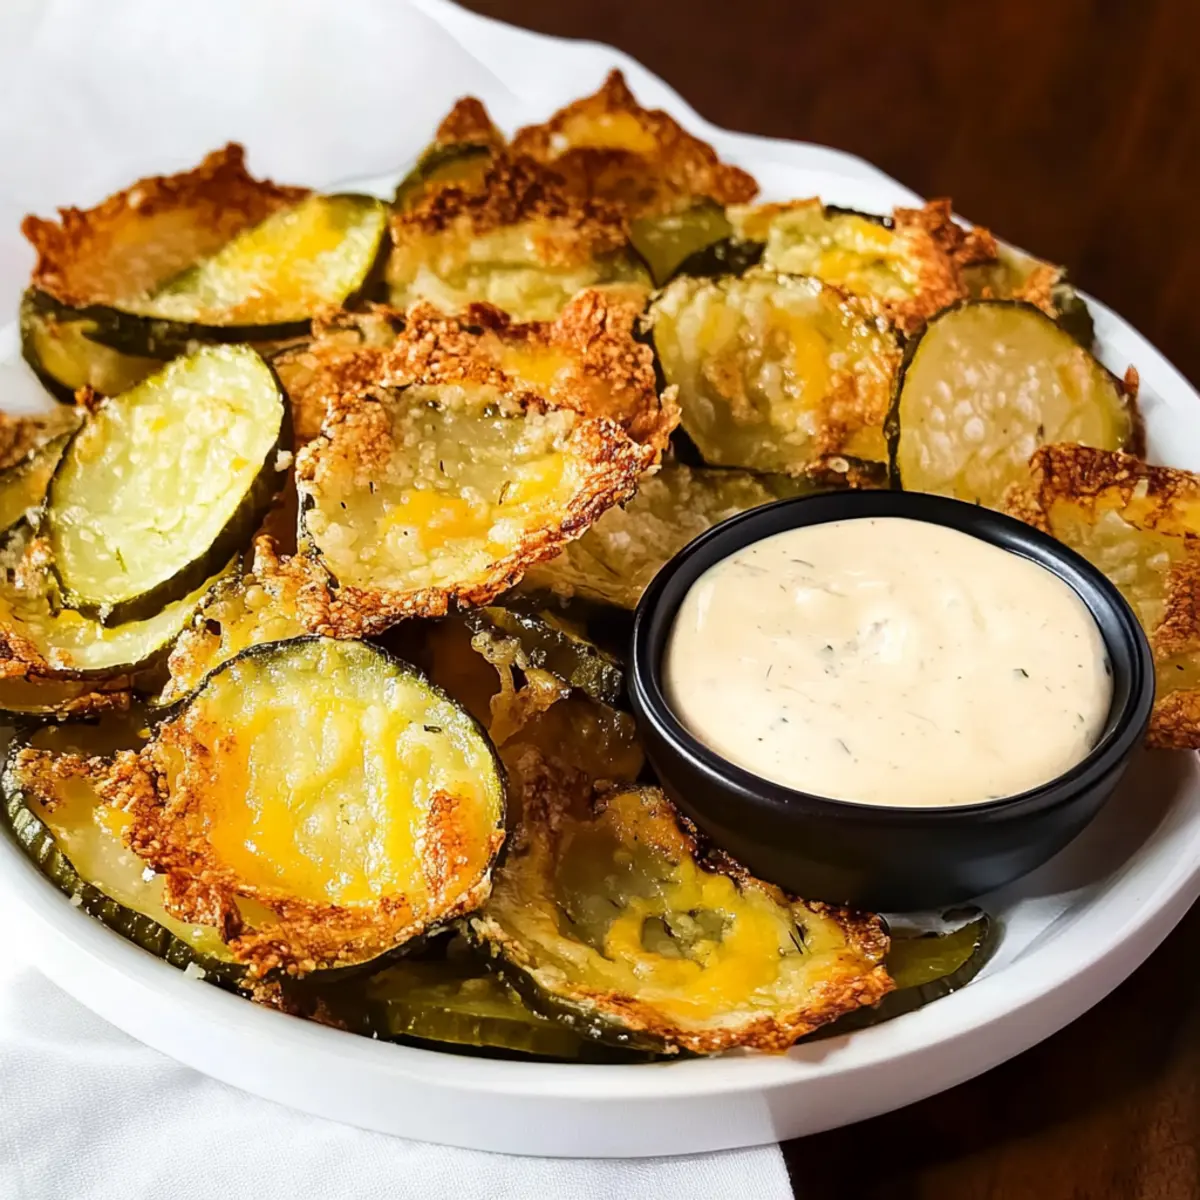
Slide the baking sheet into your preheated oven and let it bake for 15-20 minutes. Keep an eye on them towards the end; they’re ready once the cheese is bubbly and golden brown, signaling that delicious crispiness is on the way!
Step 7: Cool and Serve
After baking, carefully remove the tray from the oven and allow the crispy baked dill pickle chips to cool for about 3-5 minutes. This cooling period will help the cheese firm up, making it easier to break apart into delightful chips. Once cooled, serve immediately with your favorite dipping sauce!
Make Ahead Options
These Crispy Low Carb Dill Pickle Chips with Cheese are a fantastic option for meal prep! You can prepare the shredded cheese and arrange the dill pickles on the cheese base up to 24 hours in advance. Simply cover the baking sheet with plastic wrap and refrigerate until you’re ready to bake. To maintain their quality, avoid adding the seasoning until just before baking to keep the flavors fresh. When you’re ready to enjoy them, sprinkle on the spices and pop them in the oven for 15-20 minutes. You’ll savor the same cheesy, crunchy goodness, all with minimal hassle for your busy weeknights!
Expert Tips for Crispy Baked Dill Pickle Chips
Block Cheese Shred: Opt for block cheese instead of pre-shredded varieties. It melts better and avoids the anticaking agents that can compromise your crispy baked dill pickle chips.
Pat Down Excess Oil: After baking, use a paper towel to dab away any excess oil. This helps reduce greasiness, ensuring a crispy and delightful final product.
Cool Time Matter: Don’t skip the cooling step! Allowing the chips to rest for 3-5 minutes after baking enhances their crispiness, making them more enjoyable to eat.
Store Smart: Keep leftovers in an airtight container in the fridge for 3-5 days. Reheat in the oven to regain that wonderful crunch—microwaving can make them soggy.
Dip it Up: Get creative with your sauces! Whether it’s ranch, spicy aioli, or a zesty dipping sauce, the right accompaniment can elevate your crispy baked dill pickle chips to new levels of deliciousness.
What to Serve with Crispy Low Carb Dill Pickle Chips with Cheese
The perfect sides and pairings can take your delightful pickle chips experience to a whole new level!
- Creamy Ranch Dressing: A classic favorite, this cool, creamy dip balances the salty crunch of the chips while enhancing every bite.
- Spicy Aioli: Add a zesty kick with a homemade aioli that complements the pickles and elevates your snacking adventure.
- Fresh Veggie Platter: Crisp vegetables like carrot sticks and celery provide a refreshing crunch and a healthy contrast to the savory chips.
- Buffalo Sauce: For those who love the heat, a drizzle of buffalo sauce will add a fiery twist that makes these chips downright addictive!
- Cheesy Nachos: Transform your snack into a feast by layering chips with melted cheese and toppings—perfect for game day gatherings!
- Crispy Tacos: These pickle chips can make a delightful topping for tacos, adding a tangy element that brightens your meal.
- Chilled White Wine: Pair with a glass of crisp white wine for a light and refreshing drink option that complements the flavors beautifully.
There you have it—an array of pairing suggestions to ensure your crispy baked dill pickle chips recipe with cheese is a full meal you and your guests will crave again!
Crispy Baked Dill Pickle Chips Variations
Feel free to let your creativity shine by customizing these delightful pickle chips to suit your taste preferences!
-
Spicy Kick: Add sliced jalapeños on top of the pickles before baking for an extra layer of heat. This brings an exciting zing that pairs perfectly with the rich cheese.
-
Dairy-Free Delight: Swap the cheese for a plant-based cheese alternative made from cashews or almond milk. This allows everyone to enjoy these crispy snacks while keeping them dairy-free.
-
Herb Infusion: Mix in fresh herbs like dill, oregano, or parsley into the shredded cheese for a burst of freshness. The aroma from the herbs will make your kitchen feel irresistible!
-
Crunchy Top: For added texture, sprinkle crushed pork rinds or almond flour over the cheese before adding the pickles. This gives a delightful crunch that elevates the entire chip experience.
-
Cheesy Blend: Experiment with different cheese combinations such as goat cheese or smoked gouda for a unique twist. These distinct flavors will keep every bite interesting.
-
Zesty Finish: Drizzle with a little lemon juice or serve with a side of homemade zesty dipping sauce to add a bright finish. It complements the savory pickle taste beautifully!
-
Sweet and Sour: Try adding a touch of honey or maple syrup to the seasoning before baking for a sweet-sour flavor profile. This unexpected blend can surprise and delight your palate.
-
Crunchy Side Salad: Use these chips as a crunchy topping on salads or as a substitute for croutons! They’ll add a tasty layer to your favorite greens, making a salad more exciting.
Whichever variation you choose, your crispy baked dill pickle chips will be a hit at any gathering—especially when served alongside delightful dips like ranch or Buffalo Wild Wings fried pickle sauce. Enjoy the journey of flavors!
Storage Tips for Crispy Baked Dill Pickle Chips
Fridge: Store your leftover crispy baked dill pickle chips in an airtight container for up to 3-5 days. This keeps them fresh, but be aware they may lose some crunch over time.
Reheating: To restore their delightful crispiness, reheat the chips in a preheated oven at 350°F (175°C) for about 5-10 minutes. Avoid using the microwave, as it can make them soggy.
Freezing: While it’s not recommended to freeze these chips due to texture loss, if you must, place them in a freezer-safe bag and consume them within a month. Note that they may turn soft upon thawing.
Enjoy Fresh: For the best experience, it’s ideal to serve crispy baked dill pickle chips fresh from the oven. However, these storage tips will help you enjoy any leftovers!
Crispy Baked Dill Pickle Chips Recipe with Cheese Recipe FAQs
How do I select the best dill pickle chips?
Absolutely! When choosing dill pickle chips, look for slices that are firm and free from dark spots, as they will provide the best texture after baking. Thicker slices are preferred for that satisfying crunch, ensuring they hold up well when baked and combined with cheese.
How should I store leftover crispy baked dill pickle chips?
For optimal freshness, keep your crispy baked dill pickle chips in an airtight container in the fridge for up to 3-5 days. This method helps to maintain their flavor, but be aware that they may lose some of their crunchy texture over time. If you’d like to enjoy them crispy again, reheat them in a preheated oven at 350°F (175°C) for about 5-10 minutes.
Can I freeze the pickle chips?
While freezing isn’t recommended for the best results, if you must, place the cooled chips in a freezer-safe bag. Make sure to consume them within a month for the best quality. Thawing will likely result in a softer chip; therefore, it’s best to enjoy these delicious snacks fresh from the oven for the ultimate crispy experience.
What can I do if the cheese isn’t melting properly?
Don’t worry! If your cheese doesn’t melt as expected, make sure you’re using block cheese that you shred yourself, as pre-shredded varieties can contain anticaking agents that prevent proper melting. Additionally, ensure your oven is properly preheated, and keep an eye on your chips while baking, as different ovens can cook unevenly.
Are these pickle chips suitable for gluten-free diets?
Yes, indeed! The crispy baked dill pickle chips recipe with cheese is naturally gluten-free, making it a fantastic snack for those avoiding gluten. Just be sure to check the labels on your cheese for any hidden gluten-containing ingredients, as most cheese is gluten-free.
How do I make these chips spicier?
For an extra kick, consider substituting the Colby Jack cheese with pepper jack cheese or adding some cayenne pepper to the seasoning mix. You can also serve them with a spicy dipping sauce to further elevate the flavor profile!
Crispy Baked Dill Pickle Chips Recipe with Cheese Bliss
Ingredients
Equipment
Method
- Preheat your oven to 400°F (200°C).
- Shred the Colby Jack, mozzarella, and Parmesan cheeses, then set aside.
- Line a baking sheet with parchment paper and spread the shredded cheese evenly.
- Arrange the dill pickle chips in a single layer on top of the cheese.
- Sprinkle the paprika, garlic powder, salt, and black pepper over the pickles.
- Bake for 15-20 minutes until the cheese is bubbly and golden brown.
- Allow to cool for 3-5 minutes before serving.