

While rummaging through my pantry one evening, I stumbled upon a bag of oats that practically begged to be transformed into something delicious. That’s how these Nut-Free Chewy Granola Bars came to life! This recipe is a harmonious blend of sweet and salty, delivering a chewy texture that still keeps a satisfying crunch. Perfect for busy days or after-school snacks, they’re not only easy to whip up but also a wholesome option for anyone looking to ditch processed foods. You can customize these bars to fit your taste or dietary needs, making them a go-to for miracle moments in the kitchen. Are you ready to discover how simple it is to create a snacking staple that the whole family will love?
Why You’ll Love These Easy Granola Bars
Simplicity at Its Best: With just a few ingredients and straightforward steps, you’ll have homemade granola bars that are ready in no time.
Nut-Free & Customizable: Perfect for those with nut allergies, these bars can be tailored to your liking with various seeds, fruits, and even a sprinkle of chocolate.
Wholesome Snack: Packed with oats, chia seeds, and natural sweeteners, they’re a far healthier choice than store-bought options.
Crowd-Pleaser: Whether you’re preparing a snack for kids or looking for a quick treat during your busy day, these bars are sure to satisfy everyone—especially when paired with a side of yogurt or added as a topping on smoothie bowls!
Meal Prep Ready: Make a batch ahead of time and store them for easy, grab-and-go fuel throughout the week. They stay fresh for up to a week, or you can even freeze them for longer storage.
Nut-Free Granola Bar Ingredients
Here’s what you need to create your homemade nut-free granola bars:
For the Base
- Oats – A wholesome base; use certified gluten-free oats if needed.
- Honey or Maple Syrup – A natural sweetener that also binds the ingredients; substitute maple syrup for a vegan option.
- Sunflower Seed Butter – The nut-free alternative that adds creaminess and flavor; it’s perfect for those with nut allergies.
For the Sweetness
- Chocolate Chips – Optional, but they add delightful sweetness; opt for dairy-free if you prefer a vegan treat.
- Dried Fruits (e.g., raisins, cranberries) – These enhance the chewiness and sweetness; swap for seeds for a lower sugar option.
For the Binding and Nutrition
- Chia Seeds – These tiny seeds help hold everything together while boosting nutritional value; ground flaxseed can work as an alternative.
Experiment with these ingredients to create your own unique take on these nut-free granola bars, making them truly a family favorite!
Step‑by‑Step Instructions for Nut-Free Chewy Granola Bars
Step 1: Prep the Baking Dish
Start by lining an 8-inch square baking dish with parchment paper, allowing some overhang on the sides for easy removal. This simple step makes all the difference when it comes to lifting your Nut-Free Chewy Granola Bars out of the dish later. Set the prepared dish aside as you gather your ingredients.
Step 2: Combine Dry Ingredients
In a large mixing bowl, combine oats, chia seeds, and your choice of dried fruits like raisins or cranberries. Stir the mixture well until everything is evenly distributed. This step is essential as it ensures an even texture for your Chewy Granola Bars. Take a moment to enjoy the aroma of the wholesome ingredients before moving on.
Step 3: Mix Wet Ingredients
In a separate bowl, whisk together sunflower seed butter and honey or maple syrup until the mixture is completely smooth. This should take about 1-2 minutes. The creaminess of the sunflower seed butter combined with the sweetness of the honey will create a delicious binding agent for your bars. Set this aside to let the flavors meld.
Step 4: Combine
Pour the wet mixture over the dry ingredients in the large bowl. Using a spatula, mix until everything is fully combined and sticky. Address any dry bits lingering in the bowl to ensure that your Nut-Free Chewy Granola Bars hold together well once baked. This should take about 2-3 minutes of thorough mixing.
Step 5: Press into Dish
Transfer the combined mixture to your prepared baking dish. Use your hands or a spatula to press the mixture firmly and evenly, ensuring it reaches the corners. Packing it tightly is crucial for preventing the bars from crumbling once set. Aim for an even layer about 1 inch thick as you press.
Step 6: Chill
Refrigerate the dish for at least 2 hours, allowing your bars to set properly. The chilling time helps the mixture firm up and creates a chewy, yet sturdy texture. If you plan in advance, letting them chill for longer will yield even better results, so resist the temptation to skip this step!
Step 7: Cut & Serve
Once the mixture is firm, lift the granola slab out of the dish using the parchment overhang. Place it on a cutting board and use a sharp knife to cut into bars or squares. Store your Nut-Free Chewy Granola Bars in an airtight container at room temperature or in the fridge for added freshness. Enjoy your healthy snack any time throughout the week!

Expert Tips for Nut-Free Granola Bars
-
Pack Tightly: Ensure that you press the mixture firmly into the dish; this prevents the bars from crumbling and ensures they hold their shape.
-
Optimal Chill Time: Allow the bars to chill in the refrigerator for at least 2 hours. The longer they chill, the firmer and chewier they become.
-
Experiment with Flavors: Don’t hesitate to add spices like cinnamon or nutmeg for an extra flavor boost. Mix in some vanilla extract to enhance the overall taste of your nut-free granola bars.
-
Substitute Wisely: If you prefer a different texture or flavor, you can swap sunflower seed butter with tahini or replace chocolate chips with dried fruits or seeds.
-
Choose Quality Oats: Make sure to use fresh, gluten-free oats for the best results. Stale oats can impact the flavor and texture of your healthy snack.
What to Serve with Nut-Free Chewy Granola Bars
Indulging in Nut-Free Chewy Granola Bars opens up a world of delightful pairings to round out your snack time.
-
Creamy Yogurt: A small bowl of creamy yogurt complements the chewy texture, adding a richness that pairs perfectly with the granola bars. You can even swirl in some honey for extra sweetness!
-
Fresh Fruit: Slices of crisp apples or juicy berries provide a refreshing contrast and a burst of natural sweetness to balance the flavors in the bars.
-
Nut-Free Energy Bites: Create a wholesome snacking experience by pairing these bars with nut-free energy bites. The different textures will keep your taste buds engaged.
-
Smoothie Bowls: Top your favorite smoothie bowl with crumbled granola bars for extra texture and energy. It’s a great way to fuel your day while enjoying a smoothie!
-
Herbal Tea: A warm cup of chamomile or peppermint tea complements the sweet and salty notes of the granola bars, creating a cozy atmosphere for your snack time.
-
Dark Chocolate Dip: For a more indulgent treat, dip your bars in a drizzle of melted dark chocolate. It adds richness and transforms a healthy snack into a decadent delight.
-
Trail Mix: Pairing the granola bars with a simple trail mix of seeds and dried fruits creates a satisfying combination of flavors and textures, perfect for a quick bite on the go.
-
Homemade Fruit Jam: Spread a thin layer of homemade fruit jam on top for a sweet layer that pairs exceptionally well with the chewy goodness of the bars.
Feel free to mix and match these delightful pairings to create a snacking experience that you and your family will cherish!
Make Ahead Options
These Nut-Free Chewy Granola Bars are perfect for meal prep enthusiasts! You can prepare the dry ingredients (oats, seeds, and dried fruits) and store them in an airtight container for up to 3 days in advance. This allows you to simply mix the wet ingredients and combine everything when you’re ready to make your bars. Additionally, the fully prepared mixture can be pressed into the baking dish and refrigerated for up to 24 hours before slicing, ensuring they are just as delicious when served later. When you’re ready to enjoy, chill the bars for at least 2 hours before cutting them into squares. This makes snacks accessible for busy weeknights or after-school cravings without compromising on quality!
Nut-Free Granola Bars Variations
Feel free to explore these delicious twists, turning your granola bars into an even more delightful treat!
-
Chocolate Chip: Add dairy-free chocolate chips for a sweet touch that everyone will love. It’s a simple way to enhance flavor without sacrificing health.
-
Fruit-Forward: Mix in dried fruits like apricots or coconut flakes for added sweetness and texture. The fruit’s natural sugars work beautifully alongside the oats!
-
Protein Power: Stir in a scoop of protein powder, making these bars the perfect post-workout snack. It’s an easy way to stay energized throughout your busy day.
-
Spice It Up: Add a hint of cinnamon or ginger to the dry mix for flavor depth. These spices add a warmth that elevates the sweetness of the bars.
-
Seed Variation: Swap sunflower seed butter for tahini or pumpkin seed butter. Each option gives a unique flavor and keeps the bars beautifully nut-free.
-
Crunch Factor: Incorporate crispy rice cereal or toasted coconut for a delightful crunch. This adds a fun texture contrast that kids adore!
-
Savory Twist: Mix in some hemp seeds and a dash of sea salt for a savory, sophisticated spin. Enjoy them as a wholesome snack alternative.
-
Layered Delight: For an extra special touch, layer some yogurt on top or crumble your bars over smoothie bowls for a delicious breakfast treat. They pair wonderfully with dishes like Spinach Stuffed Sweet or even Chicken Rice Comfort for a savory delight.
There’s no limit to what you can create with these nut-free bars, so get creative and enjoy every bite!
Storage Tips for Nut-Free Granola Bars
Airtight Container: Store your Nut-Free Granola Bars in an airtight container at room temperature for up to 1 week. This keeps them fresh and prevents them from becoming too hard.
Refrigeration: For extended freshness, refrigerate the bars. They can last up to 2 weeks when stored in the fridge, making them a great healthy snack option on hand.
Freezing: To freeze, wrap each bar individually in plastic wrap or foil, then place them in a freezer-safe container. They’ll stay good for up to 3 months—perfect for meal prep!
Reheating: If you prefer warm bars, simply pop them in the microwave for 10-15 seconds before enjoying. This enhances the chewy texture and brings out their delightful flavors.
Nut-Free Chewy Granola Bars Recipe FAQs
What type of oats should I use for nut-free granola bars?
Absolutely! You can use traditional rolled oats or certified gluten-free oats if you have dietary restrictions. The oats are essential in providing the structure for your granola bars, so always ensure they’re fresh and in good condition for the best results.
How should I store leftover granola bars?
Very easy! Keep your Nut-Free Chewy Granola Bars in an airtight container at room temperature for up to 1 week. If you want to extend their shelf life, refrigerate them where they can last up to 2 weeks. Just make sure they are completely cooled before storing, so they don’t become soggy.
Can I freeze nut-free granola bars?
Definitely! To freeze your Granola Bars, wrap each one individually in plastic wrap or foil. Place them in a freezer-safe container or bag, and they’ll be good for up to 3 months. When you want one, simply take it out and thaw it in the fridge overnight or pop it in the microwave for 10-15 seconds before enjoying!
What if my granola bars crumble apart?
If your bars crumble, it could be that they weren’t packed tightly enough during the pressing stage or they’re missing a binding ingredient. Next time, ensure you press the mixture firmly into the dish to create an even layer that holds together well. You may also want to add a little more sunflower seed butter or sweetener to help with binding.
Are these granola bars safe for kids with nut allergies?
Absolutely! These Nut-Free Chewy Granola Bars are a perfect snack for those with nut allergies. You can customize them with different seeds and dried fruits, ensuring a delicious and safe option for kids while maintaining a point of balance in nutrition. Always check your ingredients for any potential allergens.
Can I customize the ingredients in my granola bars?
The more, the merrier! You can easily customize your Nut-Free Chewy Granola Bars to suit your tastes. Feel free to substitute sunflower seed butter for tahini, add seeds like pumpkin or sesame for extra crunch, or mix in your favorite dried fruits or spices. Personalizing your bars is a fun way to make them truly yours!
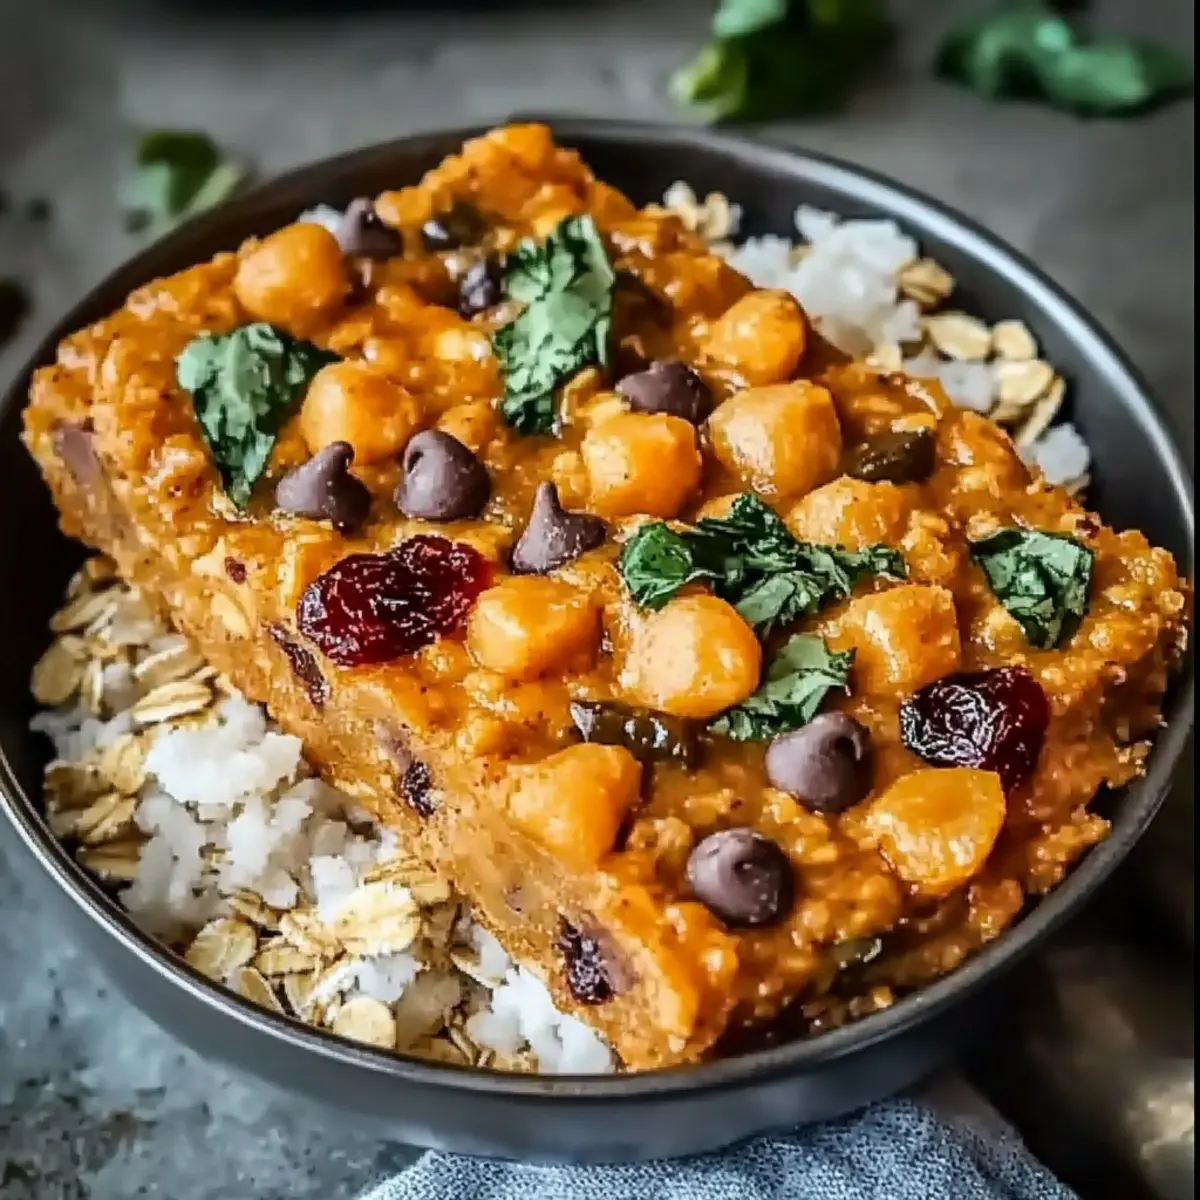
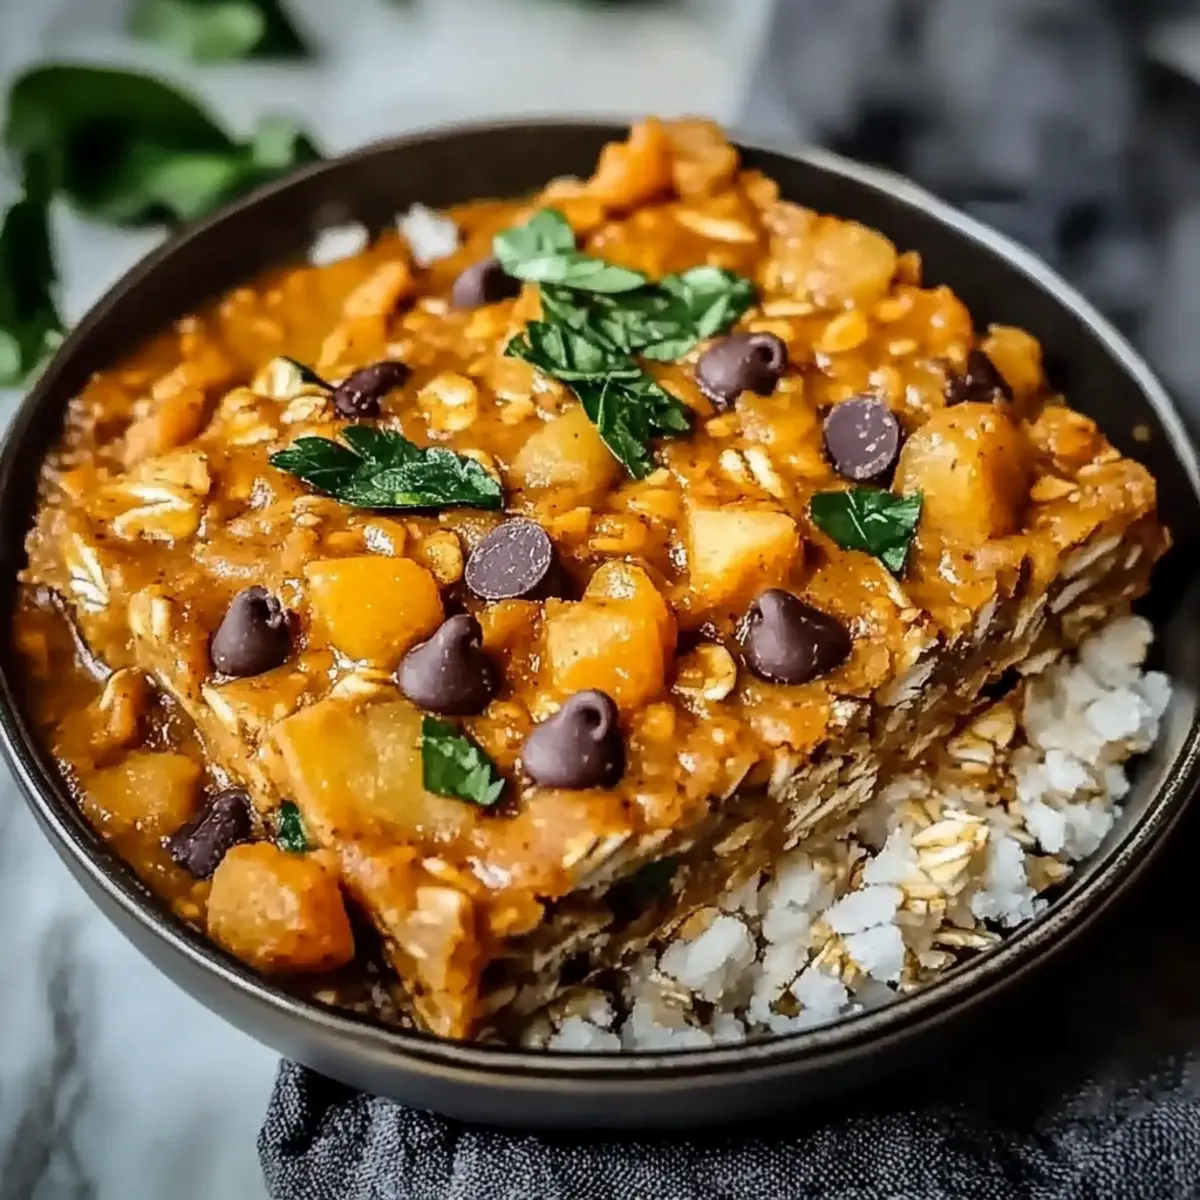
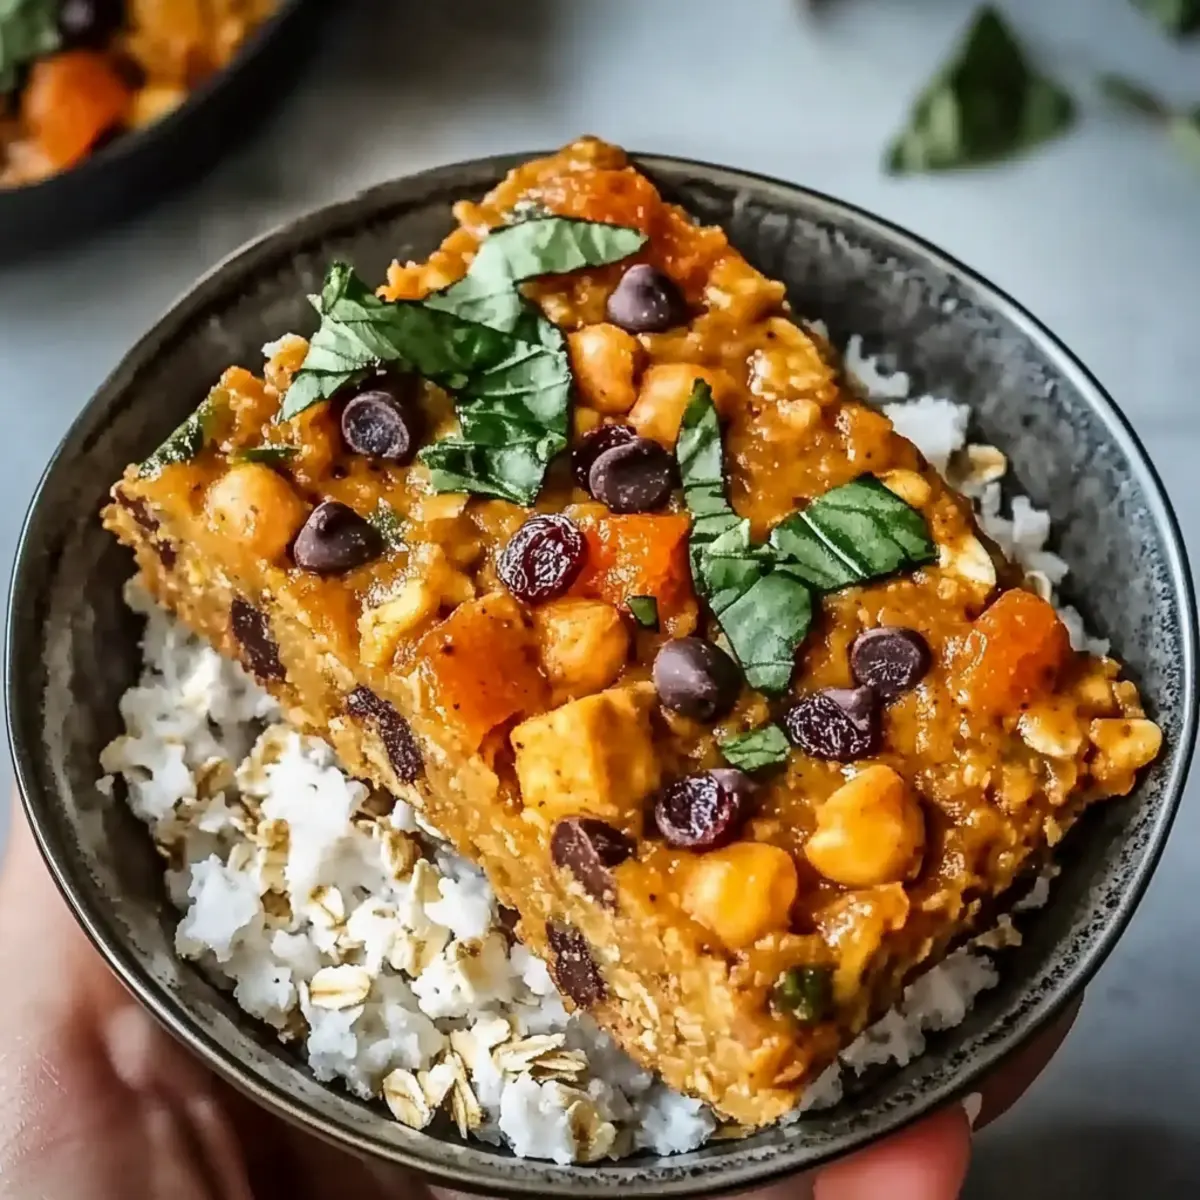
Sweet Potato and Chickpea Curry: A Warm, Cozy Delight
Ingredients
Equipment
Method
- Heat olive oil in a large pot over medium heat.
- Add diced sweet potatoes and cook for 5-7 minutes, until slightly tender.
- Add minced garlic and ginger; cook for another minute.
- Stir in curry powder and mix well, cooking for about 1 minute.
- Add chickpeas, coconut milk, and vegetable broth; bring to a boil.
- Reduce heat to low and simmer for 20 minutes until sweet potatoes are fully cooked.
- Stir in soy sauce and adjust seasoning as needed.
- Serve over cooked rice, garnished with fresh cilantro.