

As I stood in my kitchen, the clock ticking toward snack time, an idea struck—why not whip up something delicious and healthy? Enter these incredible No-Bake Sugar-Free Protein Balls, which marry nutty flavors with a satisfying chewy texture. The best part? They come together in a heartbeat, making them the ideal solution for busy days when you crave a quick pick-me-up. Packed with protein and completely free of added sugars, these bites are a guilt-free treat you can enjoy anytime. Plus, they’re surprisingly adaptable; you can easily customize them with your favorite seeds or nut butters. Who knew health-conscious snacking could be so easy—and so tasty? Ready to elevate your snack game? Let’s dive in!
Why Choose No-Bake Protein Balls?
Convenience: These no-bake protein balls require minimal time and effort. Perfect for busy individuals looking to whip up a healthy snack in less than 15 minutes!
Adaptable: The recipe is easily customizable! Swap almond butter for peanut butter or add in your favorite seeds for a personal twist.
Nutritious: Packed with protein and healthy fats, each bite is designed to keep you energized throughout the day without the sugar crash.
Deliciously Satisfying: Experience the chewy texture and nutty flavor that makes these protein balls truly delightful. They are a perfect treat post-workout or a quick afternoon pick-me-up.
Crowd-Pleasing: Whether you’re making snacks for family or sharing with friends, these protein balls are sure to impress everyone, just like my Garlic Chicken Meatballs or a festive Patriotic Pretzel Bark!
No-Bake Sugar Free Protein Balls Ingredients
For the Batter
- Almond Butter – Provides healthy fats and protein; choose fresh for the best consistency.
- LSA Mix or Protein Powder – Adds protein and fiber; LSA is a great alternative to commercial protein powders.
- Mixed Seeds – Enhance texture and provide added nutrients; use whatever seeds you have on hand.
- Chia Seeds or Psyllium Husk – Acts as a binding agent, improving consistency; chia absorbs moisture to help the mixture hold together.
- Cinnamon – Adds warmth and flavor; adjust according to taste for your perfect balance.
- Stevia – A natural sweetener to give a hint of sweetness without added sugar; adapt to your preference.
- Warm Filtered Water – Used to facilitate blending and adjust the mixture’s moisture; add gradually to avoid making it too wet.
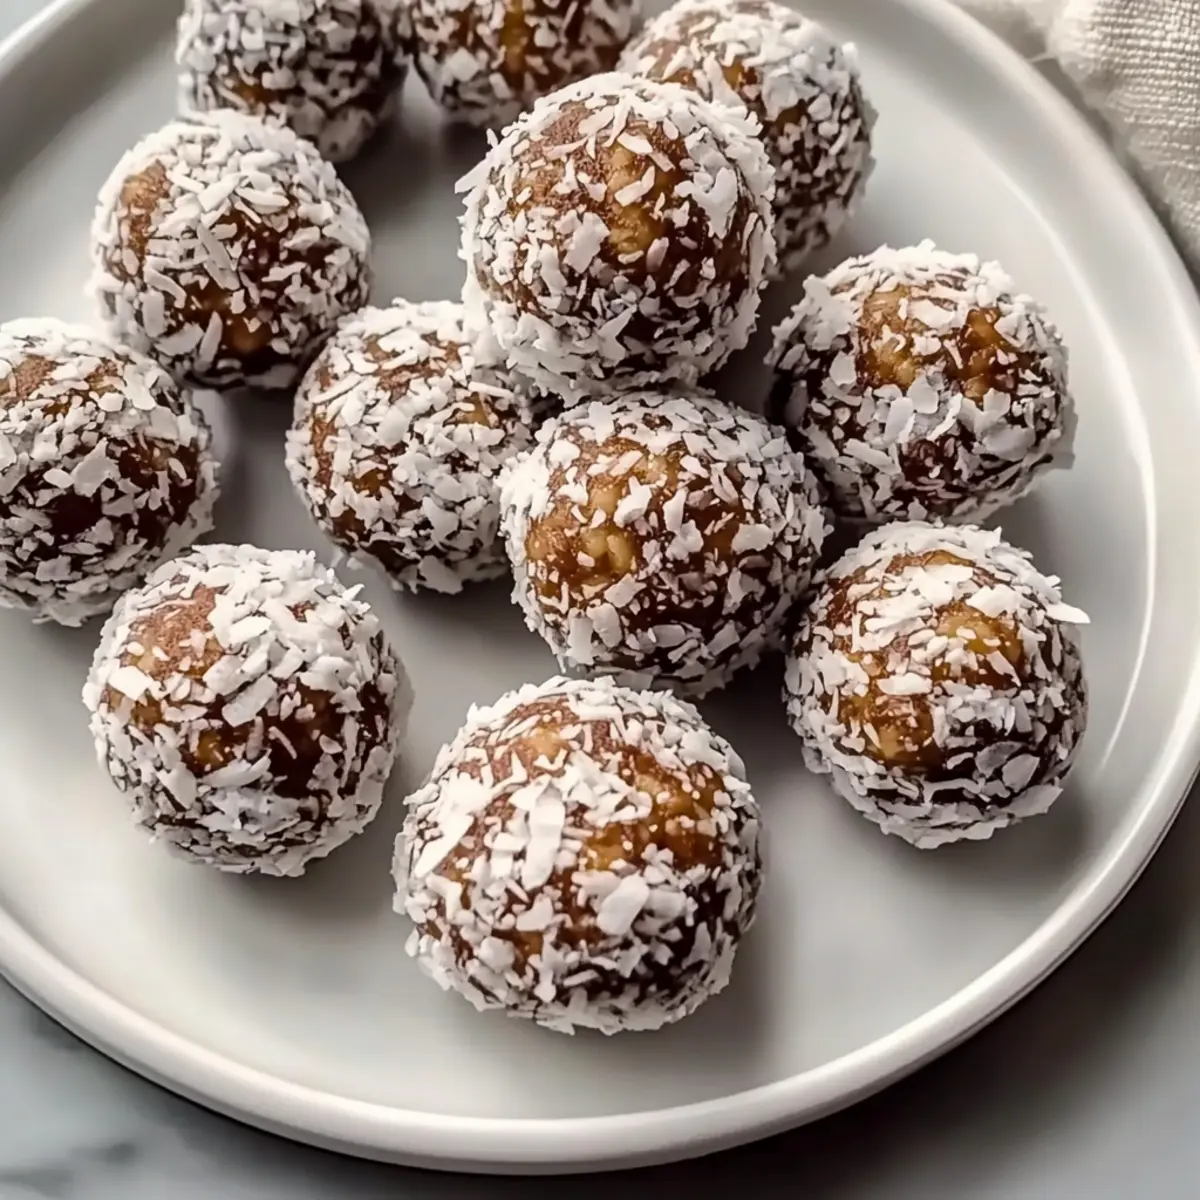
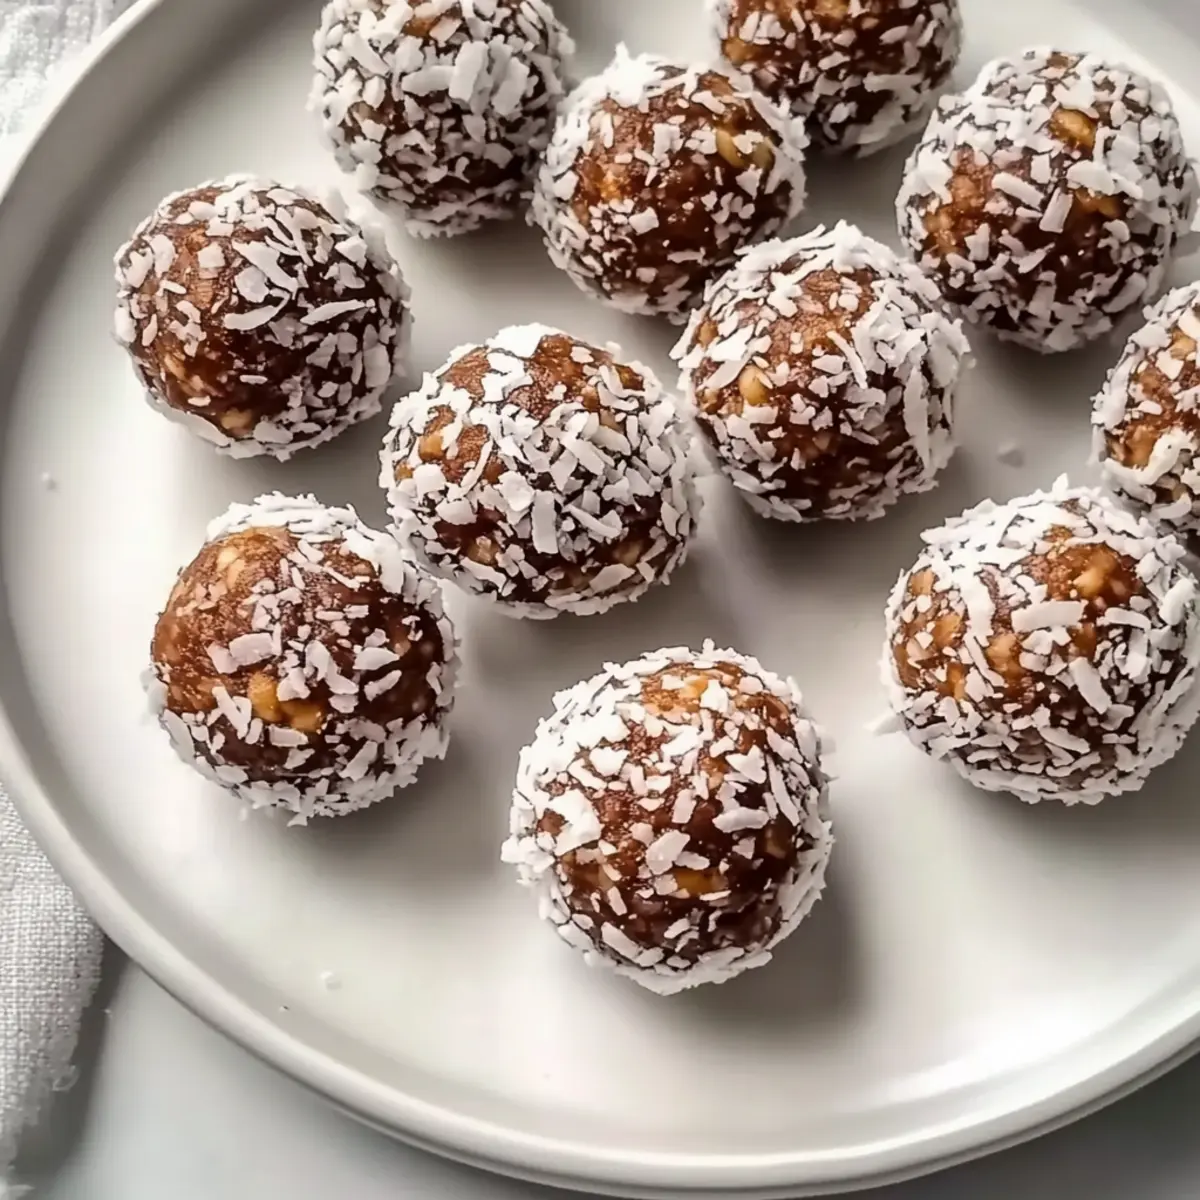
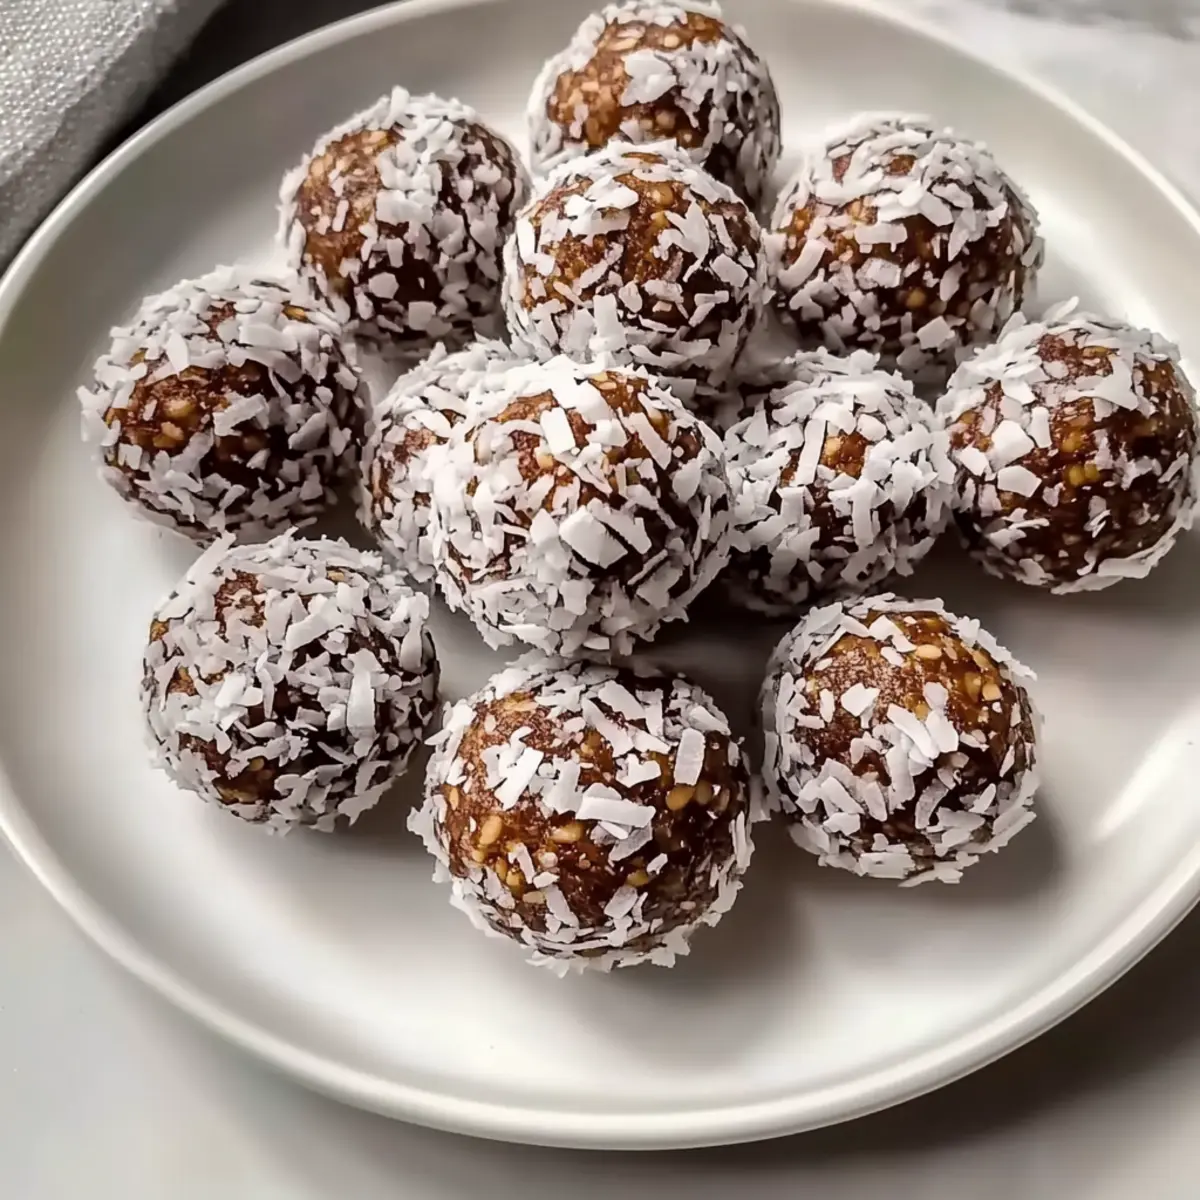
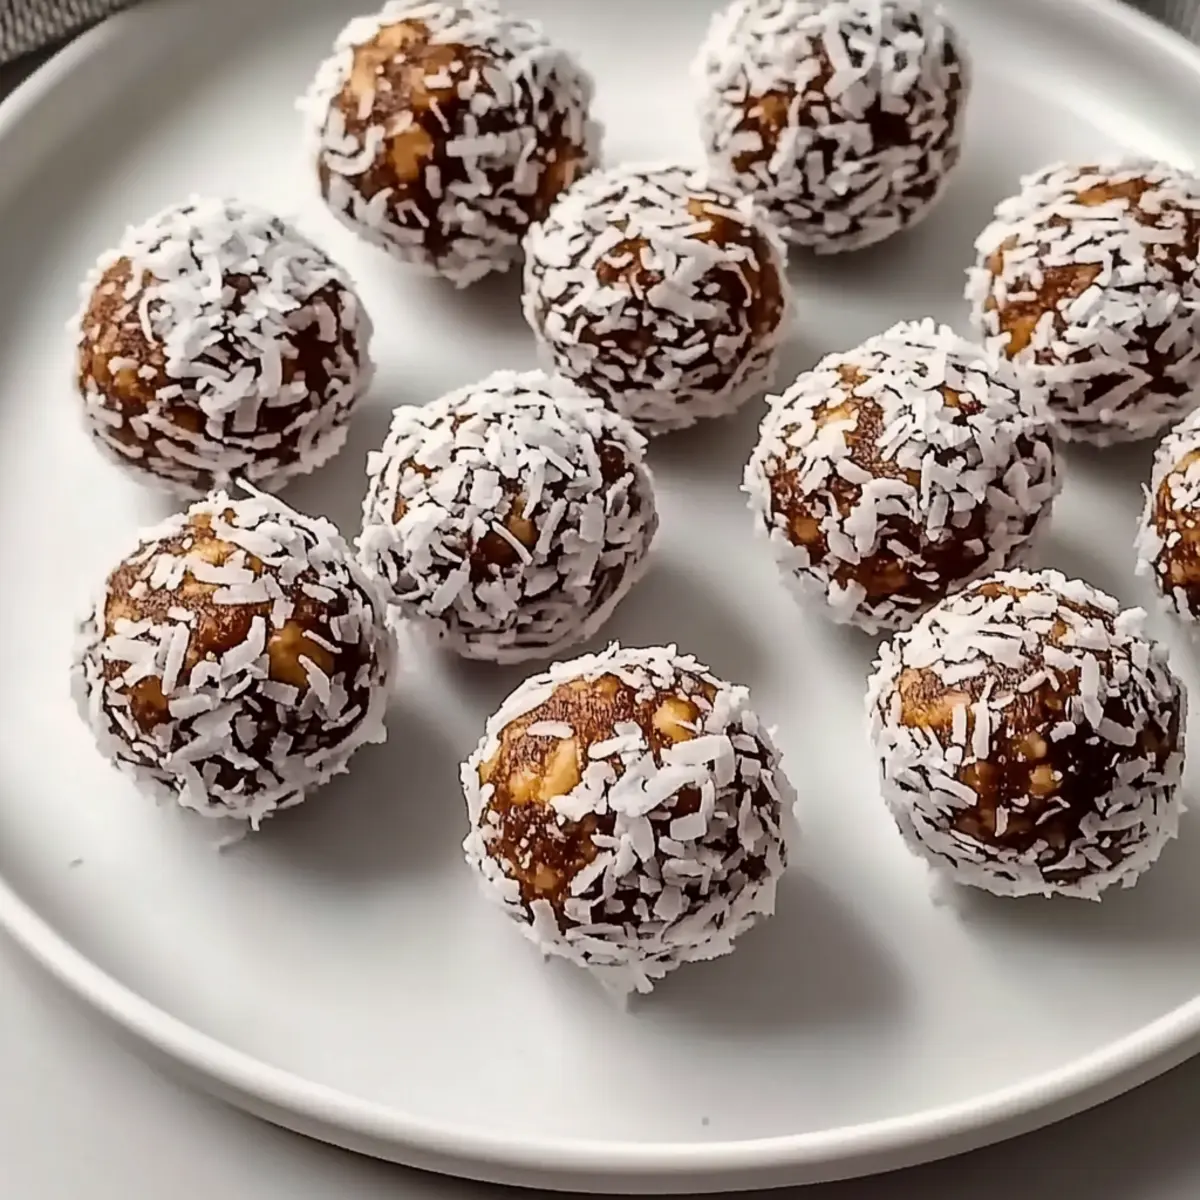
- Desiccated Coconut – For coating the protein balls; it adds flavor and delightful texture, making these no-bake sugar-free protein balls even more enjoyable!
Step‑by‑Step Instructions for No-Bake Sugar Free Protein Balls
Step 1: Blend the Base Ingredients
In a blender or food processor, combine almond butter, LSA or protein powder, mixed seeds, chia seeds, cinnamon, and stevia. Gradually add warm filtered water, blending until the mixture is smooth and cohesive. This process should take about 2-3 minutes. Aim for a thick but moldable consistency, ensuring all ingredients are well integrated without dry clumps.
Step 2: Adjust the Mixture’s Consistency
Check the texture of the mixture. If it feels too wet, enhance firmness by adding a tablespoon of LSA or protein powder at a time until you achieve a firmer consistency. If it seems too dry, slowly add more warm water, mixing until your no-bake sugar-free protein balls batter holds together but isn’t sticky, which may take an additional minute or two.
Step 3: Prepare for Coating
Spread desiccated coconut onto a plate, creating an even layer. This will be used to coat the protein balls, adding delightful texture and flavor. Gather your equipment, including a small bowl of water for your hands and a spatula to assist in rolling the protein balls, so you’re ready to shape your nutritious snacks.
Step 4: Form the Protein Balls
With wet hands to prevent sticking, take small portions of the mixture and roll them into balls about 1 inch in diameter. Gently coat each ball in the desiccated coconut, ensuring they are evenly covered for that delightful finish. This step should take approximately 5-7 minutes, and you should end up with a colorful platter of no-bake sugar-free protein balls.
Step 5: Chill and Set
Place the coated protein balls into an airtight container in a single layer, making sure they aren’t touching to maintain their shape. Refrigerate for at least 1 hour to allow flavors to meld and for the balls to firm up, enhancing their chewy texture. This chilling time also helps to develop the flavors of your delicious, healthy snacks, making them ready for enjoyable munching.
Step 6: Serve and Enjoy
Once your no-bake sugar-free protein balls have chilled, they’re ready to be enjoyed! Share them with family as a wholesome snack, or pack them for a quick on-the-go treat. Store any leftovers in the fridge for up to 2 weeks, or freeze them for longer storage, ensuring you have a healthy option available whenever those snack cravings strike!
Make Ahead Options
These No-Bake Sugar-Free Protein Balls are perfect for meal prep enthusiasts! You can combine the dry ingredients (almond butter, LSA or protein powder, mixed seeds, chia seeds, cinnamon, and stevia) up to 24 hours in advance and store them in an airtight container to keep them fresh. When you’re ready to finish the recipe, simply blend the mixture with warm filtered water until smooth, roll into balls, and coat them in desiccated coconut just before serving. This method ensures that your protein balls are just as delicious and maintain their chewy texture, so you’ll have fantastic snacks ready to go when hunger strikes!
How to Store and Freeze No-Bake Sugar-Free Protein Balls
Fridge: Keep the protein balls in an airtight container in the refrigerator for up to 2 weeks to maintain freshness. This way, you always have a nutritious snack on hand!
Freezer: For longer storage, freeze the protein balls for up to 3 months. Arrange them in a single layer in a freezer-safe container, separated by parchment paper to prevent sticking.
Defrosting: To enjoy frozen no-bake sugar-free protein balls, simply defrost them in the fridge overnight or let them sit at room temperature for about 30 minutes before munching.
Reheating: These no-bake delights are best enjoyed chilled, but if you prefer, you can lightly warm them in the microwave for a few seconds for a softer texture!
Expert Tips for No-Bake Sugar-Free Protein Balls
-
Moisture Control: Start with a small amount of warm filtered water and add gradually to avoid an overly wet consistency.
-
Chill Time: Refrigerate the balls for at least an hour before enjoying; this ensures the best texture and flavor development.
-
Hands-On Help: Wet your hands while rolling the mixture into balls to prevent sticking and make the process smoother.
-
Customization Opportunities: Feel free to mix and match ingredients like nut butters or spices to create your perfect no-bake sugar-free protein balls.
-
Storage Savvy: Keep leftovers in an airtight container in the fridge for up to two weeks, or freeze them for a quick on-the-go snack!
What to Serve with No-Bake Sugar-Free Protein Balls
These delightful bites make for an energizing snack that pairs perfectly with a variety of comforting and nutritious options!
-
Fresh Fruit Salad: The sweetness and juiciness of fresh fruits like berries or melons provide a refreshing contrast to the rich nutty flavor of the protein balls. A vibrant fruit salad is not only colorful but adds a wholesome touch to your snack time.
-
Yogurt Parfait: Layer these protein balls with creamy Greek yogurt and a sprinkle of granola. The creaminess of yogurt balances out the chewiness of the protein balls while providing a satisfying breakfast or snack idea.
-
Green Smoothie: A nutrient-packed green smoothie filled with spinach and banana complements these bites beautifully, providing an energizing boost. Together, they create a perfect marriage of flavors, making for a well-rounded meal.
-
Trail Mix: Combine your protein balls with a homemade trail mix of nuts, seeds, and a sprinkle of dark chocolate for a satisfying crunchy snack. The textures combine harmoniously, offering a variety of flavors with every handful.
-
Nut Butter Dip: Serve your protein balls with a dollop of your favorite nut butter for a deliciously indulgent experience. This pairing enhances the nutty profile and adds a new dimension to your snack.
-
Iced Coffee: Pair your protein balls with a chilled glass of iced coffee; the slight bitterness complements the sweetness without overpowering them. This refreshing drink makes for a quick pick-me-up during a busy day.
No-Bake Sugar-Free Protein Balls Variations
Feel free to put your own twist on these deliciously versatile protein balls—they’re just waiting for your creative touch!
-
Nut Butter Swap: Use peanut butter or sunflower seed butter for a different flavor and texture, while keeping everything protein-packed.
-
Chocolate Variation: Add a couple of tablespoons of cocoa powder for a rich chocolate flavor that will satisfy any sweet tooth.
-
Dried Fruit Addition: Toss in chopped dried fruits like cranberries or apricots for a burst of natural sweetness and chewy texture.
-
Spice It Up: Experiment with spices like vanilla extract or nutmeg to create unique flavor profiles that will keep things exciting. Try a hint of cinnamon for warmth!
-
Crunchy Texture Boost: Incorporate some crushed nuts or granola into the mix for added crunch and a delightful variation in texture.
-
Protein Variety: Swap the LSA mix for your favorite protein powder to add flavor and nutritional variety; chocolate or vanilla varieties work especially well!
-
Healthy Seeds: Feel free to replace mixed seeds with pumpkin seeds or flaxseeds for a delightful twist and added nutrients to your protein balls.
-
Low-Spice Version: If you prefer a milder taste, decrease the cinnamon or leave it out entirely. It’s all about what your taste buds enjoy!
For more fun with flavors, consider these alongside my delicious recipe for Garlic Chicken Meatballs or a festive Patriotic Pretzel Bark—both sure to impress!
No-Bake Sugar-Free Protein Balls Recipe FAQs
What is the best type of almond butter to use for these protein balls?
I recommend using fresh, runny almond butter to achieve the best consistency. If your almond butter is too firm, let it sit at room temperature for about 30 minutes before using it for this recipe.
How should I store the no-bake protein balls, and for how long?
Store your no-bake sugar-free protein balls in an airtight container in the refrigerator for up to 2 weeks. This method keeps them fresh and ready for whenever a snack craving strikes!
Can I freeze the protein balls, and if so, how?
Absolutely! You can freeze these protein balls for up to 3 months. Here’s how: Arrange them in a single layer in a freezer-safe container, placing parchment paper between layers to prevent sticking. When you’re ready to enjoy them, simply defrost in the fridge overnight or at room temperature for about 30 minutes.
What if the mixture is too dry while making the protein balls?
If your mixture is too dry to hold together, gradually add a splash of warm filtered water, mixing thoroughly until you achieve the desired consistency. Aim for a thick but moldable texture that allows you to easily form the balls without crumbling.
Are these protein balls safe for people with nut allergies?
If you or your guests have nut allergies, consider substituting almond butter with sunflower seed butter. This is a nut-free alternative that also provides healthy fats and a delicious flavor. Always check any packaged ingredients for potential allergens.
Can I use different types of seeds aside from those listed in the recipe?
Very! You can absolutely adapt the recipe using whatever seeds you have on hand, such as pumpkin seeds, flaxseeds, or even hemp seeds. The flexibility allows for not only flavor variations but also a boost in nutrition!
No-Bake Sugar-Free Protein Balls for Guilt-Free Snacking
Ingredients
Equipment
Method
- Blend the almond butter, LSA or protein powder, mixed seeds, chia seeds, cinnamon, and stevia. Gradually add warm water until smooth.
- Check the texture; add LSA or protein powder for firmness or more water if too dry.
- Spread desiccated coconut on a plate for coating.
- With wet hands, roll the mixture into 1-inch balls and coat with desiccated coconut.
- Place in an airtight container and refrigerate for at least 1 hour.
- Serve and enjoy your no-bake protein balls!