

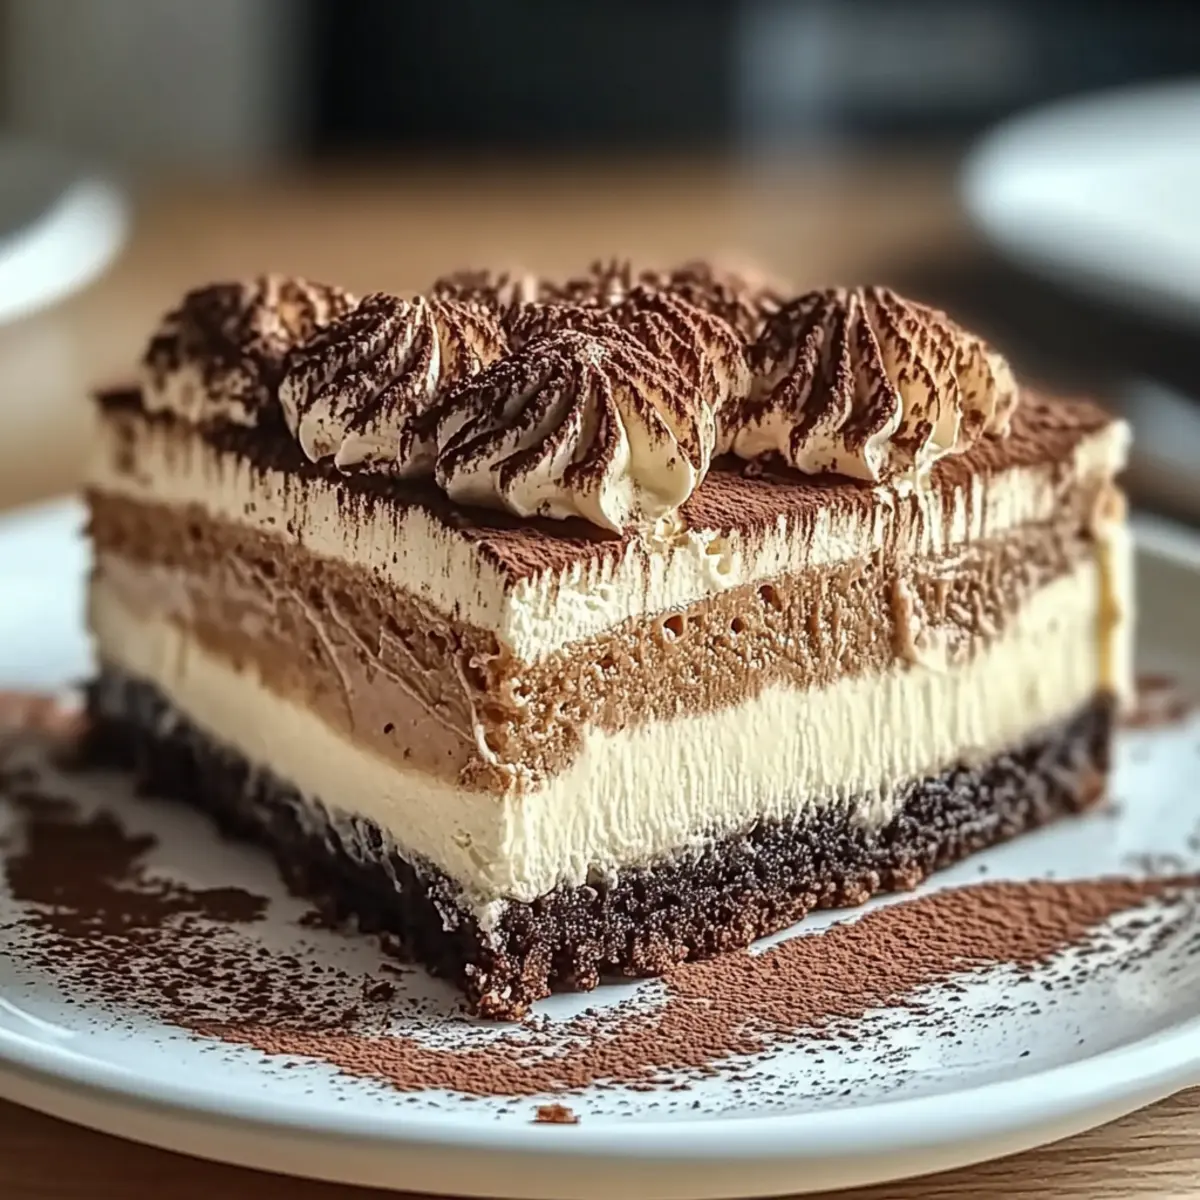
As I carefully dipped the ladyfingers into the rich espresso, the aroma of coffee mixed with cocoa began to swirl around my kitchen, transporting me straight to a charming café in Italy. This Tiramisu Cheesecake Recipe is a delightful twist on two beloved desserts, marrying the creamy decadence of cheesecake with the classic flavors of tiramisu. Not only is it visually impressive, making it perfect for special occasions, but it also features a gluten-free option for those with dietary restrictions. This indulgent dessert will impress your family and friends while offering a warm hug of nostalgia in every bite. Curious how this luscious creation unfolds? Let’s dive into the details!
Why is Tiramisu Cheesecake a Must-Try?
Irresistible Flavor Fusion: This dessert masterfully brings together the rich, creamy goodness of cheesecake with the delightful coffee nuances of tiramisu, creating a harmonious flavor explosion.
Gluten-Free Options: You can easily swap traditional cookies for gluten-free alternatives, allowing everyone to indulge without worry.
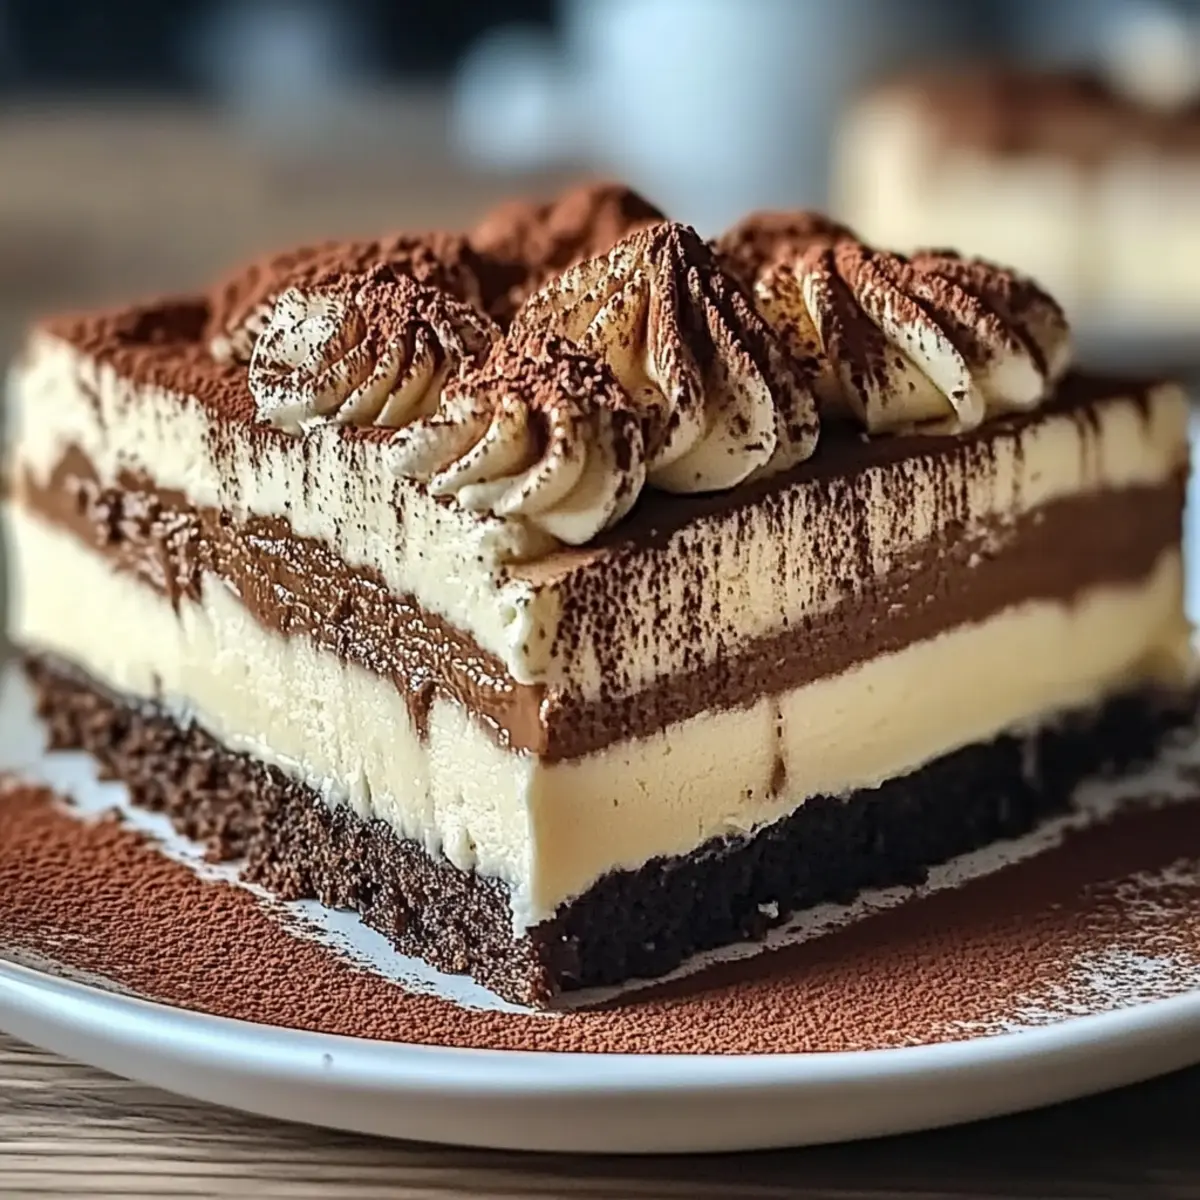
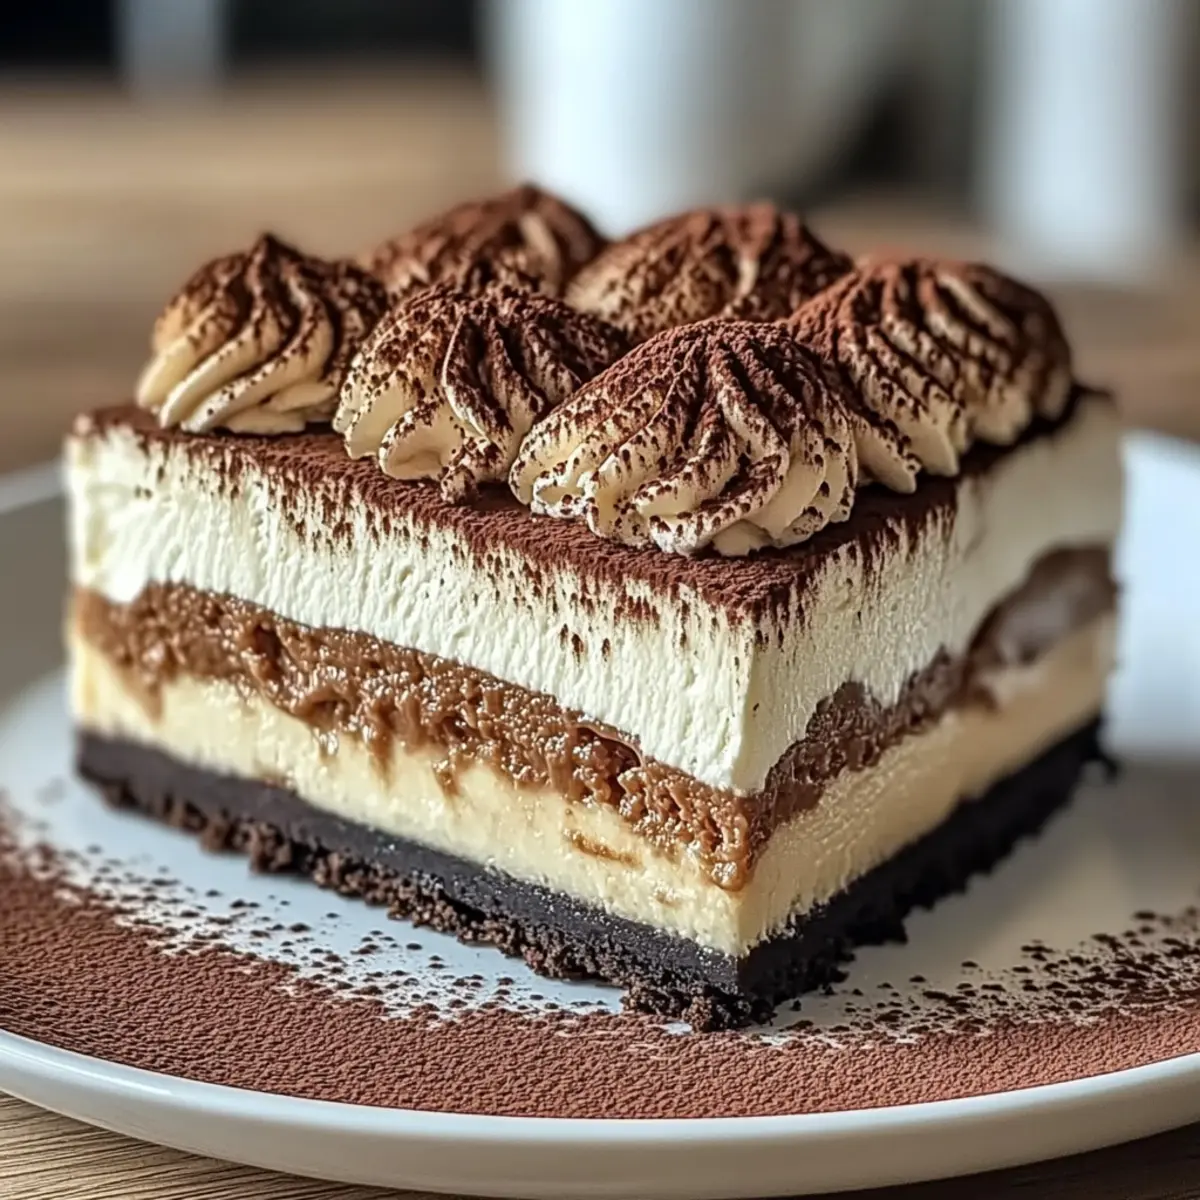
Impressive Presentation: The elegant layers and cocoa dusting ensure this cheesecake not only tastes divine but also looks stunning on any table.
Baking Simplicity: With straightforward steps, even novice bakers can create this impressive dessert that wows family and friends.
Versatile Variations: Personalize your cheesecake by adding a hint of orange zest or top it with seasonal fruits to give it a unique twist.
Explore other delightful options like Berry Tiramisu Refreshing or check out the delectable Strawberry Cheesecake Bars for more inspiration!
Tiramisu Cheesecake Ingredients
• For the Crust
- Chocolate Creme Cookies – This forms the base; substitute with gluten-free cookies for a gluten-free version.
- Unsalted Butter – Melted to bind the crust together perfectly.
• For the Filling
- Cream Cheese – Provides creamy texture; opt for high-quality for the best flavor.
- Mascarpone Cheese – Adds rich creaminess exclusive to this tiramisu cheesecake recipe; can be replaced with cream cheese and sour cream mix.
- Granulated Sugar – Sweetens the filling; adjust according to your desired sweetness.
- Salt – Enhances the overall flavor; don’t skip this essential ingredient!
- Vanilla Essence – Adds aromatic depth; use pure vanilla for the best results.
- Large Eggs – Essential for stabilization; ensure they’re at room temperature for smooth incorporation.
- Heavy Cream – Contributes to a lush mouthfeel; make sure it’s chilled before whipping.
- Sour Cream – Provides moisture and tanginess; integral for the cheesecake texture.
- Cornstarch – Helps to stabilize the cheesecake; be cautious not to use too much to avoid a gummy texture.
• For the Layers and Topping
- Ladyfinger Biscuits – Create delicious layers soaked in coffee; can swap with sponge cake if preferred.
- Strong Black Coffee – A crucial flavoring agent that enhances the tiramisu essence; use freshly brewed for an optimal taste.
- Instant Coffee – Intensifies the coffee flavor in the topping—rich and robust!
- Heavy Whipping Cream – Whip up this fluffy layer; chill before whipping for the best texture.
- Cocoa Powder – For dusting on top; enhances both presentation and flavor beautifully.
Step‑by‑Step Instructions for Tiramisu Cheesecake Recipe
Step 1: Preheat and Prepare
Begin by preheating your oven to 350°F (175°C). While it’s heating, butter a 9-inch springform pan generously to ensure easy removal of your Tiramisu Cheesecake later. This step is crucial for a perfect crust!
Step 2: Make the Crust
In a medium bowl, blend crushed chocolate creme cookies with melted unsalted butter until the mixture resembles wet sand. Press this crumb mixture firmly into the bottom of your prepared pan, creating an even layer. Bake in the preheated oven for about 7-8 minutes, or until set and slightly crisp.
Step 3: Prepare the Filling
Lower the oven temperature to 320°F (160°C). In a stand mixer, combine cream cheese, mascarpone cheese, granulated sugar, vanilla essence, and salt. Mix on medium speed until the mixture is smooth and creamy, about 2-3 minutes. This will be the luscious filling for your Tiramisu Cheesecake.
Step 4: Incorporate Eggs and Cream
Gradually add in the large eggs, one at a time, mixing until just combined after each addition. Then, pour in chilled heavy cream and sour cream. Mix gently until the batter is smooth but be careful not to overmix to prevent cracking during baking.
Step 5: Assemble the Layers
Pour half of the cheesecake batter over the baked crust, spreading it evenly with a spatula. Next, dip the ladyfinger biscuits briefly in strong black coffee and layer them over the batter. Pour the remaining cheesecake batter on top, ensuring the biscuits are completely covered for a delicious flavor infusion.
Step 6: Bake in a Water Bath
Place the assembled Tiramisu Cheesecake in a larger baking dish filled with hot water, creating a water bath. Bake in the oven for approximately 80 minutes or until the edges are set while the center still jiggles gently when shaken, indicating it’s perfectly baked.
Step 7: Cooling Process
After baking, turn off the oven and let the cheesecake cool in the oven for about an hour. This gradual cooling helps to maintain its structure and prevent cracks. Once cooled, transfer it to room temperature for an additional 30 minutes before refrigerating.
Step 8: Chill Overnight
Cover the cheesecake with plastic wrap and refrigerate it for at least 6 hours or overnight. Chilling allows the flavors to meld beautifully, making your Tiramisu Cheesecake even more delicious when served.
Step 9: Whip and Dust
Before serving, whip the heavy whipping cream until soft peaks form, then incorporate instant coffee to infuse that classic tiramisu flavor. Spread this whipped cream over the chilled cheesecake and dust generously with cocoa powder for an elegant touch.
Step 10: Slice and Serve
To achieve clean slices of your Tiramisu Cheesecake, dip a knife in hot water and wipe it dry between cuts. This charming fusion of flavors is now ready to impress your family and friends—slice, serve, and soak in the compliments!

How to Store and Freeze Tiramisu Cheesecake
Fridge: Store your Tiramisu Cheesecake in the refrigerator for up to 5 days. Make sure to cover it with plastic wrap or place it in an airtight container to maintain its flavor and texture.
Freezer: For longer storage, freeze the cheesecake for up to 3 months. Wrap individual slices or the whole cheesecake tightly in plastic wrap and then in aluminum foil to prevent freezer burn.
Thawing: To serve from frozen, thaw the cheesecake in the refrigerator overnight before indulging in its creamy bliss. This ensures it retains its delightful texture.
Reheating: There’s no need to reheat Tiramisu Cheesecake; enjoy it chilled for the best experience!
Expert Tips for Tiramisu Cheesecake
-
Use Room Temperature Ingredients: This helps create a smooth batter and prevents lumps; cold ingredients can lead to uneven mixing, affecting your Tiramisu Cheesecake recipe.
-
Avoid Overbaking: Monitor the cheesecake closely; it should jiggle slightly in the center when removed. Overbaking can lead to cracks and a dry texture.
-
Chill Properly: Refrigerate your cheesecake overnight for the best flavor and texture. This process allows the flavors to deepen and enhances the experience of your Tiramisu Cheesecake.
-
Water Bath Technique: Use a water bath when baking to maintain moisture and prevent cracks in your cheesecake. An effective way to achieve a creamy result!
-
Dipping Ladyfingers: Briefly dip the ladyfingers in coffee to absorb flavor without becoming soggy. Finding that perfect balance is key for layers in your Tiramisu Cheesecake.
Make Ahead Options
These Tiramisu Cheesecake treats are perfect for meal prep enthusiasts looking to save time on busy days! You can prepare the crust and filling up to 24 hours in advance by following these steps: first, bake the crust and let it cool completely. Then, make the filling mixture without incorporating the eggs and refrigerate it separately. When ready to assemble, simply combine the filling with the eggs and layer it over the crust. This approach not only saves you time but also enhances flavor as it sits overnight. To maintain quality, cover the cheesecake tightly in the refrigerator after assembly, and top with whipped cream just before serving for that fresh, indulgent touch!
What to Serve with Tiramisu Cheesecake
Delight your senses as you create a full meal that perfectly pairs with this elegantly rich dessert.
-
Fresh Berries: A mix of raspberries and blueberries adds a bright, tangy contrast that enhances the sweetness of the cheesecake. Their vibrant color also complements the dessert’s presentation.
-
Vanilla Ice Cream: A scoop of creamy vanilla ice cream melts beautifully over the cheesecakes’ warm layers, elevating the experience to a heavenly level. The coldness balances the richness perfectly.
-
Espresso Martini: This delightful coffee-infused cocktail echoes the flavors of the cheesecake, making each bite and sip a blissful celebration of taste. It’s a great way to keep the coffee theme alive!
-
Dark Chocolate Shavings: A garnish of finely shaved dark chocolate adds an extra layer of decadence with its intense flavor, encouraging an inviting interplay of textures. Not only does it look stunning, but it also enhances the overall chocolate notes.
-
Light Fruit Salad: A refreshing blend of seasonal fruits provides a light and zesty contrast to the cheesecake’s richness. This palate cleanser helps balance the meal perfectly.
-
Cocoa Dusted Whipped Cream: Adding a cloud of cocoa-dusted cream on the side offers a luxuriously smooth texture, adding a small indulgent touch to each slice.
-
Mint Tea: This fragrant herbal tea complements the dessert’s richness while providing a refreshing finish. Its lightness cleanses the palate after a decadent meal.
-
Homemade Biscotti: For a charming Italian touch, serve biscotti alongside the cheesecake. Their crunchy texture beautifully contrasts with the creamy dessert while enhancing the coffee experience.
Tiramisu Cheesecake Recipe Variations
Feel free to put your unique spin on this indulgent dessert, enchanting your taste buds with different flavors and textures.
-
Gluten-Free Crust: Substitute chocolate cookies with gluten-free alternatives; everyone deserves a slice of heaven! Enjoy the bliss without the guilt.
-
Cheese Twist: Replace mascarpone with a mix of cream cheese and Greek yogurt for a lighter filling. It gives a tangy delight that’s still incredibly creamy!
-
Flavor Infusion: Add zest from an orange or lemon to the filling for a delightful brightness. It elevates the traditional flavor, making each bite more exciting.
-
Nutty Crunch: Mix crushed nuts into the crust or sprinkle over the top for added texture. This delightful crunch complements the creamy layers beautifully.
-
Rich Coffee Boost: Use espresso powder instead of instant coffee for an even more intense coffee flavor. The depth of flavor is sure to make every coffee lover swoon!
-
Seasonal Touch: Top with fresh berries or seasonal fruits to bring a burst of color and freshness to your cheesecake. It’s a feast for both the eyes and the palate!
-
Chocolate Lover’s Dream: Fold in melted chocolate into the filling for an ultra-rich dessert. This twist creates an indulgent chocolate tiramisu delight.
-
Chili Heat: For a daring twist, add a pinch of cayenne or espresso chili to the crust for a surprising kick. It’s a fun way to turn up the flavor!
For more dessert inspiration, consider trying the mouthwatering Caramel Brownie Cheesecake or the delightful Fireworks Oreo Cheesecake.
Tiramisu Cheesecake Recipe FAQs
What kind of cookies should I use for the crust?
For the crust of your Tiramisu Cheesecake, I recommend using chocolate crème cookies, as they provide the perfect sweetness and chocolate flavor. If you’re looking for a gluten-free option, feel free to swap those for any gluten-free chocolate cookies you prefer!
How should I store my Tiramisu Cheesecake?
You can store your Tiramisu Cheesecake in the refrigerator for up to 5 days. Be sure to cover it with plastic wrap or store it in an airtight container to keep it fresh and prevent it from absorbing any other flavors from the fridge.
Can I freeze Tiramisu Cheesecake?
Absolutely! To freeze your Tiramisu Cheesecake, you can wrap either individual slices or the whole cheesecake tightly in plastic wrap and then in aluminum foil to prevent freezer burn. This will keep it well-preserved for up to 3 months. When ready to enjoy, simply thaw it in the fridge overnight for the best texture!
What should I do if my cheesecake cracks during baking?
Don’t worry if your cheesecake cracks! This can happen to the best of us. To help prevent this, you can use a water bath while baking—this adds moisture and results in a creamy texture. If a crack does occur, just cover it with whipped cream or cocoa powder when serving, and no one will be the wiser!
Can I make substitutions to cater to dietary restrictions?
Certainly! You can easily adjust this Tiramisu Cheesecake recipe to fit dietary needs. For example, if someone in your circle is lactose intolerant, you might substitute mascarpone with a combination of cream cheese and sour cream. Additionally, always double-check the ingredients in your chocolate cookies to ensure they align with dietary requirements.
Is the coffee used in this recipe strong?
Yes, the recipe calls for strong black coffee, which really enhances the tiramisu flavor. For the best results, use freshly brewed coffee to ensure it has that robust and deep coffee flavor that is characteristic of classic tiramisu!
Irresistible Tiramisu Cheesecake Recipe with Coffee Bliss
Ingredients
Equipment
Method
- Preheat your oven to 350°F (175°C) and butter a 9-inch springform pan.
- Blend crushed chocolate creme cookies with melted unsalted butter until resembling wet sand, then press into the bottom of the prepared pan. Bake for 7-8 minutes.
- Lower the oven temperature to 320°F (160°C). Mix cream cheese, mascarpone, sugar, vanilla, and salt in a stand mixer until smooth.
- Add eggs one at a time, mixing just until combined. Then mix in heavy cream and sour cream gently.
- Pour half of the batter over the cooked crust, layer with dipped ladyfingers in coffee, and cover with remaining batter.
- Place in a baking dish with hot water and bake for about 80 minutes until edges are set and center jiggles.
- Cool in the oven for an hour, then to room temperature for another 30 minutes before refrigerating.
- Chill overnight covered with plastic wrap.
- Whip heavy cream with instant coffee, spread over cheesecake, and dust with cocoa powder.
- Slice with a hot knife and serve.