

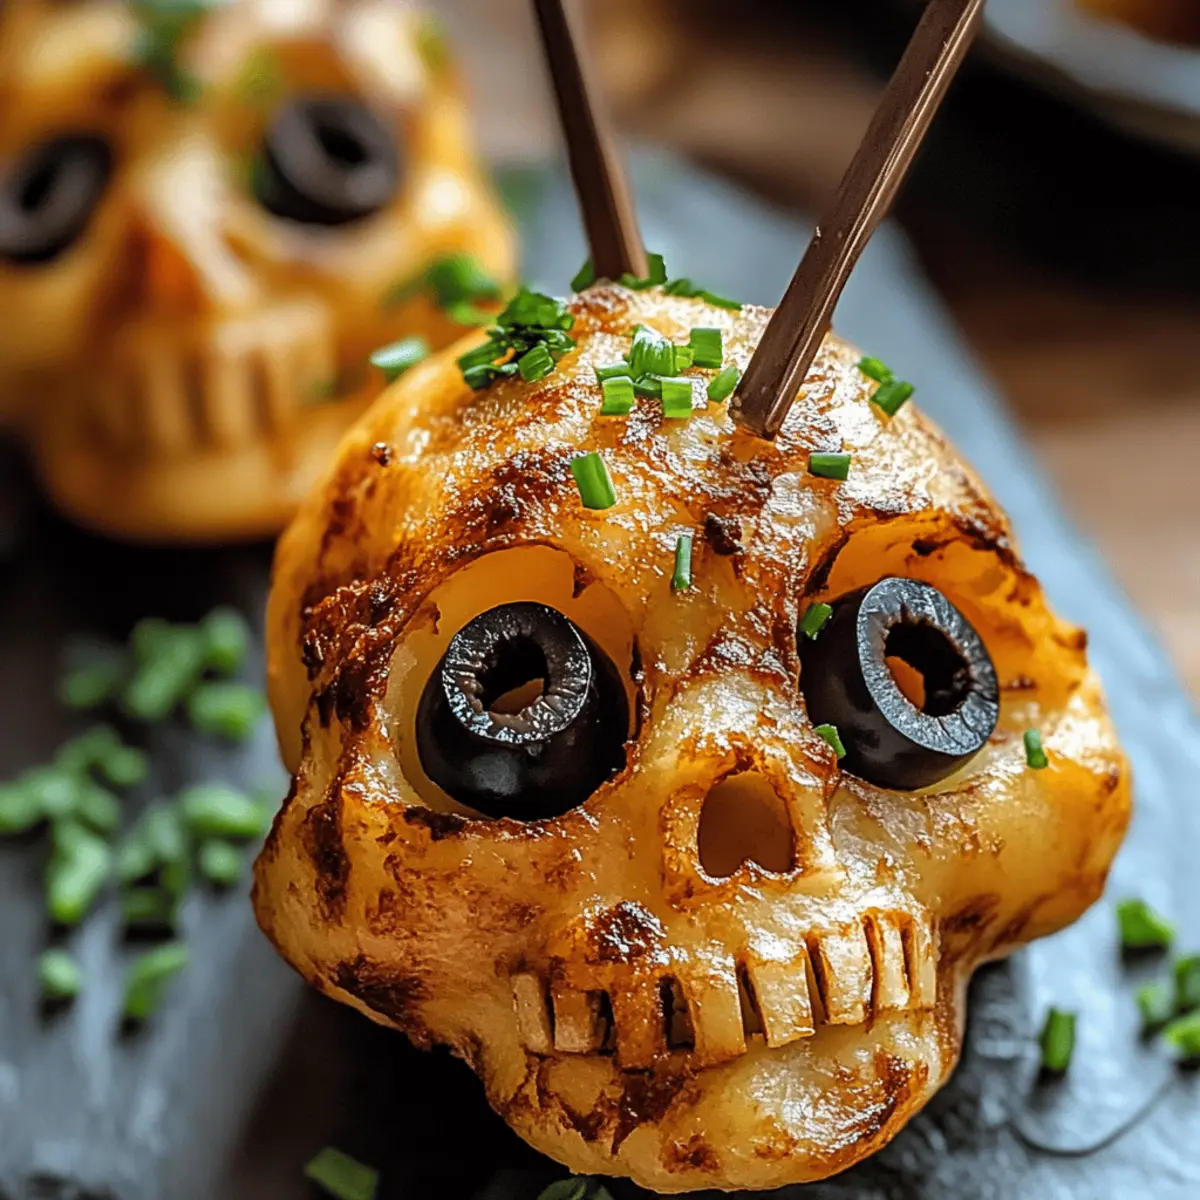
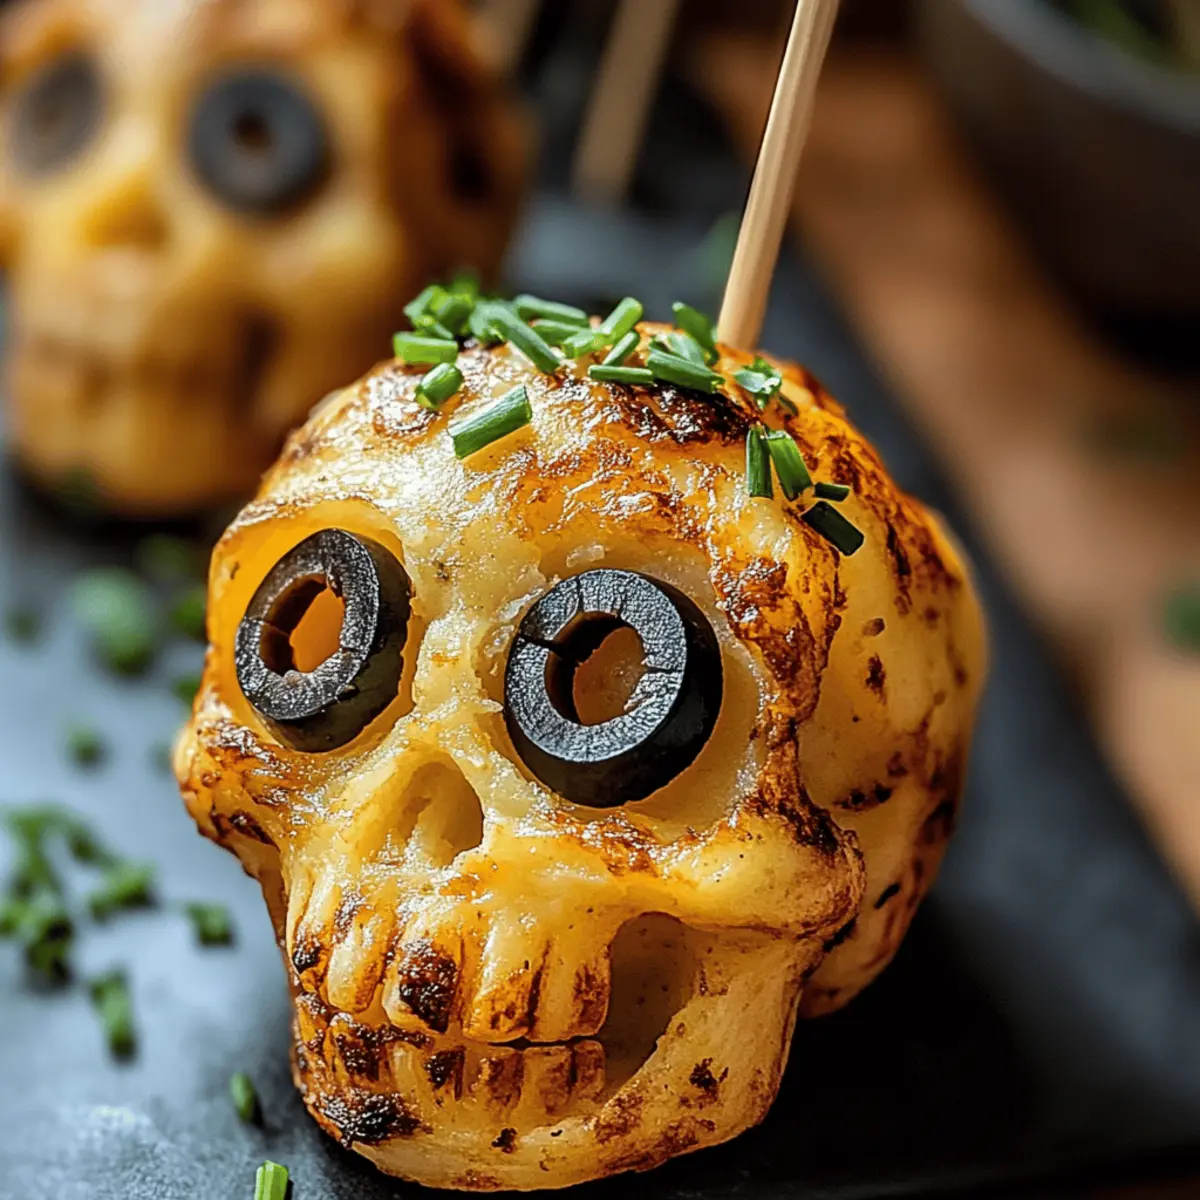
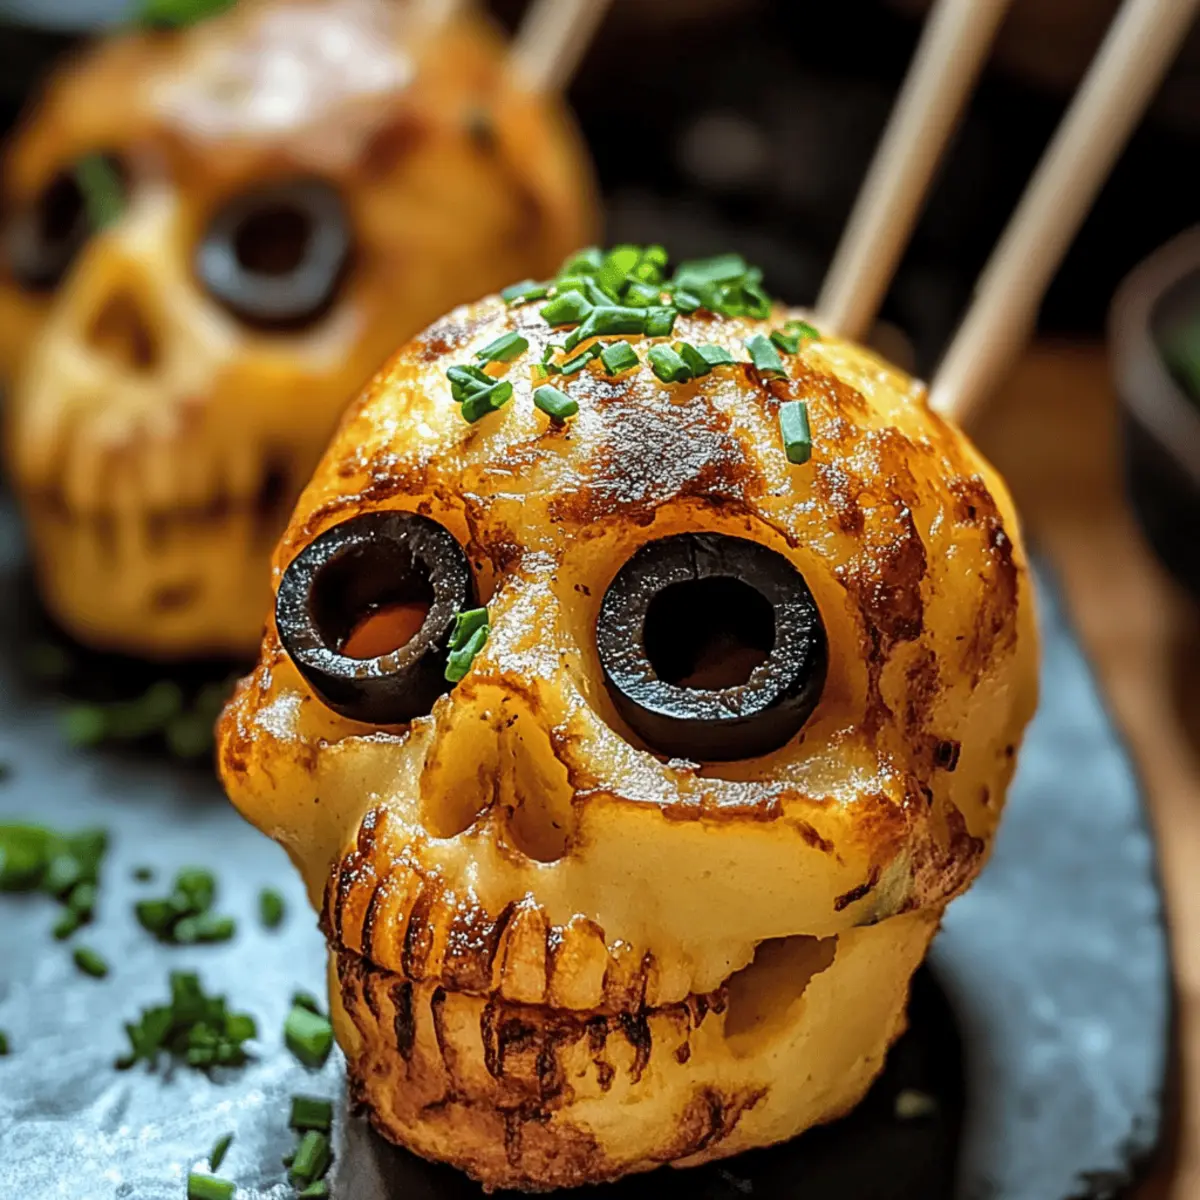
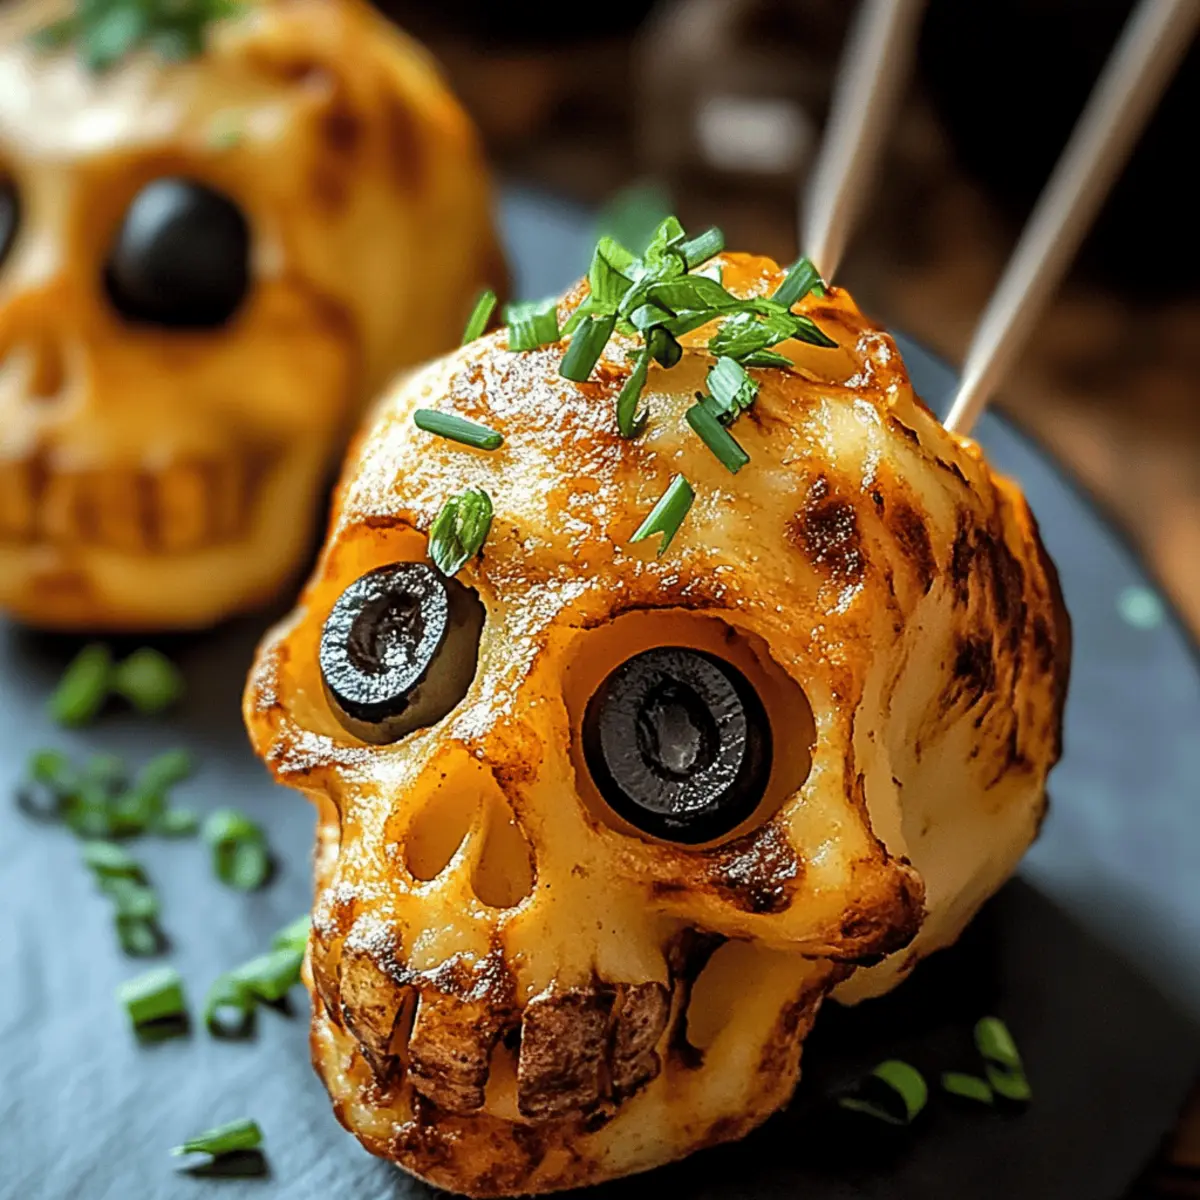
As I prepped for the spookiest season of the year, I stumbled upon an idea that turned my kitchen into a Halloween wonderland: Spooky Skull Potatoes! Picture this: creamy mashed potatoes, shaped like playful skulls, bringing both a smile and a hint of delicious mischief to your eerie festivities. Not only are these skull potatoes a fabulous showstopper for any Halloween gathering, but they’re also incredibly easy to whip up, ensuring you spend less time in the kitchen and more time enjoying ghoulish fun with your family and friends. Plus, with the opportunity to customize flavors and decorations, everyone can join in on the kitchen magic! Ready to dive into this frightfully delightful recipe that will make your Halloween feast unforgettable? Let’s get started!
Why You’ll Adore Spooky Skull Potatoes?
Uniqueness: These fun skull-shaped potatoes will be the talk of your Halloween party, combining comfort food with a creative twist.
Customizable: Feel free to make them your own by adding mix-ins like garlic or cheese, or experimenting with different themed molds to fit any occasion.
Kid-Friendly: Perfect for little ones, they transform a classic dish into playful treats that make mealtime festive and fun.
Time-Saving: Quick to prepare and bake, you’ll have more time to enjoy the celebrations rather than slaving away in the kitchen.
Crowd-Pleaser: Everyone loves mashed potatoes, and with this spooky twist, you’ll impress guests of all ages—whether at a family gathering or a Halloween bash!
For more creative potato ideas, check out my delicious Cheesy Chicken Potatoes or Mushroom Spinach Potatoes for more flavor-packed recipes.
Spooky Skull Potatoes Ingredients
For the Potatoes
- Large Russet Potatoes – The base ingredient for a creamy texture; Yukon gold can be substituted for a buttery flavor.
- Heavy Cream – This adds richness; look to milk as a lighter alternative if desired.
- Butter (Melted) – Enhances the flavor and creaminess; swap for olive oil for a lovely dairy-free option.
- Salt – A must for seasoning; adjust according to your dietary needs and preferences.
For the Decoration
- Black Olives – Perfect for creating spooky eye sockets; consider cherry tomatoes or capers for a fun twist!
- Fresh Chives/Green Onions – Optional for garnish; these add a fresh touch but can be omitted if you’re going for simplicity.
Get ready to make the most of your Halloween celebration with these Spooky Skull Potatoes!
Step‑by‑Step Instructions for Spooky Skull Potatoes
Step 1: Prepare Potatoes
Start by peeling and cutting the large Russet potatoes into 2-inch chunks for even cooking. Place the potatoes in a large pot of salted cold water and bring it to a boil. Cook the potatoes for 15-20 minutes until they are fork-tender and easily pierce with a knife, ensuring a creamy mashed texture.
Step 2: Mash
Once the potatoes are cooked, drain them well and return them to the pot. Add heavy cream, melted butter, salt, and freshly ground pepper to the drained potatoes. Use a potato masher or ricer to mash the mixture until smooth and creamy, adjusting seasoning if desired for the perfect flavor in your Spooky Skull Potatoes.
Step 3: Shape
Now it’s time to mold your mashed potatoes! If you have a skull-shaped mold, pack the mashed potatoes tightly into it, ensuring there are no air bubbles. If you don’t have a mold, use your hands to shape the potatoes into playful skull forms, taking care to create well-defined features to enhance their spooky appearance.
Step 4: Decorate
With your skull potatoes shaped, it’s time to get creative! Carefully press black olives into the eye sockets for that spooky effect. Use additional mashed potato to form a mouth or other facial features if you wish, making each skull uniquely festive for Halloween gatherings.
Step 5: Bake
Preheat your oven to 375°F (190°C) while you line a baking sheet with parchment paper. Place your decorated skull potatoes on the sheet and bake them in the oven for 15-20 minutes. Watch for a crispy golden exterior, which will add a delightful crunch to the creamy insides of your Spooky Skull Potatoes.
Step 6: Serve
Once baked, carefully remove the skull potatoes from the oven and let them cool slightly. Serve them warm, garnished with finely chopped fresh chives or green onions if desired, adding a fresh, vibrant touch. Enjoy these hauntingly fun treats with family and friends for a spooktacular Halloween celebration!
What to Serve with Spooky Skull Potatoes?
As you create these whimsical skull-shaped delights, consider pairing them with dishes that elevate your Halloween feast into a truly unforgettable experience.
-
Crispy Brussels Sprouts: The bitterness of Brussels sprouts complements the creamy potatoes beautifully, adding a delightful crunch to the plate.
-
Garlicky Green Beans: Tender green beans tossed in garlic create a fresh contrast to the rich Spooky Skull Potatoes, keeping your meal vibrant and festive.
-
Creamy Pumpkin Soup: A warm, velvety soup captures the essence of fall, making a cozy side that balances well with the playful potato shapes.
-
Spooky Salad: Combine mixed greens with spooky-shaped croutons and a tangy vinaigrette for a quirky addition that adds color and crunch to the table.
-
Rotten Apple Cider: Serve a chilled apple cider with a hint of spice — perfect for complementing all the Halloween-themed dishes and quenching your thirst.
-
Chocolate Graveyard Dirt Cups: Finish off the spooky feast with these delightful dessert cups layered with chocolate pudding, crushed cookies, and gummy worms for a ghoulish treat that kids and adults will love!
Bring your Halloween feast together with these complementary dishes that will enchant all your guests!
Expert Tips for Spooky Skull Potatoes
• Avoid Mushiness: Make sure not to overcook the potatoes; test for doneness with a fork regularly to achieve a fluffy consistency.
• Seasoning Adjustments: Taste the mashed potato mixture before shaping. Adjust the salt and pepper to bring out the best flavor in your Spooky Skull Potatoes.
• Pack Tightly: When molding the skulls, ensure you pack the mashed potatoes tightly to maintain their shape during baking—no one wants a lopsided skull!
• Creative Mix-Ins: To elevate the flavors, consider adding garlic powder, shredded cheese, or even bacon bits into the mash. This customization makes each spooky bite a delight!
• Garnish Personalization: Use different ingredients like colored peppers or unique garnishes to create custom features on your skulls, making them a fun project for kids.
Spooky Skull Potatoes – Fun Variations
Feel free to let your creativity run wild as you customize these delightful skull potatoes to fit your Halloween spirit!
-
Flavored Mash: Add garlic powder or shredded cheese for an extra dimension of flavor in your creamy potatoes. The infusion of these ingredients creates an irresistible taste twist that everyone will enjoy.
-
Dairy-Free Delight: Swap heavy cream for coconut milk for a lactose-free version. Not only does this give a unique flavor, but the creaminess is still wonderfully maintained, making it suitable for everyone at the table.
-
Vegetable Mix-Ins: Incorporate mashed cauliflower or sweet potatoes into the mix for added nutrition and flavor. This twist lightens the dish while introducing a hint of sweetness, making it unexpected and delightful.
-
Colorful Decor: Use red cherry tomatoes or green peas as alternative eye decorations. These vibrant colors not only enhance the visual appeal but also add fresh flavors that complement the potatoes beautifully.
-
Bacon Boost: Fold in bacon bits for a savory crunch. The smoky flavor elevates these spooky skulls, making them a delightful treat that is irresistibly good.
-
Heat It Up: Add jalapeño or red pepper flakes for a spicy kick. Infusing some heat creates a fun contrast with the creamy texture and keeps your guests guessing, adding excitement to your Halloween feast!
-
Theme Molds: Experiment with different themed molds like pumpkins or ghosts to cater to other holidays. This way, you can repurpose this delightful recipe for festive family gatherings throughout the year.
To explore even more exciting potato variations that will wow your family and friends, check out my Mushroom Spinach Potatoes or indulge in creamy goodness with Cheesy Chicken Potatoes. Happy cooking!
How to Store and Freeze Spooky Skull Potatoes
Fridge: Store any leftover Spooky Skull Potatoes in an airtight container in the fridge for up to 3 days. Reheat gently in the microwave or oven to maintain their creamy texture.
Freezer: For longer storage, freeze shaped, uncooked skull potatoes. Place them on a parchment-lined baking sheet to freeze individually, then transfer to a freezer bag for up to 3 months. Bake directly from frozen when ready to enjoy.
Reheating: If reheating cooked leftovers, place them in the oven at 350°F (175°C) for 15-20 minutes, or until heated through. This helps retain that wonderful crispy exterior while keeping the inside deliciously creamy.
Make Ahead Options
These Spooky Skull Potatoes are perfect for busy cooks looking to save time without sacrificing flavor! You can prepare the mashed potatoes up to 24 hours in advance, storing them tightly covered in the refrigerator to maintain their creamy consistency. Just shape the skulls when you’re ready to bake and decorate them with black olives for a spooky touch. To ensure they remain fresh, make sure to refrigerate the shaped potatoes on a parchment-lined baking sheet, covered with plastic wrap. When it’s time to serve, simply pop them in a preheated oven at 375°F (190°C) for 15-20 minutes until golden crispy. This way, you can enjoy a delightful Halloween feast with minimal fuss!
Spooky Skull Potatoes Recipe FAQs
How do I choose the right potatoes for my Spooky Skull Potatoes?
Absolutely! I recommend using large Russet potatoes, as they create the perfect creamy texture. If you prefer a buttery flavor, Yukon gold potatoes are a wonderful substitute. Just ensure they’re firm and free of dark spots for the best results!
What is the best way to store leftover Spooky Skull Potatoes?
Store any leftover Spooky Skull Potatoes in an airtight container in the fridge for up to 3 days. Gently reheat them in the microwave or oven—this helps keep that lovely creamy texture intact.
Can I freeze my Spooky Skull Potatoes?
Very! To freeze, shape the uncooked skull potatoes, then place them on a parchment-lined baking sheet to freeze individually. Once frozen, transfer them to a freezer bag and they’ll last for up to 3 months. When you’re ready to enjoy, bake them directly from frozen at 375°F (190°C) for 20-25 minutes until heated through and golden!
What should I do if my skull potatoes are falling apart?
If your skulls aren’t holding together, make sure you packed the mashed potatoes tightly into the mold. If you’ve already baked them, don’t worry too much; you can still shape them gently back into form as they cool, or use a little bit of extra mash to reinforce any weak spots.
Are there any dietary considerations I should keep in mind?
Definitely! If you’re making these for a group, keep dietary needs in mind. You can easily make them dairy-free by substituting heavy cream with almond or oat milk and using olive oil instead of butter. If you have allergies, always double-check the ingredients like olives and any mix-ins you choose!
Spooky Skull Potatoes for a Fun, Creamy Halloween Feast
Ingredients
Equipment
Method
- Start by peeling and cutting the large Russet potatoes into 2-inch chunks for even cooking. Place the potatoes in a large pot of salted cold water and bring to a boil. Cook for 15-20 minutes until fork-tender.
- Once cooked, drain the potatoes and return them to the pot. Add heavy cream, melted butter, salt, and pepper, then mash until smooth and creamy.
- Mold the mashed potatoes into skull shapes using a skull-shaped mold or your hands, ensuring well-defined features.
- Press black olives into the eye sockets of the shaped potatoes and use additional mashed potato for facial features as desired.
- Preheat the oven to 375°F (190°C). Line a baking sheet with parchment and place the decorated skull potatoes on it. Bake for 15-20 minutes until golden.
- Once baked, let cool slightly. Serve warm, garnished with finely chopped chives or green onions if desired.