

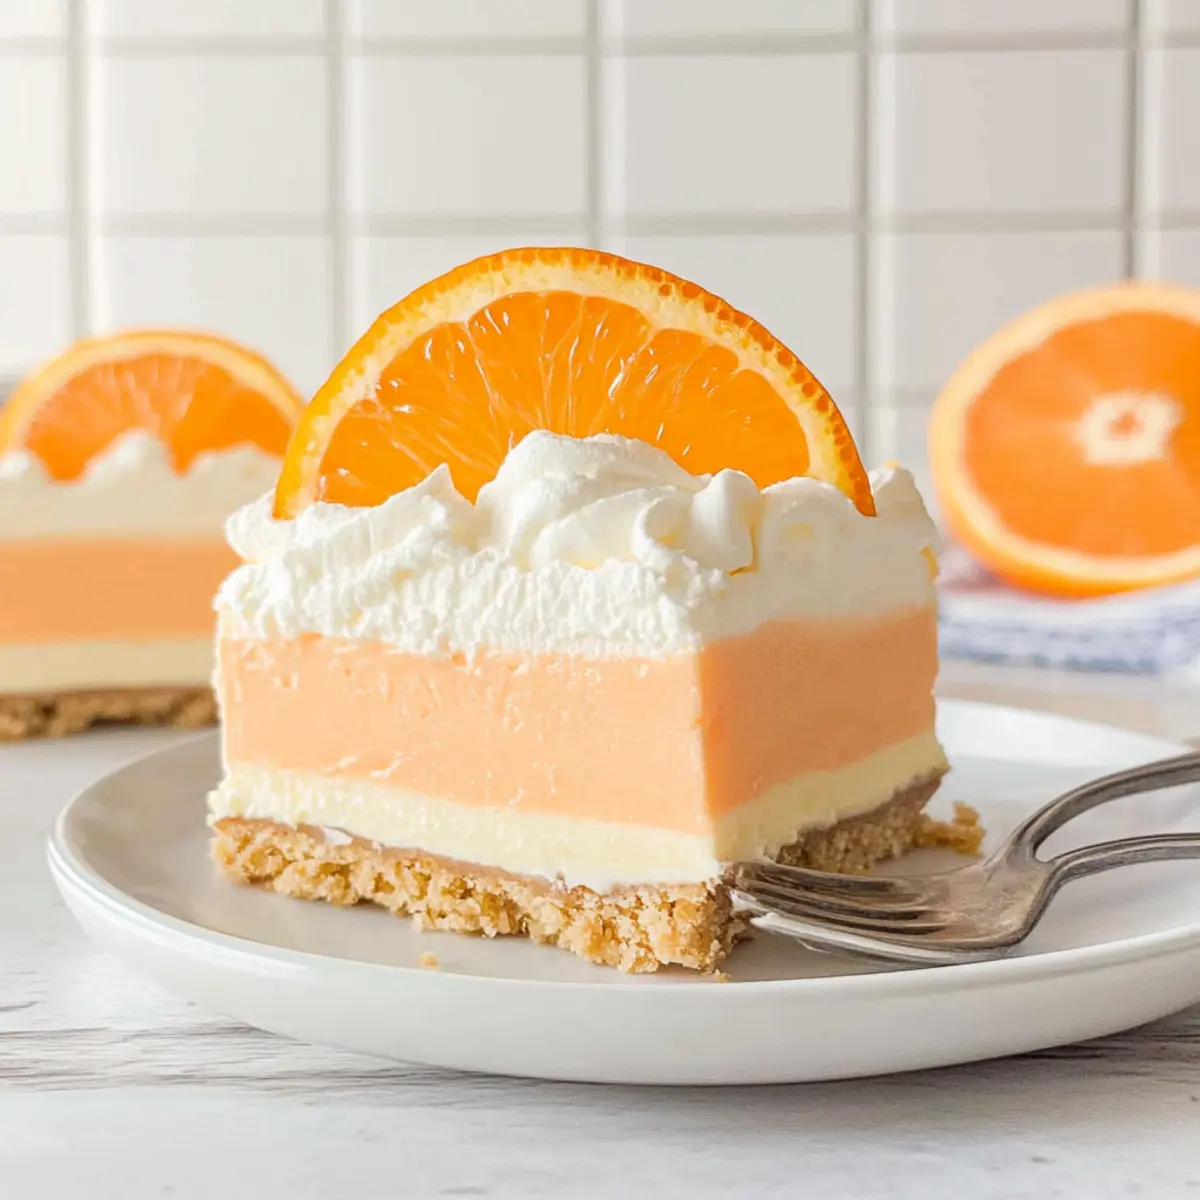
As the sun blazes high and carefree laughter fills the air, I find myself reminiscing about those glorious summer days and the sweet treats that accompanied them. That’s why I’m thrilled to share my recipe for No-Bake Orange Creamsicle Dream Bars! These delightful confections capture the essence of childhood memories, providing an easy dessert that requires no oven time and brings a burst of citrus happiness to any occasion. With options like Nilla Wafers, graham crackers, or even crushed sugar cones for the crust, these bars offer versatility that keeps things fresh. They’re perfect for those scorching afternoons when you crave a refreshing treat without the hassle. Ready to indulge in a slice of nostalgia? Let’s dive into the vibrant world of Orange Creamsicle Dream Bars!
Why are Orange Creamsicle Dream Bars irresistible?
Nostalgic Flavor: These bars deliver the iconic taste of creamy orange dreamsicles, evoking childhood memories.
No-Bake Convenience: The simplicity of a no-bake dessert means you can whip this up without turning on the oven, making it perfect for hot summer days.
Versatile Crust Options: Choose between Nilla Wafers, graham crackers, or crushed sugar cones for a customizable base that suits your taste!
Refreshing and Light: With a creamy orange layer and a crunchy crust, every bite is a delightful balance of textures that feels indulgent yet light.
Crowd-Pleasing Treat: Whether it’s a family gathering or a summer BBQ, these bars are sure to impress and leave everyone asking for seconds! Try pairing them with some Strawberry Shortcake Bars for an extra dose of sweetness.
Orange Creamsicle Dream Bar Ingredients
Prepare to Create Magic!
• Dive into the world of dreamy flavors with these Orange Creamsicle Dream Bars that will take you back to summer bliss.
For the Crust
- Nilla Wafer Cookie Crumbs – Offers the perfect sweet and crunchy base; swap with graham cracker crumbs or crushed sugar cones for variety.
- Unsalted Butter – Binds the crust together; make sure it’s melted to ensure proper mixing.
For the Orange Cream Layer
- Orange Gelatin – Infuses a zesty flavor and desirable texture; remember to dissolve it properly without water excess.
- Cream Cheese – Provides a creamy consistency; it’s crucial to let it reach room temperature for seamless blending.
- Powdered Sugar – Sweetens your cream layer; adjust based on your sweetness preference.
- Orange Extract – Enhances the orange flavor; adding this optional ingredient elevates the taste significantly.
- Orange Wilton Gel Food Color – Perfect for that vibrant hue; this is optional and just for visual appeal!
For the Topping
- Cool Whip – Adds a light and fluffy finish to your bars; you can substitute with Stabilized Whipped Cream for more flavor.
These Orange Creamsicle Dream Bars are not just easy to make, but they promise a delightful experience that will be a hit at your summer gatherings!
Step‑by‑Step Instructions for Orange Creamsicle Dream Bars
Step 1: Prepare the Crust
Begin by lining an 8×8-inch baking pan with parchment paper for easy removal. In a mixing bowl, melt the unsalted butter and combine it with the Nilla Wafer cookie crumbs until fully coated. Press this mixture firmly into the bottom of the prepared pan and ensure it’s even. Place the pan in the freezer for at least 30 minutes, allowing the crust to set and become firm.
Step 2: Make Orange Gelatin Mixture
While the crust is chilling, prepare the orange gelatin layer. Boil 1 cup of water and dissolve the orange gelatin in it, stirring well until fully dissolved. Then, add 1 cup of cold water and let the mixture cool at room temperature for about 10 minutes. This cooling step is crucial, as it prevents the gelatin from setting before mixing it with the other ingredients.
Step 3: Prepare Orange Cream Layer
In a medium bowl, beat the room-temperature cream cheese with powdered sugar, orange extract, and orange gel food color until smooth and creamy. Gradually pour the chilled gelatin mixture into the cream cheese blend while mixing until well combined and velvety. Once achieved, refrigerate this orange cream layer for 1 hour to allow it to thicken and develop flavor.
Step 4: Make Cheesecake Layer
In a separate bowl, blend the cream cheese, powdered sugar, and a splash of vanilla until the mixture is completely smooth and creamy. Gently fold in 1 cup of Cool Whip into the cheesecake mixture, ensuring a light and fluffy texture. Once well combined, spread this luscious cheesecake layer evenly over the firm crust in the pan.
Step 5: Combine Layers
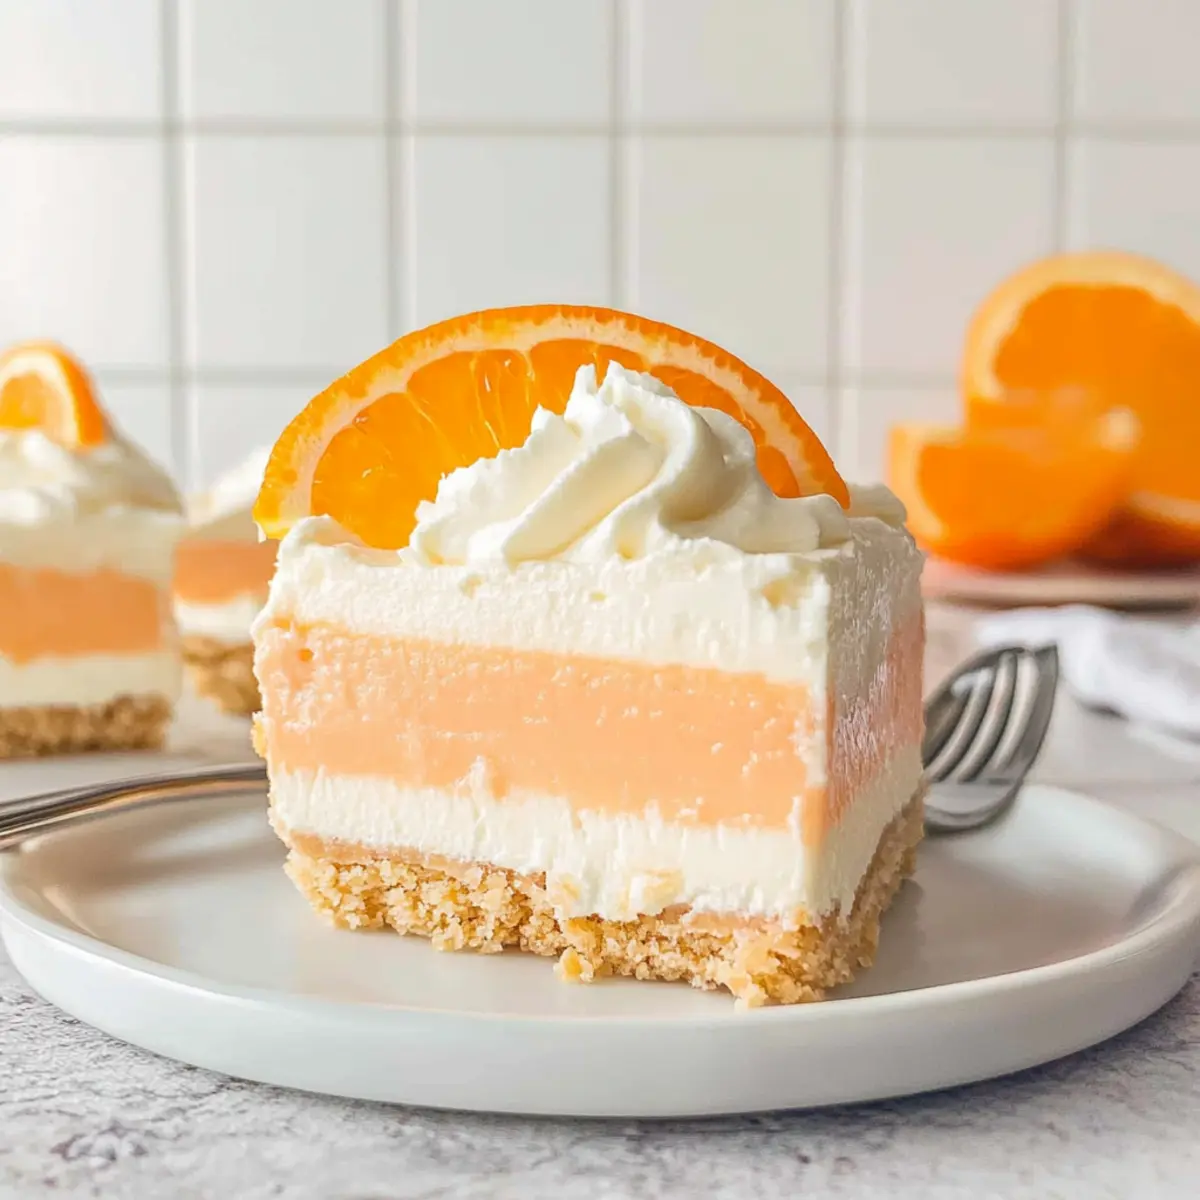
Next, take the chilled orange cream mixture from the refrigerator and fold in the remaining Cool Whip gently. This will add a light and airy texture that complements the richness of the cheesecake. Carefully pour this vibrant orange cream over the cheesecake layer, spreading it out evenly to cover the entire surface and create a beautiful, multi-layered dessert.
Step 6: Chill
Finally, cover the baking pan with plastic wrap and refrigerate the entire dessert for at least 6 hours, or preferably overnight. This chilling process allows the flavors to meld beautifully and ensures the bars set properly. When ready to serve, slice into squares, and enjoy your refreshing Orange Creamsicle Dream Bars that evoke wonderful summer memories!
Orange Creamsicle Dream Bars Variations
Feel free to unleash your creativity and customize these delightful bars to suit your taste and dietary needs!
- Graham Cracker Crust: Swap Nilla Wafers for graham cracker crumbs for a slightly different flavor profile.
- Sugar Cone Crust: Use crushed sugar cones instead of cookie crumbs for a crunchy and sweet twist that adds fun.
- Add Mandarin Oranges: Mix in drained canned mandarin oranges to the orange layer for an extra burst of fruitiness.
- Flavored Gelatin: Substitute the orange gelatin with strawberry or lime for a refreshing twist that changes the entire vibe.
- Less Sweet: Adjust the powdered sugar in the cheesecake layer based on your sweetness preference—for those who like it less sweet.
- Coconut Cream: Swap half of the Cool Whip with coconut cream for a tropical flair that pairs beautifully with orange.
- Add Zest: Incorporate some grated orange zest into the cream cheese mixture for an enhanced citrus kick that’ll brighten the flavors.
- Spicy Kick: Sprinkle a touch of cayenne pepper in the orange layer for a surprising heat that complements the sweetness.
If you’re looking for more dessert inspiration, don’t forget to check out our scrumptious Strawberry Cheesecake Bars or indulge in some rich Oreo Cheesecake Bars as delicious alternatives!
What to Serve with No-Bake Orange Creamsicle Dream Bars
A warm summer day calls for dishes that dance on your palate, creating a delightful meal together.
- Fresh Fruit Salad: Bright, juicy pieces of seasonal fruits complement the creamy bars and enhance the citrus notes while adding a refreshing crunch.
- Grilled Chicken Skewers: The savory, charred flavors of tender chicken skewers provide a delicious contrast to the sweet, creamy layers, making each bite more exciting.
- Minty Green Salad: A light salad with fresh greens and a tangy dressing creates a refreshing balance, cleansing the palate between bites of the rich dessert. Enjoy a burst of flavor!
- Sparkling Lemonade: The fizz and tartness of sparkling lemonade harmonize beautifully with the orange creamsicle flavor, making it a perfect thirst-quencher for sunny days.
- Chocolate Dipped Pretzels: The sweet-salty combo of these treats offers a playful crunch that works wonderfully against the creamy texture of the bars, adding depth and fun to your dessert spread.
- Creamy Coleslaw: The creamy, cool coleslaw adds a lovely crunch, marrying flavors well and making your summer meal feel complete. It’s a delightful and crisp addition!
- Vanilla Ice Cream: Serve a scoop alongside the bars for a heavenly experience, as the rich vanilla flavor pairs perfectly, taking your dessert to the next level of indulgence.
- Pineapple Coconut Smoothie: A creamy smoothie will not only cool you down but also enhance the tropical vibes of the orange creamsicle, creating a blissful summer atmosphere.
- Lemon Tart: The tangy notes of a tangy lemon tart will complement the orange beautifully, giving your desserts a bright, balanced finish.
- Iced Tea with Peach Slices: Refreshing iced tea topped with fresh peach slices brings a homey touch, adding a delightful aroma and flavor to your summer feast.
Make Ahead Options
These Orange Creamsicle Dream Bars are perfect for meal prep and can save you precious time during busy weeknights! You can make the crust and the orange cream layer up to 24 hours in advance. Simply prepare the crust as directed, press it into the baking pan, and freeze it. For the orange cream layer, complete all mixing steps and refrigerate it separately. When you’re ready to finish, simply layer the cheesecake mixture over the crust, followed by the orange cream, and refrigerate the assembled dessert for at least 6 hours or overnight before serving. This prep method ensures each bite remains fresh and just as delicious as the day you made them!
Storage Tips for Orange Creamsicle Dream Bars
Fridge: Store in an airtight container in the refrigerator for up to 3-4 days to maintain freshness and flavor.
Freezer: Freezing is not recommended due to potential texture changes from the gelatin. The bars may become soupy upon thawing, losing their creamy structure.
Reheating: These bars are best served chilled directly from the fridge; simply slice and enjoy without any reheating.
Expert Tips for Orange Creamsicle Dream Bars
-
Chill Gelatin Mixture: Make sure the gelatin mixture is chilled but not set before combining with cream cheese. This prevents unwanted chunks in your Orange Creamsicle Dream Bars.
-
Room Temperature Cream Cheese: Allow cream cheese to reach room temperature for easier mixing and a smoother texture across all layers.
-
Use Proper Knife Techniques: To slice the finished bars neatly, dip a large knife in hot water and dry it before cutting. This will prevent crumbling.
-
Layer Carefully: When combining layers, gently fold in the Cool Whip to maintain the airy texture that makes these bars so delightful.
-
Store Wisely: Keep your Orange Creamsicle Dream Bars in an airtight container in the refrigerator; they’re best enjoyed within 3-4 days for optimal freshness.
Orange Creamsicle Dream Bars Recipe FAQs
What’s the best way to select ripe oranges for this recipe?
Absolutely! When choosing oranges, look for those that are firm and feel heavy for their size. A bright, vibrant color indicates ripeness, and avoid any with dark spots or blemishes. You can also give them a gentle squeeze; if they yield slightly, they should be juicy and flavorful. Having fresh, ripe oranges will elevate the taste of your Orange Creamsicle Dream Bars!
How should I store leftover Orange Creamsicle Dream Bars?
Very! Keep your dream bars in an airtight container in the refrigerator. They are best consumed within 3-4 days for optimal flavor and quality. Make sure not to cover them too tightly as the layers need some airflow to maintain their fluffy texture.
Can I freeze Orange Creamsicle Dream Bars?
Unfortunately, freezing is not recommended for these bars because the gelatin can change texture once thawed, leading to a less desirable soupy consistency. If you want to freeze them nonetheless, freely wrap individual servings in plastic wrap and place them in a freezer-safe container. They may retain decent quality for about 1-2 months—just be aware the texture won’t be the same when you thaw them.
What should I do if my cream cheese mixture is lumpy?
Not to worry! If your cream cheese is lumpy, it might not have reached room temperature. To resolve this, place the bowl over a pot of hot water (double boiler method) and stir until it softens and becomes smooth. If it’s already mixed and lumpy, I’d suggest blending it with a hand mixer for a few moments until it reaches that luscious, creamy consistency.
Can these dreams bars be made allergy-friendly?
Of course! If you have dairy allergies, consider using plant-based cream cheese alternatives that fit your dietary needs. For a gluten-free option, use gluten-free cookie crumbs for the crust. Always check your gelatin to ensure it meets your dietary restrictions. These little tweaks will still allow you to enjoy a delicious version of the Orange Creamsicle Dream Bars!
What can I use if I don’t have Nilla Wafers?
Great question! If Nilla Wafers aren’t on hand, you can certainly substitute them with graham cracker crumbs or crushed sugar cones. For a delightful twist, consider using a combination of crushed pretzels for a salty-sweet flavor. The more the merrier—you can get creative with your crust!
Delicious Orange Creamsicle Dream Bars for a Summer Treat
Ingredients
Equipment
Method
- Line an 8x8-inch baking pan with parchment paper. Melt the unsalted butter and combine with Nilla Wafer cookie crumbs. Press into the bottom of the pan and freeze for 30 minutes.
- Boil 1 cup of water, dissolve the orange gelatin, then add 1 cup of cold water and cool at room temperature for 10 minutes.
- Beat cream cheese with powdered sugar, orange extract, and orange gel food color until smooth. Gradually mix in chilled gelatin mixture. Refrigerate for 1 hour.
- Blend cream cheese, powdered sugar, and vanilla until smooth. Fold in Cool Whip and spread over the crust.
- Fold remaining Cool Whip into the orange cream mixture and spread it over the cheesecake layer. Refrigerate covered for at least 6 hours.
- Slice into squares and enjoy.