

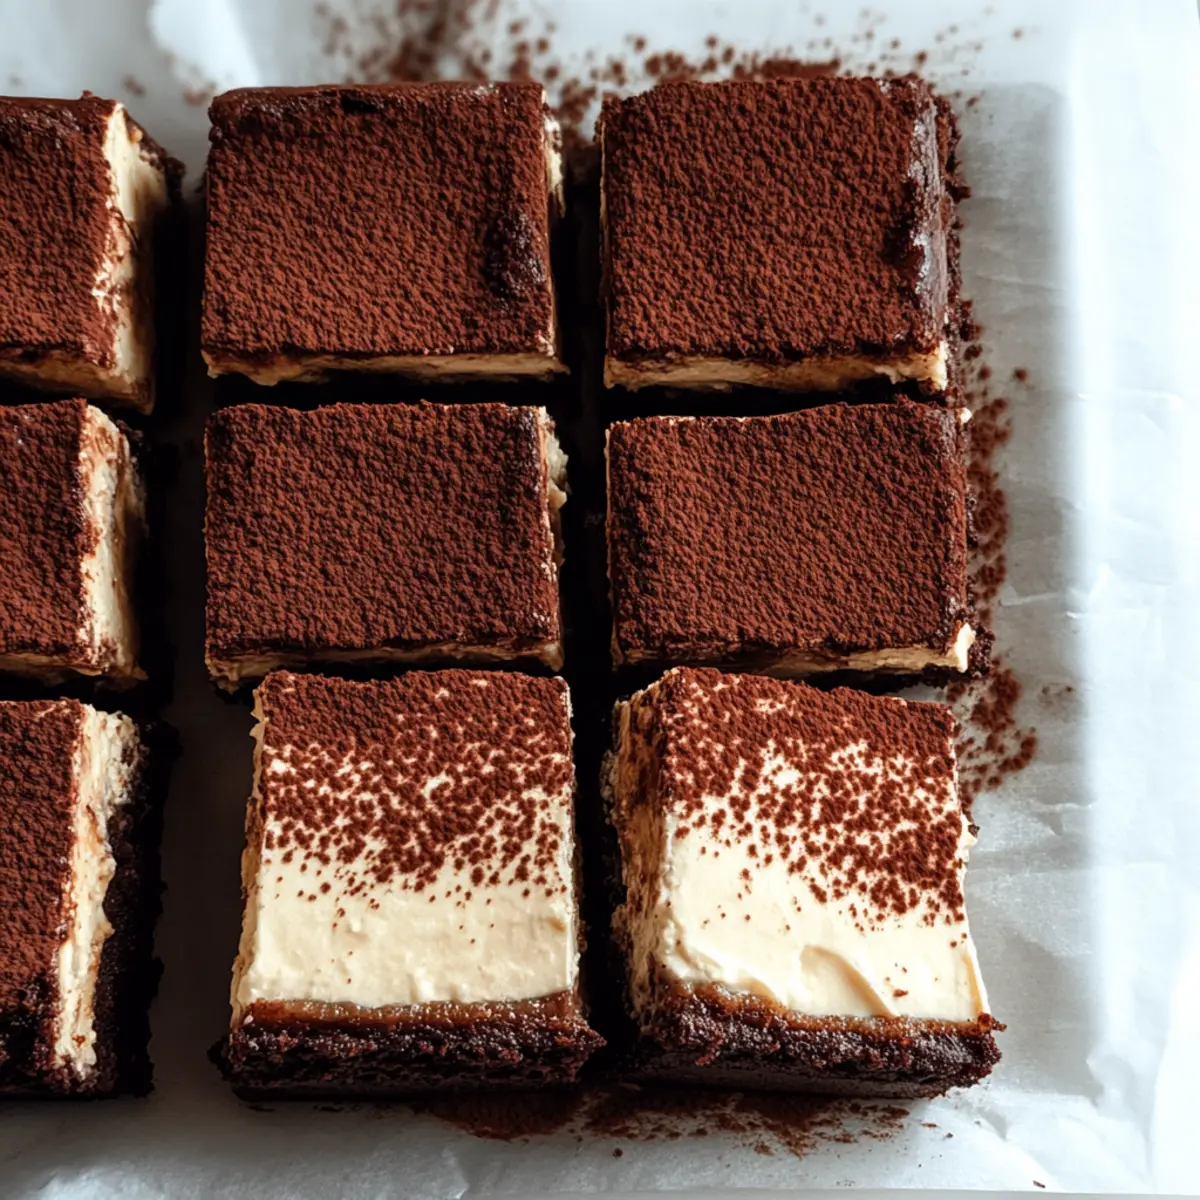
Stepping into my kitchen, the tantalizing aroma of coffee and chocolate takes me back to those cozy café afternoons spent savoring rich desserts. Today, I’m excited to share my adaptation of a classic: Gluten Free Tiramisu Brownies. These delightful treats beautifully marry the dense, fudgy texture of brownies with the creamy elegance of tiramisu—truly a match made in dessert heaven. They’re not only quick to whip up, but they also cater to gluten-free diets, ensuring that everyone can indulge in the sweet moments without compromise. Just imagine serving these at your next gathering or enjoying them during a quiet night in; they’re guaranteed to impress. What’s your favorite way to enjoy a dessert like this?
Why are Gluten Free Tiramisu Brownies a Must-Try?
Decadence in Every Bite: These brownies beautifully blend layers of rich chocolate and smooth coffee, offering a flavor explosion that’s sure to satisfy your sweet tooth.
Quick and Easy: With minimal prep time, you can have these scrumptious treats ready in no time, perfect for last-minute dessert cravings or planned celebrations.
Gluten-Free Goodness: Enjoy the indulgence without worries—chocolate lovers of all dietary backgrounds can delight in these brownies.
Versatile Variations: Add chocolate chips, switch up the toppings, or even make them dairy-free for a personalized twist. Want to explore other flavors? Check out this Berry Tiramisu Refreshing to inspire your next bake!
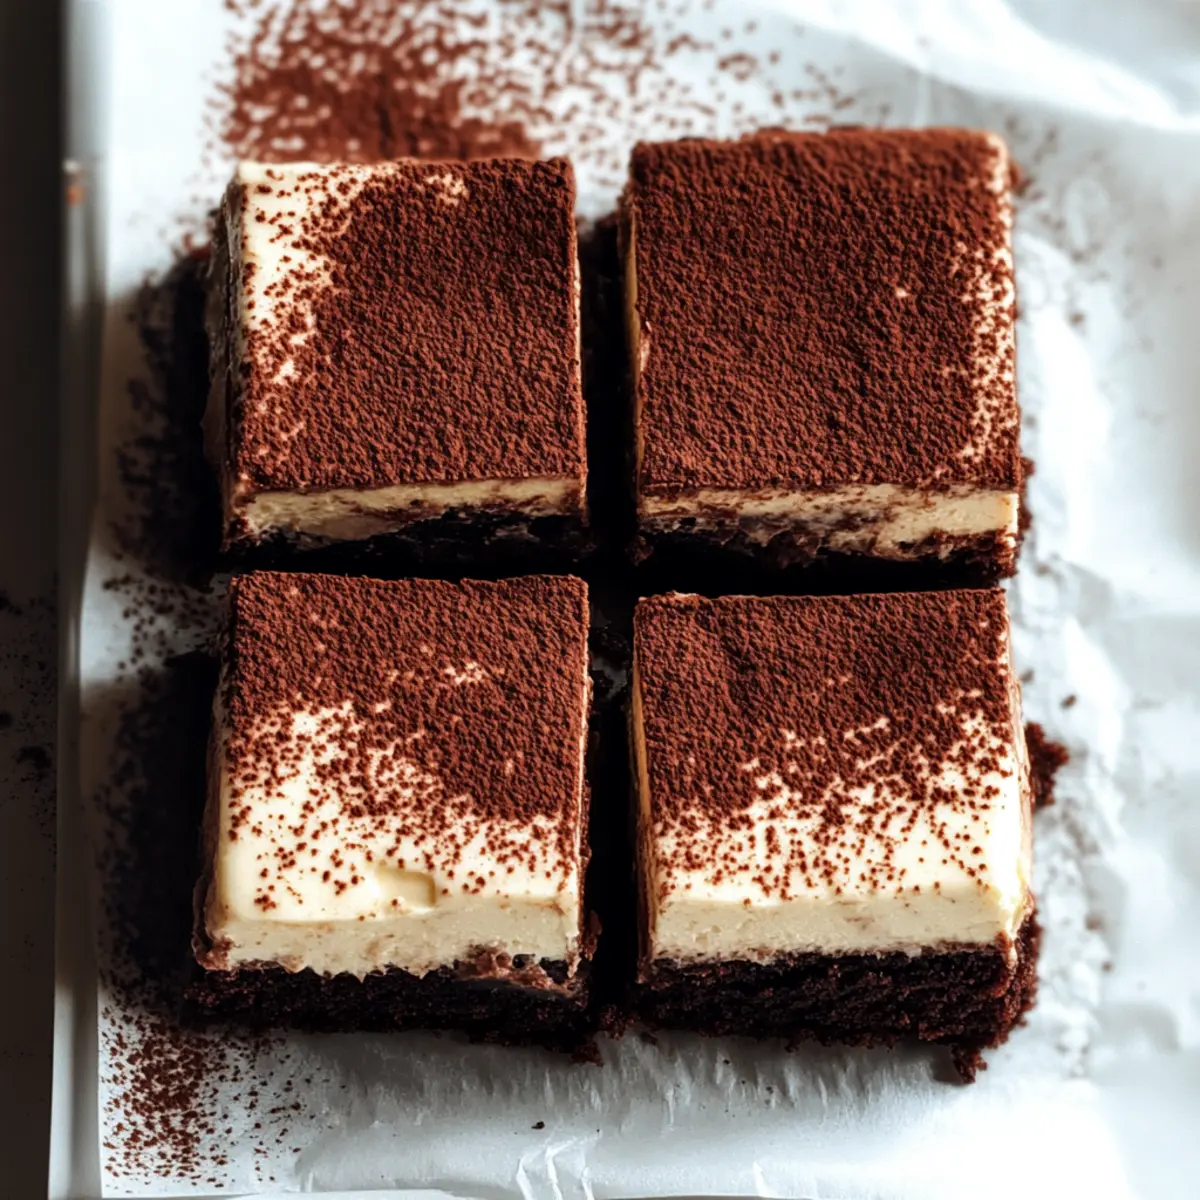
Cool and Creamy: The contrast of the dense brownie base with the cool, creamy tiramisu topping is simply irresistible—perfect for hot summer days or cozy winter nights.
Crowd-Pleasing Delight: Serve these at your next gathering, and watch everyone rave about your culinary skills! Prepare to be asked for the recipe!
Gluten Free Tiramisu Brownies Ingredients
For the Brownie Base
- Gluten Free Flour – Provides structure; substitute with almond flour for a nutty twist.
- Unsweetened Cocoa Powder – Adds rich chocolate flavor; consider Dutch-processed for a milder taste.
- Granulated Sugar – Sweetens the brownie base; use brown sugar for extra moisture and caramel notes.
- Butter – Contributes richness; swap for coconut oil to make it dairy-free.
- Large Eggs – Binds ingredients; ensure they’re at room temperature for better mixing.
- Espresso Powder – Intensifies coffee flavor; strong brewed coffee works if you’re out.
For the Tiramisu Topping
- Mascarpone Cheese – Offers a creamy texture on top; cream cheese can be a substitute, though taste may vary.
- Vanilla Extract – Enhances flavor; use pure extract for the best results.
- Granulated Sugar – Sweetens the cream layer; adjust according to preference for a sweeter topping.
For Dusting
- Cocoa Powder for Dusting – Adds a finishing touch; skip it if you prefer a lighter presentation.
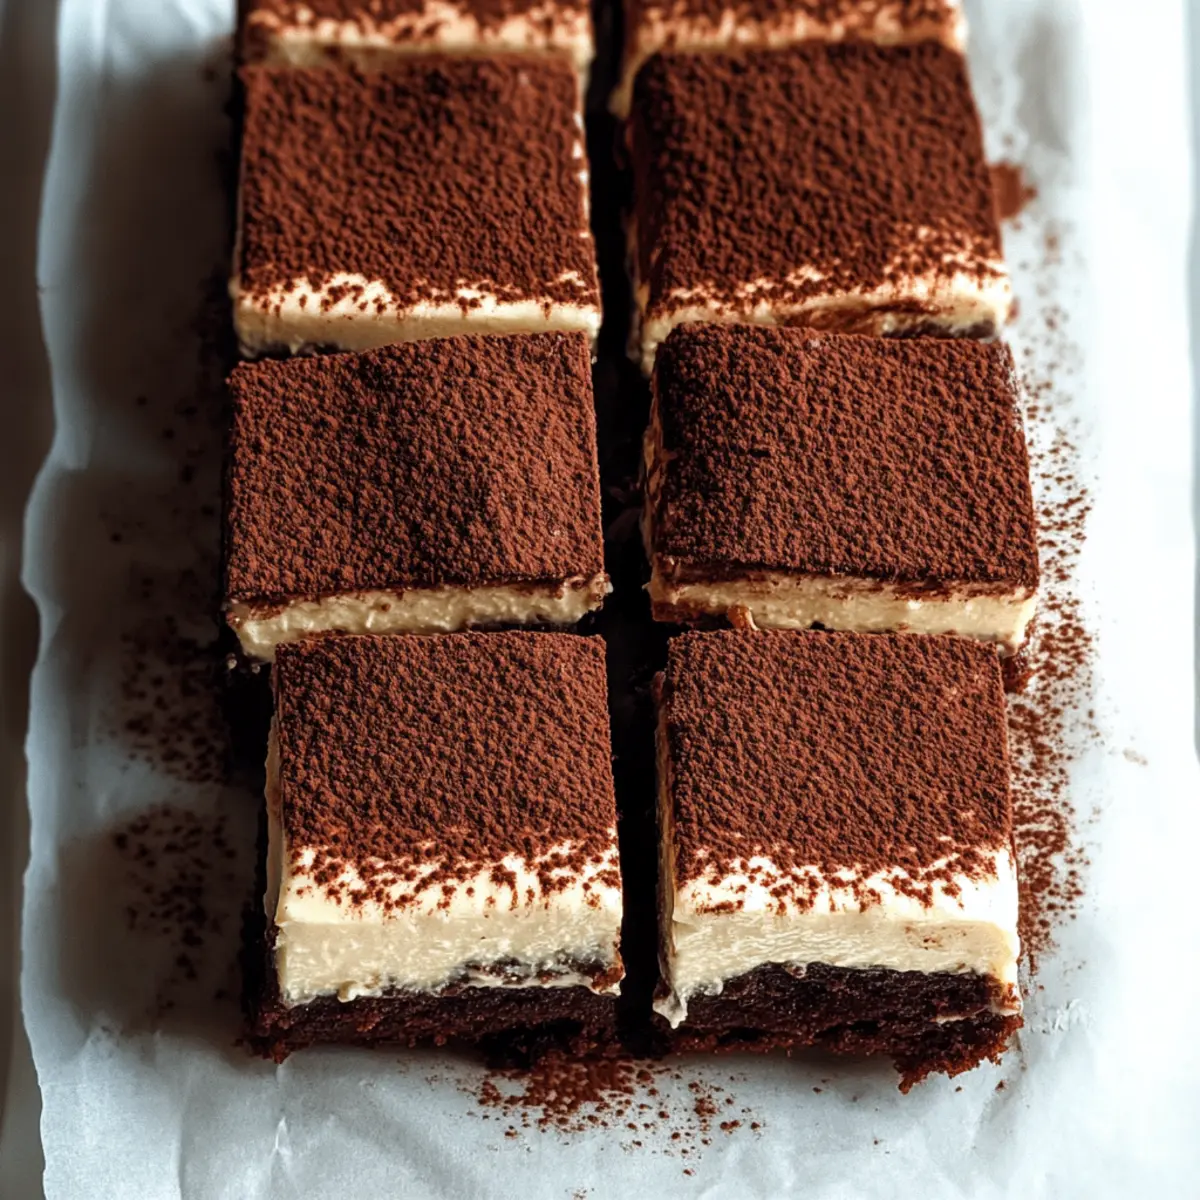
These Gluten Free Tiramisu Brownies are a delightful blend of flavors and textures, making them an irresistible treat for any occasion!
Step‑by‑Step Instructions for Gluten Free Tiramisu Brownies
Step 1: Prep Brownie Base
In a large mixing bowl, whisk together gluten-free flour, unsweetened cocoa powder, granulated sugar, and espresso powder until well combined. Melt the butter and let it cool slightly, then mix it into the dry ingredients along with the eggs. Stir until the brownie batter is smooth and homogeneous, ensuring no dry spots remain, which will result in delicious Gluten Free Tiramisu Brownies.
Step 2: Bake Brownie Layer
Preheat your oven to 350°F (175°C). Grease an 8×8-inch baking pan and pour the brownie batter into it, spreading it evenly. Bake in the preheated oven for about 25 minutes or until a toothpick inserted in the center comes out with a few moist crumbs. Allow the brownie layer to cool completely in the pan on a wire rack before adding the tiramisu topping.
Step 3: Prepare Tiramisu Layer
While the brownies are cooling, take a medium mixing bowl and add mascarpone cheese, granulated sugar, and vanilla extract. Using an electric mixer, beat the mixture on medium speed until it becomes creamy and smooth, which should take about 2-3 minutes. Be careful not to over-mix, as this can create a grainy texture. Once ready, set it aside for the final assembly of your Gluten Free Tiramisu Brownies.
Step 4: Assemble and Chill
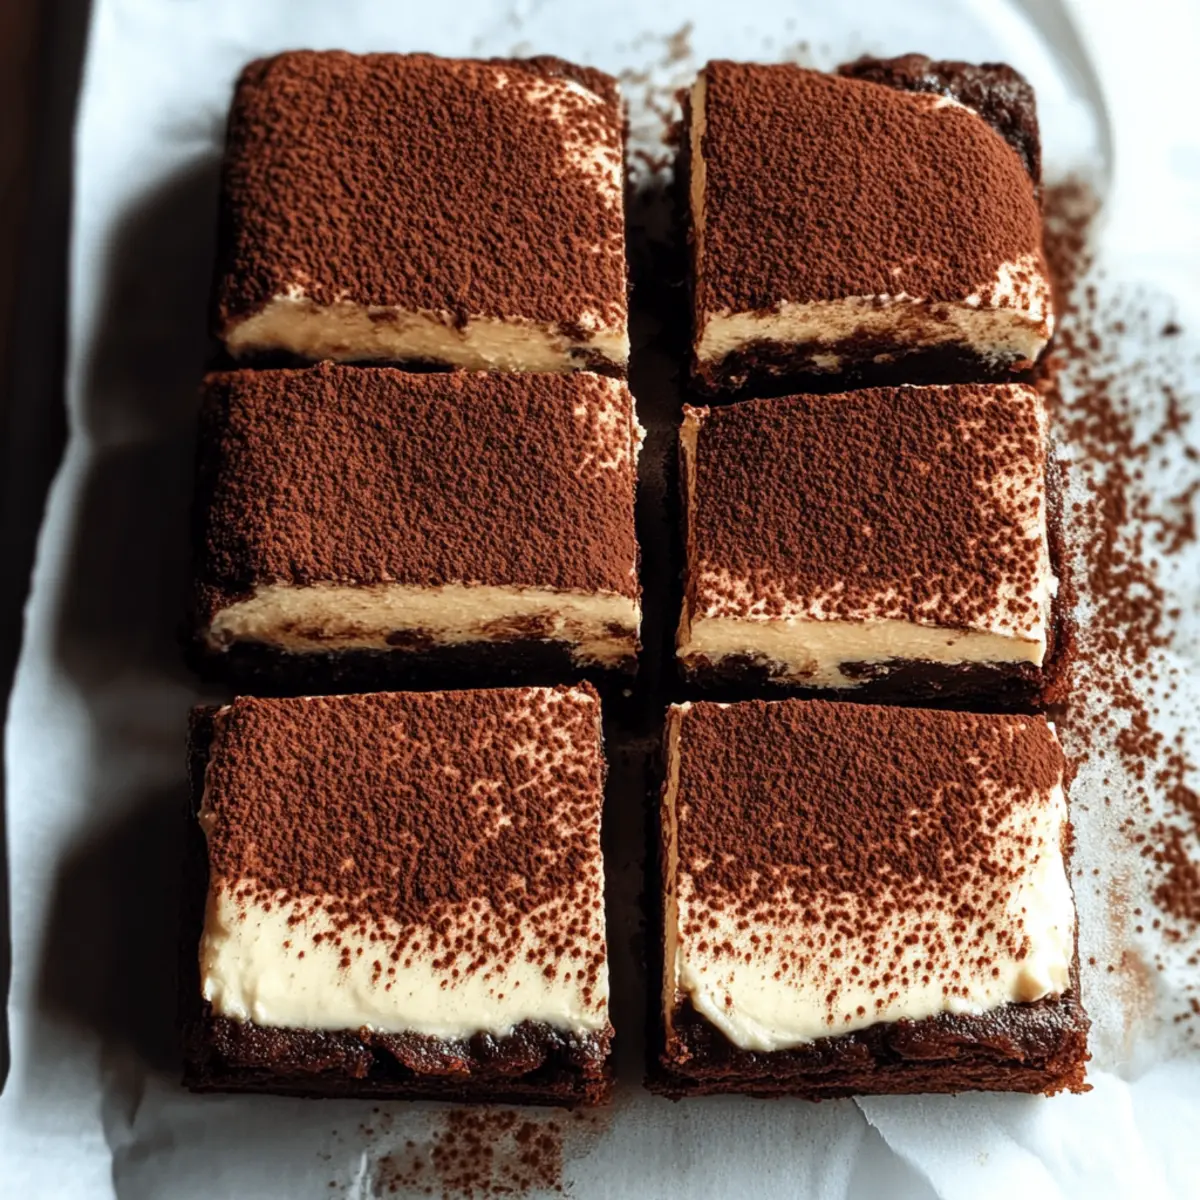
Once the brownie base has completely cooled, spread the creamy tiramisu mixture evenly over the top. Ensure it reaches the edges for that perfect presentation. Cover the pan with plastic wrap or foil, and refrigerate the layered dessert for at least 2 hours to allow the flavors to meld and the topping to firm up.
Step 5: Dust and Serve
Before slicing into your Gluten Free Tiramisu Brownies, take them out of the fridge and dust the top generously with cocoa powder for a rich finish. Use a sharp knife dipped in hot water for clean cuts, and serve chilled to enjoy the delightful combination of flavors and textures.
Make Ahead Options
These Gluten Free Tiramisu Brownies are perfect for meal prep enthusiasts looking to save time during busy weeks! You can prepare the brownie base up to 24 hours in advance by baking it, allowing it to cool completely, and then refrigerating it. The tiramisu layer can also be made ahead and stored in an airtight container in the fridge for up to 3 days. Just remember to add the mascarpone topping after the brownies have chilled to avoid any melting. When you’re ready to serve, simply spread the creamy layer over the brownie base, chill for an hour to set, then dust with cocoa powder for that finishing touch, ensuring your dessert remains just as delicious!
How to Store and Freeze Gluten Free Tiramisu Brownies
Fridge: Store your Gluten Free Tiramisu Brownies in an airtight container in the refrigerator for up to 4 days to keep them fresh and creamy.
Freezer: To freeze, wrap individual slices in plastic wrap and then place them in an airtight freezer bag. They will maintain their flavor for up to 2 months.
Thawing: When ready to enjoy, simply thaw the brownies in the refrigerator overnight. For a quick treat, let them sit at room temperature for about 30 minutes.
Reheating: If you prefer a warm brownie, gently microwave a slice for 10-15 seconds. Enjoy the delightful combination of chocolate and coffee flavors!
Expert Tips for Gluten Free Tiramisu Brownies
-
Cool Completely: Make sure the brownie layer is fully cooled before adding the mascarpone topping. This prevents melting and ensures clean layers.
-
Whipping Wisely: When whipping mascarpone cheese, be cautious not to over-mix. Over-whipping can turn it grainy, ruining the creaminess you desire in your Gluten Free Tiramisu Brownies.
-
Hot Knife Hack: Use a hot knife for slicing the brownies. This results in neat edges and a beautiful presentation—perfect for impressing your guests!
-
Taste as You Go: Adjust the sweetness of the mascarpone layer according to your preference. It’s a simple step that personalizes your dessert!
-
Dust with Cocoa: Don’t skip the cocoa powder dusting! It adds a lovely bitterness that perfectly balances the sweetness of the brownies.
Gluten Free Tiramisu Brownies Variations
Feel free to customize these delicious brownies and let your creativity shine through every bite.
- Dairy-Free: Replace mascarpone with coconut cream for a rich, non-dairy alternative. This adjustment brings a tropical flair to the dessert.
- Nutty Crunch: Add chopped walnuts or hazelnuts to the brownie batter for an extra layer of texture and a delightful nutty flavor. They will complement the chocolate beautifully, providing a satisfying crunch.
- Vegan-Friendly: Substitute eggs with flaxseed meal (1 tablespoon mixed with 3 tablespoons water per egg) and use a plant-based butter alternative to accommodate vegan diets.
- More Espresso: For intense coffee lovers, double the espresso powder to give your brownies a deeper coffee flavor. Pair this boldly with a dollop of whipped coconut cream for the ultimate indulgence!
- Fruit Infusion: Lay sliced strawberries or raspberries on top of the tiramis layer before chilling for a refreshing twist. Their tartness will balance the sweetness, making each bite a burst of flavor.
- Liqueur Touch: Drizzle a bit of coffee liqueur over the tiramisu layer before chilling for an adult-only version packed with flavor. You could also savor the effect of a splash of amaretto for those cozy nights in.
- Chocolate Mint: Incorporate peppermint extract into the mascarpone mixture for a refreshing minty flavor that’s reminiscent of classic mint chocolate desserts. It’s a delightful twist that can transport you to a world of chocolaty nostalgia!
- Topping Variations: Give a fresh look and taste by sprinkling your choice of toppings like crushed Oreos, coconut flakes, or a drizzle of caramel sauce. This way, you can make them even more special!
Want to explore a different but equally delightful treat? Check out this Berry Tiramisu Refreshing recipe for more delicious inspiration!
What to Serve with Gluten Free Tiramisu Brownies
Picture this: a lovely gathering filled with laughter and delectable treats. You want to elevate your dessert experience with the perfect pairings for your irresistible brownies.
-
Fresh Berries: Bright and vibrant, strawberries or raspberries add a tartness that beautifully balances the sweetness of the brownies. Their freshness enhances the dessert’s layered flavors.
-
Vanilla Bean Ice Cream: A scoop of creamy vanilla bean ice cream provides a luxurious contrast to the dense brownie base. The melting ice cream swirls into the chocolate, creating an irresistible combination.
-
Espresso Martini: For a sophisticated twist, serve an espresso martini alongside your brownies. This coffee-infused cocktail resonates with the espresso in the dessert for a seamless flavor match.
-
Whipped Cream: Lightly sweetened, fluffy whipped cream can be dolloped on top to add an airy element, enhancing the brownie’s rich texture while complementing the tiramisu topping.
-
Chocolate Ganache: Drizzle warm chocolate ganache over the brownies before serving. This indulgent chocolate layer adds extra richness and decadence, perfect for serious chocolate lovers.
-
Coconut Macaroons: Chewy and slightly toasted, coconut macaroons bring a delightful crunch to the table. Their sweet, coconut flavor pairs wonderfully with the coffee and chocolate notes.
-
Chilled Coffee: A glass of chilled, lightly sweetened coffee brightens the palate and enhances the coffee notes in the brownies. It’s a comforting pairing reminiscent of a café experience.
-
Nutty Biscotti: Crunchy almond or hazelnut biscotti offer a delightful texture contrast, perfect for dipping into coffee or enjoying alongside your brownies for extra flavor depth.
Gluten Free Tiramisu Brownies Recipe FAQs
What type of gluten-free flour should I use for best results?
I recommend using a gluten-free all-purpose flour blend, as it provides structure just like regular flour. If you want a nuttier flavor, almond flour is a great alternative, though it might change the texture slightly.
How should I store gluten-free tiramisu brownies?
Store your Gluten Free Tiramisu Brownies in an airtight container in the refrigerator for up to 4 days. This helps preserve their creamy topping while keeping the brownie base deliciously moist.
Can I freeze gluten-free tiramisu brownies?
Absolutely! To freeze, wrap each slice in plastic wrap, then place them into an airtight freezer bag. They’ll last for up to 2 months. Just remember to thaw them in the refrigerator overnight for the best texture.
What should I do if my mascarpone layer turns out grainy?
If your mascarpone layer becomes grainy, it’s usually due to over-mixing. For future reference, use an electric mixer on medium speed and mix only until creamy—about 2-3 minutes should do it. If it does happen, try folding the mixture gently with a spatula; this may help improve the texture.
Are there any common allergens in gluten-free tiramisu brownies?
Yes, these brownies contain eggs and dairy due to the butter and mascarpone cheese. If you’re looking for dairy-free options, you can substitute the butter with coconut oil and the mascarpone with silken tofu blended until smooth, but keep in mind this may alter the final flavor slightly.
What’s the best way to serve gluten-free tiramisu brownies?
I suggest serving these chilled and dusted with cocoa powder. For an extra touch, you can add fresh berries or a scoop of vanilla bean ice cream. The combination of flavors will truly elevate your dessert experience!
Indulge in Gluten Free Tiramisu Brownies: Coffee Bliss Awaits
Ingredients
Equipment
Method
- In a large mixing bowl, whisk together gluten-free flour, unsweetened cocoa powder, granulated sugar, and espresso powder until well combined. Melt the butter and let it cool slightly, then mix it into the dry ingredients along with the eggs. Stir until the brownie batter is smooth and homogeneous, ensuring no dry spots remain.
- Preheat your oven to 350°F (175°C). Grease an 8x8-inch baking pan and pour the brownie batter into it, spreading it evenly. Bake in the preheated oven for about 25 minutes or until a toothpick inserted in the center comes out with a few moist crumbs. Allow the brownie layer to cool completely in the pan on a wire rack.
- While the brownies are cooling, take a medium mixing bowl and add mascarpone cheese, granulated sugar, and vanilla extract. Using an electric mixer, beat the mixture on medium speed until it becomes creamy and smooth, which should take about 2-3 minutes. Be careful not to over-mix.
- Once the brownie base has completely cooled, spread the creamy tiramisu mixture evenly over the top. Cover the pan with plastic wrap or foil, and refrigerate the layered dessert for at least 2 hours.
- Before slicing into your Gluten Free Tiramisu Brownies, dust the top generously with cocoa powder. Use a sharp knife dipped in hot water for clean cuts, and serve chilled.