

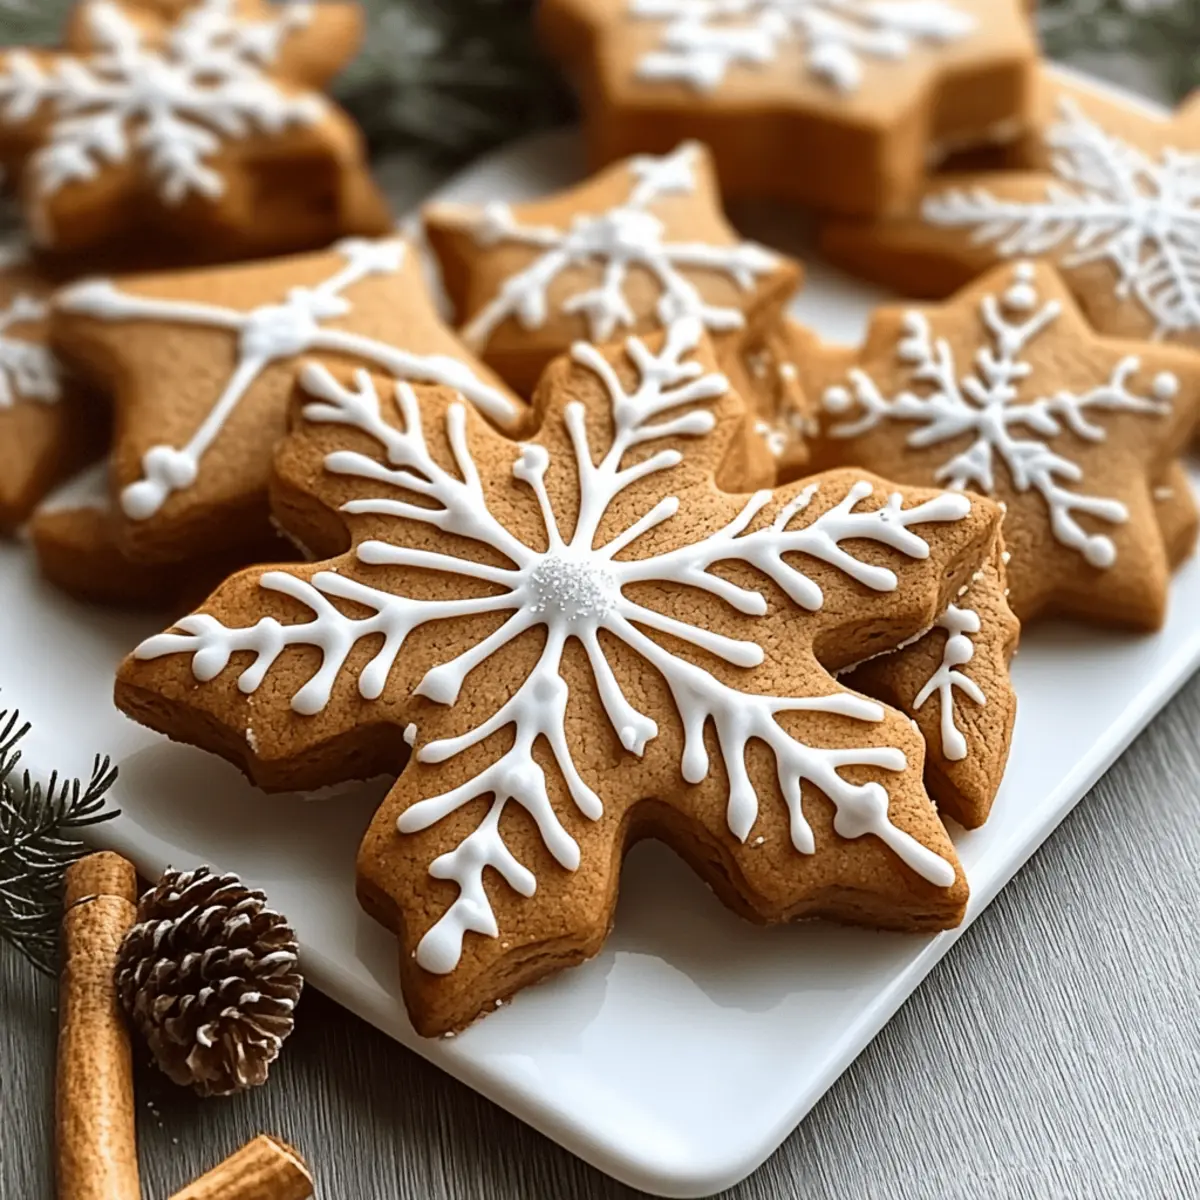
As I sifted the fragrant spices into my mixing bowl, a wave of nostalgia swept over me. The essence of holiday cheer fills the air with the promise of Gingerbread Snowflake Cookies. These delightful treats mix the warmth of molasses with the zing of ginger and nutmeg, creating a classic cookie experience that’s hard to resist. What I love most about this recipe is that it takes just 35 minutes from start to finish, making it perfect for busy holiday gatherings or as a heartfelt homemade gift. Plus, with options for gluten-free and vegan variations, everyone can join in on the festive fun! So, are you ready to channel your inner baker and whip up a batch of these charming cookies that sparkle like freshly fallen snow?

Why are Gingerbread Snowflake Cookies special?
Unforgettable Flavor: Each bite is a delightful journey through warm spices, thanks to the perfect blend of ginger, nutmeg, and molasses.
Quick to Make: In just 35 minutes, you can have these charming cookies ready for any gathering or holiday treat!
Versatile Options: With simple substitutions, they can easily be made gluten-free or vegan, ensuring everyone can enjoy them.
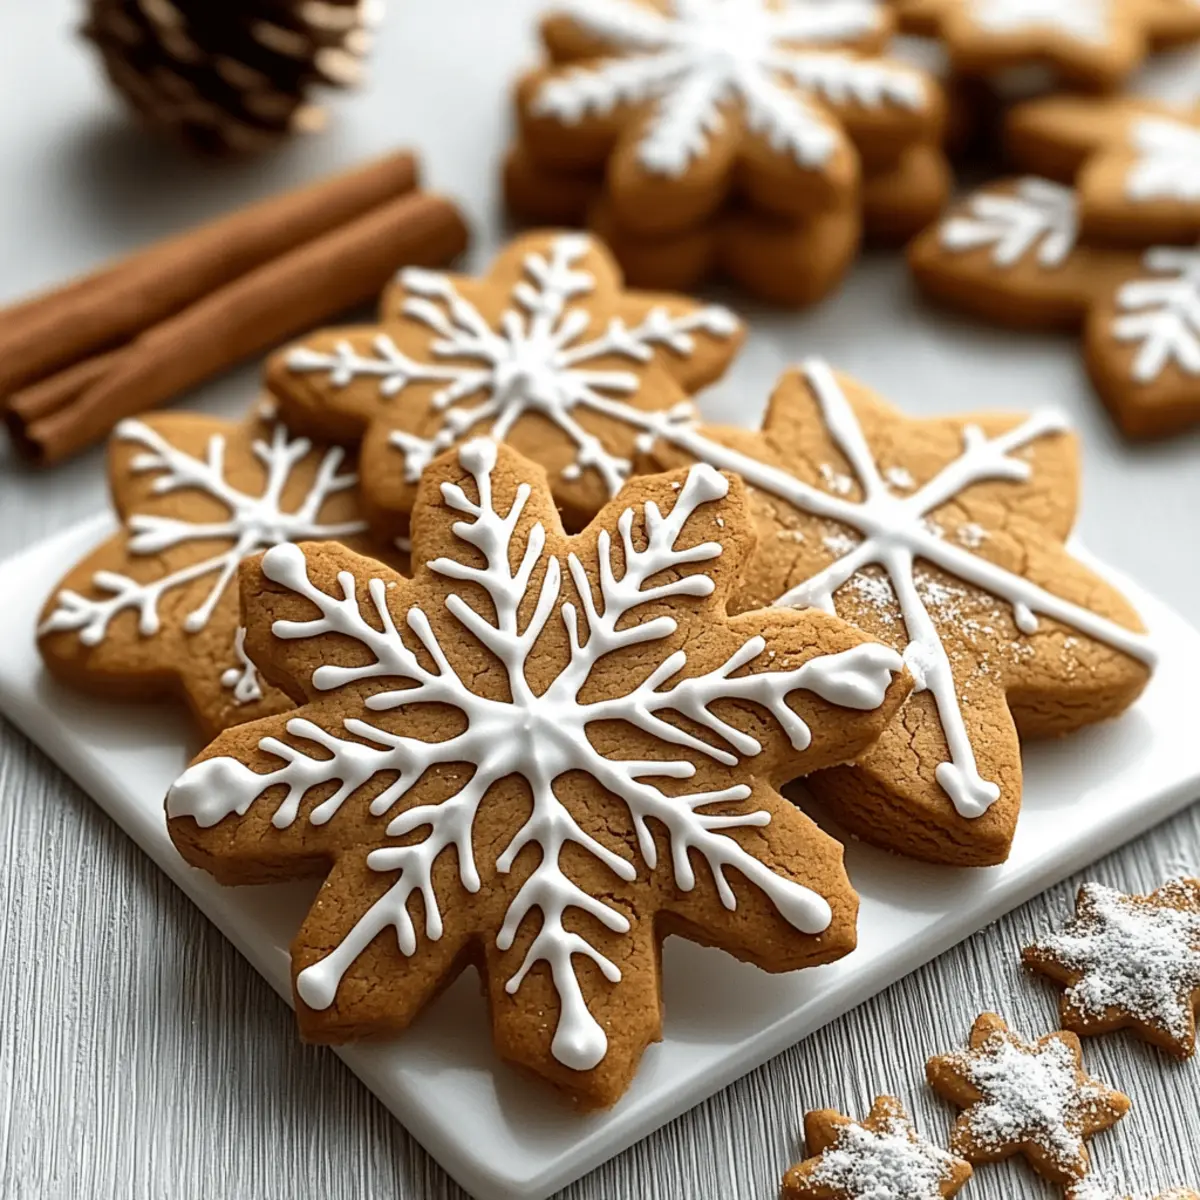
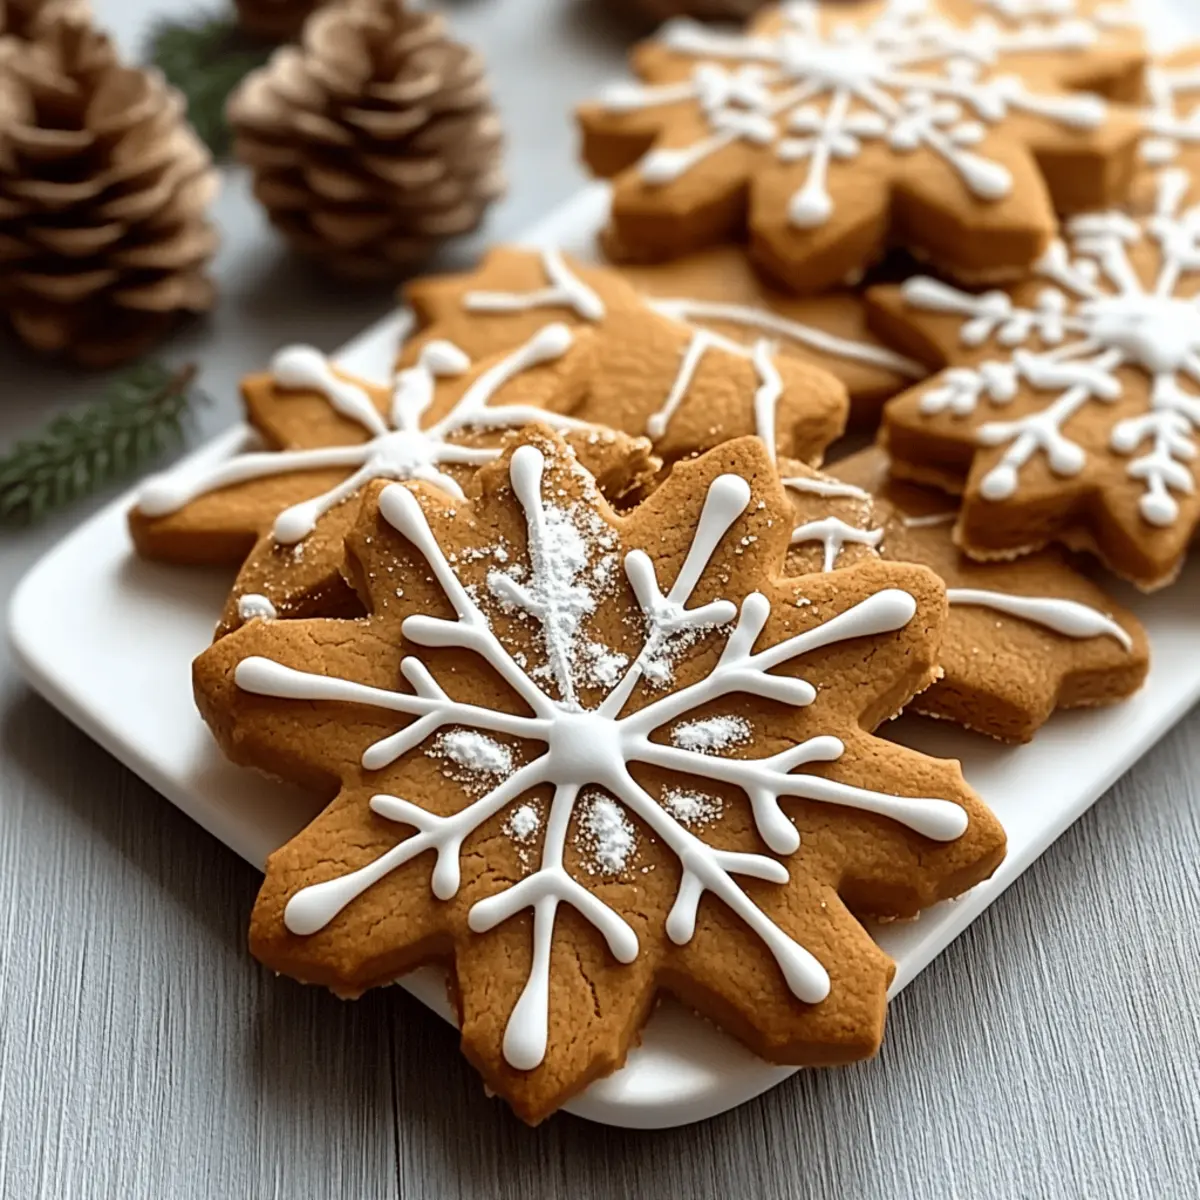
Beautiful Presentation: Adorned with a sparkling icing that resembles winter wonder, these cookies are as stunning as they are delicious.
Crowd-Pleaser: Perfect for festive gatherings, they’ll impress your friends and family, leaving them eagerly asking for the recipe!
Ideal for Gifting: Package them as a thoughtful homemade gift—who wouldn’t love received a tin of these delightful treats?
If you’re also looking for more festive cookies, be sure to check out my delicious Birthday Cake Cookies and delightful Coffee Cake Cookies.
Gingerbread Snowflake Cookies Ingredients
For the Dough
• Unsalted Sweet Cream Butter – Provides a rich, creamy base for the cookies; use high-quality butter for the best flavor.
• Sugar – Adds essential sweetness to balance out the spices and molasses.
• Molasses – Brings depth of flavor and that classic gingerbread taste; opt for unsulfured for a milder flavor.
• Large Egg – Binds ingredients together for a soft texture; can be substituted with a flaxseed egg for a vegan option.
• Cold Water – Keeps the dough firm and manageable before baking.
• All-Purpose Flour – Forms the structure of the cookies, giving them chewiness; substitute with gluten-free flour for a gluten-free version.
• Ground Ginger – Infuses the dough with a warm, spicy kick.
• Ground Nutmeg – Adds a nutty aroma, enhancing the overall flavor profile.
• Allspice – Introduces delightful aromatic notes that enrich the holiday flavor.
For the Icing
• Egg Whites – Provide a light, fluffy texture for the icing.
• Cream of Tartar – Stabilizes the egg whites, ensuring perfect icing consistency.
• Vanilla – Enhances the flavor and aroma of the icing.
• Powdered Sugar – Sweetens the icing and contributes to a glossy finish.
• White Sanding Sugar – Adds a sparkling decoration that makes your cookies shine like fresh snow.
With these ingredients in hand, you’re all set to create these festive Gingerbread Snowflake Cookies that will surely capture the hearts—and taste buds—of everyone around!
Step‑by‑Step Instructions for Gingerbread Snowflake Cookies
Step 1: Preheat the Oven
Begin your Gingerbread Snowflake Cookies by preheating your oven to 350°F (175°C) to ensure the cookies bake evenly. While the oven is heating, line a baking sheet with parchment paper, creating a non-stick surface for your cookies. This early preparation sets the stage for flawless baking and easy cleanup.
Step 2: Cream the Butter and Sugar
In a standing mixer, combine unsalted sweet cream butter, sugar, and molasses. Beat them on medium speed for about 2-3 minutes until the mixture is smooth and creamy. This essential step adds air into the batter, leading to perfectly soft and rich cookies that melt in your mouth.
Step 3: Add the Wet Ingredients
Next, gradually mix in cold water into the butter mixture until just blended. This adds moisture to your Gingerbread Snowflake Cookies without making the dough too runny. Ensure the mixture is well combined, but avoid overmixing to keep the cookies tender and fluffy.
Step 4: Prepare the Dry Ingredients
In a separate bowl, whisk together all-purpose flour, ground ginger, ground nutmeg, and allspice. This step not only combines your dry ingredients but also helps to evenly distribute the spices throughout the flour, ensuring that every bite of your cookies is packed with warm, inviting flavors.
Step 5: Combine Wet and Dry Ingredients
Gradually add the dry mixture to the wet mixture while mixing on low speed. Stir until just combined, ensuring you don’t overmix the dough—this will help your Gingerbread Snowflake Cookies maintain a delightful chewy texture. The dough will come together beautifully and smell heavenly!
Step 6: Roll and Cut the Dough
Transfer your dough to a floured surface and roll it out to about 1/4 inch thick. Use cookie cutters to cut out snowflake shapes and carefully place them on the prepared baking sheet. Make sure to leave some space between the cookies, as they will spread slightly while baking.
Step 7: Bake the Cookies
Place the baking sheet in the preheated oven and bake the cookies for about 10 minutes. You’ll know they’re done when the edges of the cookies are firm and the tops have slightly puffed up. The delightful aroma of ginger will fill your kitchen, further adding to the holiday spirit.
Step 8: Cool the Cookies
Once out of the oven, transfer the Gingerbread Snowflake Cookies to a wire rack to cool completely. Cooling is crucial before preparing the icing, as it ensures that the cookies maintain their shape and integrity when decorated. Patience during this step will pay off later!
Step 9: Prepare the Icing
In a mixing bowl, combine egg whites, cream of tartar, vanilla, and powdered sugar. Beat this mixture until stiff peaks form, creating a fluffy icing perfect for decorating. This icing will give your cookies a beautiful finish that resembles delicate snowflakes, elevating their festive appeal.
Step 10: Decorate the Cookies
Once the cookies are cool, it’s time to unleash your creativity! Decorate the cookies with the prepared icing and sprinkle white sanding sugar on top for a glistening effect. Allow the icing to dry for about 30 minutes, which will harden and set beautifully, allowing you to display those charming Gingerbread Snowflake Cookies with pride.
Make Ahead Options
These Gingerbread Snowflake Cookies are a fantastic choice for meal prep enthusiasts looking to save time in the busy holiday season! You can prepare the dough up to 3 days in advance and refrigerate it, wrapped tightly in plastic wrap (this helps prevent browning). Additionally, you can bake the cookies 24 hours ahead of your gathering and store them in an airtight container at room temperature for maximum freshness. When ready to serve, simply decorate with the icing and let set for about 30 minutes before presentation. With these make-ahead tips, you’ll enjoy soft, flavorful cookies just as delightful as when they were freshly baked!
What to Serve with Gingerbread Snowflake Cookies
As you revel in the joy of baking and decorating these enchanting cookies, think about making a complete holiday spread that excites all the senses.
-
Hot Chocolate Bar: Create a cozy corner with rich hot chocolate topped with whipped cream, marshmallows, and crushed peppermint. This warming beverage pairs beautifully with the spices in your cookies.
-
Spiced Apple Cider: Serve warm, spiced apple cider for a fragrant, fruity drink that harmonizes with the gingerbread’s warmth. It’s the perfect complement to the winter wonderland atmosphere.
-
Cream Cheese Frosting: A decadent cream cheese frosting can be an irresistible dip for your cookies, adding a creamy tang that enhances the gingerbread flavor.
-
Christmas Fruit Platter: Bright, colorful fruits like pomegranate seeds, oranges, and cranberries bring freshness and a burst of flavor, balancing the sweetness of your cookies.
-
Nutty Biscotti: Offer a crispy almond or hazelnut biscotti for a delightful crunch, perfect for dipping into coffee or tea alongside your frosted cookies.
-
Ginger Tea: Continue the ginger theme by serving a warming cup of ginger tea, either spicy or sweetened, which beautifully rounds off the festive flavors of your homemade treat.
Enjoy the magic of the season with these delightful pairings!
How to Store and Freeze Gingerbread Snowflake Cookies
-
Room Temperature: Store cookies in an airtight container for up to 5 days to keep them fresh and protect their delightful texture.
-
Fridge: If you prefer a longer shelf life, refrigerate the cookies in an airtight container for up to 10 days. They will stay delicious and flavorful.
-
Freezer: For extended storage, freeze Gingerbread Snowflake Cookies for up to 3 months. Place them in a freezer-safe bag or container, ensuring they are well-sealed to prevent freezer burn.
-
Reheating: When ready to enjoy frozen cookies, thaw them overnight in the fridge. For a warm treat, briefly microwave them on low power for about 10-15 seconds.
Gingerbread Snowflake Cookies Variations
Explore delightful twists to create your own festive masterpiece with these customizable options!
-
Gluten-Free: Substitute all-purpose flour with a 1:1 gluten-free blend. This allows everyone to enjoy the cookies without sacrificing taste or texture.
-
Vegan: Swap out butter with coconut oil and use flaxseed eggs instead of chicken eggs. Your cookies will still be deliciously soft and flavorful!
-
Extra Spice: Add a pinch of cayenne or an extra teaspoon of cinnamon to kick up the heat. A little warmth adds a cozy twist that dances on your palate.
-
Citrusy Zing: Incorporate orange or lemon zest into the dough for a refreshing hint of citrus. It brightens up the flavors and enhances that festive spirit.
-
Chocolate Drizzle: After icing, drizzle melted chocolate over the top for a rich, decadent touch. It adds a visual flair and delightful contrast to the spiced cookies.
-
Nutty Crunch: Fold in chopped nuts like pecans or walnuts into the dough for added texture and flavor. They bring a wholesome crunch that complements the softness of the cookies.
-
Festive Sprinkles: Top your icing with colorful holiday sprinkles for a playful twist that’s sure to delight kids and adults alike. It turns each cookie into a festive piece of art!
If you’re in the mood for more sweets, try my scrumptious Style Oreo Cookies or these delightful Coffee Cake Cookies! Happy baking!
Expert Tips for Gingerbread Snowflake Cookies
-
Chill the Dough: Chill the dough for at least 30 minutes before rolling it out. This prevents cookies from spreading too much while baking, ensuring beautifully-shaped treats.
-
Measure Flour Accurately: Use a kitchen scale or spoon flour into your measuring cup, leveling it off. This prevents excess flour, which can lead to drier cookies and change your Gingerbread Snowflake Cookies’ texture.
-
Cool Completely: Allow cookies to cool thoroughly on a wire rack before decorating. Icing can slide off warm cookies, making it important for a clean, finished look.
-
Mix Wisely: When combining wet and dry ingredients, mix on low speed just until combined. Overmixing can create tough cookies instead of the tender, soft texture we love.
-
Use Quality Ingredients: Opt for high-quality butter and spices. The rich flavor of your Gingerbread Snowflake Cookies will shine through when you use the best ingredients available.
Gingerbread Snowflake Cookies Recipe FAQs
How do I know if my ingredients are ripe or fresh?
For best results in your Gingerbread Snowflake Cookies, opt for fresh spices and high-quality ingredients. Check your ground spices’ freshness by smelling them; if they’re dull and lack aroma, it’s time to replace them. Ensure your molasses is smooth and pourable and that your butter is cold (but not hard) for easy mixing.
What’s the best way to store Gingerbread Snowflake Cookies?
Store your delightful cookies in an airtight container at room temperature for up to 5 days. This keeps them fresh and maintains their chewy texture. If you want them to last longer, refrigerate the cookies in an airtight container for up to 10 days.
Can I freeze Gingerbread Snowflake Cookies?
Absolutely! You can freeze your Gingerbread Snowflake Cookies for up to 3 months. Make sure to cool them completely before freezing. Place them in a single layer in a freezer-safe bag or container, removing as much air as possible before sealing. To enjoy, thaw them overnight in the fridge and warm them in the microwave for about 10-15 seconds for that fresh-baked taste!
What if my cookies spread too much while baking?
If your Gingerbread Snowflake Cookies spread too much, it may be due to your dough being too warm. Always chill the dough for at least 30 minutes before rolling it out to keep them from spreading. Additionally, ensure you’re measuring your flour accurately; too much liquid can cause spreading during baking.
Are there any dietary considerations for making Gingerbread Snowflake Cookies?
Yes! These cookies can easily accommodate dietary needs. For a vegan option, substitute the large egg with a flaxseed egg (1 tablespoon of ground flaxseed mixed with 2.5 tablespoons of water) and use coconut oil in place of butter. For a gluten-free version, replace all-purpose flour with a 1:1 gluten-free flour blend. Always check labels for any potential allergens like nuts or gluten in your ingredients.
Can I use different types of sugar in the recipe?
Certainly! While the recipe calls for regular granulated sugar, you can use brown sugar for a deeper molasses flavor, which will enhance the overall richness of your Gingerbread Snowflake Cookies. Just ensure it’s packed well when measuring to maintain the right consistency in your dough.
Gingerbread Snowflake Cookies That Melt in Your Mouth
Ingredients
Equipment
Method
- Preheat your oven to 350°F (175°C) and line a baking sheet with parchment paper.
- In a standing mixer, combine unsalted sweet cream butter, sugar, and molasses. Beat until smooth and creamy.
- Gradually mix in cold water until just blended.
- In a separate bowl, whisk together all-purpose flour, ground ginger, ground nutmeg, and allspice.
- Gradually add the dry mixture to the wet mixture while mixing on low speed until just combined.
- Transfer the dough to a floured surface and roll it out to about 1/4 inch thick. Cut out snowflake shapes.
- Place the cookies on the prepared baking sheet and bake for about 10 minutes.
- Transfer the cookies to a wire rack to cool completely.
- In a mixing bowl, combine egg whites, cream of tartar, vanilla, and powdered sugar. Beat until stiff peaks form.
- Once cool, decorate the cookies with icing and sprinkle white sanding sugar on top.