


Introduction to Eskimo Cookies
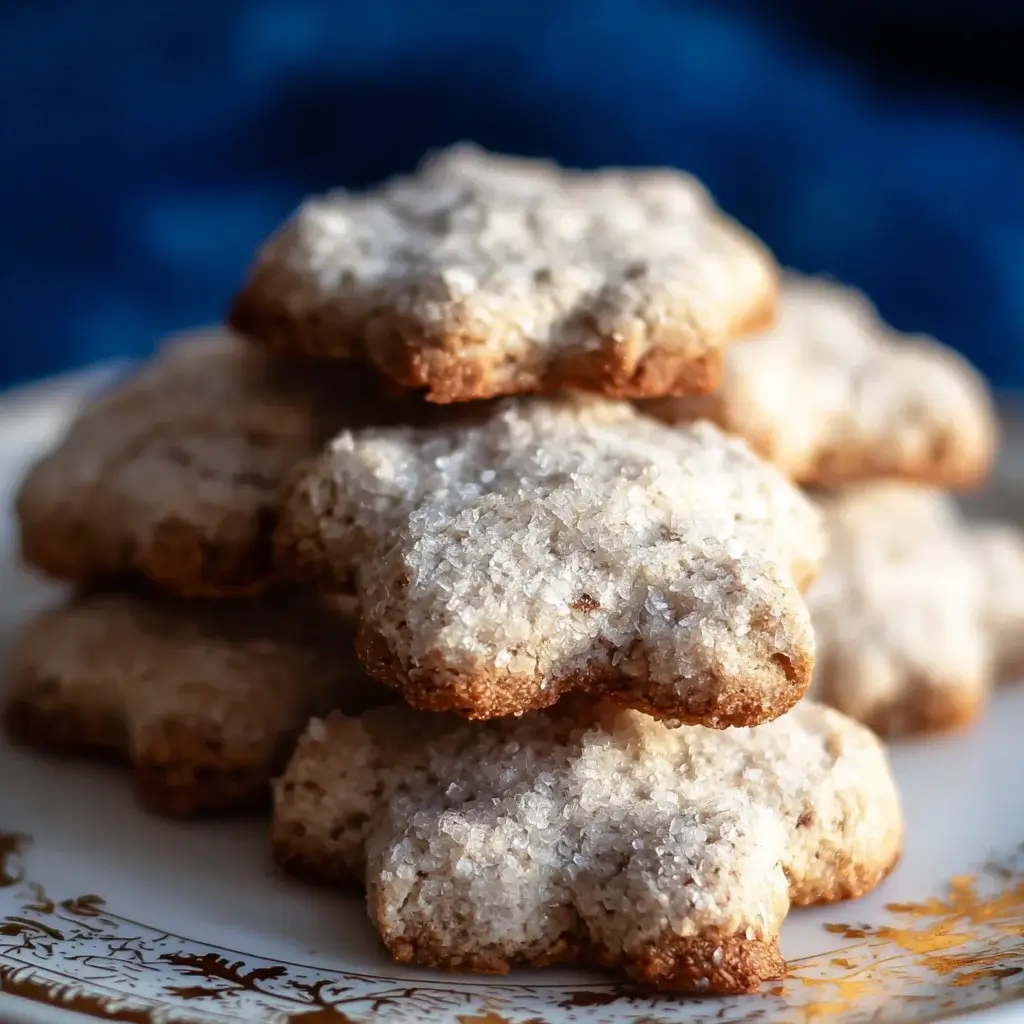
No-bake, nostalgia-packed, and delightfully chewy, Eskimo Cookies are a treat straight from the freezer that never fails to satisfy. Made with oats, cocoa, peanut butter, and shredded coconut, these chilled cookies are stirred together in one bowl and set in the fridge—no oven, no fuss. Perfect for summer afternoons, after-school snacks, or late-night cravings, they’re as fun to make as they are to eat.
Why You’ll Love This Recipe:
-
No baking required—ready in minutes.
-
Perfect balance of chocolate, nutty, and chewy textures.
-
Great for kids to help with.
-
Freezer-friendly and ideal for batch-making.
-
Tastes like childhood with a grown-up twist.
Ingredients for Eskimo Cookies
We’re not messing around—just the real stuff that brings big flavor.
- Unsalted Butter: Softened to create a rich, creamy base that adds moisture.
- Granulated Sugar: This sweetener helps achieve that perfect balance of sweetness and texture.
- Brown Sugar: Packed with molasses, it adds depth and a hint of caramel flavor.
- Large Eggs: They bind the ingredients together and contribute to the cookie’s chewy texture.
- Vanilla Extract: A splash of this aromatic essence elevates the overall flavor.
- All-Purpose Flour: The backbone of the cookie, providing structure and stability.
- Baking Soda: This leavening agent helps the cookies rise and become fluffy.
- Salt: Just a pinch enhances the sweetness and balances the flavors.
- Rolled Oats: They add chewiness and a wholesome texture, making each bite satisfying.
- Semi-Sweet Chocolate Chips: These little morsels bring a rich chocolatey goodness that melts in your mouth.
- Shredded Coconut: Adds a tropical twist and a delightful chewiness to the cookies.
For those looking to mix things up, consider substituting chocolate chips with white chocolate or butterscotch chips for a different flavor profile. You can also enhance the texture by adding chopped nuts like walnuts or pecans. The exact quantities for these ingredients can be found at the bottom of the article, ready for printing!
How to Make Eskimo Cookies
Now that you have all your ingredients ready, it’s time to dive into the fun part: baking! Follow these simple steps to create your own batch of delightful Eskimo Cookies. Trust me, the process is as enjoyable as the end result!
Step 1: Preheat the Oven
Start by preheating your oven to 350°F (175°C). This ensures it’s hot enough to give your cookies that perfect golden edge. While the oven warms up, you can get everything else ready.
Step 2: Cream the Butter and Sugars
In a large mixing bowl, cream together the softened butter, granulated sugar, and brown sugar until the mixture is light and fluffy. This step is crucial; it incorporates air into the dough, making your cookies tender and chewy.
Step 3: Add Eggs and Vanilla
Add the eggs one at a time, mixing well after each addition. This helps to create a smooth batter. Then, stir in the vanilla extract. The aroma will make your kitchen feel like a bakery!
Step 4: Combine Dry Ingredients
In a separate bowl, whisk together the flour, baking soda, and salt. This ensures that the leavening agent is evenly distributed, which is key for achieving that perfect rise in your cookies.
Step 5: Mix Wet and Dry Ingredients
Gradually add the dry ingredients to the wet mixture, mixing until just combined. Be careful not to overmix; you want your cookies to be soft and chewy, not tough!
Step 6: Fold in Oats, Chocolate Chips, and Coconut
Now comes the fun part! Fold in the rolled oats, chocolate chips, and shredded coconut until everything is evenly distributed. Each bite will be a delightful mix of textures and flavors.
Step 7: Shape and Bake
Drop rounded tablespoons of dough onto ungreased baking sheets, spacing them about 2 inches apart. This gives them room to spread. Bake in the preheated oven for 10-12 minutes, or until the edges are golden brown. Your kitchen will smell heavenly!
Step 8: Cool the Cookies
Once baked, remove the cookies from the oven and let them cool on the baking sheets for 5 minutes. This allows them to set before transferring them to wire racks to cool completely. Patience is key here; the wait will be worth it!
Tips for Success
- Chill the dough for 30 minutes before baking for chewier cookies.
- Use a cookie scoop for uniform sizes and even baking.
- Don’t skip the cooling time; it helps the cookies firm up.
- Experiment with mix-ins like nuts or dried fruit for added flavor.
- Store cookies in an airtight container to keep them fresh longer.
Equipment Needed
- Mixing Bowl: A large bowl for combining ingredients. A stand mixer works great, but a hand mixer or even a whisk will do.
- Baking Sheets: Use ungreased sheets or line them with parchment paper for easy cleanup.
- Cookie Scoop: For uniform cookie sizes. A tablespoon works too!
- Wire Rack: Ideal for cooling cookies. A plate can work in a pinch.
Variations
- Nutty Delight: Add chopped walnuts or pecans for a crunchy texture and nutty flavor.
- Fruit Fusion: Mix in dried cranberries or raisins for a fruity twist that complements the chocolate.
- Gluten-Free Option: Substitute all-purpose flour with a gluten-free flour blend for a gluten-free treat.
- Chocolate Lovers: Use dark chocolate chips instead of semi-sweet for a richer chocolate experience.
- Vegan Version: Replace butter with coconut oil and eggs with flaxseed meal mixed with water for a plant-based alternative.
Serving Suggestions
- Pair your Eskimo Cookies with a tall glass of cold milk for a classic treat.
- Serve them warm with a scoop of vanilla ice cream for an indulgent dessert.
- For a festive touch, arrange cookies on a decorative platter with fresh fruit.
- Enjoy with a cup of coffee or tea for a cozy afternoon snack.
FAQs about Eskimo Cookies
What makes Eskimo Cookies different from regular cookies?
Eskimo Cookies stand out due to their unique combination of rolled oats, chocolate chips, and shredded coconut. This trio creates a chewy texture and a delightful flavor that’s hard to resist. They’re not just your average cookie; they’re a flavor-packed treat!
Can I make Eskimo Cookies ahead of time?
Absolutely! You can prepare the dough in advance and refrigerate it for up to 3 days. Just scoop and bake when you’re ready for fresh cookies. This is a great way to have a quick dessert on hand for unexpected guests!
How should I store my Eskimo Cookies?
To keep your cookies fresh, store them in an airtight container at room temperature. They’ll stay delicious for about a week. If you want to keep them longer, consider freezing them. Just thaw and enjoy whenever the craving strikes!
Can I customize the ingredients in Eskimo Cookies?
Definitely! Feel free to swap out chocolate chips for white chocolate or butterscotch chips. You can also add nuts or dried fruits for extra flavor. The beauty of this recipe is its versatility!
Are Eskimo Cookies suitable for special diets?
Yes! You can easily adapt this recipe for various dietary needs. Use gluten-free flour for a gluten-free version or substitute butter with coconut oil for a vegan option. Enjoying these cookies is possible for everyone!
Final Thoughts
Baking Eskimo Cookies is more than just a culinary task; it’s an experience filled with warmth and joy. The delightful aroma that fills your kitchen is a reminder of home and comfort. Each chewy bite, bursting with chocolate and coconut, brings a smile to your face and creates lasting memories with family and friends. Whether you’re sharing them at a gathering or enjoying them solo with a cup of coffee, these cookies are sure to brighten your day. So, roll up your sleeves, embrace the mess, and let the magic of baking transform your kitchen into a haven of sweetness!
Eskimo Cookies: Discover This Delightful Recipe Now!
Ingredients
Method
- Preheat your oven to 350°F (175°C).
- In a large mixing bowl, cream together the softened butter, granulated sugar, and brown sugar until light and fluffy.
- Add the eggs one at a time, mixing well after each addition.
- Stir in the vanilla extract.
- In a separate bowl, whisk together the flour, baking soda, and salt.
- Gradually add the dry ingredients to the wet mixture, mixing until just combined.
- Fold in the rolled oats, chocolate chips, and shredded coconut until evenly distributed.
- Drop rounded tablespoons of dough onto ungreased baking sheets, spacing them about 2 inches apart.
- Bake in the preheated oven for 10-12 minutes, or until the edges are golden brown.
- Remove from the oven and let the cookies cool on the baking sheets for 5 minutes before transferring them to wire racks to cool completely.
Nutrition
Notes
- For a chewier cookie, refrigerate the dough for 30 minutes before baking.
- You can substitute the chocolate chips with white chocolate or butterscotch chips for a different flavor.
- Adding chopped nuts like walnuts or pecans can enhance the texture and taste.