

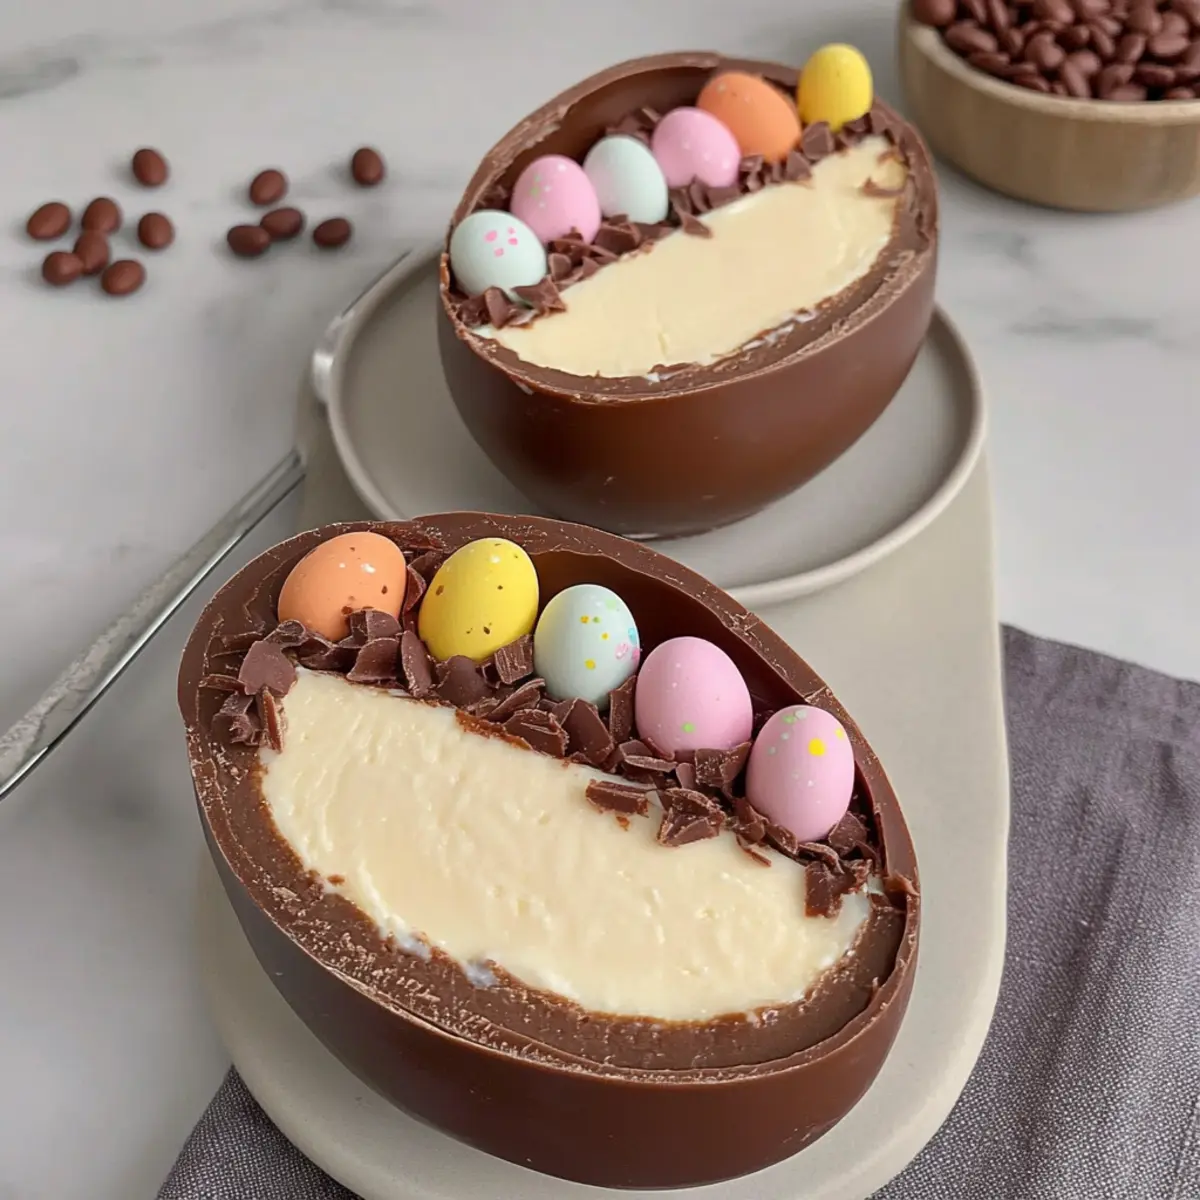
There’s something undeniably magical about Easter—a symphony of colors, laughter, and, of course, decadent treats. This year, I’m excited to share my No-Bake Easter Egg Cheesecake, a delightful dessert that combines creativity and simplicity, making it perfect for celebrating the season. With a creamy filling nestled inside a chocolate Easter egg shell and a buttery biscuit base, this recipe not only pleases the palate but is also a breeze to make. Plus, it’s completely customizable—whether you have vegan guests or gluten-free friends, there’s a variation for everyone! Imagine whipping up this showstopper in just a few steps, leaving you more time to enjoy the holiday festivities. Are you ready to celebrate with a dessert that’s sure to dazzle your family and friends? Let’s dive in!
Why choose this Easter Egg Cheesecake?
Decadent, this No-Bake Easter Egg Cheesecake is rich yet light, making it a dessert everyone will crave. Quick and easy, you’ll whip this treat up in no time, freeing you to enjoy more holiday fun. Customizable, you can adapt it to be vegan or gluten-free, delighting all your guests. Fun for all ages, get the kids involved in decorating with their favorite Easter candies! If you’re looking for tasty alternatives, check out the delightful Patriotic Mini Cheesecakes or our creamy Brownie Bottom Cheesecake. Get ready to impress this Easter!
Easter Egg Cheesecake Ingredients
• Get ready for a delightful treat!
For the Base
- Large Easter Egg (approx. 150g) – This chocolate shell is essential for holding the cheesecake filling.
- Digestive Biscuits (60g) – They create a crunchy, buttery base; opt for gluten-free biscuits to accommodate dietary needs.
- Melted Butter (25g) – Binds the biscuit crumbs; a vegan butter substitute works well for dairy-free options.
For the Filling
- Full Cream Cheese (235g) – Provides a rich and creamy texture; Philadelphia is a favored choice.
- Icing Sugar (40g) – Sweetens your filling to perfection; swapping with powdered sugar ensures a smooth mix.
- Vanilla Extract (1 tsp) – Elevates the flavor; using pure vanilla enhances the dessert’s richness.
- Double Cream (95ml) – Adds lusciousness and thickness; feel free to use coconut cream for a vegan twist.
For Decoration
- Dark Chocolate (15g) – Ideal for a drizzle; milk chocolate can also be used or omitted based on your taste.
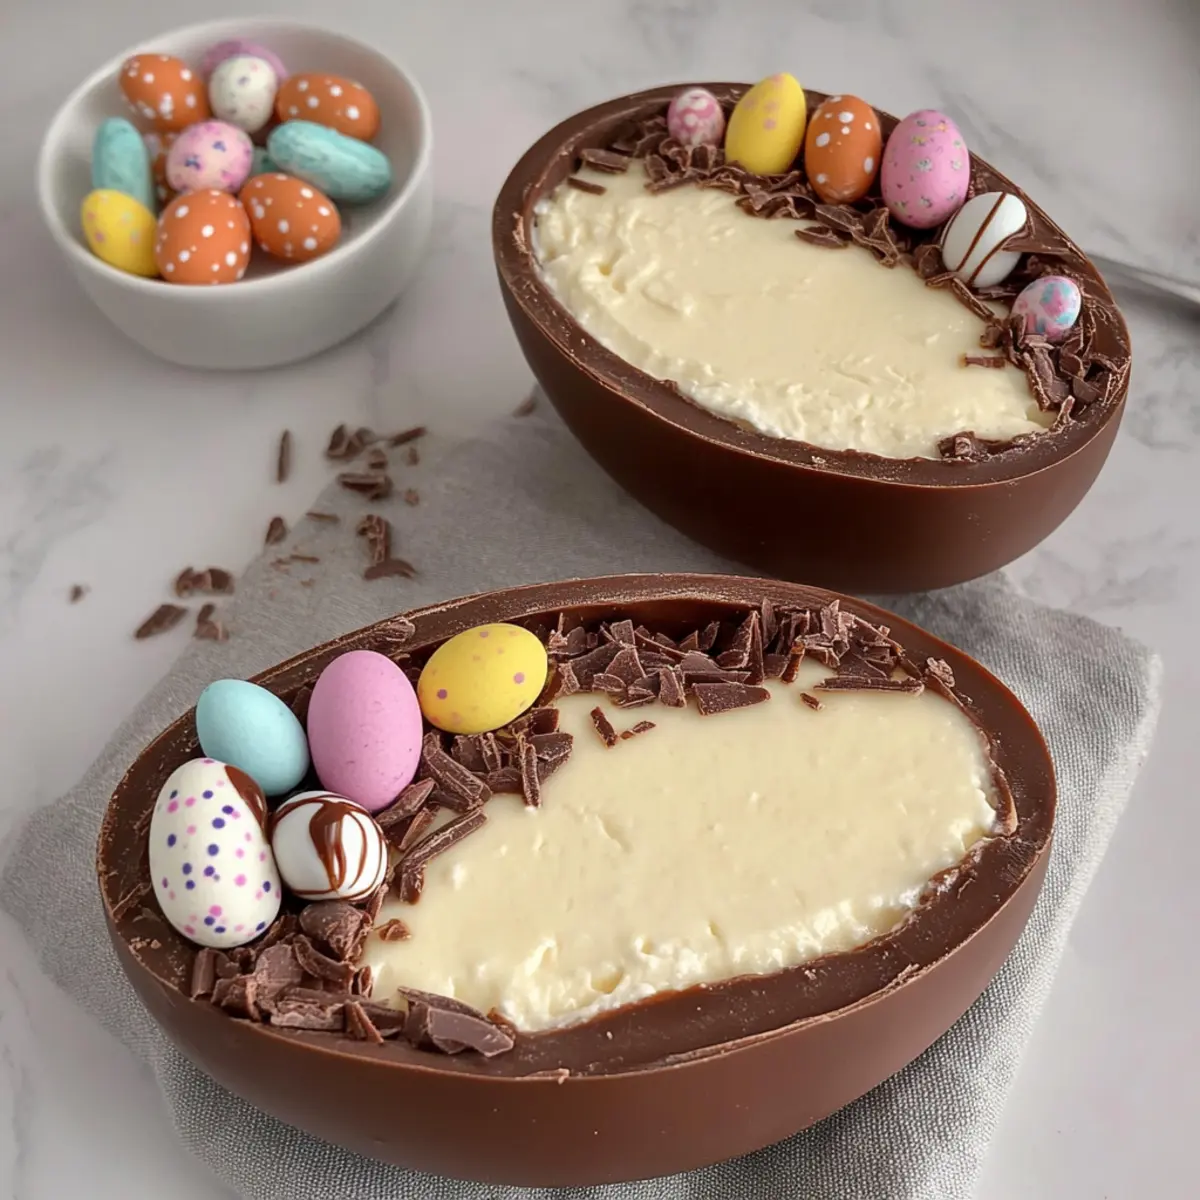
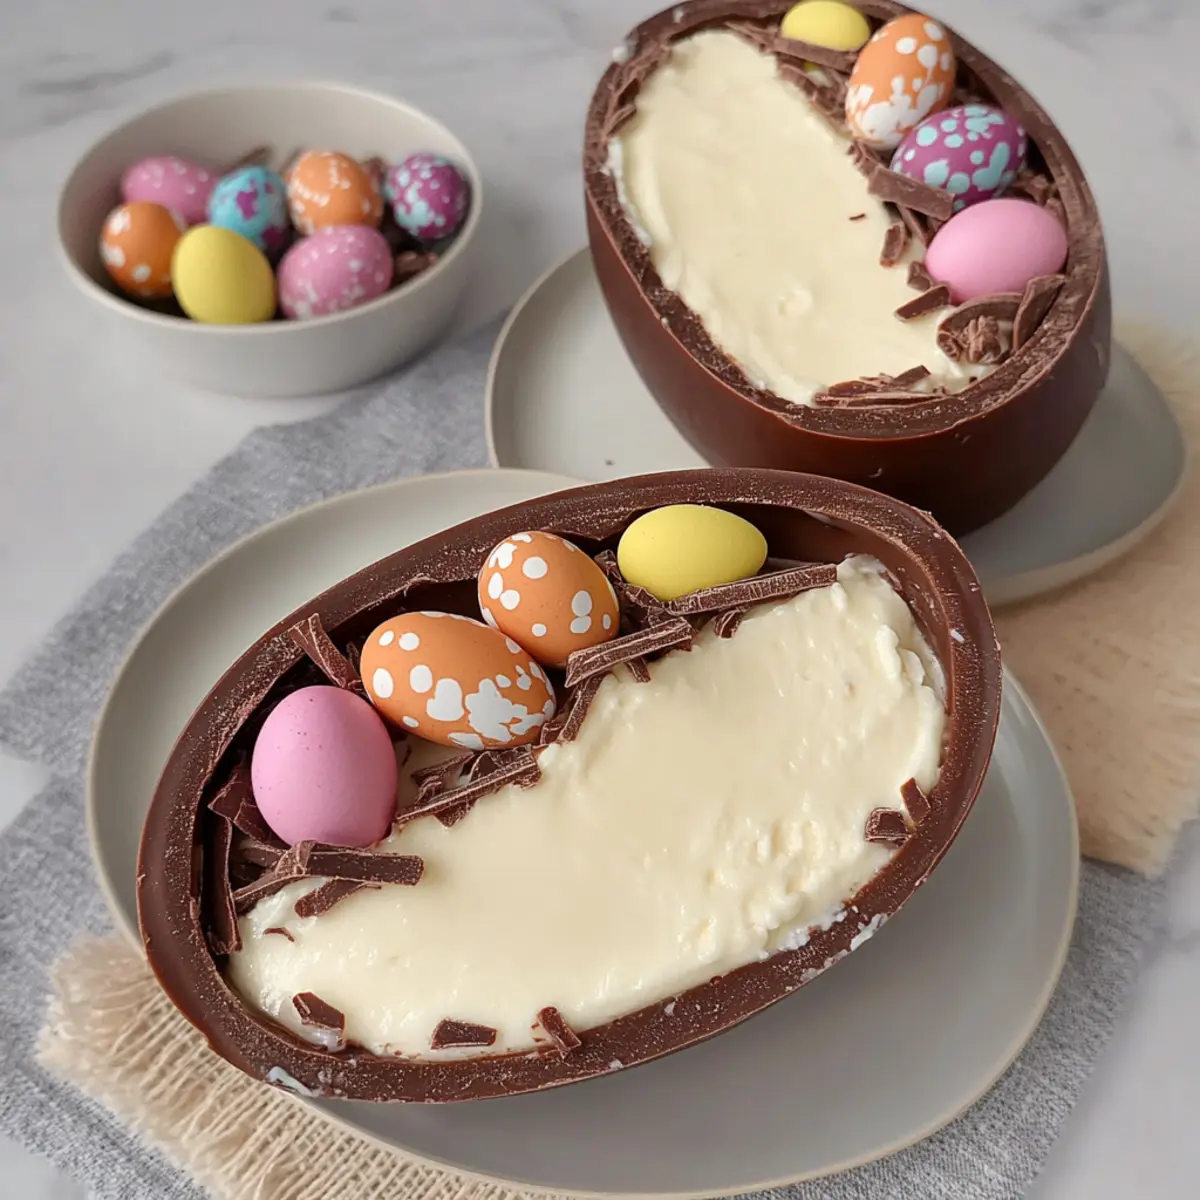
- Mini Eggs (8 pieces or more) – These add a festive touch; replace them with any Easter candy like Creme Eggs or chocolate bunnies.
- Kit Kat Bunnies (2 pieces, optional) – For an extra fun decoration, these can add charm and flair to your cheesecake.
Now you’re ready to create your stunning Easter Egg Cheesecake!
Step‑by‑Step Instructions for Easter Egg Cheesecake
Step 1: Prepare the Easter Egg
Begin by carefully cutting your large chocolate Easter egg in half. Utilize a warm knife to gently work around the seam, applying steady pressure until it effortlessly separates into two equal halves. This will create the perfect shell for your Easter Egg Cheesecake, ensuring each half can hold the velvety filling.
Step 2: Make the Biscuit Base
Crush the digestive biscuits into fine crumbs using a food processor or by placing them in a zip-top bag and rolling with a rolling pin. In a mixing bowl, combine these crumbs with the melted butter, stirring until the mixture resembles wet sand. This buttery base will add a delightful crunch to your cheesecake.
Step 3: Assemble the Base
Divide the biscuit mixture equally between the two Easter egg halves, firmly pressing it down to create an even layer. The goal is to establish a solid foundation for your cheesecake. Once pressed, place the halves in the refrigerator and allow them to chill for at least 15 minutes, which will help them set.
Step 4: Prepare the Filling
In a large mixing bowl, combine the cream cheese, icing sugar, and vanilla extract. Use an electric mixer on medium speed to blend until smooth and creamy, approximately 2 minutes. Once combined, add the double cream and whisk until the mixture thickens to a fluffy consistency. The filling should be light and airy for your Easter Egg Cheesecake.
Step 5: Fill the Egg
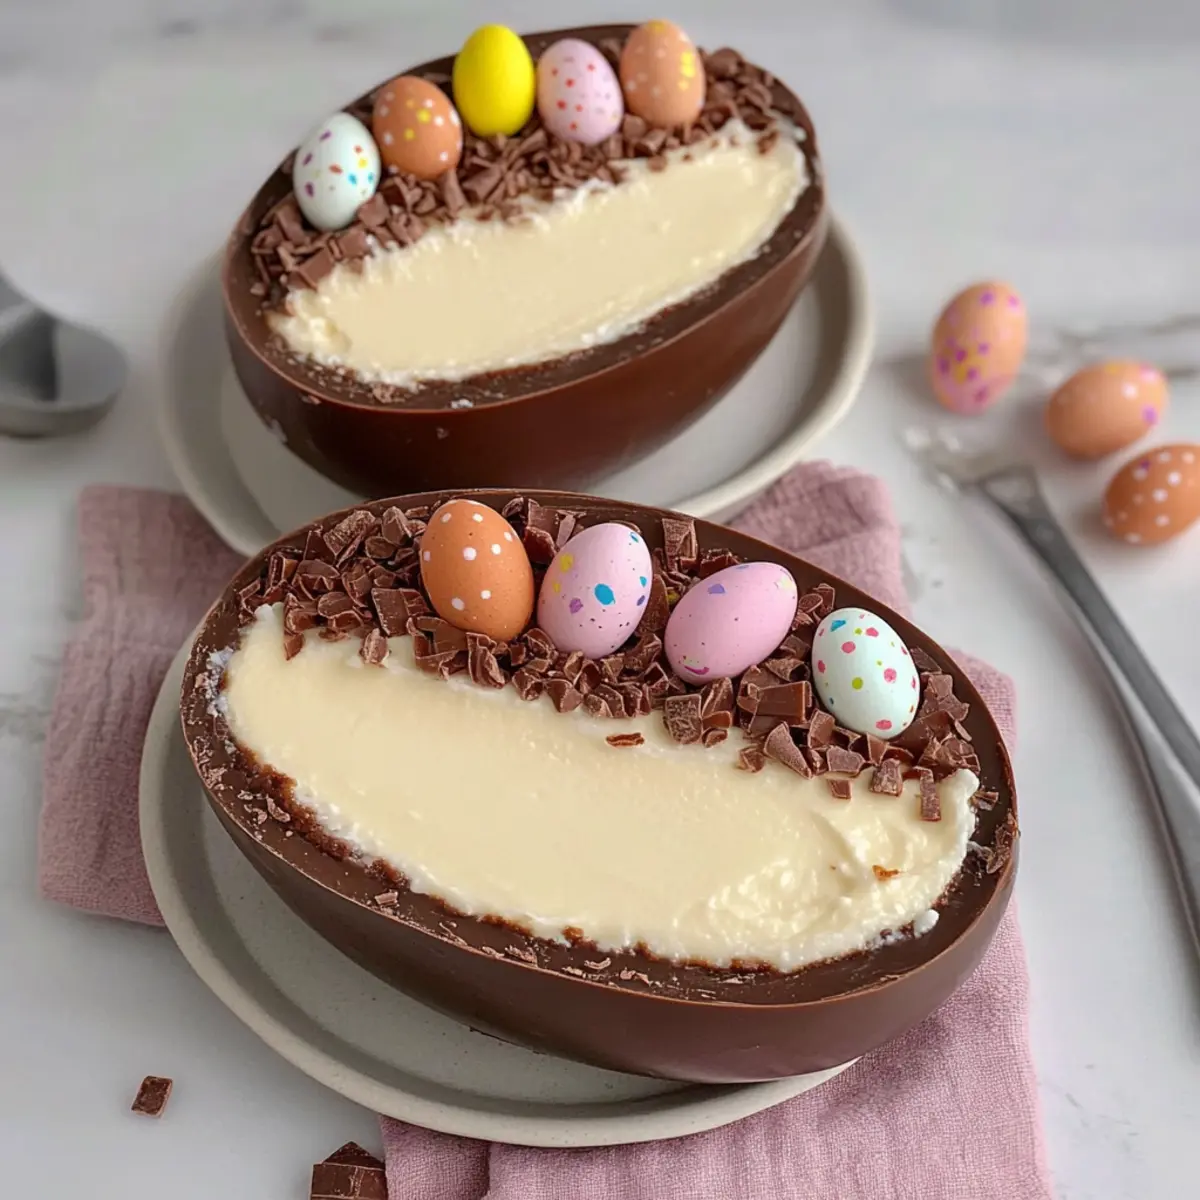
Carefully spoon the luscious cheesecake filling into each half of the Easter egg, smoothing the tops with the back of your spoon or a spatula. Be sure to fill them generously, as this will give a decadent experience when served. The colorful filling peeking through the chocolate shell adds an exciting visual.
Step 6: Set the Cheesecake
Cover the filled Easter egg halves with plastic wrap and refrigerate for at least 2 hours. This chilling time is crucial for the filling to firm up properly, ensuring that each slice holds its shape when served. Keep an eye on the clock to achieve the perfect texture for your Easter Egg Cheesecake.
Step 7: Decorate
Once set, melt the dark chocolate in a microwave-safe bowl in short bursts, stirring until smooth. Drizzle this melted chocolate over the chilled cheesecake, allowing it to create a beautiful pattern. Finish by topping with Mini Eggs and optional Kit Kat bunnies, creating a festive look that invites everyone to dig in.
Step 8: Serve
Once decorated, your stunning Easter Egg Cheesecake is ready to impress! Serve immediately, or store it in the refrigerator for 3-4 days, letting the flavors meld. Whether shared with family or enjoyed as a treat solo, this delightful dessert is sure to become a beloved centerpiece for your Easter celebrations.
What to Serve with No-Bake Easter Egg Cheesecake
Elevate your Easter gathering by complementing this rich, creamy delight with delicious pairings that tantalize the senses.
- Fresh Berries: Juicy raspberries or strawberries add a burst of tart sweetness, balancing the cheesecake’s richness beautifully.
- Whipped Cream: A dollop of lightly sweetened whipped cream enhances the dessert’s luxurious texture, making each bite even more indulgent.
- Chocolate Drizzle: A little extra melted chocolate drizzled on top brings a touch of decadence, echoing the flavors of the Easter egg shell.
- Mint Leaves: Fresh mint adds a refreshing hint that brightens every bite and cuts through the sweetness, creating a delightful contrast.
- Nutty Biscotti: Crunchy, almond-flavored biscotti provides a satisfying texture, making it a delightful dip-in companion alongside the cheesecake.
- Elderflower Sparkling Drink: A light and floral beverage pairs wonderfully, offering a refreshing sip that cleanses the palate between desserts.
- Carrot Cake Slices: Embrace the festive spirit with classic carrot cake, where the spiced flavors create a delicious harmony with your cheesecake.
- Chocolate-Covered Strawberries: These treats amplify the chocolate experience, adding elegance to your table while echoing the Easter theme.
- Coffee or Espresso: The rich, bold flavors of coffee create a beautiful, complementary warmth that enhances the overall dessert experience.
- Easter-themed Cookies: Serve charming cookies, like bunny or egg shapes, to enhance the festive feel, giving your guests delightful options to enjoy.
Storage Tips for Easter Egg Cheesecake
- Fridge: Store your Easter Egg Cheesecake in an airtight container for up to 3-4 days to maintain its freshness and creamy texture.
- Freezer: If you want to save it for later, you can freeze the cheesecake (undecorated) for up to three months, wrapped tightly to prevent freezer burn.
- Thawing: To enjoy your frozen Easter Egg Cheesecake, simply remove it from the freezer and thaw in the fridge overnight before serving.
- Reheating: This recipe is best enjoyed cold, so there’s no need for reheating—just slice and serve straight from the fridge!
Easter Egg Cheesecake Variations
Feel free to make this delectable dessert your own with these fun and easy twists!
-
Gluten-Free: Use gluten-free biscuits for the base, ensuring everyone can enjoy this treat without worry. A simple swap can make a huge difference!
-
Dairy-Free: Replace cream cheese with vegan alternatives or silken tofu for a creamy filling that everyone can enjoy. It’s just as delicious, I promise!
-
Flavor Boosts: Jazz up the filling by incorporating zests of citrus or extracts like almond—each addition brings a unique flavor profile that will surprise your guests.
-
Texture Twists: For a crunchy kick, fold in some crushed nuts like pecans or almonds into the filling. It adds delightful texture alongside that creamy goodness.
-
Seasonal Decorations: Swap out the mini eggs for seasonal fruits like strawberries or raspberries for a fresh, fruity finish. It’s a fun way to update the look!
-
Spiced Up: For a hint of warmth, add a pinch of cinnamon or nutmeg to the filling. It’s a subtle change that elevates the flavor beautifully!
-
Chocolate Lovers: If you’re a chocoholic, why not add chocolate chips to the filling? This creates delightful pockets of chocolate bliss in every bite!
-
Layered Delight: Instead of filling whole halves, create layers of your cheesecake in small glasses. Layer biscuit crumbs, filling, and toppings for a stunning presentation.
No matter how you choose to customize your Easter Egg Cheesecake, it’s sure to become a family favorite! If you need more inspiration, don’t forget to check out the Strawberry Cheesecake Bars for a fruity spin or the irresistible Fireworks Oreo Cheesecake for the ultimate chocolate experience!
Make Ahead Options
These No-Bake Easter Egg Cheesecakes are perfect for meal prep enthusiasts looking to save time during the busy holiday season! You can prepare the biscuit base and fill the chocolate Easter egg halves up to 24 hours in advance; simply refrigerate them tightly covered. The cheesecake filling can also be mixed and stored in an airtight container in the refrigerator for up to 3 days before filling the eggs. When you’re ready to serve, just spoon the filling into the chocolate shells, chill for a bit to ensure it firms up, and drizzle with chocolate and toppings. This way, you’ll enjoy a show-stopping dessert with minimal last-minute effort!
Expert Tips for Easter Egg Cheesecake
- Chill Time: Ensure you refrigerate the cheesecake for at least 2 hours to achieve the perfect texture. Rushing this step can lead to a filling that’s too soft.
- Butter Alternatives: If making a vegan version, substitute the melted butter with a plant-based alternative, ensuring it binds the biscuit base effectively.
- Cream Cheese Choice: Use full-fat cream cheese for the best results; low-fat options can create a runnier filling in your Easter Egg Cheesecake.
- Melt Chocolate Safely: When melting chocolate for decoration, do it in short intervals to avoid burning. Stir regularly for a smooth finish.
- Creative Decorations: Use a variety of Easter-themed candies to personalize your cheesecake! The more colorful, the more festive your dessert will be.
Easter Egg Cheesecake Recipe FAQs
What type of chocolate Easter egg is best for this cheesecake?
Absolutely! A large chocolate Easter egg of around 150g is perfect. Look for a quality chocolate egg that isn’t too thick, so it can hold the filling comfortably. The egg should have a smooth surface to create a beautiful presentation.
How long can I store my Easter Egg Cheesecake in the fridge?
You can store your Easter Egg Cheesecake in an airtight container in the fridge for up to 3-4 days. It’s best to enjoy it within this timeframe to savor its creamy deliciousness. After that, the texture may start to weaken, and freshness diminishes.
Can I freeze the Easter Egg Cheesecake?
Yes, you can freeze your Easter Egg Cheesecake! To do this, allow it to chill completely first. Wrap it tightly in plastic wrap and then place it in an airtight container to prevent freezer burn. It can be frozen for up to three months. When you’re ready to enjoy it, simply transfer it to the fridge to thaw overnight.
What can I use as a substitute for cream cheese in a vegan version?
For a delightful vegan option, I recommend using a vegan cream cheese alternative or blended silken tofu for a smooth texture. If using silken tofu, blend it until creamy and add a touch of gelatine (or agar-agar for a plant-based option) to help firm it up if necessary. You can also add a bit of lemon juice for extra flavor.
How can I troubleshoot if my cheesecake filling is too soft?
If your cheesecake filling is too soft, this usually means it hasn’t chilled long enough or you might have used a low-fat cream cheese. To fix this, let it chill longer in the fridge—ideally over 2 hours—to allow it to firm up properly. If you know it’s low in fat, try adding a small handful of icing sugar while mixing to achieve a thicker consistency, but be careful not to add too much at once!
Is this Easter Egg Cheesecake safe for dogs?
It’s best to avoid sharing this dessert with your furry friends. Chocolate can be toxic to dogs, and the cream cheese is high in fat, which is not ideal for their sensitive stomachs. Always check with your vet if you’re unsure about what human food is safe for your pet!
Decadent Easter Egg Cheesecake: No-Bake Delight to Share
Ingredients
Equipment
Method
- Step 1: Prepare the Easter Egg. Begin by carefully cutting your large chocolate Easter egg in half. Utilize a warm knife to gently work around the seam, applying steady pressure until it separates into two equal halves.
- Step 2: Make the Biscuit Base. Crush the digestive biscuits into fine crumbs and combine with melted butter until the mixture resembles wet sand.
- Step 3: Assemble the Base. Divide the biscuit mixture equally between the two Easter egg halves and press down to create an even layer, then chill for at least 15 minutes.
- Step 4: Prepare the Filling. Combine cream cheese, icing sugar, and vanilla extract in a mixing bowl; blend until smooth. Add double cream and whisk until thick.
- Step 5: Fill the Egg. Spoon the cheesecake filling into each half of the Easter egg, smoothing the tops.
- Step 6: Set the Cheesecake. Cover with plastic wrap and refrigerate for at least 2 hours to firm up.
- Step 7: Decorate. Melt dark chocolate and drizzle over the cheesecake, then top with Mini Eggs and Kit Kat bunnies.
- Step 8: Serve. Your Easter Egg Cheesecake is ready to impress! Enjoy immediately or store in the fridge for 3-4 days.