

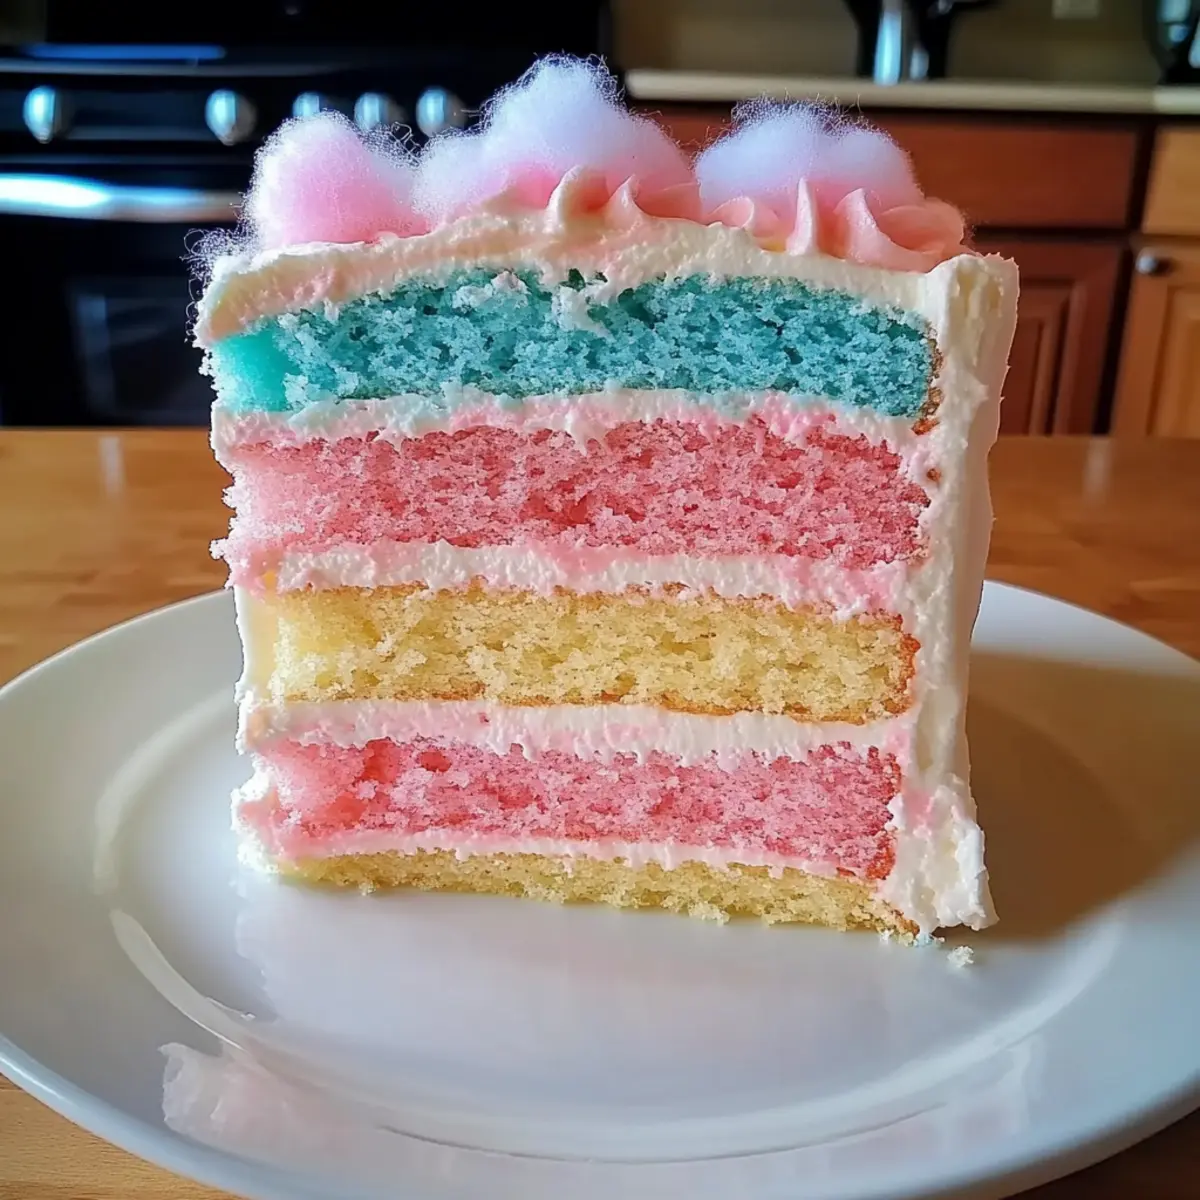
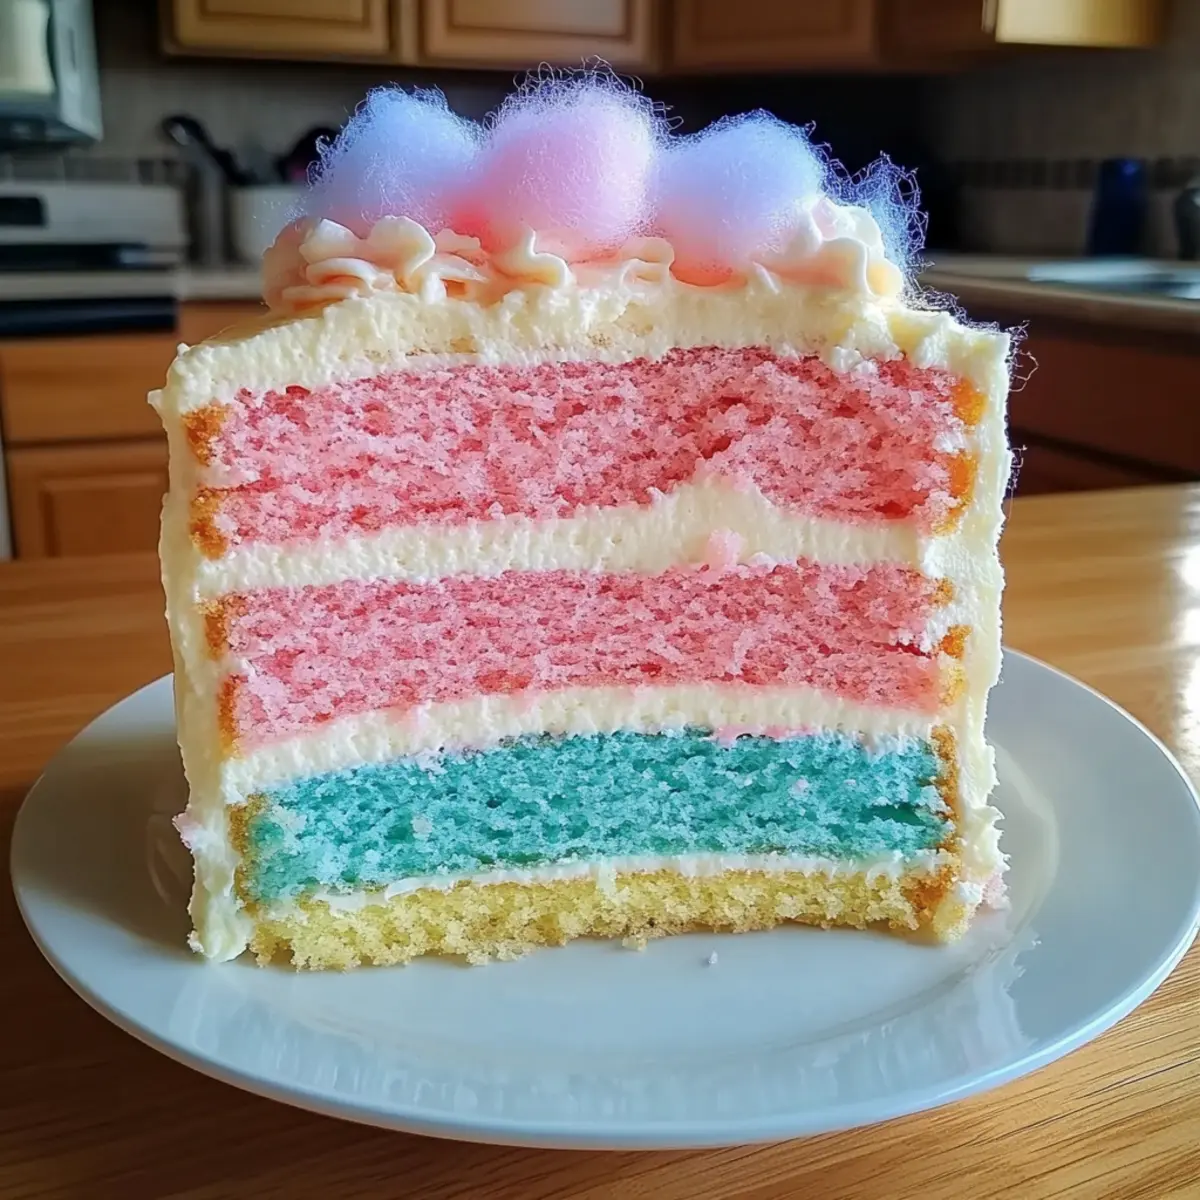
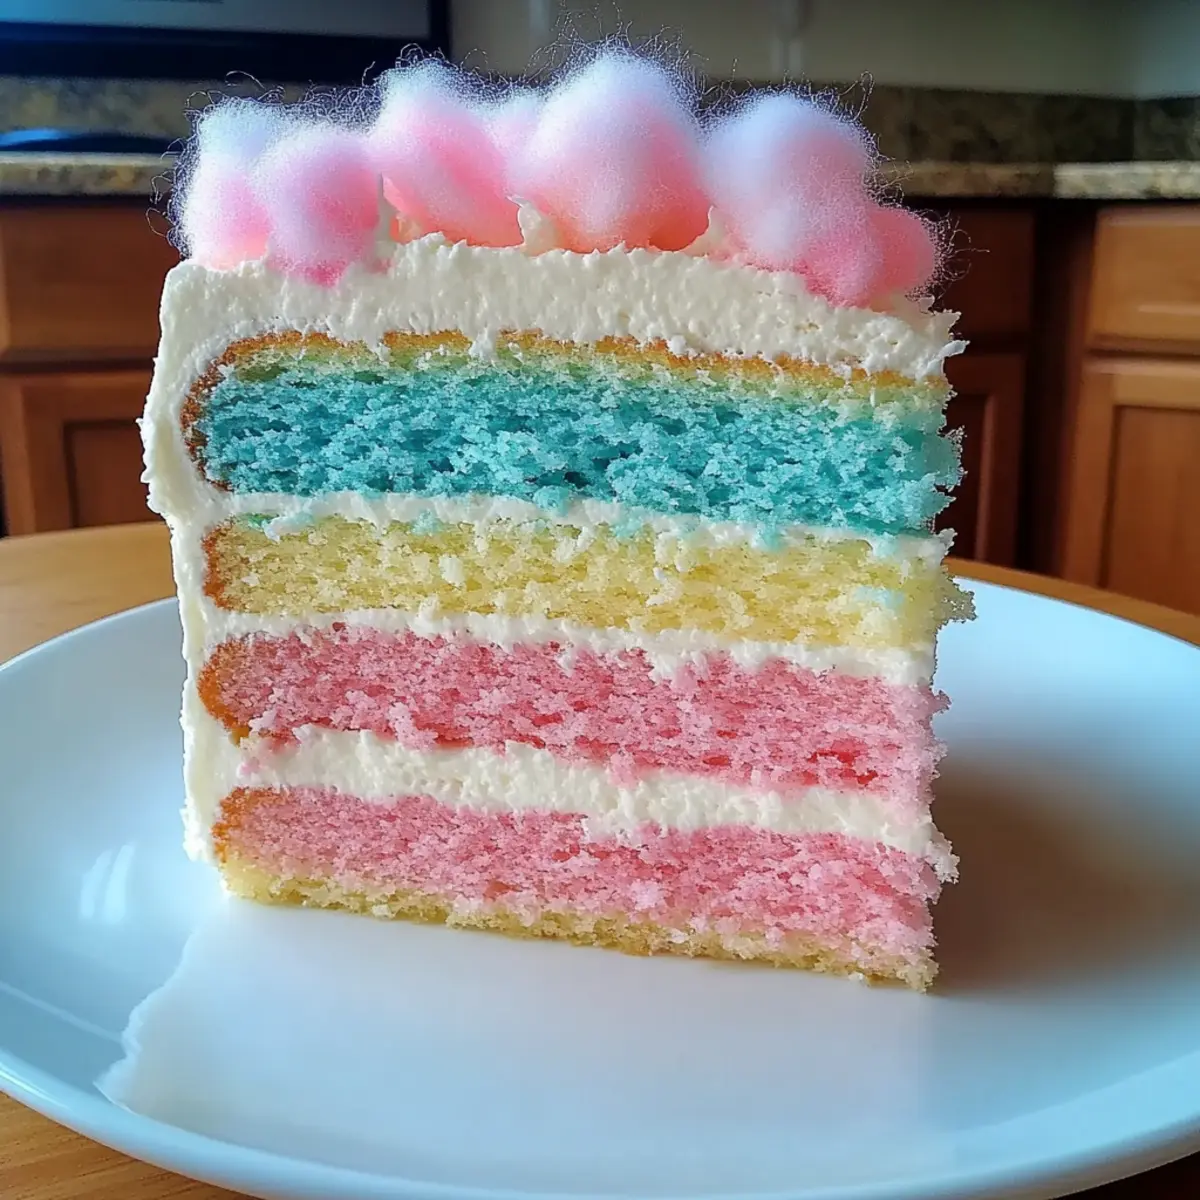
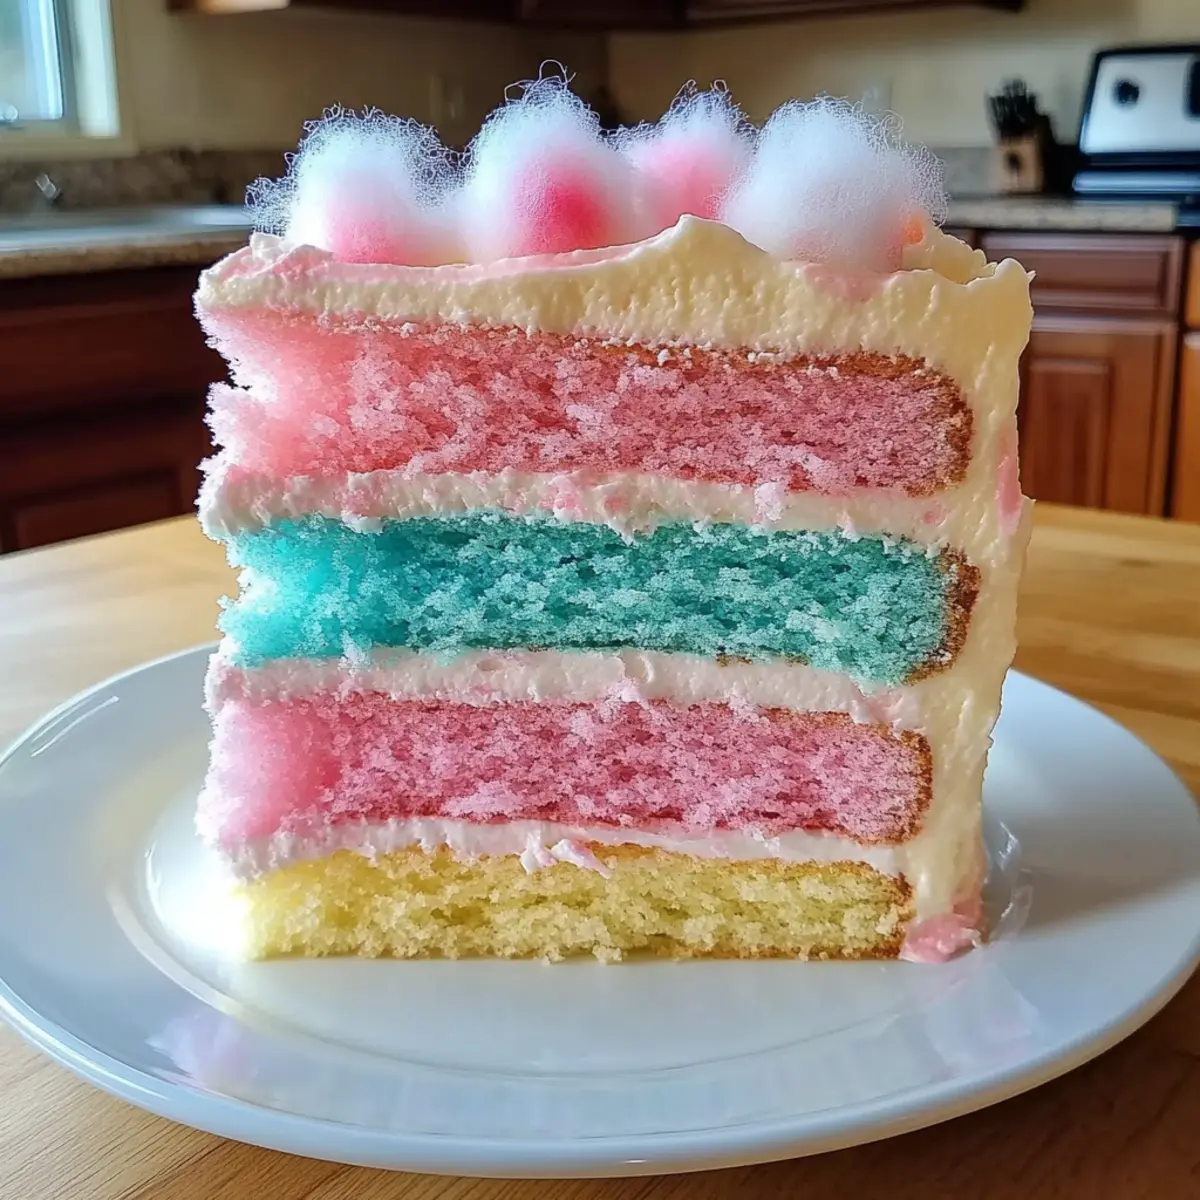
As a child, I’d twirl on the carnival rides, eyes lit up by the dazzling colors of cotton candy. You can capture that whimsical delight in your own kitchen with my Cotton Candy Cake—a sweet tribute to those cherished fairground memories! This enchanting dessert combines the fluffy, airy texture of cake with the sugary joy of cotton candy, making it a showstopper for any occasion. What’s even better? It’s a quick and easy recipe that impresses guests without the fuss, perfect for busy families craving something special. Imagine serving this delightful cake at birthdays or casual gatherings and watching faces light up with nostalgia. Who wouldn’t want a slice of happiness? Let me share how you can create this fun dessert that transports you back to those carefree days!
Why is Cotton Candy Cake a Must-Try?
Whimsical delight awaits! This Cotton Candy Cake not only delivers a unique flavor reminiscent of childhood fairs but is also visually stunning with its vibrant colors. Crowd-pleasing goodness means guests of all ages will love this fun dessert. Easy to make with straightforward steps makes it ideal for busy families. Versatile variations let you choose different cotton candy flavors, ensuring it’s perfect for any celebration. If you enjoy playful treats, you might also love the sweet flavors of Strawberry Bliss Cake or the festive vibes from Patriotic Mini Cheesecakes. Get ready to create delicious memories!
Cotton Candy Cake Ingredients
For the Cake
- Granulated Sugar – Essential for sweetness, creating a light and airy cake structure.
- Butter (softened) – Brings in moisture and flavor; margarine works as a dairy-free substitute.
- Eggs – Acts as a binding agent while adding richness; consider flax eggs for a vegan alternative.
- Milk – Adds essential moisture; substitute with almond milk or any other non-dairy option if desired.
- Vanilla Extract – Enhances flavor; purer extracts yield the best aroma and taste.
- All-Purpose Flour – Provides structure; a gluten-free blend can replace it for gluten-sensitive friends.
- Baking Powder – The key leavening agent that ensures a fluffy rise.
- Cotton Candy – Signature flavor and visual fun; feel free to select any flavor, with classic pink or blue as favored options.
- Food Coloring (optional) – A couple of drops can amplify the cake’s whimsical look.
For the Frosting
- Buttercream Frosting – Adds sweetness and decoration; cream cheese frosting can provide a delightful tang alternative.
This Cotton Candy Cake is sure to evoke memories of carnival delights and will be a hit at any gathering!
Step‑by‑Step Instructions for Cotton Candy Cake
Step 1: Preheat Oven
Begin by preheating your oven to 350°F (175°C). This allows the oven to reach the perfect baking temperature for your Cotton Candy Cake, ensuring it rises beautifully. While the oven is warming, you can gather all your ingredients and prepare your baking equipment for the next steps.
Step 2: Prepare Cake Pans
Grease two 9-inch round cake pans with butter or baking spray, making sure to cover the bottoms and sides thoroughly. Next, line the bottoms with parchment paper for easy cake removal. This prevents sticking and guarantees that your Cotton Candy Cake will come out cleanly and maintain its shape.
Step 3: Cream Butter and Sugar
In a large mixing bowl, add the softened butter and granulated sugar together. Using an electric mixer, beat the mixture on medium speed until it becomes light, fluffy, and pale in color, which should take about 3 to 5 minutes. This process is crucial as it incorporates air into the batter, leading to a light cake texture.
Step 4: Incorporate Eggs
Add the eggs to the creamed butter and sugar, one at a time, mixing well after each addition to fully incorporate them. Then pour in the milk and vanilla extract, ensuring a uniform mixture. Beat until smooth; these wet ingredients will add moisture and flavor to your Cotton Candy Cake.
Step 5: Mix Dry Ingredients
In a separate bowl, whisk together the all-purpose flour and baking powder until well combined. Gradually add the dry mixture to the wet ingredients, stirring gently on low speed. Avoid overmixing, as this can cause your cake to become dense; you want a smooth batter that still has some lightness to it.
Step 6: Add Cotton Candy and Color
Using a spatula, fold in the cotton candy, breaking it up as you go to ensure even distribution throughout the batter. If desired, add a few drops of food coloring to enhance the cake’s whimsical look. Gently mix until everything is combined, and you can see vibrant specks of color throughout your Cotton Candy Cake batter.
Step 7: Bake
Divide the batter evenly between the prepared cake pans, smoothing the tops with a spatula. Place the pans in the preheated oven and bake for 25 to 30 minutes. They are done when a toothpick inserted in the center comes out clean, indicating that the cake is perfectly baked.
Step 8: Cool Cakes
Once baked, remove the pans from the oven and let them cool for about 10 minutes in the pans. This allows them to firm up slightly, making it easier to transfer them. Carefully flip the cakes out onto wire racks to cool completely, ensuring they maintain their lovely shape.
Step 9: Frosting
When the cakes have cooled entirely, use a spatula to generously frost the top of one layer with buttercream frosting. Place the second layer on top and frost the entire cake for a smooth finish. Finally, top off your delightful Cotton Candy Cake with additional cotton candy for a fun and festive touch before serving.
Expert Tips for Cotton Candy Cake
-
Softened Butter Matters: Ensure your butter is at room temperature to create a smooth, fluffy texture. Cold butter won’t cream properly, resulting in a dense cake.
-
Avoid Overmixing: Once you add the flour mixture, mix just until combined. Overmixing can lead to a tough texture instead of the light, airy cake you want.
-
Cool Completely: Allow your cake layers to cool completely before frosting. Frosting warm cake can melt the icing, making it runny and less appealing.
-
Cotton Candy Variety: Don’t hesitate to explore different cotton candy flavors—try sour or fruit varieties for a fun twist on the classic Cotton Candy Cake.
-
Finishing Touches: Add colorful sprinkles along with cotton candy on top for an extra festive look. It not only enhances the visual appeal but adds more fun to each slice.
Feel confident in your baking journey, and soon you’ll have a Cotton Candy Cake that delights everyone!
What to Serve with Cotton Candy Cake?
Imagine a joyful celebration adorned with treats that complement the sweetness of your Cotton Candy Cake, creating a memorable meal experience.
- Colorful Fruit Salad: A medley of fresh fruits brings a burst of natural sweetness and vibrant colors that balance the cake’s sugariness.
- Vanilla Ice Cream: Creamy and smooth, a scoop adds a delightful contrast to the fluffy cake. The coldness offers a refreshing bite against the sweet warmth.
- Chocolate Dipped Strawberries: The slight bitterness of dark chocolate pairs beautifully with the sugary notes of the cake, creating a lovely flavor profile.
- Sparkling Lemonade: A bubbly citrus drink cuts through the cake’s sweetness while adding a refreshing element that appeals to all ages.
- Buttercream Frosted Cupcakes: For added fun, these mini delights mirror the flavors of your cake and are a hit at any gathering.
- Rainbow Sprinkles: As a playful touch, sprinkle these on top of other desserts or even the cake for a festive flair that thrills both kids and adults alike.
Your Cotton Candy Cake will shine even brighter with these delightful accompaniments!
Cotton Candy Cake Variations
Feel free to mix things up with these delightful variations to make your Cotton Candy Cake even more special!
-
Flavor Swap: Experiment with different flavored cotton candy like blueberry or cherry for a festive twist that tantalizes your taste buds.
-
Dairy-Free: Swap out butter for margarine, and choose almond milk for a rich, dairy-free delight that everyone can enjoy!
-
Vegan-Friendly: Use flax eggs instead of regular eggs and enjoy a plant-based version that still maintains the cake’s lightness and sweetness.
-
Gluten-Free: Replace regular flour with a high-quality gluten-free blend, ensuring that those with dietary restrictions can join in the fun.
-
Frosting Twist: Try whipped cream instead of buttercream for a lighter, airy topping that complements the cake’s texture beautifully.
-
Extra Crunch: Add crushed graham crackers or cookie crumbs to the frosting for a delightful crunch that contrasts with the softness of the cake.
-
Sprinkle Fun: Top the cake with colorful sprinkles or edible glitter to make it visually appealing and perfect for celebrations.
For even more delightful dessert ideas, consider trying out a classic Strawberry Shortcake Bars or the fun flavors of Fireworks Oreo Cheesecake that will keep the festive spirit alive!
Make Ahead Options
These Cotton Candy Cakes are perfect for busy home cooks looking to save time! You can bake the cakes up to 24 hours in advance—simply allow them to cool completely and wrap them tightly in plastic wrap to keep them moist. Frosting can also be prepared ahead of time; store it in an airtight container in the refrigerator for up to 3 days. When you’re ready to serve, take the cakes out, let them come to room temperature, and frost right before serving for that fresh-made taste. This way, you can have a delightful dessert ready to impress your guests with minimal effort!
How to Store and Freeze Cotton Candy Cake
Room Temperature: Store your Cotton Candy Cake in an airtight container at room temperature for up to 3 days. Be sure to remove any cotton candy topping, as it will dissolve and lose its fluffiness.
Fridge: If you want to keep it fresh longer, you can refrigerate the cake for up to 1 week. Ensure it’s well-covered to prevent it from drying out.
Freezer: For longer storage, wrap the unfrosted cake tightly in plastic wrap and aluminum foil, and freeze for up to 3 months. Thaw in the fridge before frosting and serving.
Reheating: If refrigerated, let the cake come to room temperature before serving. You can warm individual slices in the microwave for about 10-15 seconds for a cozy, just-baked feel!
Cotton Candy Cake Recipe FAQs
What type of cotton candy is best for the cake?
Any flavor of cotton candy works wonderfully! Classic pink or blue is often recommended for that nostalgic flair, but feel free to be creative with fruity or even sour flavors to personalize your Cotton Candy Cake.
How should I store my Cotton Candy Cake?
Absolutely! Store your cake in an airtight container at room temperature for up to 3 days. Just remember to remove any cotton candy topping before storing, so it maintains its delightful fluffiness.
Can I freeze the Cotton Candy Cake?
Yes, you can! To freeze your unfrosted cake, wrap it tightly in plastic wrap and then aluminum foil. It stays fresh for up to 3 months in the freezer. When you’re ready to serve, thaw it in the fridge overnight before frosting and decorating.
What if my cake doesn’t rise properly?
If your Cotton Candy Cake doesn’t rise as expected, it could be due to a few factors. Ensure your baking powder is fresh and hasn’t expired; it’s essential for that fluffy rise. Also, when mixing your wet and dry ingredients, avoid overmixing. Gentle folding is key for a light cake!
Is this recipe suitable for those with dietary restrictions?
Definitely! This recipe can easily be adapted for various dietary needs. Substitute eggs with flax eggs for a vegan option, use almond or oat milk for a dairy-free treat, and go for gluten-free flour to accommodate gluten sensitivities. Enjoy without worry!
How long will the cake stay fresh?
The cotton candy cake will stay fresh for about 3 days when stored properly at room temperature. If you’re storing it in the fridge, it can last up to a week, keeping its delightful texture and flavor intact!
Cotton Candy Cake: Sweeten Your Celebrations with Fun!
Ingredients
Equipment
Method
- Preheat your oven to 350°F (175°C).
- Grease two 9-inch round cake pans with butter or baking spray, and line the bottoms with parchment paper.
- In a large mixing bowl, beat softened butter and granulated sugar on medium speed until light and fluffy (3-5 minutes).
- Add the eggs one at a time, mixing well. Then pour in the milk and vanilla extract. Beat until smooth.
- In a separate bowl, whisk together the flour and baking powder. Gradually add this to the wet ingredients, stirring gently.
- Fold in the cotton candy and food coloring until even distribution is achieved.
- Divide the batter into prepared pans and bake for 25 to 30 minutes until a toothpick comes out clean.
- Let the cakes cool in the pans for 10 minutes, then transfer to wire racks to cool completely.
- Frost the top of one layer with buttercream, add the second layer on top, and frost the entire cake.
- Top with additional cotton candy for a fun touch before serving.