

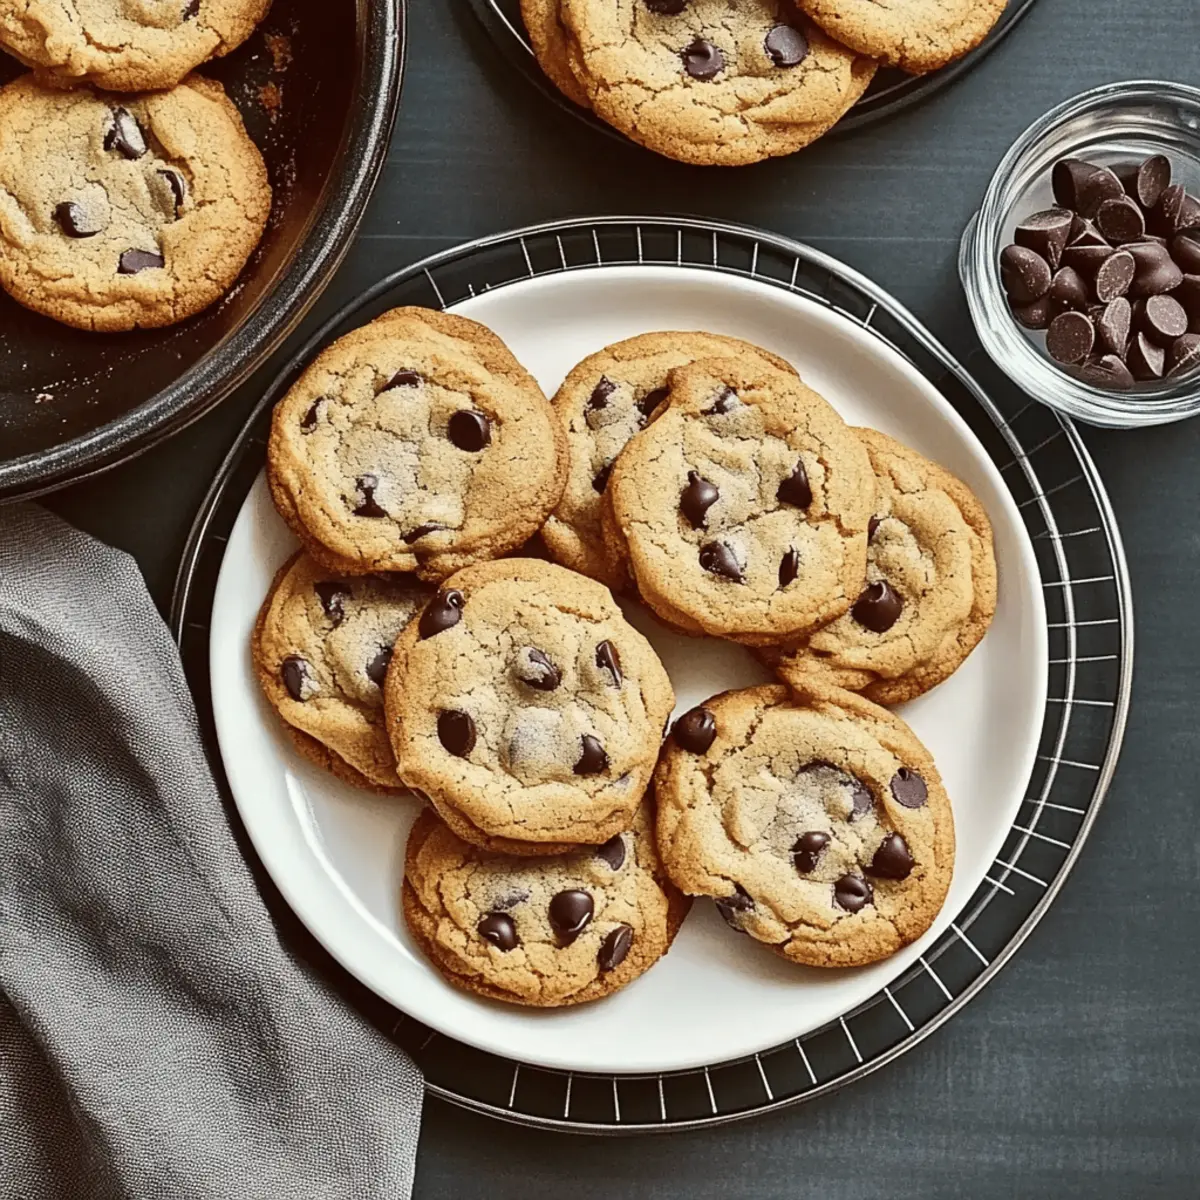
As the oven door swings open, a wave of warmth and nostalgia rolls out, filling the kitchen with the unmistakable scent of freshly baked goods. There’s nothing quite like the joy of making Classic Chocolate Chip Cookies, those chewy delights that welcome everyone home and celebrate life’s little moments. With their golden, crispy edges and soft centers, these cookies are not only a breeze to whip up but also offer endless customization options—whether you prefer adding a handful of nuts or a sprinkle of oats, the choice is yours! Perfect for sharing at gatherings or relishing after a long day, they’re a sweet escape into the comforting embrace of homemade treats. So, ready to dive into a batch of chocolatey goodness that’ll transport you back to simpler days? Let’s get baking!
Why are Classic Chocolate Chip Cookies irresistible?
Nostalgic Flavors: The essence of childhood comes alive with every bite of these cookies, evoking memories of family kitchens and warm hugs.
Easy to Make: With just a few simple ingredients, even beginners can achieve bakery-quality results in their own homes.
Versatile Treats: Customize with your favorite add-ins; whether it’s crunchy nuts or hearty oats, you can tailor them to your taste.
Perfect for Any Occasion: Whether it’s a casual get-together, a cozy night in, or a sweet surprise for loved ones, these cookies are a crowd-pleaser. Enjoy them alongside a glass of ice-cold milk, or for a twist, try pairing with Coffee Cake Cookies for a delightful dessert experience.
Quick to Prepare: Bake a batch in under 30 minutes, making them the go-to solution for sudden sweet cravings!
Classic Chocolate Chip Cookies Ingredients
• Here’s everything you need for these delightful treats!
For the Cookie Dough
- Light Brown Sugar – Adds sweetness and moisture; can be substituted with dark brown sugar for a richer flavor.
- Granulated Sugar – Provides sweetness and structure; no substitution is recommended.
- Unsalted Butter – Contributes creaminess and flavor; reduce added salt by 1/4 teaspoon if using salted butter.
- Vegetable Shortening – Helps create a tender texture; can be replaced with additional butter if desired.
- Table Salt – Enhances sweetness and balances flavors; adjust if using salted butter.
- Vanilla Extract – Adds aromatic flavor; pure or imitation vanilla can be used—almond extract is a good alternative.
- Vinegar – Reacts with baking soda for leavening; lemon juice may be used as a substitute.
- Baking Soda – Essential leavening agent; ensure it’s fresh for optimal results.
- Large Egg – Binds ingredients and adds moisture; best to use room-temperature eggs.
- All-Purpose Flour – Provides structure; a gluten-free measure-for-measure flour can be used for dietary needs.
- Semisweet Chocolate Chips – Melts to fill cookies with rich chocolate flavor; increase to 16 oz for enhanced chocolate taste.
Optional Add-Ins
- Nuts (Walnuts or Pecans) – Adds crunch and flavor; great for nut lovers.
- Rolled Oats – Incorporate 1 cup for a hearty, oatmeal version.
Craft your own batch of Classic Chocolate Chip Cookies and savor the warmth that fills your home!
Step‑by‑Step Instructions for Classic Chocolate Chip Cookies
Step 1: Preheat the Oven
Begin by preheating your oven to 375°F (190°C). While it warms up, line your baking sheets with parchment paper or lightly grease them to prevent sticking. This initial step is crucial to ensure that your Classic Chocolate Chip Cookies bake evenly and achieve that perfect golden-brown color.
Step 2: Mix Wet Ingredients
In a large mixing bowl, combine the light brown sugar, granulated sugar, unsalted butter, and vegetable shortening. Use a hand mixer or stand mixer on medium speed for about 2-3 minutes until the mixture is smooth and creamy. This blend should appear light and fluffy, setting the stage for delightful flavors in your cookies.
Step 3: Add Flavor Enhancers
Next, mix in the table salt, vanilla extract, vinegar, and baking soda into the wet ingredients. Beat for an additional minute until everything is well incorporated. You’ll notice a lovely aroma as the vanilla and baking soda merge, creating the foundation for your luscious Classic Chocolate Chip Cookies.
Step 4: Incorporate the Egg
Now, crack in the large egg, making sure it’s at room temperature for easier mixing. Blend the egg into the mixture until fully combined, which should take about 1 minute. This step adds moisture and binds the cookie ingredients together, contributing to that perfect chewy texture you’ll love.
Step 5: Combine Dry Ingredients
Gradually add the all-purpose flour to your wet mixture, mixing on low speed to avoid flour spills. Continue blending just until the flour is incorporated—about 30 seconds. The dough should be slightly sticky and thick; be careful not to overmix, or your Classic Chocolate Chip Cookies may end up tough.
Step 6: Fold in Chocolate Chips
Gently fold in the semisweet chocolate chips using a spatula. If you’re considering optional add-ins like nuts or oats, now’s the time to mix those in as well. The goal is to evenly distribute the chocolate chips throughout the dough, ensuring every bite of your cookies is filled with rich chocolate goodness.
Step 7: Shape the Cookies
Using a cookie scoop or tablespoon, portion out the dough into balls (about 1¼ inches in diameter) and place them on your prepared baking sheets, leaving 2 inches between each ball. For an extra touch, sprinkle a bit of sea salt on top of each dough ball, enhancing the sweet and salty contrast in your Classic Chocolate Chip Cookies.
Step 8: Bake
Slide the baking sheets into the preheated oven and let your cookies bake for 11-12 minutes. Look for golden edges and lightly golden centers; the cookies will continue to firm up as they cool. This is the moment your kitchen fills with a delicious aroma, hinting at the warm treats coming soon!
Step 9: Cool the Cookies
Once baked, remove your cookies from the oven and let them cool on the baking sheets for about 5 minutes. This allows them to set before transferring them to a wire rack. Afterward, move the cookies to the rack to cool completely, ensuring they’re ready for enjoying or storing.
What to Serve with Classic Chocolate Chip Cookies
Nothing pairs better with freshly baked cookies than a little creativity—let’s elevate your snacking experience!
- Cold Glass of Milk: The classic duo! A chilled glass of milk balances the sweetness of the cookies and enhances their rich flavor.
- Chocolate Ice Cream: Indulge in a cookie a la mode by adding a scoop of creamy chocolate ice cream, creating a delightful contrast of textures.
- Fresh Berries: Serve with a side of juicy strawberries or raspberries for a burst of freshness that cuts through the sweetness. These fruity accents add a refreshing layer to your dessert experience!
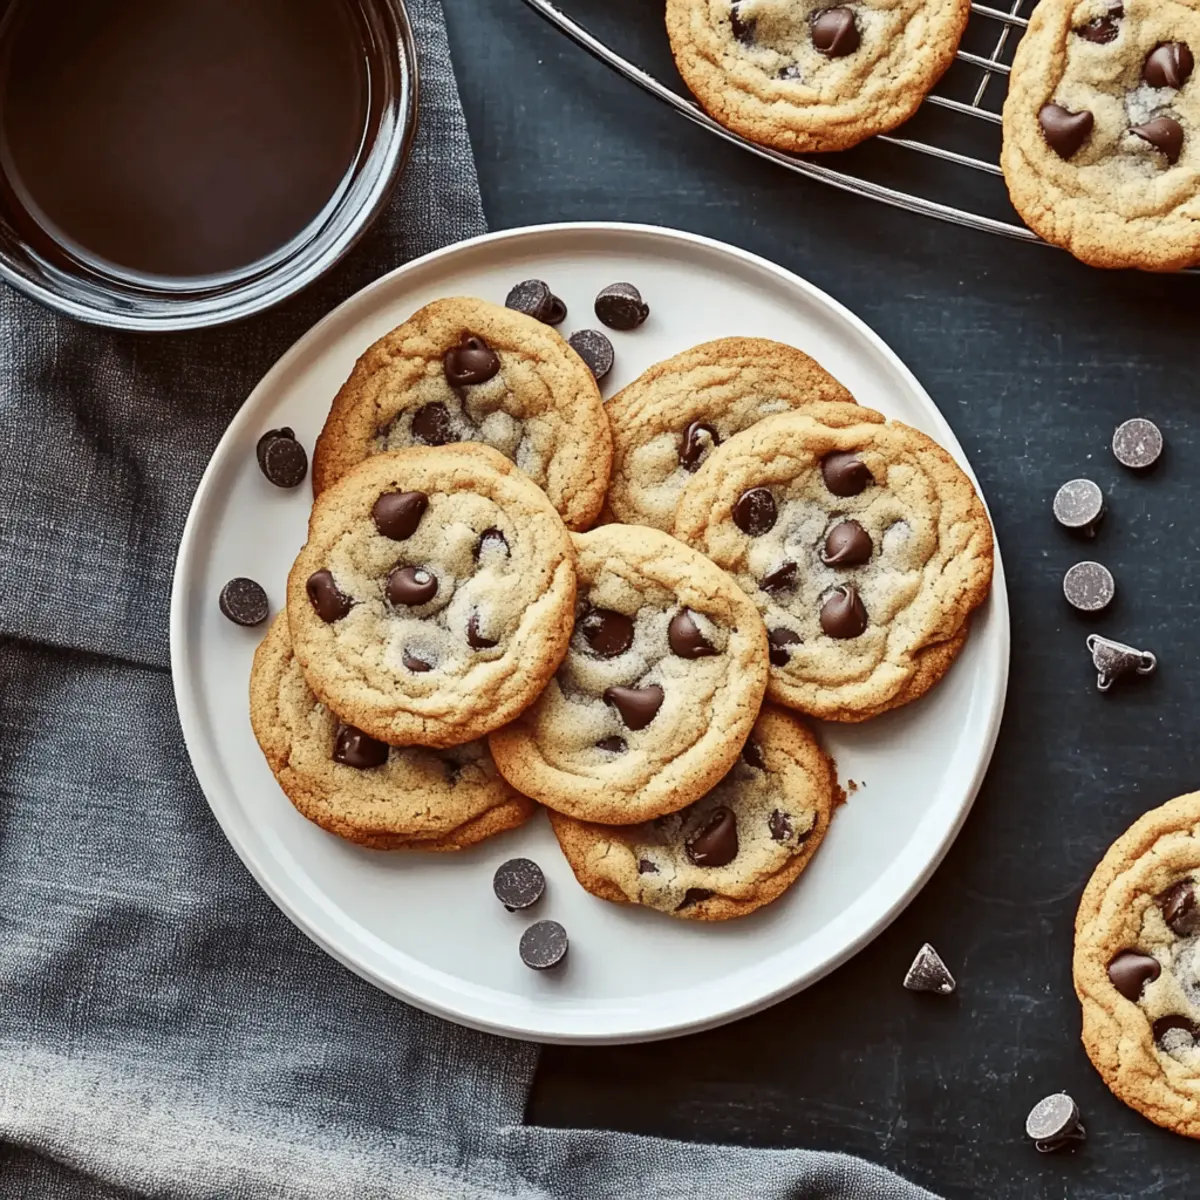
- Coffee or Espresso: Pair your cookies with a warm cup of coffee for a delightful afternoon treat—the bitterness beautifully complements the sweet cookie goodness.
- Nutty Trail Mix: If you’re feeling adventurous, try sprinkling some nutty trail mix over your cookies. The crunch adds an extra dimension of texture and flavor.
- Caramel Sauce: Drizzle warm caramel sauce over your cookies for a decadent finishing touch that elevates every bite. You’ll want to savor this sweet indulgence!
Storage Tips for Classic Chocolate Chip Cookies
Room Temperature: Store your Classic Chocolate Chip Cookies in an airtight container for up to 5 days to maintain their chewy texture and rich flavor.
Refrigerator: In humid climates, cookies can be kept in the fridge for up to 1 week; remember to bring them back to room temperature before enjoying.
Freezer: For longer storage, freeze the cookies in a single layer for up to 3 months. Thaw at room temperature before savoring their deliciousness.
Classic Chocolate Chip Cookies Variations & Substitutions
Feel free to unleash your creativity and elevate your cookie experience with these delightful twists!
- Gluten-Free: Substitute all-purpose flour with a gluten-free measure-for-measure flour blend for a delicious alternative that everyone can enjoy.
- Nutty Delight: Add 1 cup of chopped walnuts or pecans for an extra crunch and rich, buttery flavor that brings warmth and comfort to every bite.
- Oatmeal Twist: Mix in 1 cup of rolled oats for a heartier cookie; the wonderful texture creates a wholesome, cozy treat.
- Dark Chocolate: Use dark chocolate chips or chunks for a deeper chocolate flavor, making your cookies a more sophisticated indulgence.
- Almond Extract: Swap vanilla extract for almond extract to give a unique nutty aroma that blends beautifully with the chocolate.
- Spicy Kick: Add a pinch of cinnamon or a dash of chili powder for a surprising warmth that elevates the flavor profile.
- Caramel Chips: Replace semi-sweet chocolate chips with caramel chips for a gooey, sweet addition that’s perfect in every gooey bite.
- Double Chocolate: Increase the chocolate chips to 16 oz while replacing 1/4 cup of flour with cocoa powder for a rich, chocolatey twist that’s absolutely decadent.
As you explore these variations, don’t forget the unbeatable combination of warm cookies and a glass of cold milk. For something a little different, you might want to check out Birthday Cake Cookies or indulge in some Decadent Dark Chocolate for a delicious treat to share. Happy baking!
Make Ahead Options
These Classic Chocolate Chip Cookies are perfect for busy home cooks looking to save time without sacrificing flavor! You can prepare the cookie dough and refrigerate it for up to 48 hours before baking, allowing flavors to deepen and cookies to develop their chewy texture. Simply scoop the dough into balls, place them on a baking sheet lined with parchment, and cover tightly with plastic wrap or transfer to an airtight container. When you’re ready to bake, preheat your oven and bake the cookies directly from the fridge—no need to thaw! This way, you’ll enjoy fresh, homemade cookies with just a quick baking session, making dessert a delightful, stress-free experience.
Expert Tips for Classic Chocolate Chip Cookies
- Refrigerate Dough: Chilling the cookie dough for 24-48 hours deepens flavors and improves texture—don’t skip this step!
- Avoid Overmixing: Mix only until the flour is just incorporated; overmixing can lead to tough Classic Chocolate Chip Cookies.
- Check Baking Time: Keep an eye on your cookies; remove them when the edges start to turn golden and the centers are slightly soft.
- Use Room Temperature Eggs: This ensures smoother mixing and helps create that perfect chewy texture.
- Control Dough Spread: If cookies spread too much, ensure your butter isn’t too warm and measure the flour accurately; chilling the dough can help.
Classic Chocolate Chip Cookies Recipe FAQs
How do I choose the best chocolate chips for my cookies?
Absolutely! When selecting chocolate chips, opt for high-quality semisweet chocolate chips to balance sweetness with richness. If you’re feeling adventurous, try mixing in different varieties like milk, dark, or even white chocolate for added flavor complexity!
How can I store leftover cookies to keep them fresh?
Store your Classic Chocolate Chip Cookies in an airtight container at room temperature for up to 5 days. If you want to enjoy them longer, place them in the refrigerator for up to 1 week; just be sure to return them to room temperature before biting into their chewy goodness!
Can I freeze Classic Chocolate Chip Cookies?
Definitely! To freeze your cookies, arrange them in a single layer on a baking sheet and place them in the freezer until solid. Once frozen, transfer them to a resealable freezer bag or airtight container and store for up to 3 months. When you’re ready to indulge, let them thaw at room temperature, and they’ll be as delightful as fresh!
What should I do if my cookie dough is too sticky?
If your dough is too sticky, it may be due to warm butter or too much moisture. You can chill the dough for about 30 minutes to make it easier to handle. Also, ensure you’re measuring your flour correctly; using the spoon and level method can help prevent excess moisture.
Can I make these cookies gluten-free?
Very! To make gluten-free Classic Chocolate Chip Cookies, use a measure-for-measure gluten-free flour blend in place of all-purpose flour. This simple swap allows you to enjoy the same delightful taste and texture without compromising on flavor.
Are there any allergen considerations when making these cookies?
Absolutely! If you’re making these cookies for those with allergies, watch for common allergens like gluten, dairy, and nuts. You can make them dairy-free by substituting with coconut oil or a dairy-free butter alternative. Just remember to double-check the labels to ensure safety!
Classic Chocolate Chip Cookies That Melt in Your Mouth
Ingredients
Equipment
Method
- Preheat your oven to 375°F (190°C) and line your baking sheets with parchment paper or grease them.
- Combine the light brown sugar, granulated sugar, unsalted butter, and vegetable shortening in a large mixing bowl and mix until smooth and creamy.
- Mix in the table salt, vanilla extract, vinegar, and baking soda until well incorporated.
- Add the large egg and blend until fully combined.
- Gradually add the all-purpose flour, mixing on low speed just until incorporated.
- Fold in the semisweet chocolate chips and optional add-ins if desired.
- Portion out the dough into balls and place them on the baking sheets, leaving space between each.
- Bake for 11-12 minutes until edges are golden and centers are lightly golden.
- Cool on baking sheets for 5 minutes before transferring to a wire rack.