

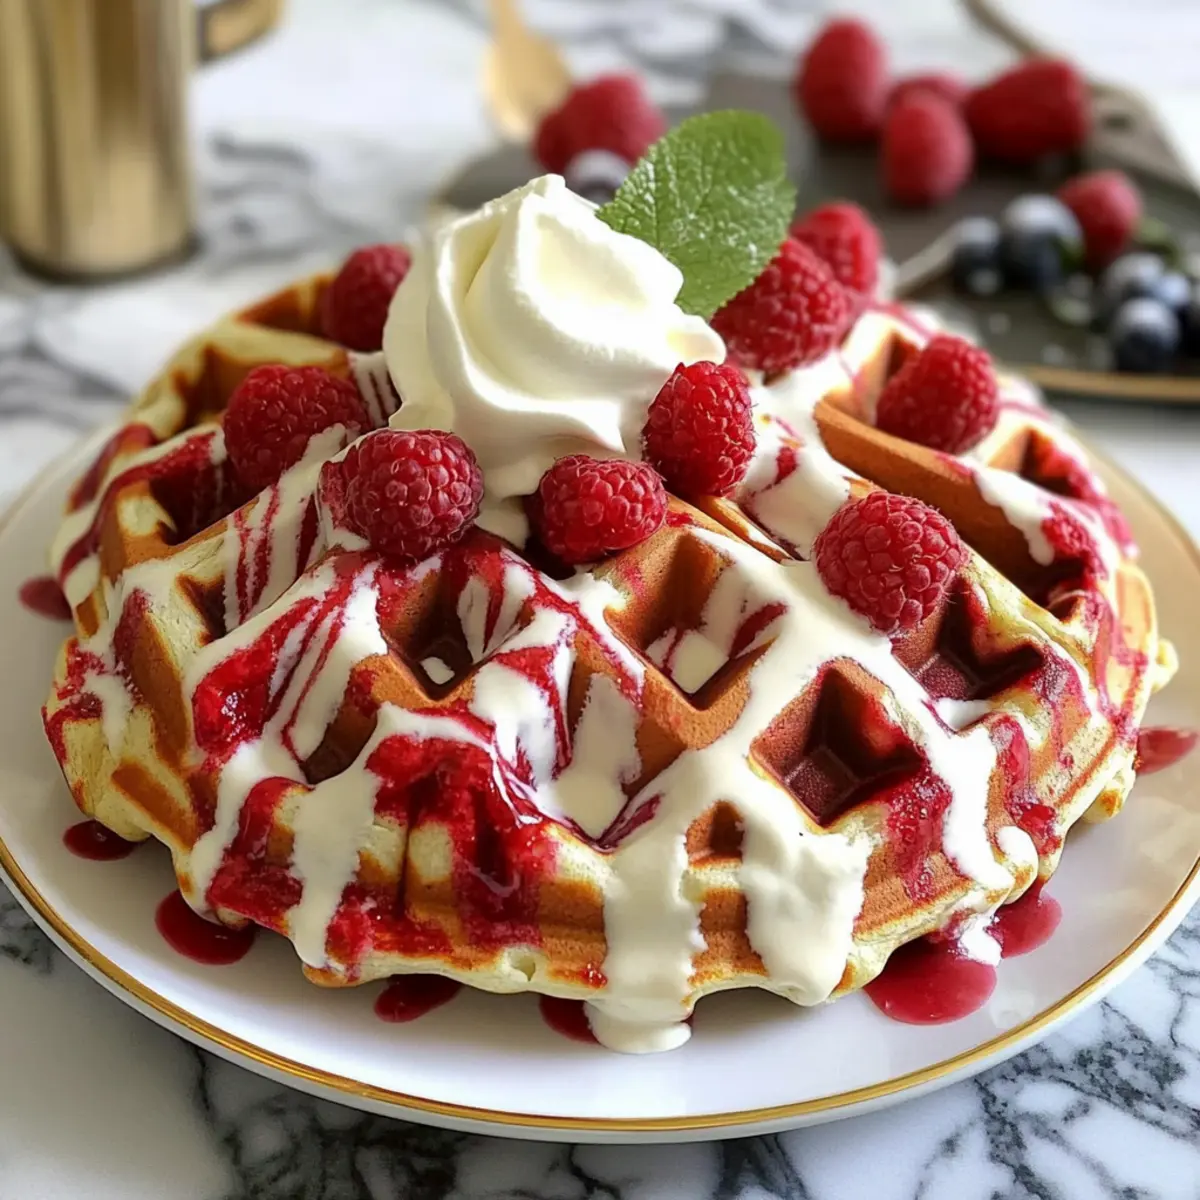
As I stood in my kitchen this morning, the aroma of buttery batter and cocoa filled the air, transforming it into a cozy haven. Enter the Red Velvet Marble Waffles: A Delightful Breakfast Treat, a perfect decadent yet light addition to our breakfast rotation. These waffles boast a gorgeous marbled design that’s an absolute feast for the eyes, making them a celebration for any brunch table. Plus, they strike the ideal balance—light and airy without being overly sweet, making them suitable for everyone, even those who shy away from red velvet. Not to mention, with simple prep, they’ll have you delighting in homemade goodness in no time. Ready to make breakfast a little more special? Let’s dive into creating these festive waffles!
Why Are These Waffles So Irresistible?
Simplicity in Preparation: The two batters come together effortlessly, making this a hassle-free way to elevate your breakfast.
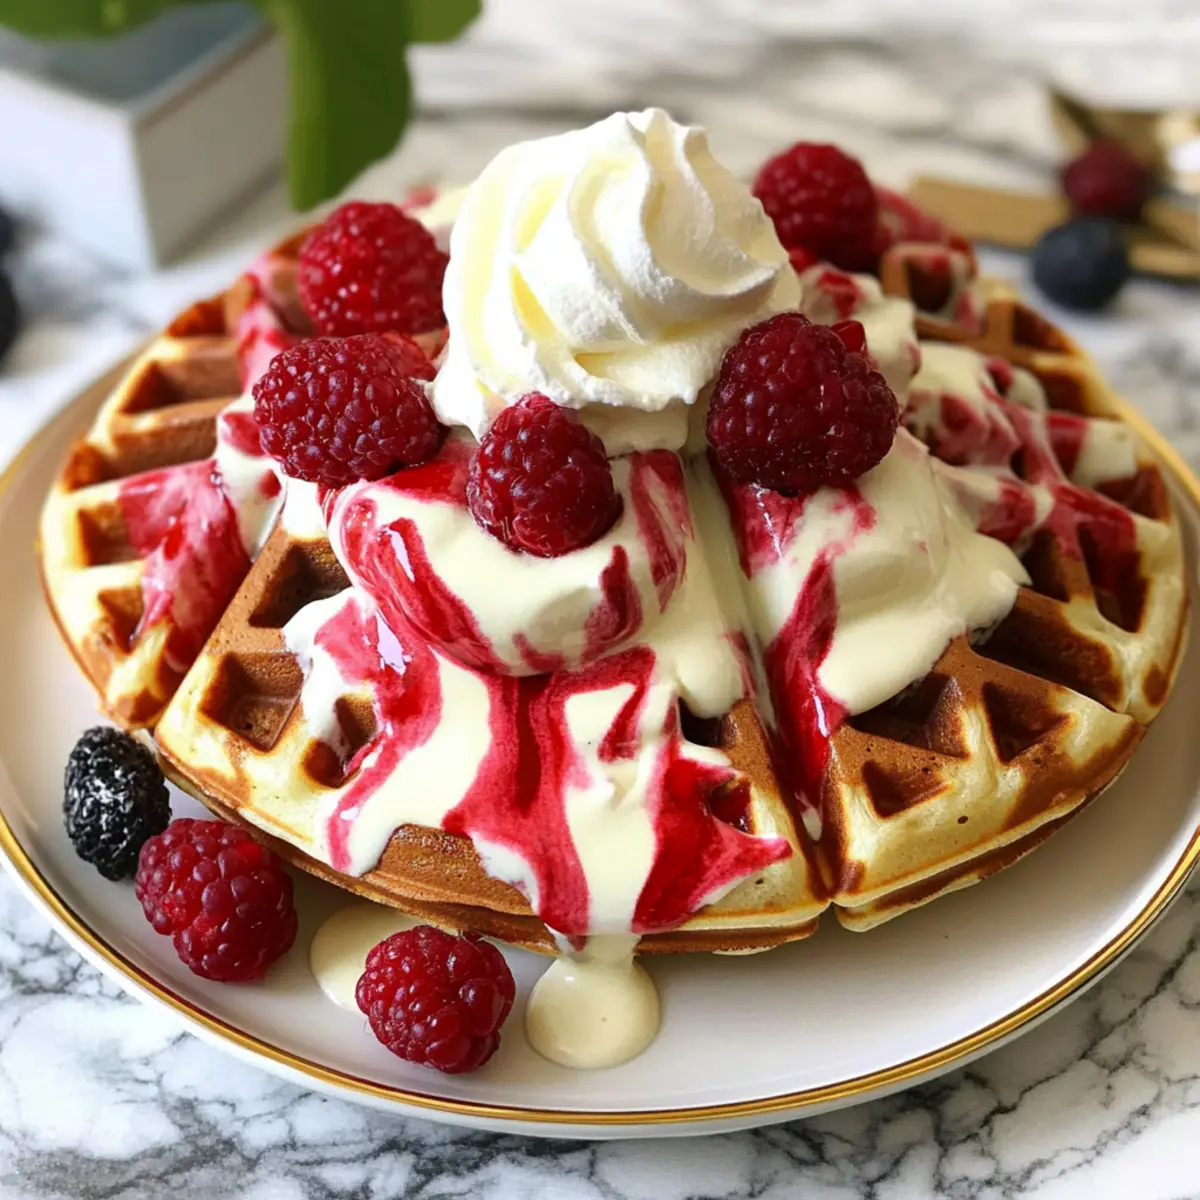
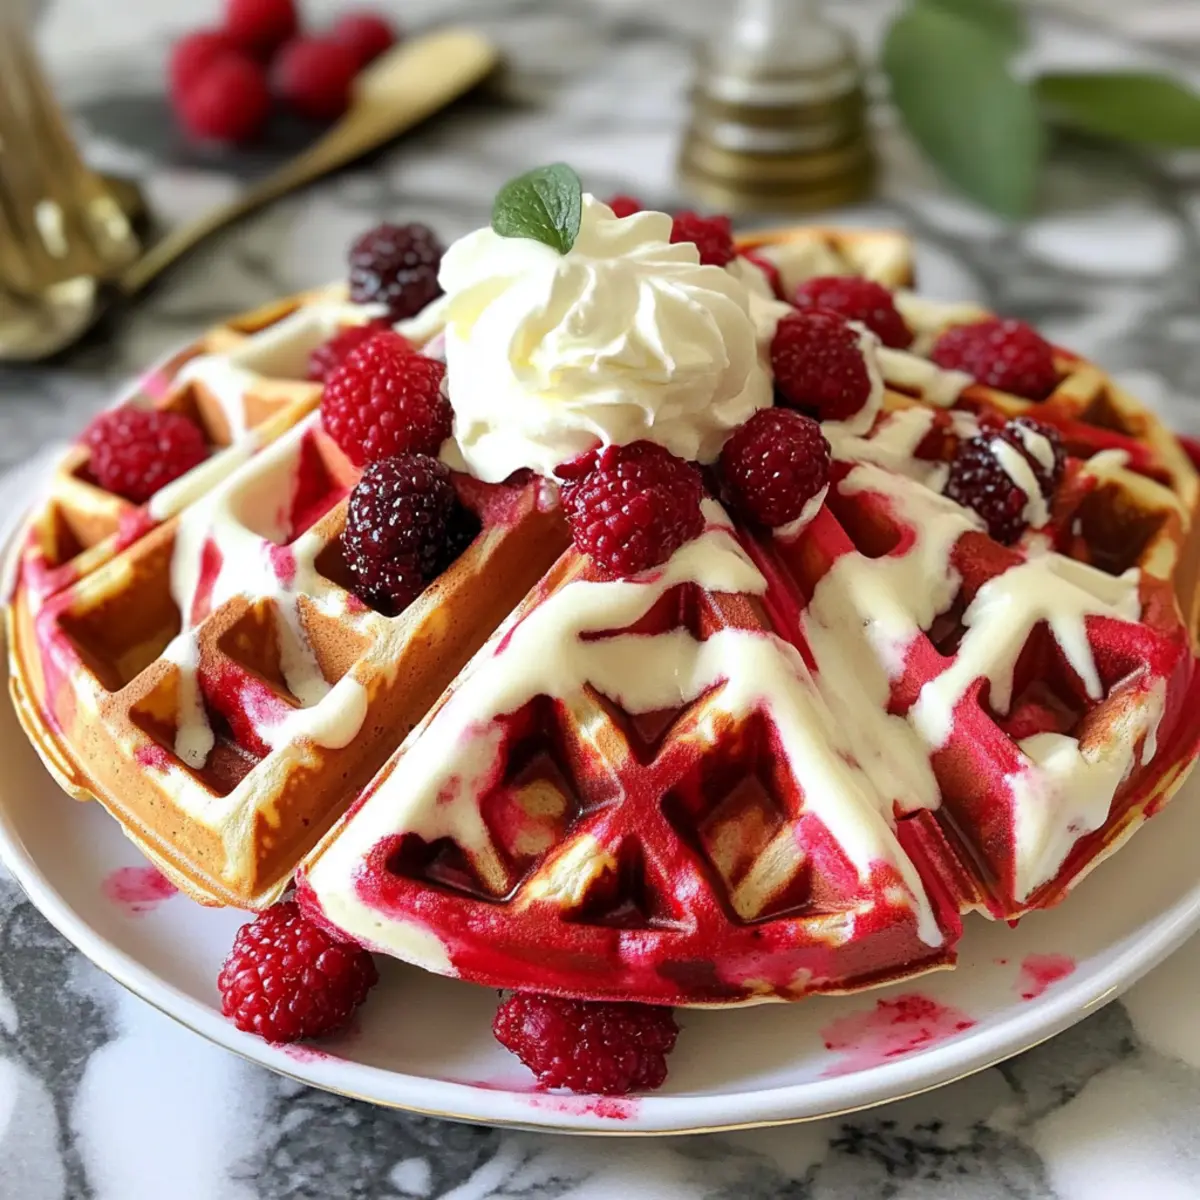
Stunning Presentation: The marbling effect is not only visually captivating but also opens up options for creative plating.
Light and Airy Delight: Each bite is fluffy and satisfying without being overly sweet, making it a perfect treat for all ages.
Endless Topping Possibilities: Serve with whipped cream, fresh berries, or even a drizzle of maple syrup for that extra flair.
Make-Ahead Friendly: Prepare batters the night before to enjoy a delicious breakfast with minimal morning effort.
Whether you’re looking to impress guests or simply treat yourself, these waffles promise to bring joy to your table! You might also enjoy our Sausage Hashbrown Breakfast for something savory or the delightful Red White Blue treat to complement your brunch spread.
Red Velvet Marble Waffle Ingredients
For the Classic Waffle Batter
- All-purpose flour – Provides structure to the waffles; you can substitute with whole wheat flour for a heartier option.
- Sugar – Adds sweetness to balance flavors; consider using coconut sugar for a healthier alternative.
- Baking powder – Acts as a leavening agent for fluffiness; can substitute with baking soda, but make sure to adjust the acid content accordingly.
- Baking soda – Enhances the rise and browning of the waffles; no direct substitute, but be mindful of other ingredients when adjusting.
- Salt – Balances sweetness; feel free to reduce for a low-sodium diet.
- Buttermilk – Adds moisture and a touch of tanginess; for a dairy-free version, substitute with milk and lemon juice (or oat milk plus vinegar).
- Eggs – Provides richness and binds the ingredients; use flax eggs as a vegan substitute for a delightful twist.
- Melted butter – Enhances flavor and moisture; coconut oil serves as a great dairy-free alternative.
- Vanilla extract – Brings aromatic sweetness to the mix; vanilla paste can enhance the flavor even more.
For the Red Velvet Batter
- Cocoa powder – Contributes to the distinctive red velvet flavor; feel free to adjust the amount for more or less chocolate intensity.
- Red food coloring – Ensures that classic red velvet look; if you prefer a non-dyed version, you can omit this ingredient.
These Red Velvet Marble Waffles are sure to become a delightful breakfast treat that everyone will love!
Step‑by‑Step Instructions for Red Velvet Marble Waffles: A Delightful Breakfast Treat
Step 1: Prepare Classic Waffle Batter
In a large mixing bowl, whisk together the all-purpose flour, sugar, baking powder, baking soda, and salt until combined. In a separate bowl, blend the buttermilk, eggs, melted butter, and vanilla extract. Gradually pour the wet mixture into the dry ingredients, stirring gently until just mixed, avoiding lumps. This classic batter is essential for the Red Velvet Marble Waffles, contributing to their fluffy texture.
Step 2: Prepare Red Velvet Batter
In another bowl, mix together the flour, cocoa powder, sugar, baking powder, baking soda, and salt for the red velvet batter. In a different bowl, combine the buttermilk, egg, melted butter, vanilla, and red food coloring. Gradually add the wet ingredients to the dry mixture, stirring gently until just combined. This beautifully colored red velvet batter adds richness to the marbled waffles.
Step 3: Preheat Waffle Iron
Preheat your waffle iron according to the manufacturer’s instructions, ensuring it reaches the recommended temperature for crispy waffles. Lightly greasing the plates with non-stick spray or melted butter can enhance the browning and prevent sticking. Waiting until it’s fully heated will ensure even cooking and a delightful texture for your Red Velvet Marble Waffles.
Step 4: Create the Marbled Effect
Once your waffle iron is preheated and ready, lightly grease it again. Pour alternating small amounts of the classic and red velvet batters onto the waffle plates. Using a toothpick or a skewer, gently swirl the two batters together to create a marbled effect. This step adds a delightful visual appeal to each waffle you’re making!
Step 5: Cook the Waffles
Close the waffle iron and cook the waffles as per the manufacturer’s guidelines, typically around 4-5 minutes, or until golden brown. Keep an eye on the color—golden and slightly crispy edges are what you’re aiming for. This ensures that the Red Velvet Marble Waffles are cooked through and ready to delight your senses.
Step 6: Serve Warm
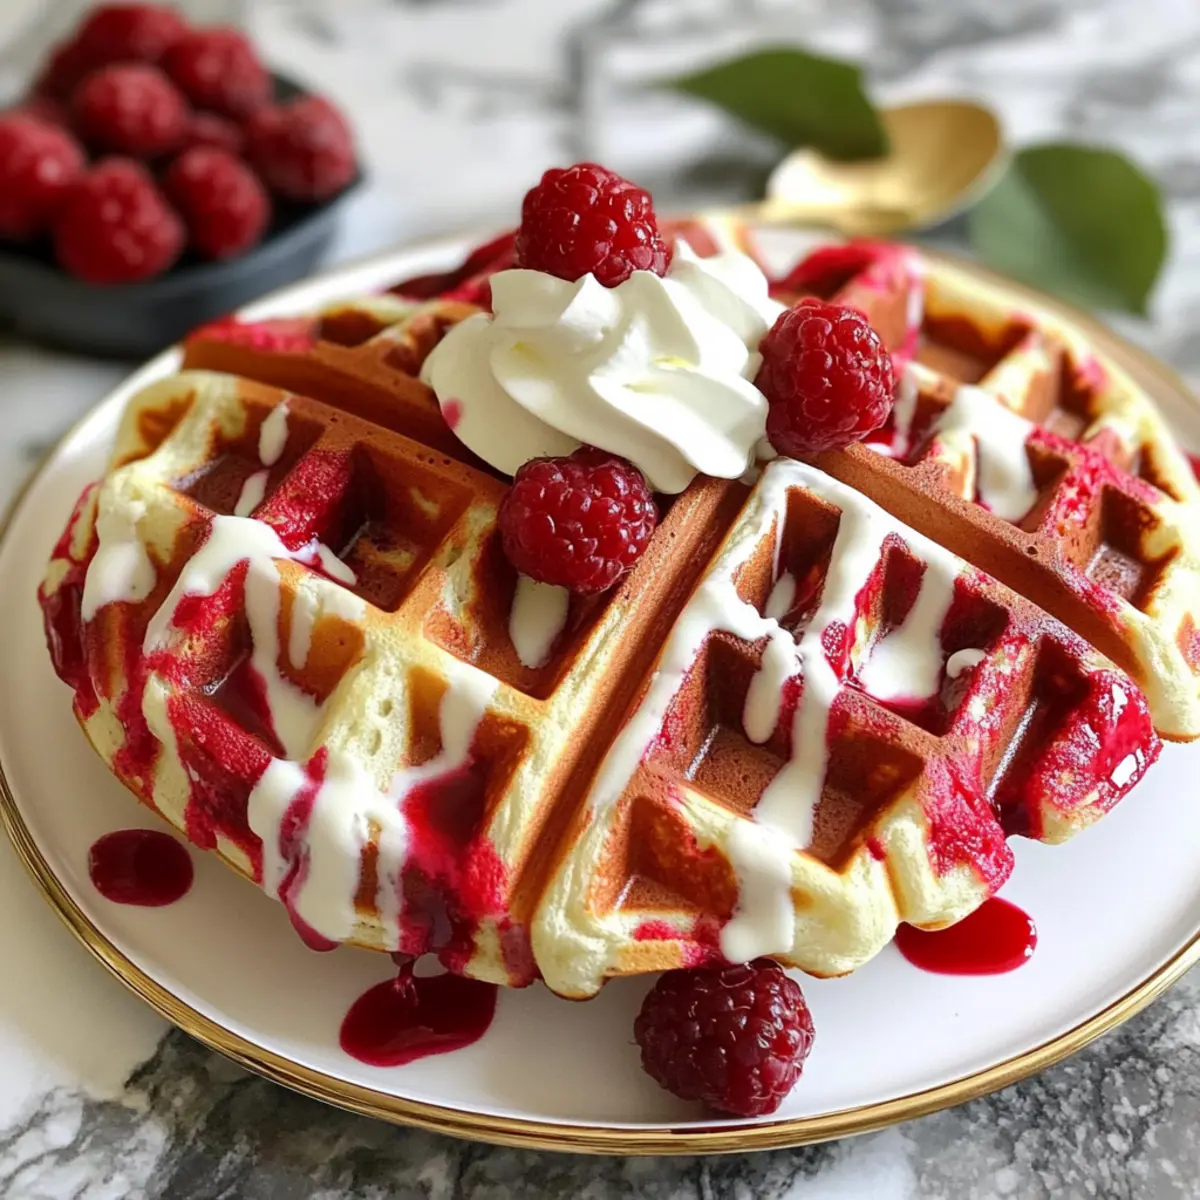
Carefully remove the waffles from the iron and serve immediately while warm. Top with your choice of whipped cream, fresh berries, or a drizzle of maple syrup. Each bite of these Red Velvet Marble Waffles promises a delightful breakfast experience, combining the rich flavors of red velvet with the fluffiness of classic waffles.
Red Velvet Marble Waffles: Customize Your Breakfast
Feel free to make this delightful recipe your own by exploring fun and tasty variations!
- Dairy-Free: Substitute buttermilk with almond milk and a splash of lemon juice for a creamy alternative.
- Gluten-Free: Use a 1:1 gluten-free flour blend in place of all-purpose flour for a similar texture.
- Chocolate Lovers: Increase the cocoa powder in the red velvet batter for an extra chocolatey experience.
- Nutty Flavor: Incorporate ground almonds or hazelnuts into the batter to add a delightful crunch and earthy taste.
- Spice It Up: A pinch of cinnamon or nutmeg can create a warm, comforting flavor profile, perfect for cozy mornings.
- Fruit Infusion: Add chopped strawberries or blueberries to the classic batter for a fruity twist that makes every bite special.
- Health Boost: Swap regular sugar for coconut sugar or maple syrup to give your waffles a healthier sweetness.
- Festive Touch: Use festive red and white sprinkles on top as a fun garnish, especially for birthday breakfasts or holiday brunches.
Whether you want to indulge in something special or add a nutritious twist, these suggestions will help you create a breakfast masterpiece that suits your taste. If you’re in the mood for something savory, you might also enjoy making a Sausage Hashbrown Breakfast on the side or treat yourself to Red White Blue snacks later in the day!
Make Ahead Options
These Red Velvet Marble Waffles are perfect for busy mornings or special brunches! You can prepare both batters up to 24 hours in advance. Simply mix the classic waffle batter and red velvet batter separately, and store them in airtight containers in the refrigerator. To maintain their light and airy texture, make sure to cover them well to prevent drying out or absorbing any unwanted odors. When you’re ready to enjoy, simply re-preheat your waffle iron and pour the batters into the iron, creating the marbled effect. In just a few minutes, you’ll have fresh, delicious waffles that look stunning and taste even better—saving you precious morning time while delighting your family!
Storage Tips for Red Velvet Marble Waffles
Room Temperature: Store leftover waffles in a cool, dry place for up to 2 hours. If they are not consumed, transfer them to the fridge for longer freshness.
Fridge: Place cooled waffles in an airtight container in the refrigerator, where they can stay fresh for up to 3 days. For best results, separate with parchment paper to prevent sticking.
Freezer: If you want to keep them longer, freeze the waffles in a single layer on a baking sheet, then transfer to a freezer bag for up to 2 months. Reheat directly from frozen, following the reheating tips.
Reheating: For crispy results, toast the waffles in a toaster or a toaster oven. This enhances the texture and warmth, making them as delightful as when freshly made! Enjoy your Red Velvet Marble Waffles anytime!
What to Serve with Red Velvet Marble Waffles
Imagine a breakfast that not only tantalizes your taste buds but also invites you to savor every moment spent around the table!
- Whipped Cream: A dollop of airy whipped cream enhances the waffles’ lightness and adds a touch of sweetness that complements their flavors.
- Fresh Berries: Juicy strawberries, blueberries, or raspberries bring a refreshing burst to every bite while adding vibrant color to your plate.
- Maple Syrup: Drizzling warm, rich maple syrup adds a delightful sweetness that harmonizes perfectly with the fluffy texture of these waffles.
- Crispy Bacon: The savory crunch of crispy bacon provides a satisfying contrast to the sweet, airy waffles—perfect for balancing flavors at brunch.
- Scrambled Eggs: Fluffy scrambled eggs create a lovely, protein-packed pairing that rounds out your breakfast spread beautifully.
- Fruit Salad: A light and refreshing fruit salad serves as a bright side that adds freshness and a healthy vibe to your brunch table.
- Cinnamon Sugar Dusting: A sprinkle of cinnamon sugar elevates the sweetness without overpowering the delicate flavors, leaving you craving more!
- Iced Coffee: Pair with a cold brew for a refreshing drink option that awakens your senses and complements the sweet notes of the waffles.
- Sparkling Water: Serve with lemon-infused sparkling water to cleanse the palate between bites, a light and hydrating choice.
- Chocolate Drizzle: A light drizzle of melted chocolate can turn your decadent breakfast into an indulgent treat, satisfying any sweet tooth.
Expert Tips for Red Velvet Marble Waffles
-
Avoid Overmixing: Gently mix your batters until just combined to maintain the fluffy texture crucial for these Red Velvet Marble Waffles.
-
Preheat Properly: Ensure your waffle iron reaches the right temperature before cooking; this helps achieve a crispy exterior while keeping the inside airy.
-
Swirling Technique: Use a toothpick to marinate the batters slightly; too much swirling can muddle the vibrant red and classic colors.
-
Check Cooking Time: Keep a close eye on your waffles while they cook—golden brown is the sweet spot for that perfect crunch!
-
Make-Ahead Convenience: Prepare your batters the night before and store them in separate covered containers. This saves you time and allows for a quick breakfast.
Red Velvet Marble Waffles Recipe FAQs
What type of buttermilk should I use?
I recommend using regular buttermilk for the best flavor and texture. However, you can create a quick substitute by mixing milk with a tablespoon of lemon juice or vinegar. Let it sit for about 5 minutes before using. For a dairy-free option, oat milk combined with vinegar works well!
How should I store leftover waffles?
Store any leftover Red Velvet Marble Waffles in an airtight container in the refrigerator. They’ll stay fresh for up to 3 days. For the best texture when reheating, I suggest using a toaster rather than a microwave, as it will keep them crispy.
Can I freeze these waffles?
Absolutely! To freeze, allow the waffles to cool completely, then place them in a single layer on a baking sheet for about an hour. Once they’re frozen, transfer them to a freezer bag or container. They can be stored for up to 2 months! To reheat, pop them directly in the toaster or oven until heated through.
What if my batter is too thick?
If you find that your batter is too thick, simply add a little bit of milk (about 1 tablespoon at a time) until you reach the desired consistency. Each batter should be pourable but still thick enough to hold its shape on the waffle iron.
Are there any dietary modifications I should consider?
Yes! For a vegan version, use flax eggs instead of regular eggs and substitute dairy with appropriate plant-based alternatives, such as almond milk or soy milk combined with vinegar for buttermilk. Additionally, you can adjust sugar levels according to your dietary needs, using stevia or coconut sugar as alternatives.
How do I achieve the perfect marbled effect?
To create the stunning marbled look, pour alternating spoonfuls of each batter onto the preheated waffle iron. Then, gently swirl with a toothpick or skewer—be careful not to overmix, or the colors may blend too much. Aim for a beautiful, defined marbled design!
Red Velvet Marble Waffles: A Delightful Breakfast Treat You’ll Love
Ingredients
Equipment
Method
- In a large mixing bowl, whisk together the all-purpose flour, sugar, baking powder, baking soda, and salt until combined.
- In a separate bowl, blend the buttermilk, eggs, melted butter, and vanilla extract.
- Gradually pour the wet mixture into the dry ingredients, stirring gently until just mixed.
- In another bowl, mix together the flour, cocoa powder, sugar, baking powder, baking soda, and salt for the red velvet batter.
- Combine the buttermilk, egg, melted butter, vanilla, and red food coloring, then add to the dry mixture.
- Preheat your waffle iron according to the manufacturer’s instructions.
- Pour alternating small amounts of the classic and red velvet batters onto the waffle plates.
- Using a toothpick or a skewer, gently swirl the two batters together to create a marbled effect.
- Cook the waffles as per the manufacturer’s guidelines, typically around 4-5 minutes, or until golden brown.
- Carefully remove the waffles from the iron and serve immediately while warm.
- Top with whipped cream, fresh berries, or maple syrup.