

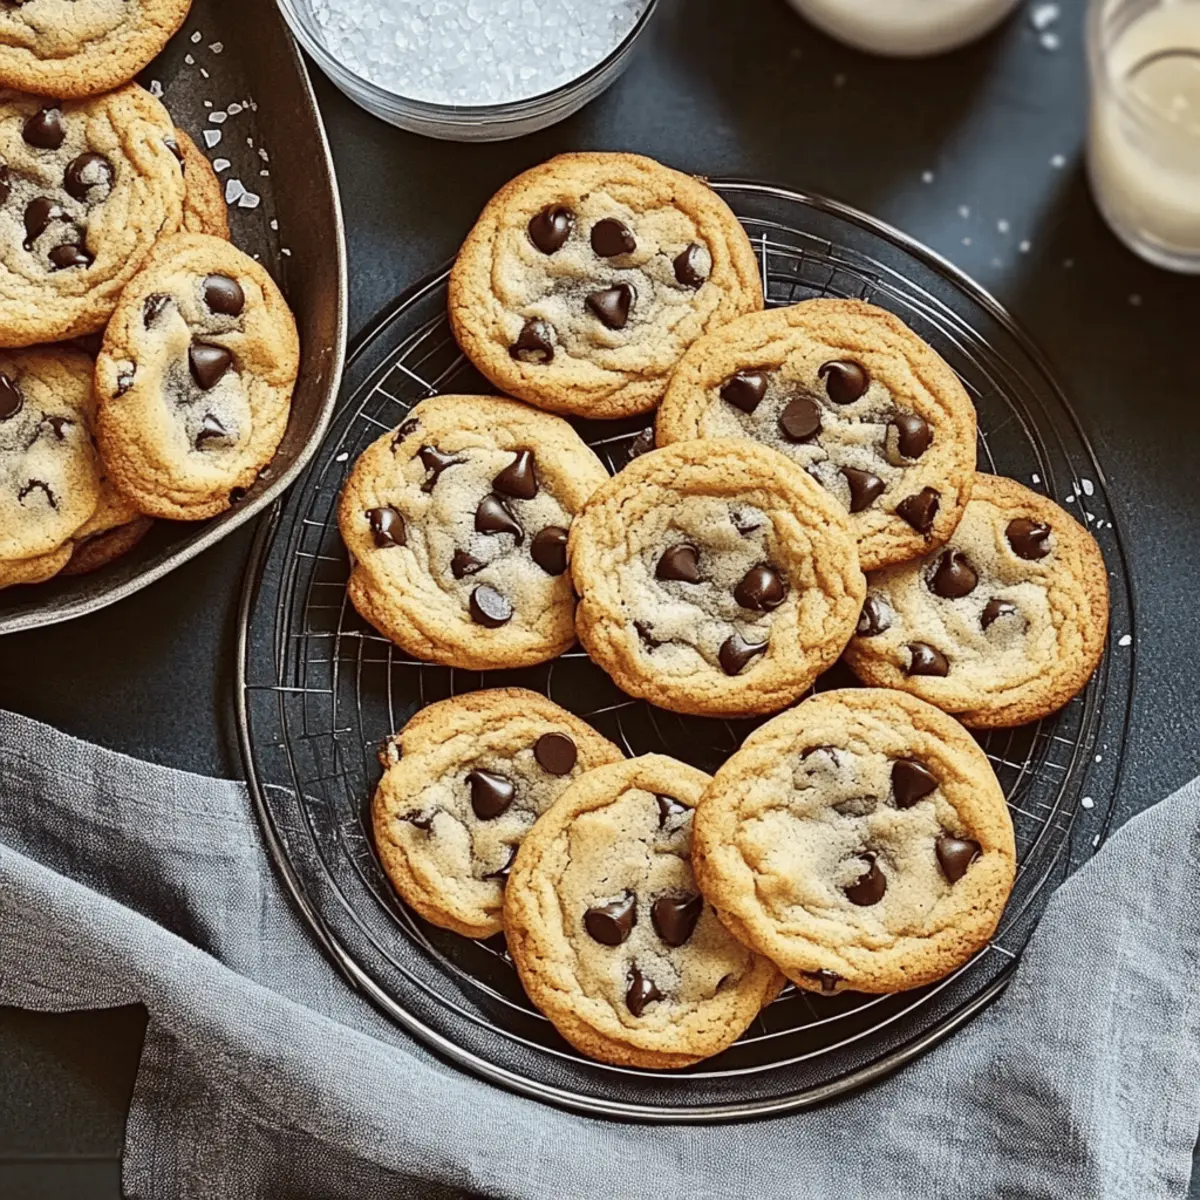
The moment I pulled my Classic Chocolate Chip Cookies from the oven, the intoxicating aroma enveloped my kitchen like a warm hug. Each cookie, with its perfectly golden edges and soft, chewy centers, promised a delightful chocolate experience that would awaken fond memories of childhood baking marathons. These cookies are not only incredibly satisfying to make—with straightforward ingredients and a quick prep time—but they also serve as a timeless crowd-pleaser for gatherings or cozy nights in. Plus, for those navigating gluten sensitivities, a simple swap to Measure for Measure Flour makes them accessible for everyone. Ready to fill your home with delicious smells and create sweet moments? Let’s dive into this classic recipe together!
Why Make Classic Chocolate Chip Cookies?
Irresistible aroma fills your home, making it impossible not to crave a treat. Perfect texture combines crispy edges with a soft, chewy center that melts in your mouth. Quick and simple recipe, so you can whip these up anytime—ideal for busy weeknights or last-minute gatherings. Customizable options let you add nuts or even mix in oatmeal for a delightful twist. Plus, gluten-free adaptability using Measure for Measure Flour ensures everyone can enjoy these beloved cookies. Experience baking at its finest, and bring the joy of homemade cookies to your kitchen!
Classic Chocolate Chip Cookie Ingredients
-
For the Cookie Base
-
Light Brown Sugar – Adds sweetness and moisture; dark brown sugar can be used for a richer flavor.
-
Granulated Sugar – Provides the right sweetness and structure; no substitution recommended.
-
Unsalted Butter – Contributes creaminess and flavor; reduce salt by 1/4 teaspoon if using salted butter.
-
Vegetable Shortening – Helps create a tender cookie texture; substitute with additional butter if desired.
-
Table Salt – Enhances sweetness and balances flavors; cut down if using salted butter.
-
Vanilla Extract – Offers aromatic flavor; both pure and imitation varieties work well—almond extract adds a unique twist.
-
Vinegar – Reacts with baking soda for leavening; lemon juice can substitute for similar results.
-
Baking Soda – Key for chewiness; always check for freshness for optimal rise.
-
Large Egg – Acts as a binder and provides moisture; use at room temperature for better blending.
-
All-Purpose Flour – Forms the cookie structure; gluten-free Measure for Measure Flour works as a perfect substitute.
-
Semisweet Chocolate Chips – Infuses cookies with sweetness; increase to 16 oz for double chocolate delight.
-
Optional Extras
-
Nuts (Walnuts or Pecans) – Adds crunch and extra texture for a delightful surprise.
-
Rolled Oats – Mix in 1 cup for a heartier cookie with a unique oatmeal twist.
Dive into the joy of baking these Classic Chocolate Chip Cookies and create a cherished moment in your kitchen!
Step‑by‑Step Instructions for Classic Chocolate Chip Cookies
Step 1: Preheat and Prep
Begin by preheating your oven to 375°F (190°C). While it heats, prepare two baking sheets by lining them with parchment paper or lightly greasing them. This essential step ensures your Classic Chocolate Chip Cookies won’t stick and will bake evenly, allowing for the perfect texture with golden edges and soft centers.
Step 2: Cream the Sugars and Butter
In a large mixing bowl, combine the light brown sugar, granulated sugar, unsalted butter, and vegetable shortening. Using an electric mixer, beat the mixture on medium speed until it is smooth and creamy—about 2-3 minutes. The goal here is to incorporate air for those delightful chewy cookie centers, creating a rich base for your Classic Chocolate Chip Cookies.
Step 3: Add Flavorings
Next, add the table salt, vanilla extract, vinegar, and baking soda to the creamed mixture. Continue mixing on low speed until everything is well combined. You should smell the aromatic vanilla, which will contribute to the deliciousness of the cookies. This step is key to ensuring that your Classic Chocolate Chip Cookies have plenty of flavor.
Step 4: Incorporate the Egg
Now, crack a large egg into the mixture, ensuring it’s at room temperature for optimal blending. Mix on low speed until the egg is fully incorporated—about 1 minute. This enriches the dough and helps bind the ingredients together, ensuring your Classic Chocolate Chip Cookies have a moist interior.
Step 5: Blend in the Flour
Slowly add the all-purpose flour to the bowl on low speed, mixing until just combined. This part is important—overmixing can lead to tough cookies. Aim for a dough that is slightly sticky yet holds together well. Feel free to use Measure for Measure Flour for a gluten-free version of these Classic Chocolate Chip Cookies.
Step 6: Fold in the Chocolate Chips
Once the flour is integrated, gently fold in the semisweet chocolate chips using a spatula or wooden spoon. This ensures even distribution without overworking the dough. The chocolate chips will melt slightly during baking, creating pockets of delicious chocolate in your Classic Chocolate Chip Cookies.
Step 7: Scoop the Dough
Using a cookie scoop or a tablespoon, drop rounded dough balls about 1¼ inches in diameter onto the prepared baking sheets, spacing them at least 2 inches apart. Optionally sprinkle a pinch of sea salt on top of each dough ball for an extra flavor kick. The spacing allows the cookies to spread perfectly while baking.
Step 8: Bake to Perfection
Place the baking sheets in the preheated oven and bake for 11-12 minutes. Keep an eye on them—the cookies are done when the edges turn chestnut brown, while the centers remain light golden. This is the sweet spot for your Classic Chocolate Chip Cookies to achieve that ideal chewy texture.
Step 9: Cool and Enjoy
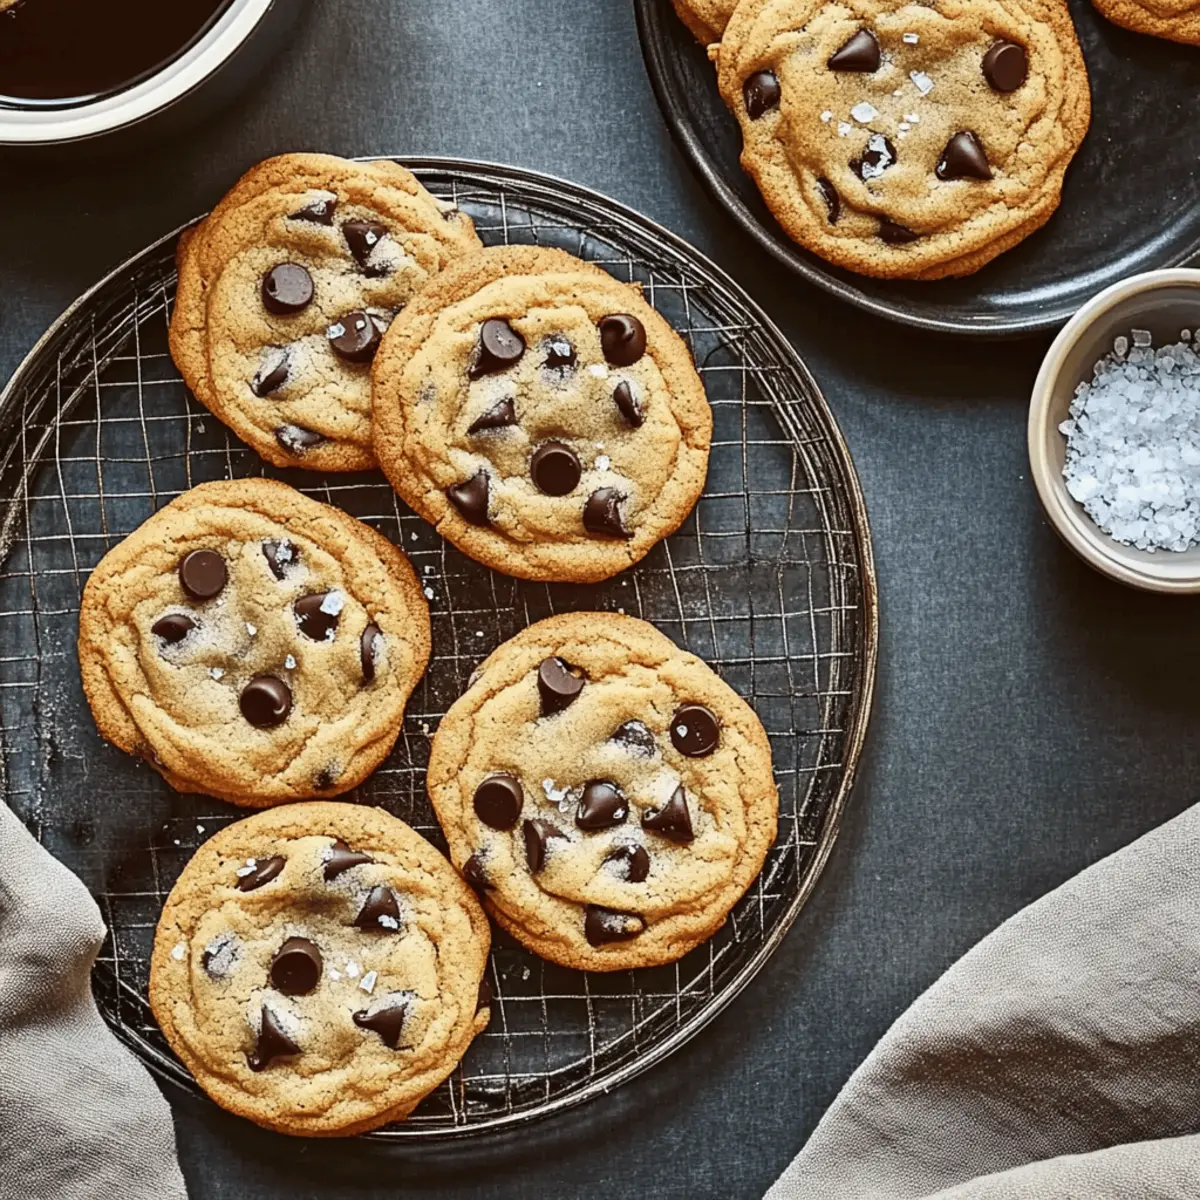
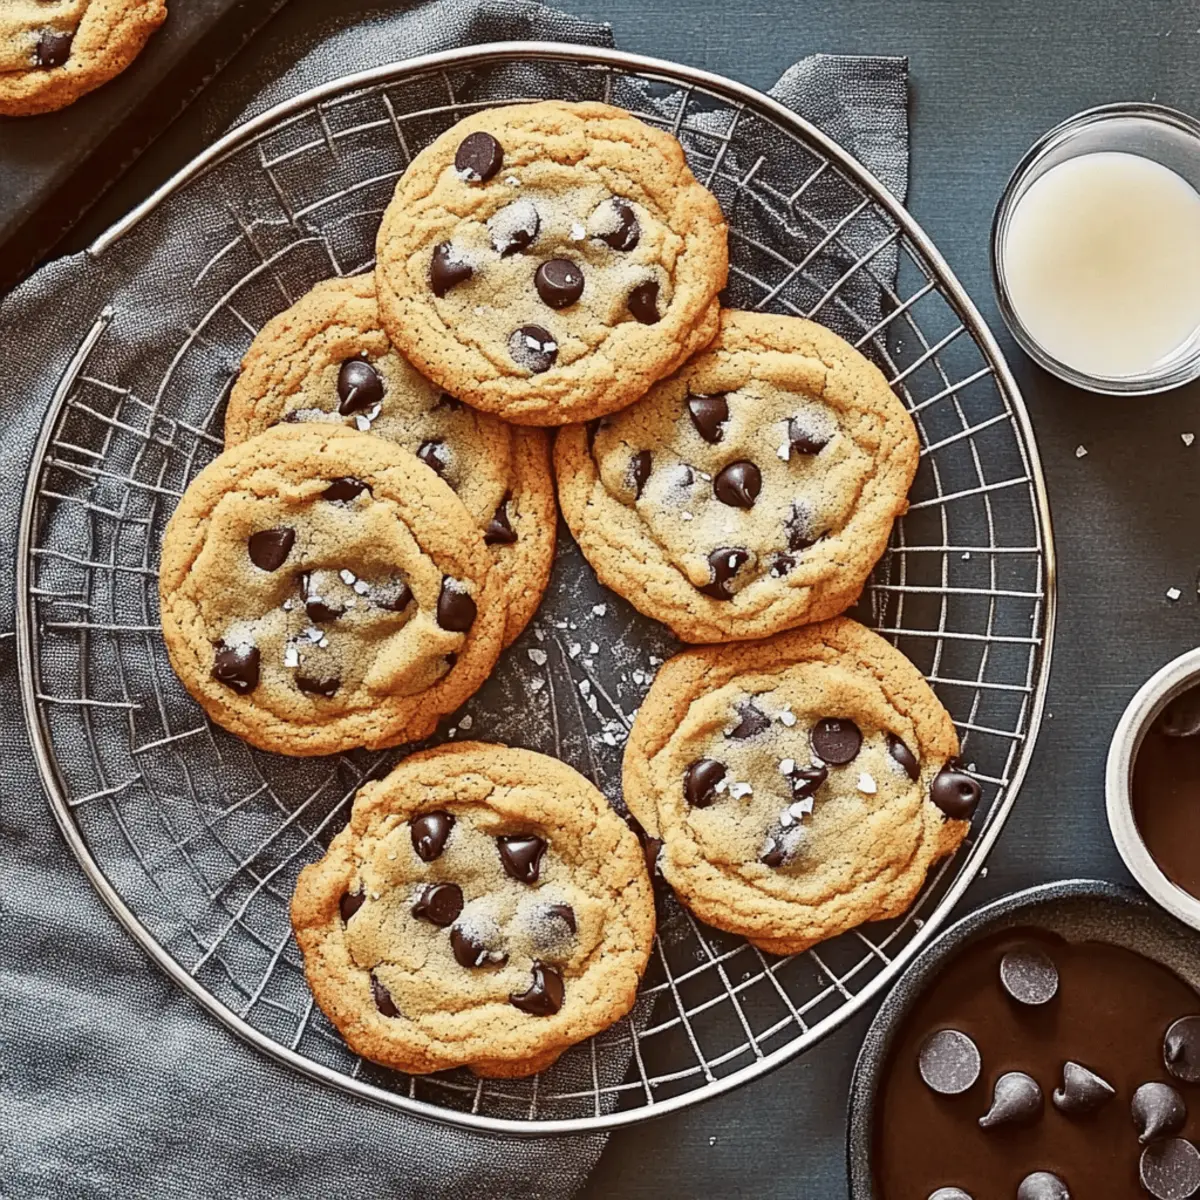
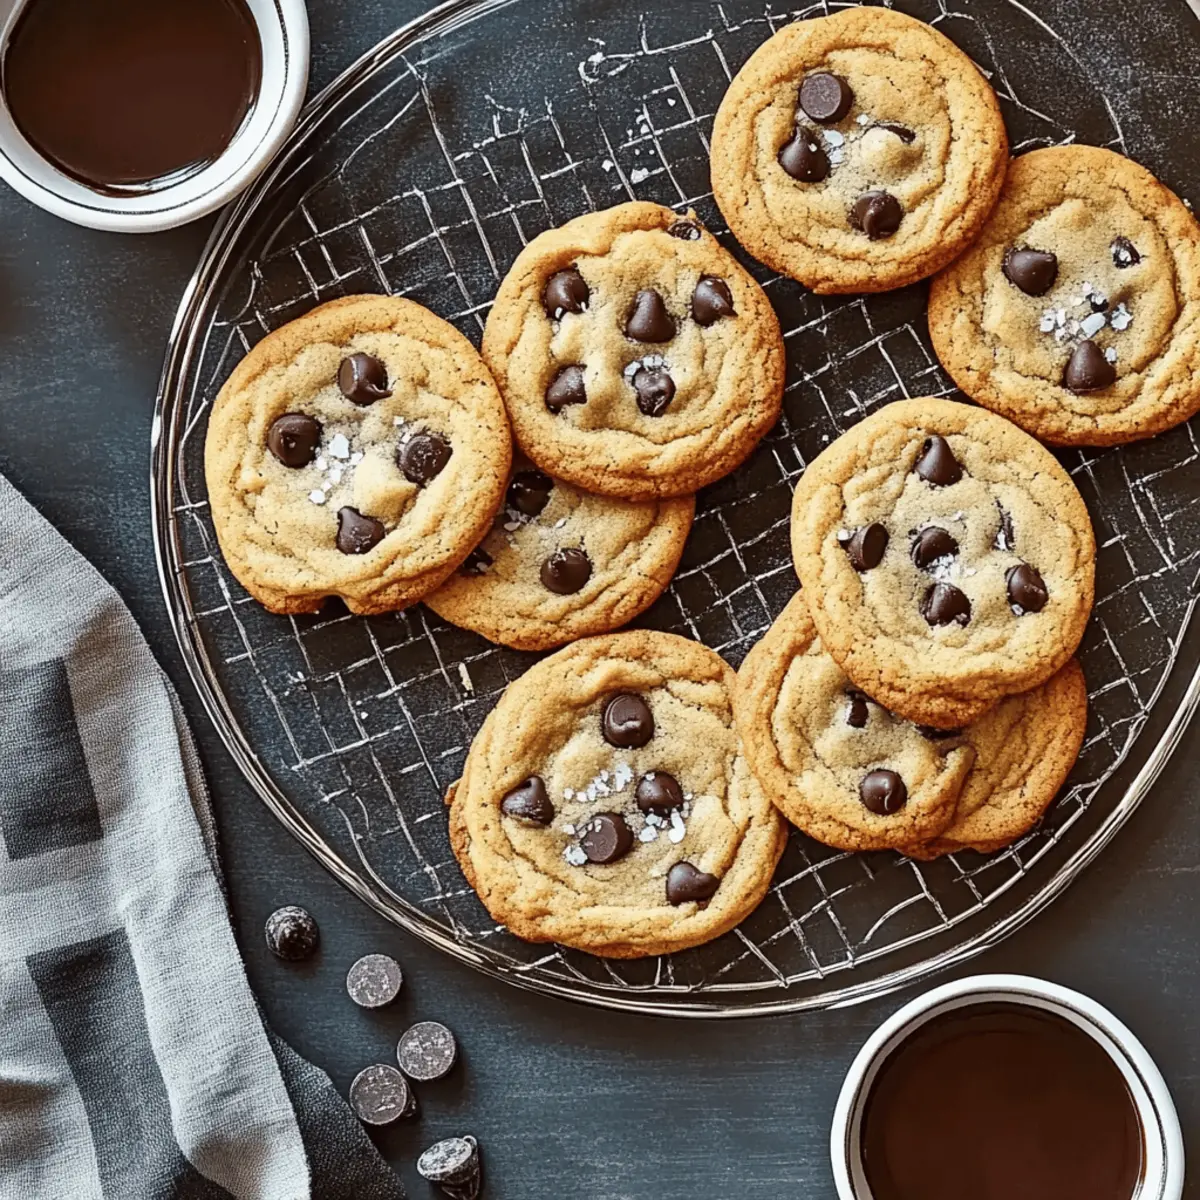
Remove the baking sheets from the oven and let the cookies cool for a few minutes on the sheet. Then, transfer the slightly warm cookies to a wire rack to cool completely. This step is crucial as it allows the cookies to set, ensuring the perfect blend of crispiness and chewiness in every bite of your Classic Chocolate Chip Cookies.
What to Serve with Classic Chocolate Chip Cookies
Indulging in warm, freshly baked cookies will surely entice your taste buds, and pairing them with the right companions can elevate your dessert experience.
-
Cold Milk: A classic choice that enhances the chocolate flavor and provides a creamy contrast to the sweet, chewy cookies.
-
Vanilla Ice Cream: Serve a scoop alongside the cookies; the cold creaminess beautifully complements the warm, chewy texture.
-
Fresh Berries: Strawberries or raspberries add a refreshing, tangy element to balance the sweetness of the cookies. Place them on the side for a delightful burst of flavor.
-
Coffee or Espresso: The deep, rich notes of coffee pair perfectly with chocolate, making each bite even more satisfying as you sip away.
-
Chocolate Sauce: Drizzle warm chocolate sauce on or over the cookies for an extra indulgent treat that chocolate lovers can’t resist.
-
Homemade Whipped Cream: A dollop of lightly sweetened whipped cream can add a fluffy texture that contrasts nicely with the dense cookie.
-
Nutty Trail Mix: A subtle crunch from a homemade nutty trail mix can introduce unexpected flavors and textures, making each bite an adventure.
-
Caramel Sauce: Dip or drizzle caramel sauce for an irresistible sweet-and-salty twist on your classic chocolate chip treat.
-
Chai Latte: The warm spices of a chai latte and the soft sweetness of cookies create a comforting pairing, perfect for cozy evenings.
Expert Tips for Classic Chocolate Chip Cookies
-
Chill the Dough: For enhanced flavor and texture, refrigerate cookie dough for 24-48 hours before baking. This allows the sugars to deepen in flavor.
-
Mixing Caution: Avoid overmixing after adding flour, as this can lead to tough cookies. Blend just until combined for a soft and chewy result.
-
Baking Timing: Keep an eye on the cookies as they bake; edges should be golden while centers remain slightly soft. They will continue to set after cooling.
-
Spacing Matters: Ensure dough balls are spaced 2 inches apart on the baking sheets. This allows the Classic Chocolate Chip Cookies to spread properly.
-
Try Different Chips: Experiment by substituting semisweet chocolate chips with milk or dark chocolate for varied sweetness levels.
Classic Chocolate Chip Cookies Customization
Feel free to make these Classic Chocolate Chip Cookies your own—let your kitchen creativity shine!
- Gluten-Free Option: Use Measure for Measure Flour to make these cookies gluten-free without sacrificing taste or texture.
- Chocolate Variety: Replace semisweet chocolate chips with milk or dark chocolate for different sweetness levels and richness.
- Flavor Boost: Add a teaspoon of espresso powder to the dough for an unexpected depth of flavor that enhances the chocolate.
- Nutty Crunch: Fold in chopped walnuts or pecans for added crunch and a delightful textural contrast with the chewy centers.
- Oatmeal Twist: Incorporate 1 cup of rolled oats for a hearty oatmeal version, perfect for breakfast or snacking.
- Spice It Up: Mix in a teaspoon of cinnamon for a warm, cozy undertone to your cookies, reminiscent of a bakery’s best treats.
- Heat Level: Add a pinch of cayenne pepper for a unique sweet-spicy twist that will surprise your taste buds.
- Double Chocolate Delight: Increase the chocolate chips to 16 oz, or swap in chunks of chocolate for a luscious double chocolate experience.
Looking for more delicious ideas? Try these delightful Chocolate Chip Oatmeal or Decadent Dark Chocolate treats for your next baking adventure!
How to Store and Freeze Classic Chocolate Chip Cookies
-
Room Temperature: Keep your cookies in an airtight container at room temperature for up to 5 days. This helps maintain their chewy texture and delightful flavor.
-
Fridge: If you live in a humid environment, refrigerate the cookies in an airtight container for up to a week to prevent sogginess.
-
Freezer: For long-term storage, freeze cookie dough balls for up to 3 months. You can bake them straight from the freezer—no thawing needed!
-
Reheating: To revive your cookies, warm them in the oven at 350°F for a few minutes, allowing the chocolate to soften beautifully and the cookies to regain their irresistible chewiness.
Make Ahead Options
Classic Chocolate Chip Cookies are perfect for busy home cooks looking to save time! You can prepare the cookie dough up to 24 hours in advance; simply scoop the dough onto parchment-lined baking sheets and cover them tightly with plastic wrap. For even longer storage, freeze the unbaked cookie dough balls for up to 3 months. When you’re ready to enjoy fresh cookies, bake them straight from the freezer—just add a couple of extra minutes to the baking time. By pre-prepping, you’ll always have decadent Classic Chocolate Chip Cookies at your fingertips, ready to satisfy sweet cravings without all the last-minute fuss!
Classic Chocolate Chip Cookies Recipe FAQs
How do I choose ripe ingredients for Classic Chocolate Chip Cookies?
Absolutely! For the best results, select high-quality ingredients. Use fresh unsalted butter with a pleasant creamy scent, and ensure your eggs are at room temperature for optimal blending. Look for brown sugars that are soft and moist, avoiding those with hard clumps, as they will not incorporate well. Fresh baking soda is crucial too; test it by mixing a teaspoon with vinegar—if it bubbles vigorously, it’s good to go!
What is the best way to store Classic Chocolate Chip Cookies?
Very! Store your Classic Chocolate Chip Cookies in an airtight container at room temperature for up to 5 days. This will keep them chewy and flavorful. In a humid environment, you might want to refrigerate them in an airtight container for up to a week to prevent them from becoming soggy. If you’re like me and love enjoying cookies later, freezing is a fantastic option too!
Can I freeze the dough for Classic Chocolate Chip Cookies?
Sure! For longer storage, form cookie dough balls and freeze them for up to 3 months. There’s no need to thaw them before baking—just place the frozen dough balls directly onto your baking sheets and add a couple of extra minutes to your baking time. This is a great way to have fresh cookies available at a moment’s notice!
What should I do if my cookie dough is too dry or too sticky?
Don’t worry; this happens to the best of us! If the dough is too dry, you can add a bit of melted butter or a splash of milk to bring it together. Start with a teaspoon at a time, mixing until the desired consistency is achieved. If the dough is too sticky, consider adding a little more flour, a tablespoon at a time, until it’s manageable. Just remember, avoid overmixing.
Can I make gluten-free Classic Chocolate Chip Cookies?
Yes, indeed! To adapt your Classic Chocolate Chip Cookies for gluten sensitivities, simply substitute all-purpose flour with Measure for Measure Flour. This gluten-free option behaves similarly to regular flour and provides that classic chewy texture everyone loves. Just follow the same amounts listed in the recipe and you’re set to enjoy delicious cookies without worries!
Do Classic Chocolate Chip Cookies contain allergens?
Great question! The classic recipe includes common allergens such as gluten (from the flour), dairy (from the butter), and eggs. If you’re baking for someone with allergies, consider using gluten-free flour and dairy alternatives like coconut or almond butter instead of regular butter. And remember, always check labels to ensure no cross-contamination if allergies are a concern.
Classic Chocolate Chip Cookies That Melt in Your Mouth
Ingredients
Equipment
Method
- Preheat your oven to 375°F (190°C) and prepare two baking sheets with parchment paper or grease them.
- In a large mixing bowl, combine the light brown sugar, granulated sugar, unsalted butter, and vegetable shortening. Beat on medium speed until smooth and creamy.
- Add the table salt, vanilla extract, vinegar, and baking soda. Mix on low speed until combined.
- Crack the large egg into the mixture, mixing on low speed until fully incorporated.
- Slowly add the all-purpose flour, mixing until just combined to avoid tough cookies.
- Gently fold in the semisweet chocolate chips using a spatula or wooden spoon.
- Scoop rounded dough balls about 1¼ inches in diameter onto the prepared baking sheets, spacing them at least 2 inches apart.
- Bake for 11-12 minutes until edges turn chestnut brown and centers remain light golden.
- Remove from the oven and let cool for a few minutes on the sheet before transferring to a wire rack to cool completely.