

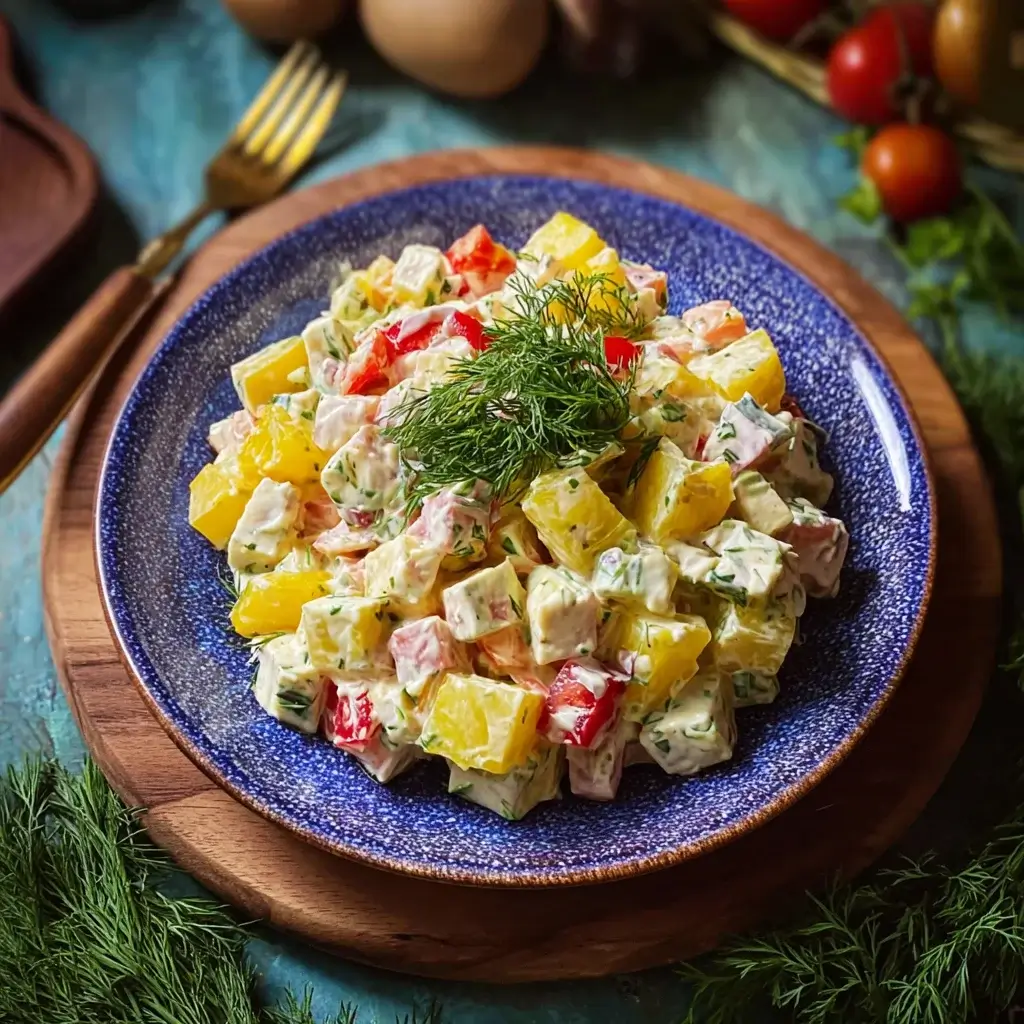
Introduction to Classic Russian Olivier Salad
Ingredients for Classic Russian Olivier Salad
Elevate your flavor game with this classic addition.
Here’s what you’ll need:
- Diced Potatoes: These provide a hearty base. Choose waxy potatoes for the best texture.
- Diced Carrots: They add a sweet crunch and vibrant color to the mix.
- Frozen Peas: Thawed peas bring a pop of sweetness and a lovely green hue.
- Diced Pickles: Whether you prefer dill or sweet, pickles add a tangy kick that balances the flavors.
- Diced Cooked Chicken or Ham: This is the protein element. You can easily swap it for tofu or extra veggies for a vegetarian version.
- Hard-Boiled Eggs: Chopped eggs contribute creaminess and richness, making the salad more filling.
- Mayonnaise: The creamy dressing that ties everything together. You can use light mayo or Greek yogurt for a healthier twist.
- Dijon Mustard: Just a touch adds depth and a slight tang to the dressing.
- Salt and Pepper: Essential for seasoning. Adjust to your taste for the perfect balance.
- Fresh Dill: Optional, but it adds a fresh, aromatic finish to the salad.
For exact quantities, check the bottom of the article where you can find a printable version of the recipe. Feel free to get creative with your ingredients based on what you have on hand!
How to Make Classic Russian Olivier Salad
Creating the Classic Russian Olivier Salad is a straightforward process that yields delicious results. Follow these simple steps, and you’ll have a vibrant salad ready to impress your family and friends.
Step 1: Prepare the Potatoes
Start by boiling your diced potatoes in a large pot of salted water. Cook them until they’re tender but still firm, about 10-15 minutes. You want them to hold their shape in the salad. Once done, drain the potatoes and let them cool completely. This step is crucial; warm potatoes can make the salad mushy.
Step 2: Cook the Carrots
In the same pot, add your diced carrots. Boil them for about 5-7 minutes until they’re tender. Just like the potatoes, you want them to retain a bit of crunch. Drain and let them cool as well. This will help maintain the salad’s texture.
Step 3: Combine Ingredients
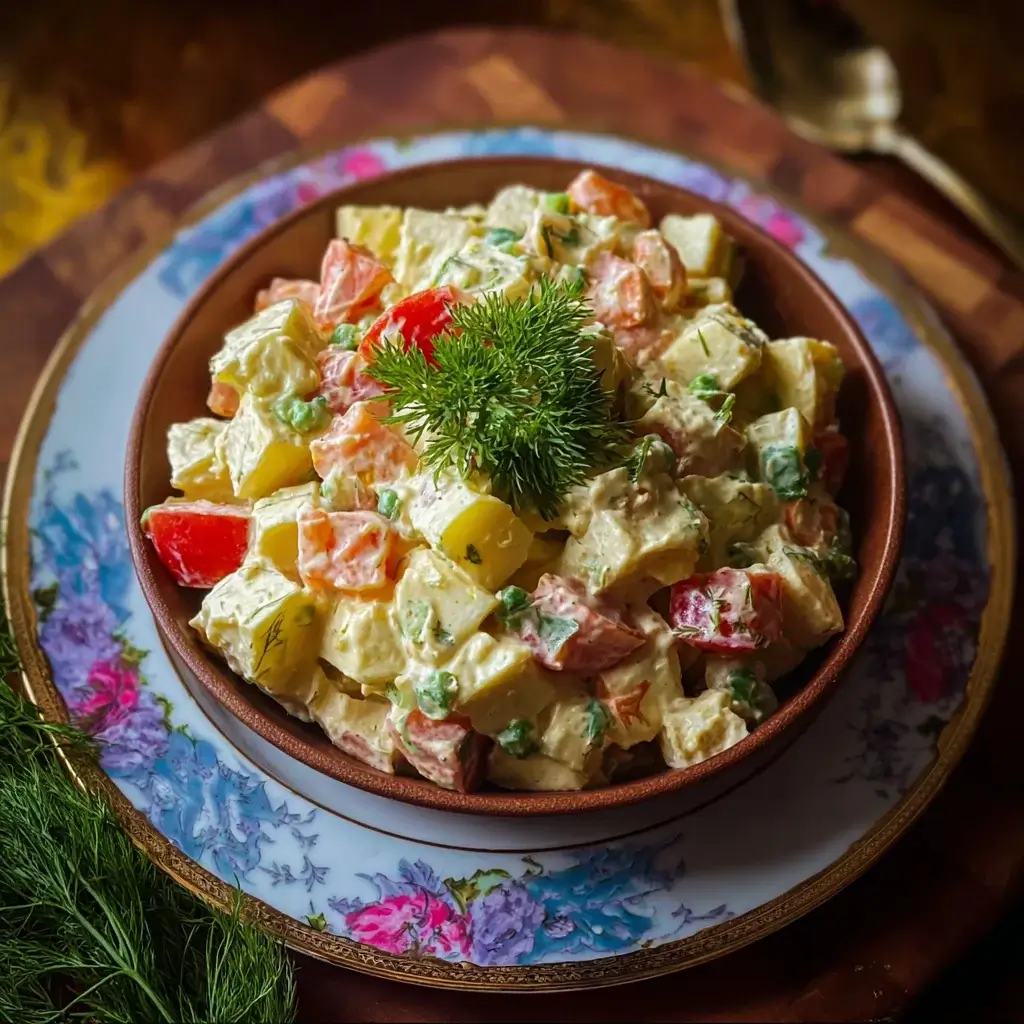
In a large mixing bowl, combine the cooled potatoes, carrots, thawed peas, diced pickles, diced chicken (or ham), and chopped hard-boiled eggs. This colorful mix is what makes the Classic Russian Olivier Salad so appealing. Stir gently to avoid mashing the ingredients.
Step 4: Make the Dressing
In a separate bowl, mix together the mayonnaise, Dijon mustard, salt, and pepper. This dressing is the heart of the salad, bringing all the flavors together. Taste it and adjust the seasoning if needed. A little extra mustard can add a nice kick!
Step 5: Combine Salad and Dressing
Pour the dressing over the salad mixture. Gently fold everything together until well combined. Be careful not to overmix; you want to keep those lovely chunks intact. The dressing should coat everything evenly, creating a creamy texture.
Step 6: Chill the Salad
Cover the salad with plastic wrap or a lid and refrigerate for at least 1 hour. This chilling time allows the flavors to meld beautifully. Trust me, the wait is worth it! The salad tastes even better after sitting for a while.
Step 7: Garnish and Serve
Before serving, garnish your Classic Russian Olivier Salad with fresh dill if desired. This adds a pop of color and a fresh aroma. Serve it chilled, and watch as everyone digs in with delight!
Tips for Success
- Use waxy potatoes for the best texture; they hold their shape well.
- Let the ingredients cool completely before mixing to avoid a mushy salad.
- Adjust the seasoning in the dressing to suit your taste; a little extra mustard can elevate the flavor.
- For a creamier texture, consider using Greek yogurt instead of mayonnaise.
- Chill the salad longer for enhanced flavor; overnight is even better!
Equipment Needed
- Large Pot: Essential for boiling the potatoes and carrots. A Dutch oven works great too.
- Mixing Bowl: A large bowl for combining all the ingredients. Any size will do!
- Colander: Perfect for draining the cooked vegetables.
- Spatula or Spoon: Use for gently folding the salad and dressing together.
Variations of Classic Russian Olivier Salad
- Vegetarian Version: Swap the chicken for diced tofu or add more veggies like bell peppers and corn for a hearty twist.
- Seafood Delight: Incorporate diced shrimp or crab meat for a luxurious seafood version that adds a unique flavor.
- Spicy Kick: Add diced jalapeños or a splash of hot sauce to the dressing for those who enjoy a bit of heat.
- Herb Infusion: Experiment with different herbs like parsley or chives instead of dill for a fresh twist.
- Nutty Crunch: Toss in some chopped walnuts or almonds for added texture and a nutty flavor.
Serving Suggestions for Classic Russian Olivier Salad
- Pair with crusty bread or warm rolls for a satisfying meal.
- Serve alongside grilled meats or fish for a balanced plate.
- Complement with a light vinaigrette salad for freshness.
- Enjoy with a chilled glass of white wine or sparkling water.
- Present in a beautiful bowl, garnished with extra dill for a pop of color.
FAQs about Classic Russian Olivier Salad
What is Classic Russian Olivier Salad?
Classic Russian Olivier Salad is a traditional dish that combines diced potatoes, carrots, peas, pickles, and protein like chicken or ham, all bound together with a creamy dressing. It’s a hearty salad that’s perfect for gatherings or as a side dish.
Can I make Classic Russian Olivier Salad ahead of time?
Absolutely! In fact, making it ahead of time allows the flavors to meld beautifully. Just cover it and refrigerate for up to 24 hours before serving. It tastes even better the next day!
Is there a vegetarian version of Olivier Salad?
Yes! You can easily make a vegetarian version by substituting the chicken with diced tofu or adding more vegetables like bell peppers and corn. It’s just as delicious and satisfying!
How long does Classic Russian Olivier Salad last in the fridge?
When stored in an airtight container, Classic Russian Olivier Salad can last for about 3-4 days in the fridge. Just give it a good stir before serving again!
What can I serve with Classic Russian Olivier Salad?
This salad pairs wonderfully with crusty bread, grilled meats, or a light vinaigrette salad. It’s versatile enough to complement many dishes, making it a great addition to any meal!
Final Thoughts
Making Classic Russian Olivier Salad is more than just preparing a dish; it’s about creating memories and sharing joy with those you love. Each bite is a delightful blend of flavors that transports you back to family gatherings and celebrations. The vibrant colors and textures make it a feast for the eyes as well as the palate. Whether you’re serving it at a holiday dinner or a casual weeknight meal, this salad brings people together. So, roll up your sleeves, gather your ingredients, and enjoy the process. Trust me, the smiles around the table will be worth it!
Classic Russian Olivier Salad: A Delightful Recipe to Try!
Ingredients
Method
- In a large pot, bring water to a boil and add the diced potatoes. Cook for about 10-15 minutes until tender but firm. Drain and let cool.
- In the same pot, add the diced carrots and cook for about 5-7 minutes until tender. Drain and let cool.
- In a large mixing bowl, combine the cooled potatoes, carrots, thawed peas, diced pickles, diced chicken, and chopped hard-boiled eggs.
- In a separate bowl, mix together the mayonnaise, Dijon mustard, salt, and pepper. Adjust seasoning to taste.
- Pour the dressing over the salad mixture and gently fold until everything is well combined.
- Cover the salad and refrigerate for at least 1 hour to allow the flavors to meld.
- Before serving, garnish with fresh dill if desired.
Nutrition
Notes
- For a vegetarian version, substitute the chicken with diced tofu or additional vegetables like bell peppers or corn.
- Add a tablespoon of apple cider vinegar for a tangy twist or incorporate some chopped green onions for extra flavor.