

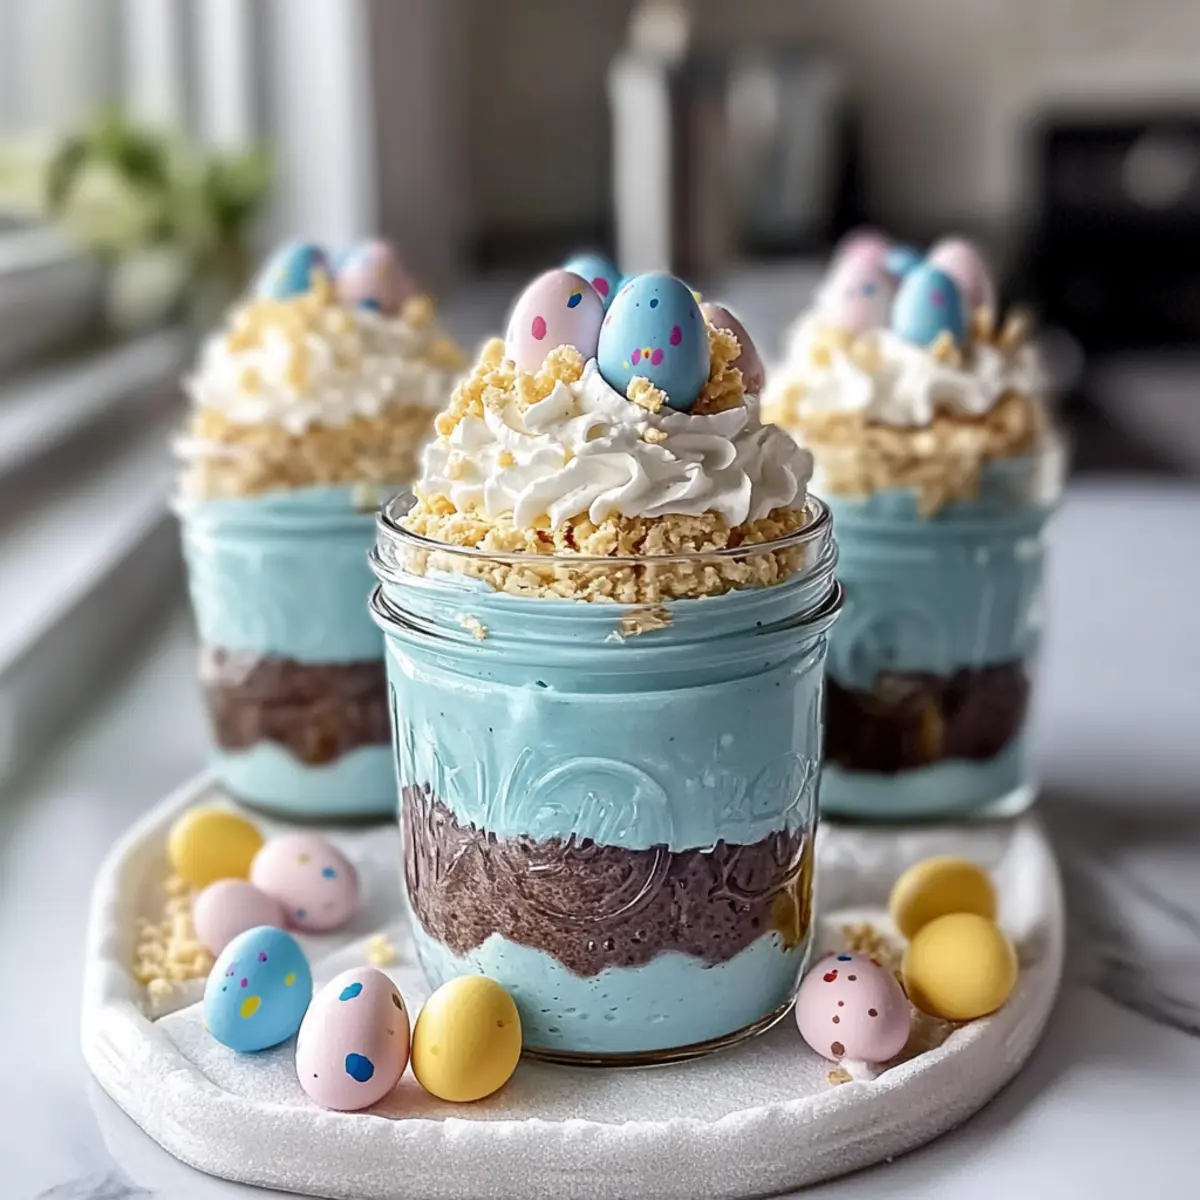
Spring is just around the corner, and with it comes the excitement of festive gatherings! That’s why I’m thrilled to share my recipe for Robin’s Egg Fudge Jars—an enchanting no-bake dessert that captures the essence of Easter in a delightful layered treat. With its creamy chocolate fudge base and a fluffy pastel blue cheesecake mousse, this dessert is not only a feast for the eyes but also a crowd-pleaser that’s easy to whip up. Whether you’re hosting an Easter brunch or simply looking to add some whimsy to your spring celebrations, these jars are the perfect solution. Plus, they can be customized with any colors you like, making them as versatile as they are fun. Are you ready to impress your friends and family with this beautiful dessert? Let’s dive in!
Why are these fudge jars so special?
No-Bake Convenience: Forget about turning on the oven! These Robin’s Egg Fudge Jars are easy to assemble and perfect for a quick sweet fix.
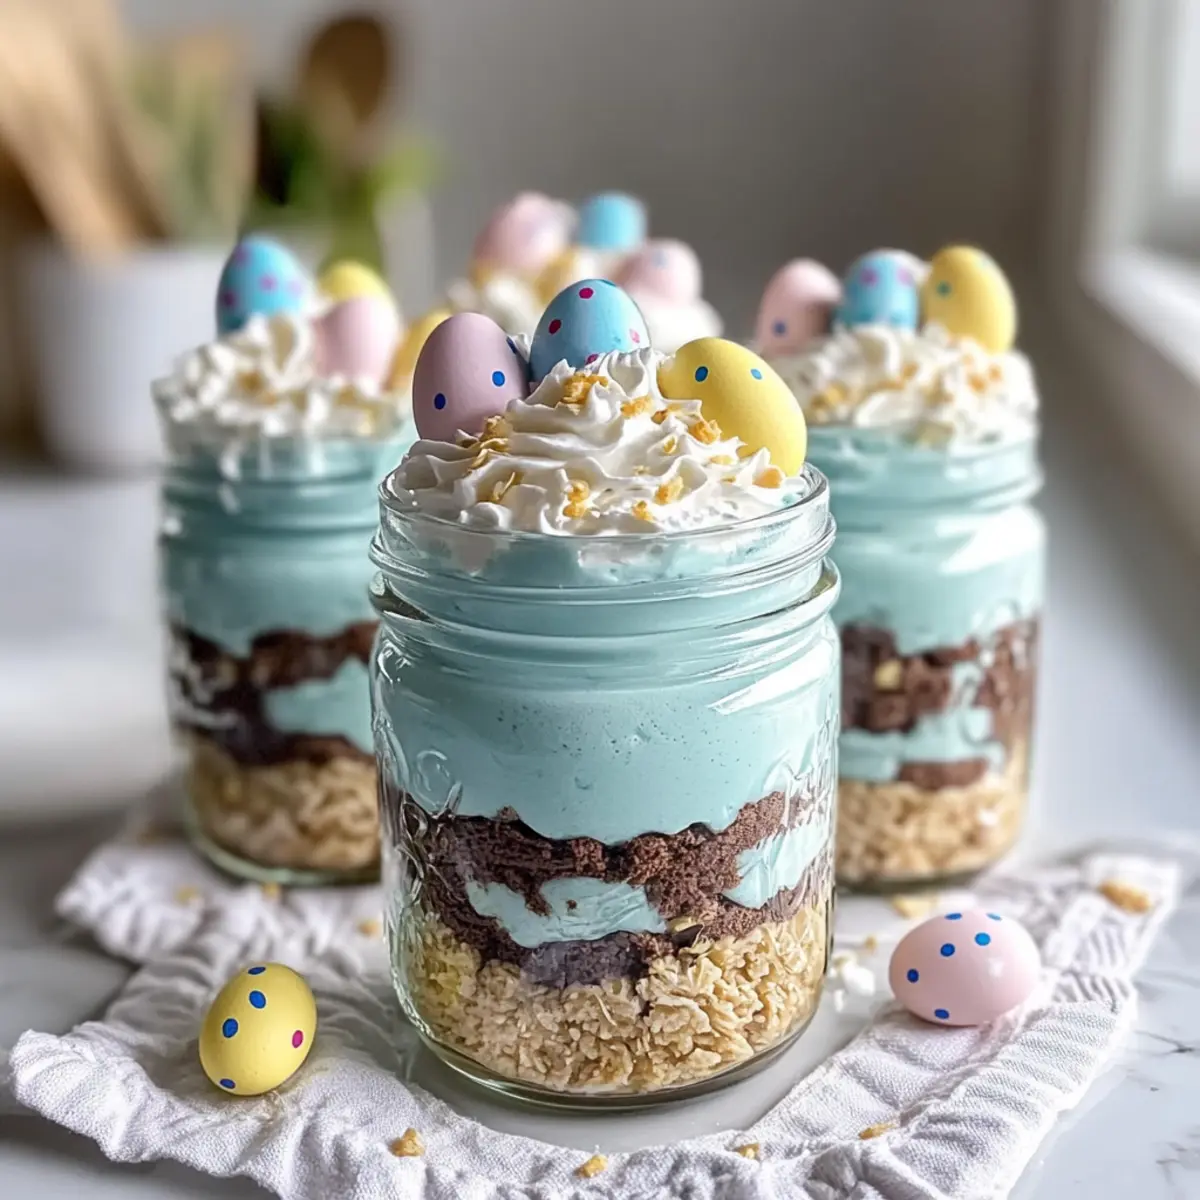
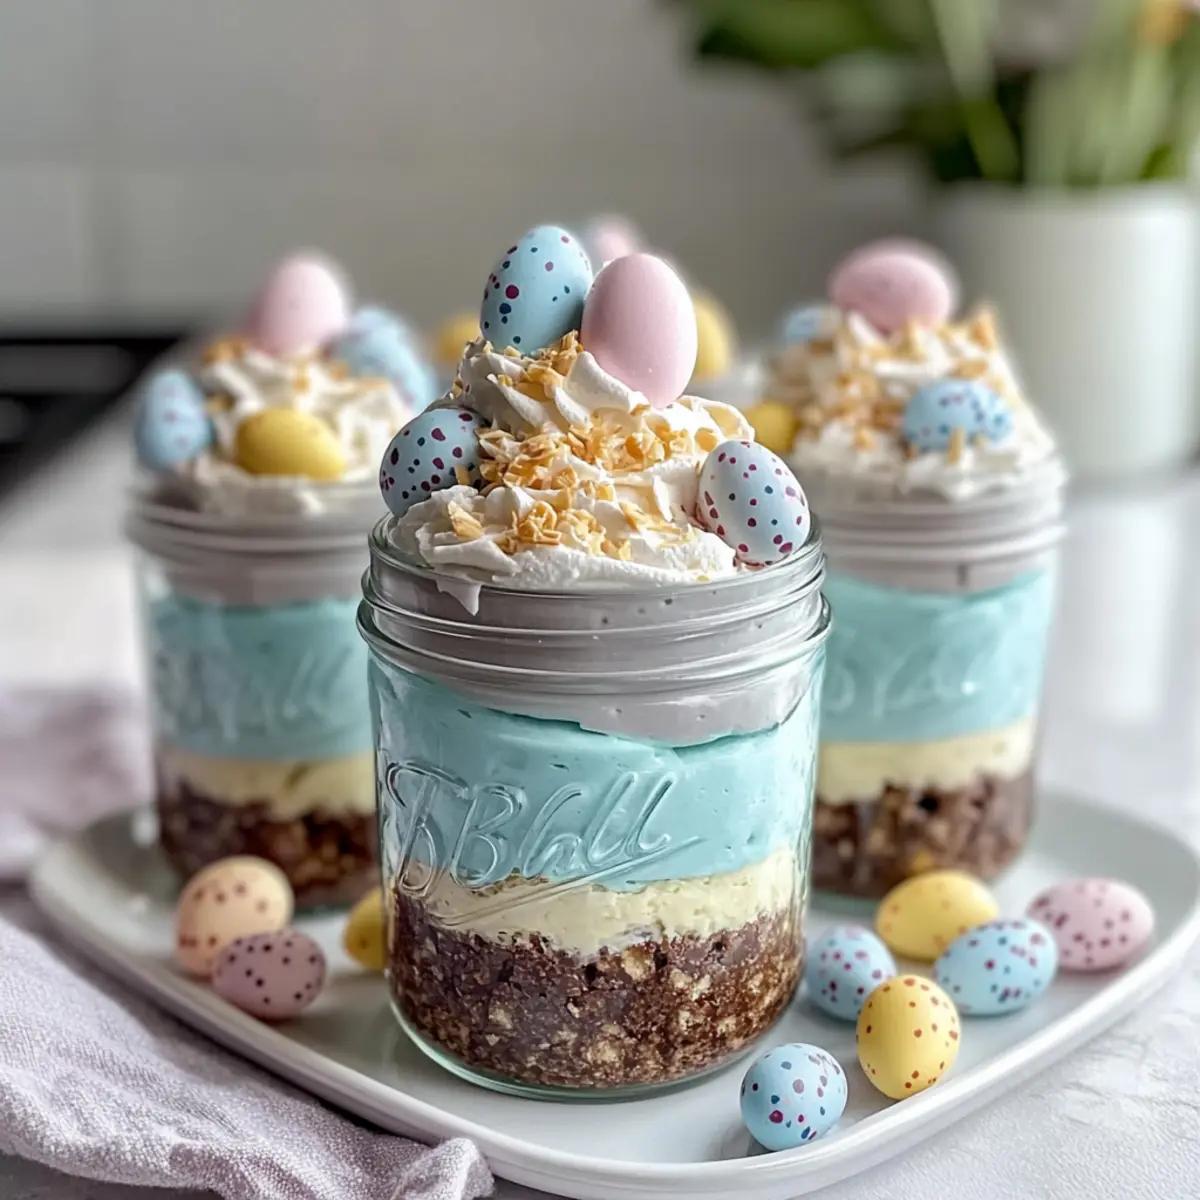
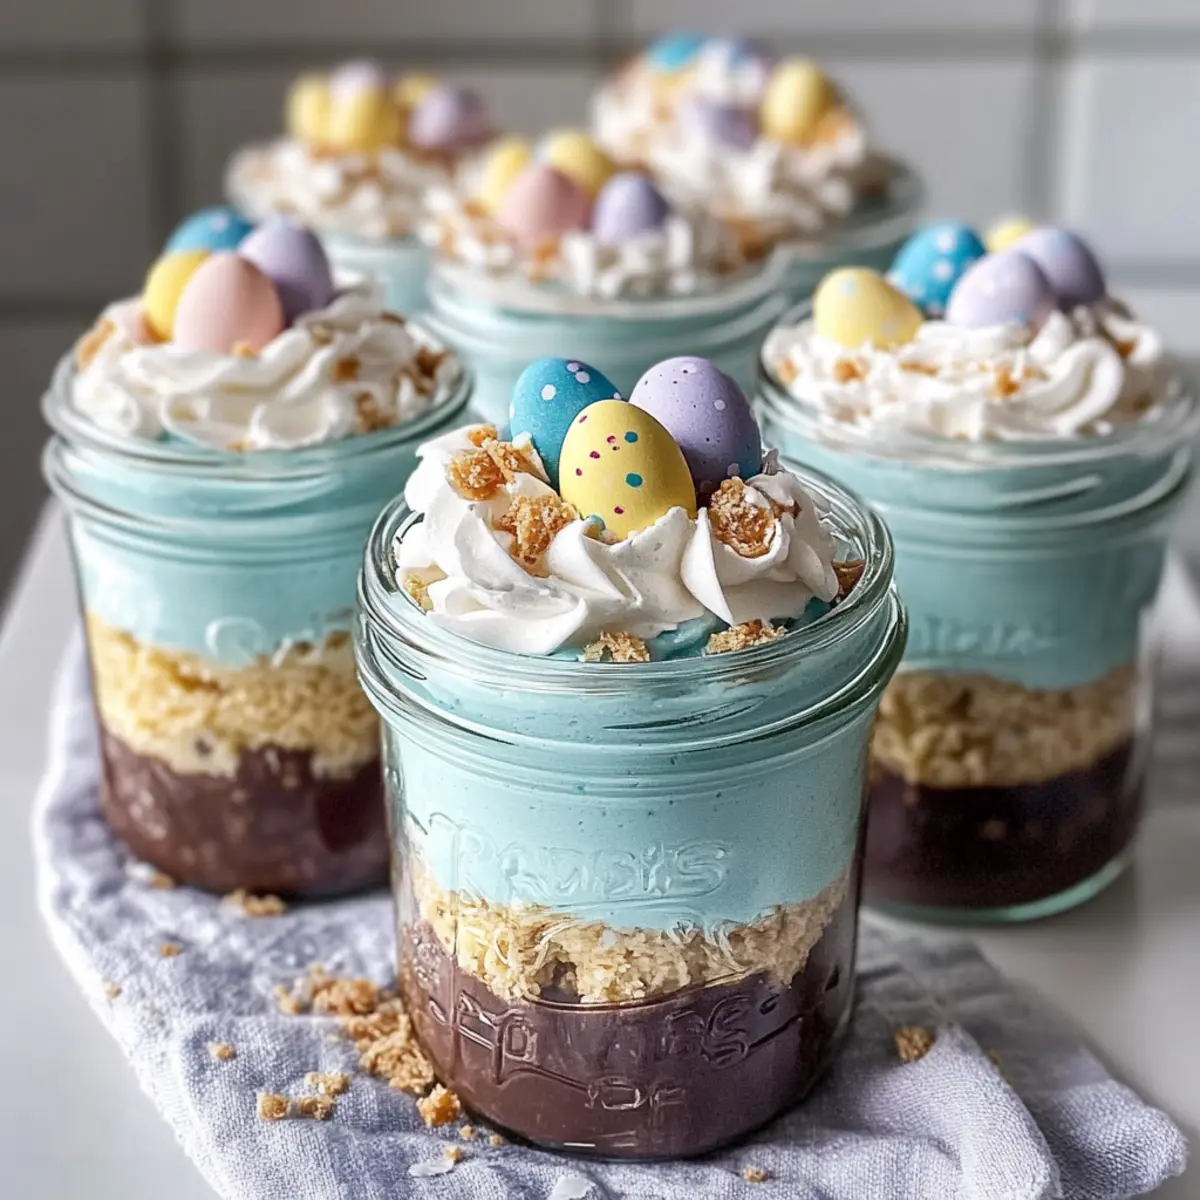
Visually Stunning: With pastel blue mousse and candy-coated eggs, these jars are not just desserts; they are charming centerpieces that will wow your guests.
Delightfully Creamy & Crunchy: The layers offer a heavenly contrast between the smooth cheesecake and rich fudge, with a lovely graham cracker crunch at the base.
Versatile for Any Occasion: Whether for Easter, spring parties, or special gatherings, you can customize the mousse colors and toppings, making them suitable for any festive theme.
Make-Ahead Magic: Prepare them a day in advance—just hold off on the toppings until you’re ready to serve, allowing you to enjoy more time with your guests.
For more delicious ideas, consider trying my Decadent Hot Fudge or explore the flavors of Summer Garden Pasta for your next gathering!
Robin’s Egg Fudge Jars Ingredients
For the Crust
• Graham Cracker Crumbs – Provides structure and crumbly base for the crust; can substitute with crushed cookies (e.g., Digestive biscuits).
• Granulated Sugar – Adds sweetness to the crust; no substitution needed, but brown sugar can add a richer flavor.
• Unsalted Butter – Binds the crust mixture; use salted butter if needed, but reduce added salt in other areas.
For the Fudge Layer
• Semi-Sweet Chocolate Chips – Creates the rich fudge layer; dark chocolate or milk chocolate can be used based on preference.
• Sweetened Condensed Milk – Ensures a creamy fudge texture; evaporated milk mixed with sugar can be a non-dairy alternative.
• Vanilla Extract – Enhances overall flavor of the fudge; use pure vanilla for better quality.
For the Cheesecake Mousse
• Cream Cheese – Base for the cheesecake mousse, providing creaminess; can substitute with vegan cream cheese for a dairy-free option.
• Powdered Sugar – Adds sweetness and smoothness to the mousse; no direct substitution, but granulated sugar can work in a pinch.
• Heavy Whipping Cream – Whipped to create light, airy mousse; use coconut cream for a dairy-free version.
• Pastel Blue Gel Food Coloring – For achieving the desired robin’s egg color; substitute with any pastel color to match the theme.
For the Toppings
• Whipped Cream – Topping for texture and decoration; homemade preferred, but store-bought can also be used.
• Speckled Candy-Coated Mini Eggs – Decorative topping mimicking a robin’s nest; use any candy eggs or omit for a simpler look.
Step‑by‑Step Instructions for Robin’s Egg Fudge Jars
Step 1: Prepare the Crust
In a mixing bowl, combine graham cracker crumbs, sugar, and melted butter. Stir until the mixture resembles wet sand. Spoon 2-3 tablespoons of this crumbly mixture into the base of each jar, pressing down firmly to create an even layer. Once done, place the jars in the refrigerator to chill for approximately 15 minutes.
Step 2: Make the Chocolate Fudge Layer
Next, in a microwave-safe bowl, add the semi-sweet chocolate chips and sweetened condensed milk. Heat in 30-second intervals, stirring in between, until the chocolate melts and becomes smooth (approximately 1-2 minutes total). Once melted, stir in the vanilla extract, then evenly pour this rich fudge mixture over the chilled crusts in the jars. Chill the jars again for 15 minutes to firm up the fudge layer.
Step 3: Prepare Blue Cheesecake Mousse
While the fudge sets, beat the softened cream cheese in a mixing bowl with powdered sugar and vanilla extract until creamy and fully combined. In another bowl, whip the heavy cream until stiff peaks form. Gently fold the whipped cream into the cream cheese mixture, adding pastel blue gel food coloring to achieve your desired hue. Layer the light and fluffy cheesecake mousse over the fudge layer in each jar, then return them to the refrigerator for at least 1 hour.
Step 4: Add Toppings
Once the mousse has set, remove the jars from the refrigerator. Using a piping bag or a spoon, top each jar with a generous swirl of whipped cream for delightful texture. Finally, beautifully decorate with speckled candy-coated mini eggs, mimicking the look of robin’s nests. Serve immediately or store in the refrigerator until ready to enjoy your stunning Robin’s Egg Fudge Jars!
What to Serve with Robin’s Egg Fudge Jars
To create the perfect spring gathering, pair these whimsical jars with complementary dishes that will delight your guests.
- Lemonade Spritzers: A refreshingly tangy drink that offsets the sweetness of the fudge, adding brightness to your dessert table.
- Honey-Glazed Carrots: Their natural sweetness enhances the flavor profile, creating a beautiful balance with the rich layers of the fudge.
- Coconut Macaroon Cookies: Chewy and sweet, these cookies provide a lovely textural contrast and maintain the spring theme.
- Berry Salad: A mix of fresh strawberries, blueberries, and mint leaves offers a burst of freshness that cuts through the richness of the fudge.
- Mini Quiches: Savory bite-sized treats are a delightful addition, providing a satisfying contrast to the sweet indulgence of the jars.
- Sparkling Water with Citrus: A light and refreshing beverage, it enhances the overall flavor experience while cleansing the palate between bites.
- Chocolate-Covered Strawberries: They echo the fudge’s components, making for a decadent pairing that every chocolate lover will appreciate.
- Vanilla Ice Cream: A scoop of creamy ice cream alongside the fudge jars will create a luscious dessert experience that’s perfect for any celebration!
Robin’s Egg Fudge Jars Variations
Feel free to explore your creativity with these delightful fudge jars and make them uniquely yours!
- Colorful Mousse: Replace the blue food coloring with pastel pink, yellow, or green to match any celebration theme.
- Crunchy Boost: Add crushed nuts, such as pecans or walnuts, to the crust for an extra layer of flavor and crunch. The nutty notes pair beautifully with the chocolate.
- Coconut Cream: Swap in coconut cream for the heavy whipping cream to create a tropical flavor twist in the cheesecake mousse.
- Zesty Surprise: Stir in a touch of lemon or orange zest to the cream cheese mixture for a refreshing citrus zing, brightening up every bite.
- Seasonal Fruits: Top the jars with fresh berries or diced fruit like strawberries or kiwi for a contrasting fresh taste against the rich fudge.
- Spicy Chocolate: Use dark chocolate with a hint of chili for the fudge layer if you’re feeling adventurous; it adds an exciting warmth to each jar.
- Decadent Swirl: Drizzle melted caramel or chocolate sauce on top of the mousse layer before adding whipped cream for a luxurious feel. It elevates the whole dessert experience!
These modifications can bring a great deal of joy to your gatherings, similar to my delightful Greek Eggplant Moussaka or Summer Garden Pasta, which can also cater to seasonal festivities beautifully!
How to Store and Freeze Robin’s Egg Fudge Jars
Refrigerator: Keep your Robin’s Egg Fudge Jars in the fridge for up to 3 days. Make sure to cover them tightly with lids or plastic wrap to maintain their freshness and flavor.
Freezer: For longer storage, you can freeze these jars for up to 1 month. To freeze, ensure they are airtight, and allow them to thaw in the refrigerator overnight before serving.
Note on Toppings: For the best presentation, avoid adding whipped cream and candy eggs until you’re ready to serve. This keeps the layers looking fresh and appealing.
Reheating: These jars are best served cold, so no reheating is necessary. Just enjoy them straight from the fridge for a refreshing treat!
Make Ahead Options
These Robin’s Egg Fudge Jars are perfect for meal prep, allowing you to enjoy a whimsical dessert without the last-minute hustle! You can prepare the crust, chocolate fudge layer, and cheesecake mousse up to 24 hours in advance. Simply assemble the layers in the jars and refrigerate to keep them fresh and prevent them from drying out. To maintain their delightful texture and presentation, hold off on adding the whipped cream and candy toppings until just before serving. When you’re ready to impress your guests, top each jar with whipped cream and colorful mini eggs, and you’ll have a stunning dessert that looks and tastes just as delicious!
Expert Tips for Robin’s Egg Fudge Jars
-
Perfectly Softened Cream Cheese: Always ensure the cream cheese is fully softened before mixing. This prevents lumps, ensuring a silky-smooth mousse.
-
Layering Technique: For beautifully defined layers, allow each layer to chill adequately before adding the next. This keeps the textures distinct and visually stunning.
-
Whipped Cream Consistency: Don’t over-whip the cream; you want it to be fluffy but still smooth enough to pipe elegantly on top of the jars.
-
Chilling Time: Make sure to chill the jars between steps. This helps the fudge and mousse layers set properly, creating the perfect structure for your Robin’s Egg Fudge Jars.
-
Color Customization: Feel free to swap out pastel blue for other colors to match different occasions! Just a few drops of food coloring can create a magical transformation.
-
Storing Wisely: Store any leftovers in the fridge with tightly sealed lids for up to 3 days, ensuring freshness for your delightful dessert!
Robin’s Egg Fudge Jars Recipe FAQs
How do I select ripe ingredients for the Robin’s Egg Fudge Jars?
Absolutely! For this recipe, the main ingredients don’t heavily depend on ripeness like fruits do. However, ensure that your cream cheese is softened at room temperature for easy mixing. This helps prevent lumps and ensures a creamy texture in the mousse.
How should I store my Robin’s Egg Fudge Jars?
You can easily keep your jars in the refrigerator for up to 3 days. Be sure to cover them tightly with lids or plastic wrap to preserve their delightful flavors and textures!
Can I freeze Robin’s Egg Fudge Jars?
Yes, you can freeze these jars for up to 1 month! To do this, make sure they are stored in airtight containers to prevent freezer burn. When you’re ready to enjoy them, thaw the jars in the refrigerator overnight. Just remember to add whipped cream and candy toppings just before serving for the best presentation.
What should I do if the mousse is too thick?
If you’re finding your mousse is thick, here’s a quick fix: Add a splash of milk or cream to the mousse and gently fold it in until you achieve your desired consistency. Make sure to do this carefully to maintain the airy texture!
Are there any dietary considerations with this recipe?
Very! This recipe can easily cater to dietary preferences. For dairy-free options, use vegan cream cheese and coconut cream in place of heavy whipping cream. Also, feel free to substitute with your favorite non-dairy chocolate to ensure everyone can enjoy this treat!
Can I customize the colors for different occasions?
Absolutely! The pastel blue gel food coloring can be swapped with any color to match your theme. A lovely pink for baby showers or a vibrant green for St. Patrick’s Day works wonderfully!
Robin’s Egg Fudge Jars: A Delightful No-Bake Treat
Ingredients
Equipment
Method
- In a mixing bowl, combine graham cracker crumbs, sugar, and melted butter. Stir until the mixture resembles wet sand. Spoon 2-3 tablespoons of this crumbly mixture into the base of each jar, pressing down firmly to create an even layer. Chill for 15 minutes.
- In a microwave-safe bowl, add the semi-sweet chocolate chips and sweetened condensed milk. Heat in 30-second intervals, stirring in between, until smooth. Stir in the vanilla extract, then pour over the chilled crusts in the jars. Chill for 15 minutes.
- Beat the softened cream cheese with powdered sugar and vanilla extract until creamy. Whip heavy cream until stiff peaks form. Fold whipped cream into cream cheese mixture, adding food coloring for desired hue. Layer over fudge in jars and refrigerate for at least 1 hour.
- Top each jar with whipped cream and decorate with speckled candy-coated mini eggs. Serve immediately or store in the refrigerator.