

“Mom, can I have more?” The delighted squeals of my toddler echo around the kitchen as they devour one perfectly baked shrimp cake after another. These Baked Shrimp Cakes are not just an instant hit with the little ones—they’re also a savvy choice for parents embarking on the baby-led weaning journey. With their tender texture and subtle flavor, they introduce shellfish in a way that your entire family can enjoy. Quick to prep and made with minimal ingredients, this recipe effortlessly elevates homemade meals, steering the family clear of fast food. Plus, leftover cakes are easy to store, making meal times even more convenient. Are you ready to bring a little seafood magic to your table? Let’s dive in!
Why Choose Baked Shrimp Cakes?
Healthy, Delicious Alternative: These Baked Shrimp Cakes offer a wholesome introduction to shellfish, ensuring your little ones get a nutritious start without sacrificing flavor.
Quick to Prepare: With just a handful of ingredients and minimal prep time, they make mealtime efficient and satisfying for busy parents.
Perfect for Baby-Led Weaning: Their tender texture and easy-to-hold shape encourage self-feeding, making them a fantastic choice for toddlers learning to eat.
Family-Friendly Fun: Not just for babies, these cakes are a hit with everyone at the table, complementing meals with a delightful twist on traditional seafood.
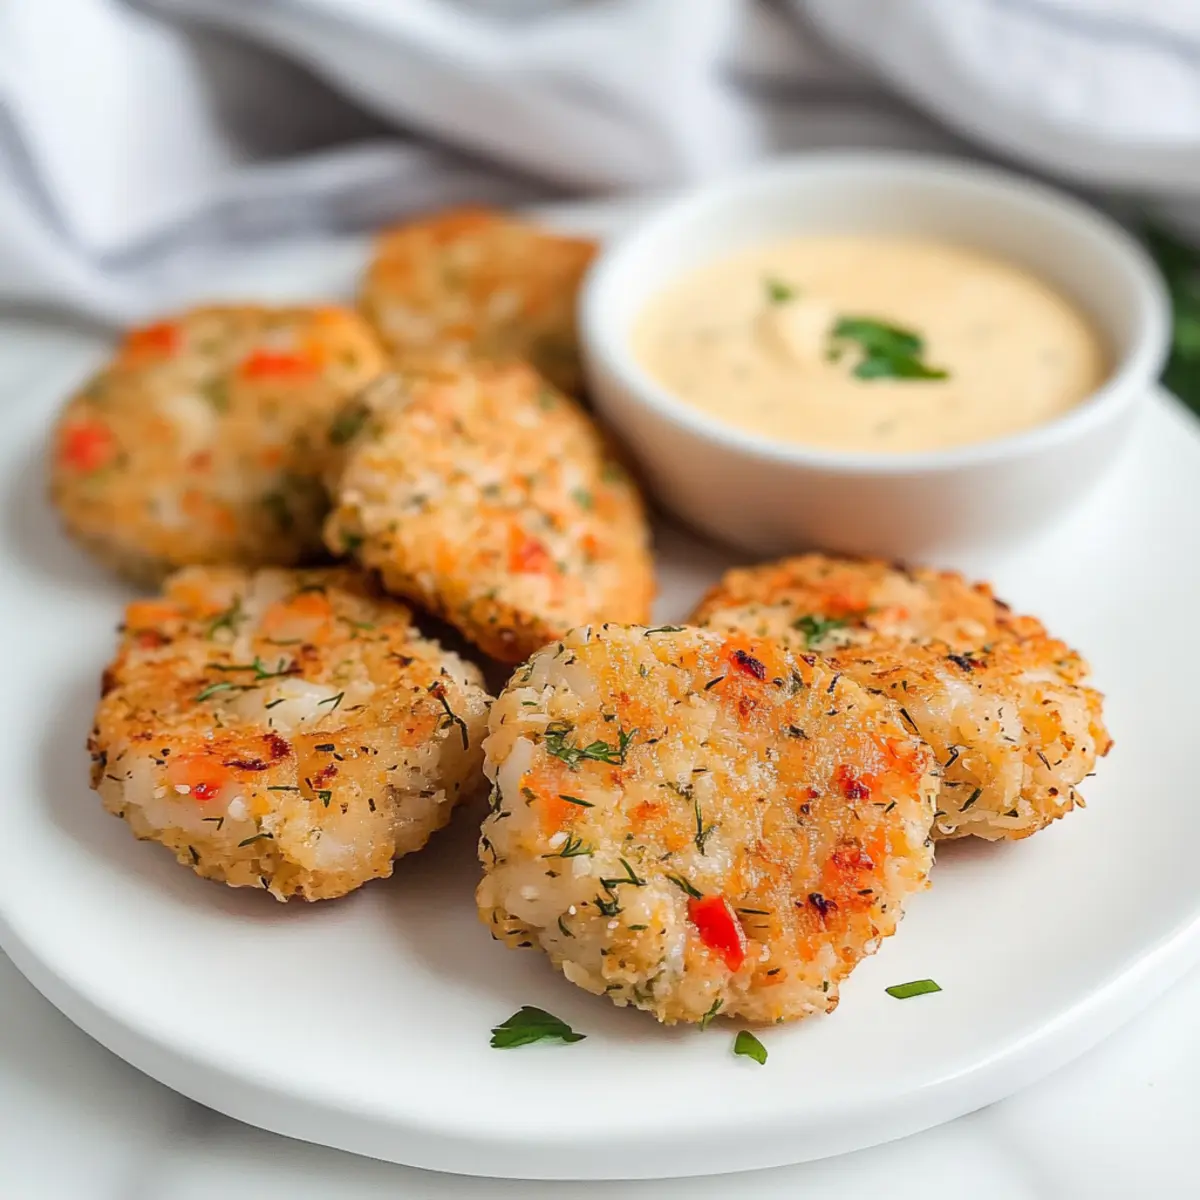
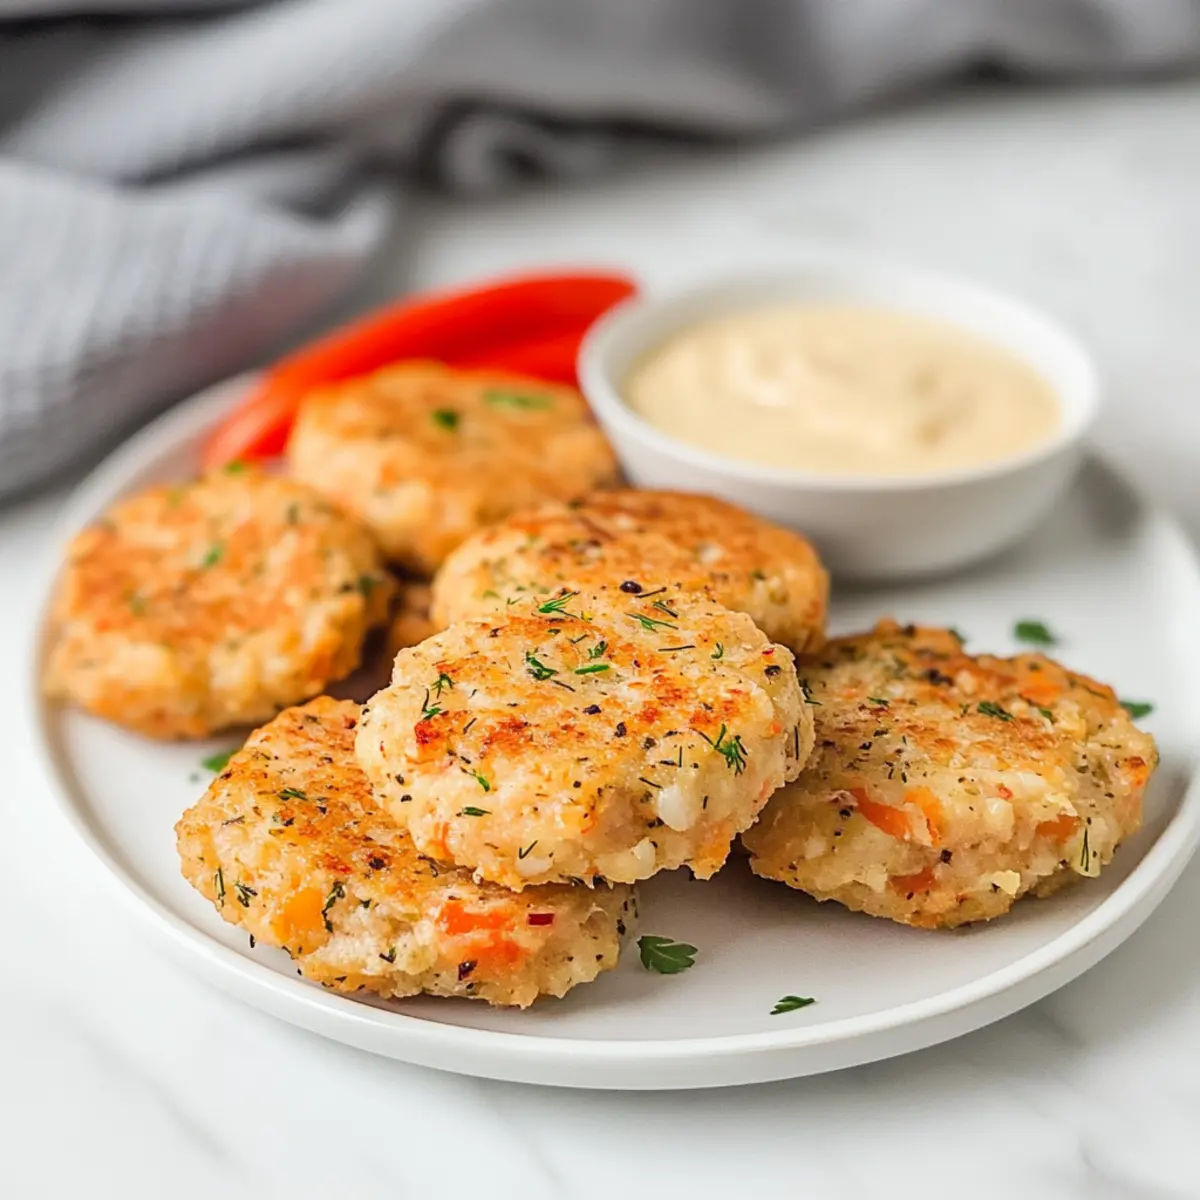
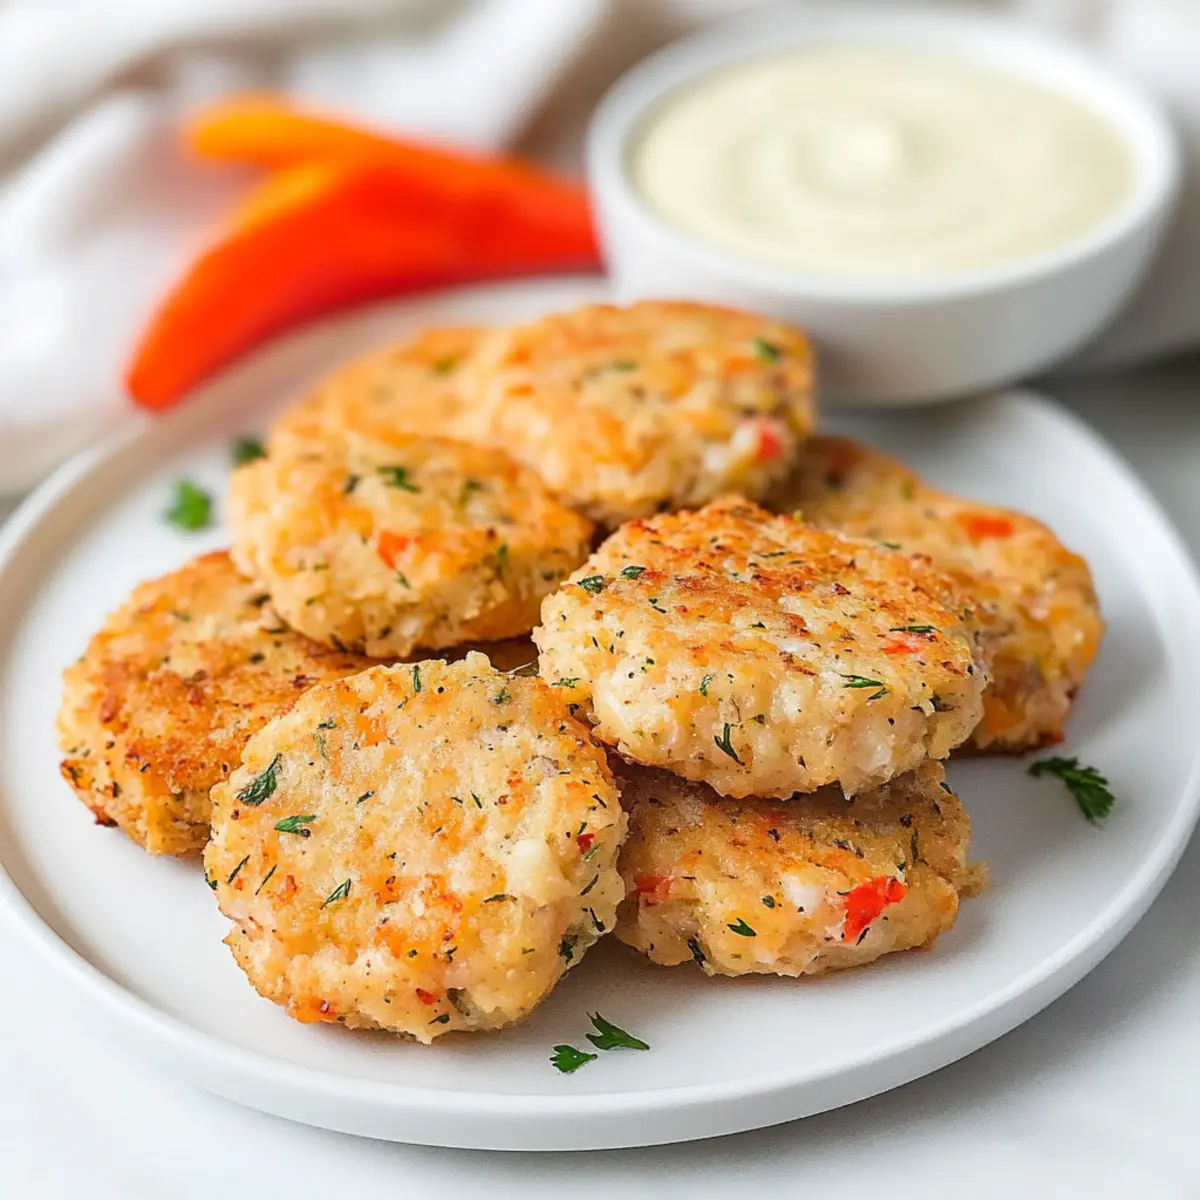
Versatile Serving Options: Pair them with your favorite dips, such as yogurt sauce or avocado, to add flavor and nutrition! Make sure to check out our Spicy Shrimp Burritos for more fun seafood flavors!
Baked Shrimp Cakes Ingredients
• Here’s everything you need!
For the Cakes
- Raw Shrimp (½ lb) – The star ingredient providing protein; make sure to finely mince for safety.
- Breadcrumbs (3 tbsp) – Adds structure and texture; can be substituted with crushed crackers for a gluten-free option.
- Egg (1) – Acts as a binder for the cakes; flax egg is a great substitute for a vegan choice.
- Garlic (1 tsp, minced) – Brings delicious flavor depth; feel free to omit for a milder taste.
- Dill (1 tbsp, fresh or 1 tsp dried) – Provides a fresh flavor that enhances the seafood; fresh parsley works well as a substitute.
- Salt (¼ tsp) – Elevates the overall taste; omit for babies under 1 year to keep it safe.
- Olive Oil (1 tbsp) – Greases the baking sheet for moisture and browning; cooking spray is a handy alternative.
Optional Dipping Sauce
- Yogurt Sauce – Mix yogurt with dill for a creamy dip that pairs perfectly with the shrimp cakes.
- Avocado Mash – A nutrient-rich addition that complements the flavor of the cakes and offers healthy fats.
These Baked Shrimp Cakes are not only delightful but also a wonderful way to introduce shellfish into your child’s diet while keeping mealtime fun for everyone!
Step‑by‑Step Instructions for Baked Shrimp Cakes
Step 1: Preheat and Prepare
Begin by preheating your oven to 350°F (180°C). While it’s heating, prepare a baking sheet by lining it with parchment paper or a silicone mat to prevent sticking and ensure even baking. This simple step sets the stage for your delicious baked shrimp cakes to come out perfectly golden and lovely.
Step 2: Chop the Shrimp
In a food processor, add your raw shrimp and pulse until they are finely chopped but not pureed. This process should take about 30 seconds, giving you a nice, chunky consistency that’s safe and manageable for little ones. Once chopped, transfer the shrimp into a mixing bowl, ready for combining with the other ingredients.
Step 3: Mix the Ingredients
In the mixing bowl with the chopped shrimp, add breadcrumbs, the egg, minced garlic, dill, and salt. Mix well using a spatula or your hands, ensuring all components are thoroughly combined into a cohesive mixture. This merging of flavors will provide the baked shrimp cakes with their delightful taste and texture.
Step 4: Form the Cakes
Using a 3-tablespoon cookie scoop, portion out the shrimp mixture and shape each portion into a small cake. Place the formed cakes neatly onto the prepared baking sheet, leaving some space between them to allow for even baking. This step is essential for ensuring that each baked shrimp cake gets a chance to crisp up beautifully.
Step 5: Bake to Perfection
Slide the baking sheet into the preheated oven and bake the shrimp cakes for about 15 minutes. Halfway through baking, gently flip each cake to achieve a golden brown color on both sides, ensuring they bake evenly and get that desirable crisp outside.
Step 6: Cool and Serve
Once the shrimp cakes are beautifully golden, remove them from the oven and allow them to cool for a few minutes. This cooling period is vital to ensure the cakes hold together when served. Cut them into appropriate sizes for baby-led weaning, making it easier for tiny hands to enjoy these tasty baked shrimp cakes!
Expert Tips for Baked Shrimp Cakes
-
Minced to Perfection: Ensure the shrimp is finely minced to prevent choking hazards for babies. Using a food processor yields the best results.
-
Adjust for Age: Tailor the size of your shrimp cakes based on your baby’s developmental stage. Small pieces are ideal for toddlers, while younger babies may need strips.
-
Flavor Variations: Feel free to add a dash of lemon juice or different herbs like cilantro to the mixture for added flavor while keeping the focus on baked shrimp cakes.
-
Crisp and Tender: To achieve the perfect texture, make sure to flip the shrimp cakes halfway through baking for an evenly golden crust.
-
Safe Storage: Store any leftovers in an airtight container. They last up to 4 days in the fridge or can be frozen for 3 months, ensuring convenience for busy meal times.
Storage Tips for Baked Shrimp Cakes
Fridge: Store any leftover baked shrimp cakes in an airtight container for up to 4 days. This keeps them fresh and ready for quick meals or snacks.
Freezer: For longer storage, freeze the cakes in a single layer on a baking sheet, then transfer them to a freezer bag or container. They can last up to 3 months without losing their delicious flavor.
Reheating: When you’re ready to enjoy, reheat the shrimp cakes in a preheated oven at 350°F (180°C) for about 10 minutes, or until warmed through. This helps restore their crispy texture!
Make-Ahead: You can prepare the shrimp cake mixture up to a day in advance and store it in the fridge. Shape and bake just before serving for a fresh, warm treat!
Baked Shrimp Cakes: Endless Possibilities
Feel free to have fun with these baked shrimp cakes and make them your own—delightful variations await!
-
Fish Swap: Substitute the shrimp with finely minced white fish like cod or tilapia for a different seafood experience. This can create a lovely twist, offering a lighter taste, perfect for picky eaters.
-
Herb Boost: Switch out dill for fresh cilantro or basil to add vibrant notes that brighten each bite. Fresh herbs can turn these cakes into a flavor festival!
-
Gluten-Free Option: Use crushed gluten-free crackers in place of breadcrumbs to cater to dietary needs without losing texture. Everyone can enjoy shrimp cakes regardless of gluten sensitivities!
-
Spice It Up: Add crushed red pepper flakes or a dash of cayenne to the mixture for a subtle kick. Perfect for those who crave a little heat!
-
Vegetable Add-Ins: Incorporate finely grated zucchini or carrots into the mixture. Not only do they contribute moisture, but they also pack in extra nutrients for little ones!
-
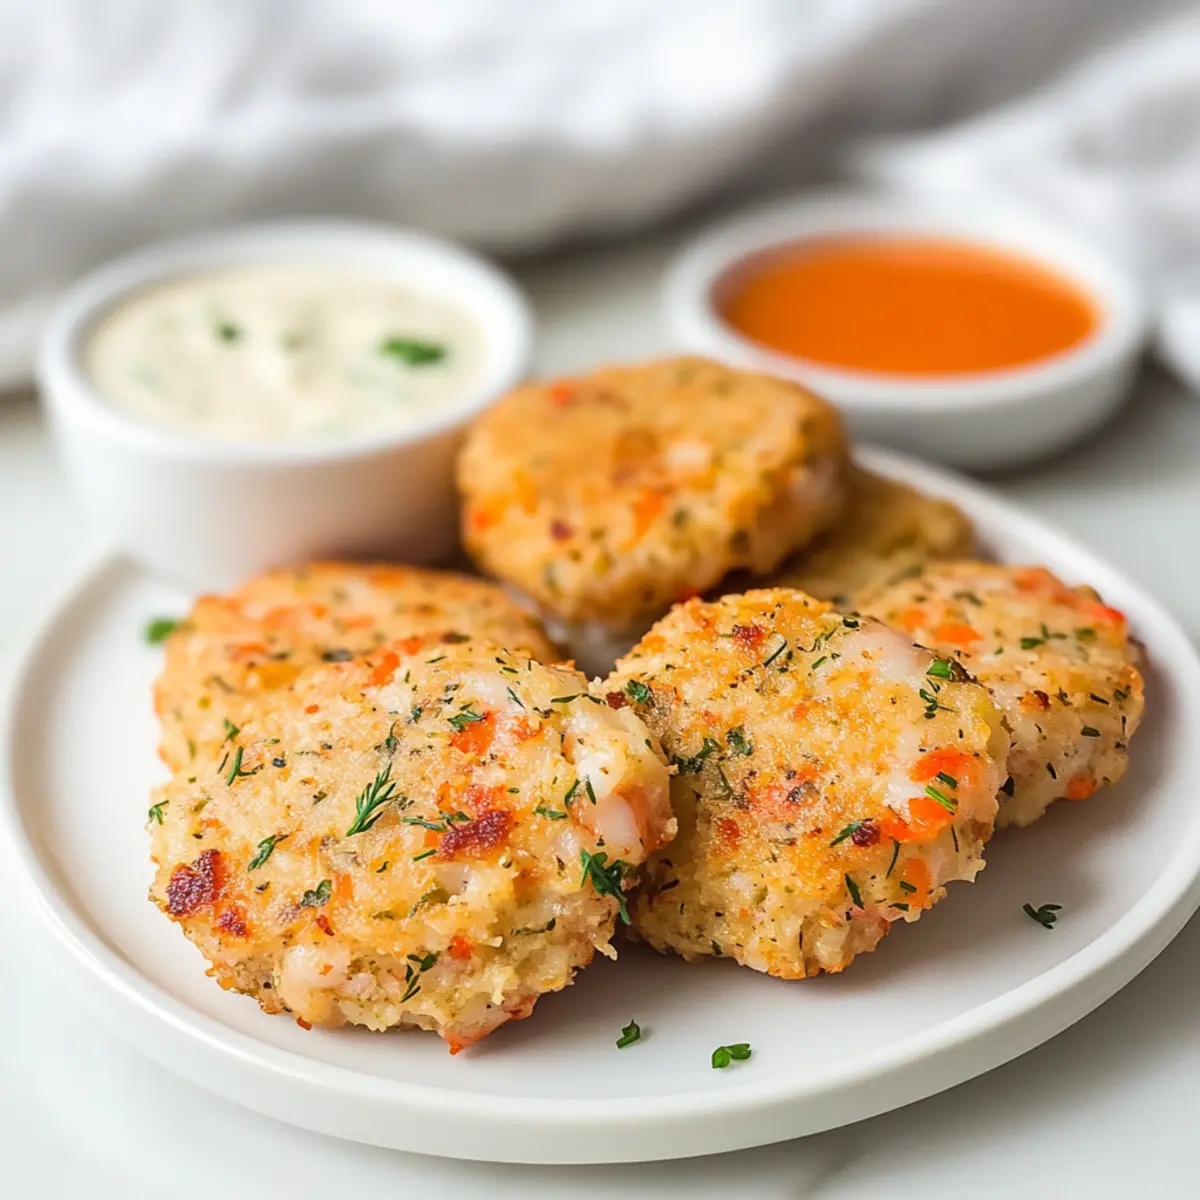
Dipping Sauces Galore: Serve alongside different dipping options like a creamy yogurt dill sauce or zesty mango salsa to add variety during mealtime. These sauces take the flavor to new heights!
-
Mini Versions: For smaller portions, use a mini muffin tin to create bite-sized cakelets that are easy for toddlers to hold. Perfect for snack time or lunchboxes!
-
Freezing Tip: Make extra and freeze for quick weeknight dinners. Simply reheat and serve for a nutritious meal that eases your busy schedule. Check out our Fiery Thai Shrimp for more creative seafood options!
Make Ahead Options
These Baked Shrimp Cakes are a fantastic choice for busy cooks looking to save time! You can prepare the shrimp mixture up to 24 hours in advance; simply combine the finely chopped shrimp with breadcrumbs, egg, garlic, dill, and salt as instructed, then store it in an airtight container in the refrigerator. This helps the flavors meld beautifully while maintaining the cakes’ freshness. When you’re ready to serve, scoop the mixture, shape it into cakes, and bake them right before mealtime. This ensures you’ll enjoy perfectly golden Baked Shrimp Cakes that are just as delicious, making your busy weeknights a little less hectic and a lot more enjoyable!
What to Serve with Baked Shrimp Cakes
These tasty bites will be the star of your meal, perfectly complemented by delightful sides and beverages.
-
Creamy Yogurt Dip: A cool yogurt sauce adds creaminess that balances the savory shrimp flavor. It’s perfect for little hands to dip into!
-
Crispy Sweet Potato Fries: The sweetness and crunchiness of these fries offer a delightful contrast to the tender shrimp cakes, making for a fun texture combination.
-
Fresh Cucumber Salad: Crisp cucumber slices tossed in a light vinaigrette brighten the meal and provide a refreshing crunch that pairs beautifully with the cakes.
-
Steamed Broccoli Florets: These vibrant green veggies bring a pop of color and nutrients to the table, making the meal wholesome and visually appealing.
-
Herbed Quinoa: This nutty grain is not just filling but also an excellent source of protein. Its light flavors enhance the dish without overshadowing the shrimp cakes.
-
Chilled Lemonade: A zesty lemonade offers a refreshing beverage option that blends well with the savory notes of the shrimp and adds a thirst-quenching touch to your meal.
-
Fruit Salad: A medley of seasonal fruits adds natural sweetness and color, ensuring a balanced meal that appeals to both little ones and grown-ups alike.
-
Apple Sauce: A subtle sweetness from apple sauce makes a wonderful dipping option for kids while balancing the flavor profile of the meal.
Baked Shrimp Cakes Recipe FAQs
How do I choose the right shrimp for my baked shrimp cakes?
Absolutely! Look for raw shrimp that is firm and has a clean, fresh scent. The shell should be smooth and free from dark spots. I recommend using wild-caught shrimp for the best flavor and nutritional value.
What is the best way to store leftover baked shrimp cakes?
To keep your baked shrimp cakes fresh, store them in an airtight container in the fridge for up to 4 days. If you have leftovers, make sure they are completely cooled before sealing them up. They’ll be ready for a quick reheat during meal time!
Can I freeze the baked shrimp cakes?
Very! Freezing is a fantastic option. Place the cooled shrimp cakes in a single layer on a baking sheet and freeze until solid, about 1-2 hours. Then transfer them to a freezer bag or container, where they can last up to 3 months. When you’re ready to enjoy them, just reheat in a 350°F (180°C) oven for about 10 minutes until warmed through.
What if my shrimp cakes are falling apart while baking?
If your shrimp cakes are crumbling, it may be due to not enough binding ingredients. Ensure you’re using the right amount of egg or breadcrumbs to help them hold together. You could also pulse the mixture a bit more in the food processor to create a finer consistency for better binding.
Can my little one have these baked shrimp cakes if they have seafood allergies?
It’s important to consult with your pediatrician before introducing shellfish to your baby, especially if they have a history of allergies. If you’re aware of specific allergies, consider making adjustments or substitutions with fish that your child may already tolerate or stick to other proteins that are safe for them.
Are there any substitutions I can use in place of breadcrumbs?
Absolutely! If you’re looking for a gluten-free option, crushed gluten-free crackers work beautifully. You can also use ground oats for a different texture. Just make sure they are finely ground for the best binding result!
Baked Shrimp Cakes: Healthy, Tasty Treats for Little Hands
Ingredients
Equipment
Method
- Preheat your oven to 350°F (180°C) and prepare a baking sheet with parchment paper or a silicone mat.
- In a food processor, pulse the raw shrimp until finely chopped and transfer to a mixing bowl.
- Add breadcrumbs, the egg, minced garlic, dill, and salt to the shrimp, and mix until well combined.
- Form the mixture into small cakes using a cookie scoop and place them on the baking sheet.
- Bake for about 15 minutes, flipping the cakes halfway for even browning.
- Allow the cakes to cool for a few minutes before serving, cutting them into appropriate sizes.