

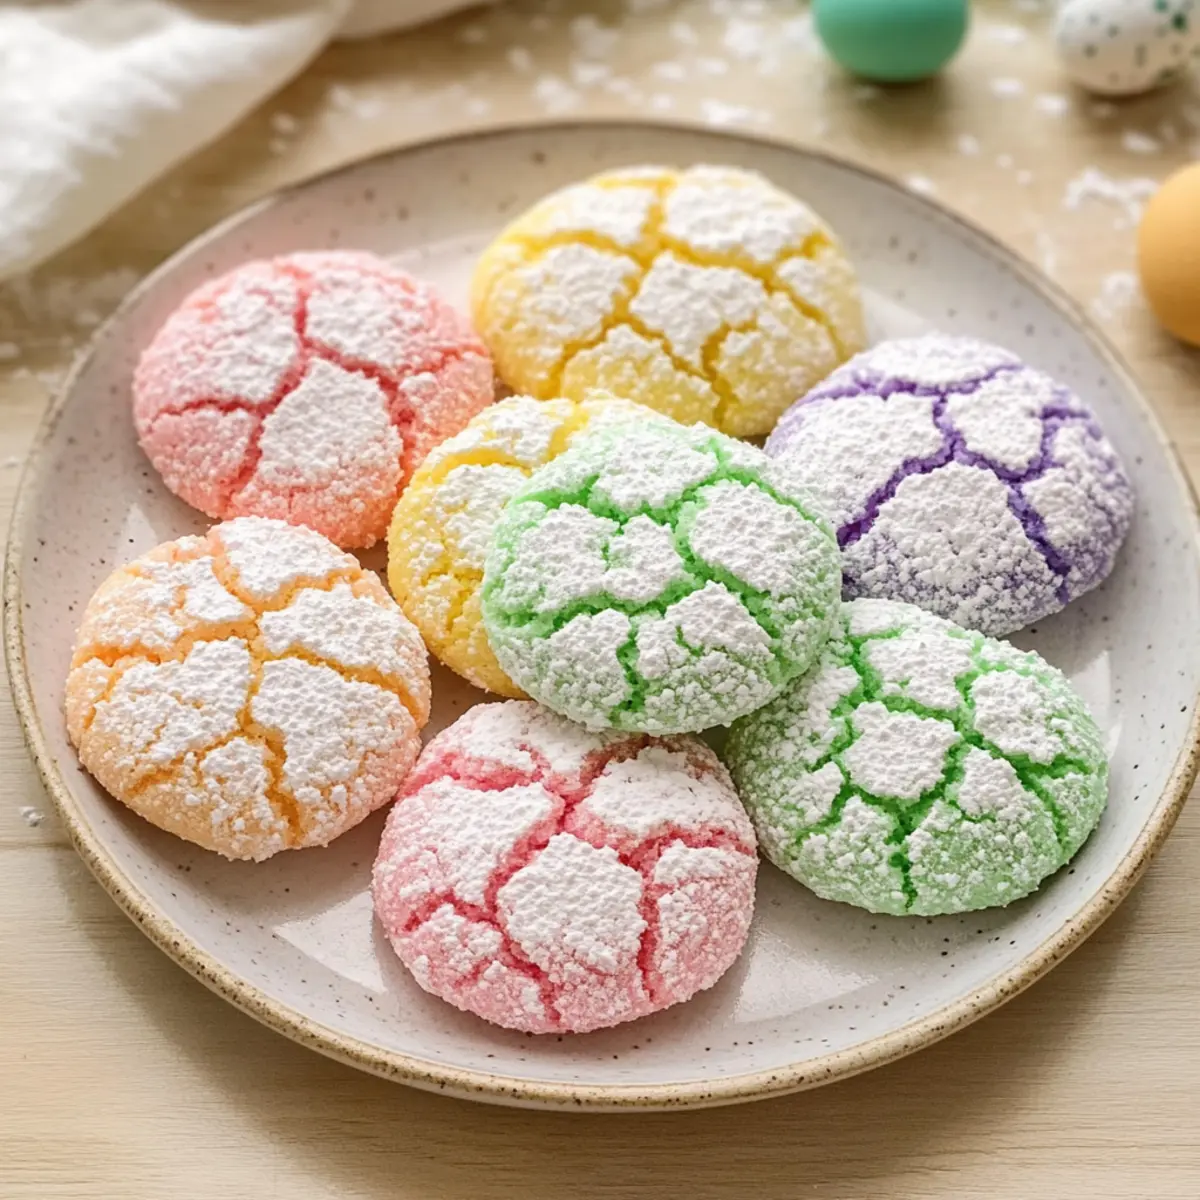
As I opened the oven door, a wave of sweet vanilla enveloped my kitchen, drawing me in with its warmth. There’s something magical about baking cookies, especially when they’re as colorful and vibrant as these Springtime Crinkle Cookies. With their chewy centers and delicate pastel cracks, this easy dessert brightens up any gathering—from Easter brunches to cheerful afternoon snacks. What makes these cookies truly special is not just their playful appearance, but also how quick they are to whip up—perfect for those busy days when you crave a homemade treat without the fuss. Are you ready to fill your home with delightful aromas and take a bite of spring? Let’s dive into the recipe!
What makes these cookies so special?
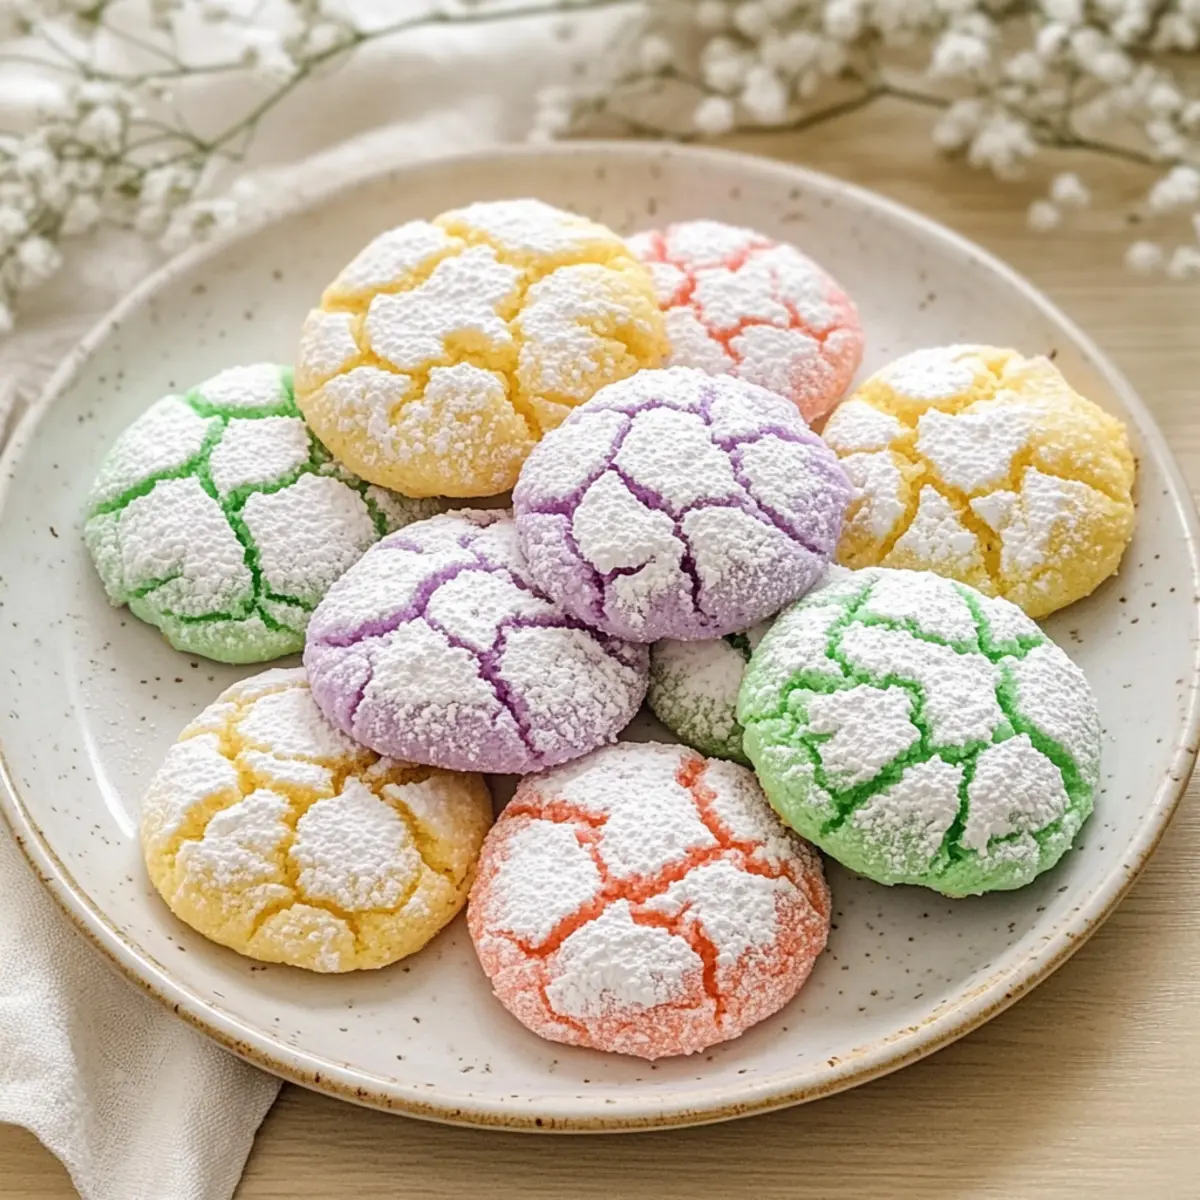
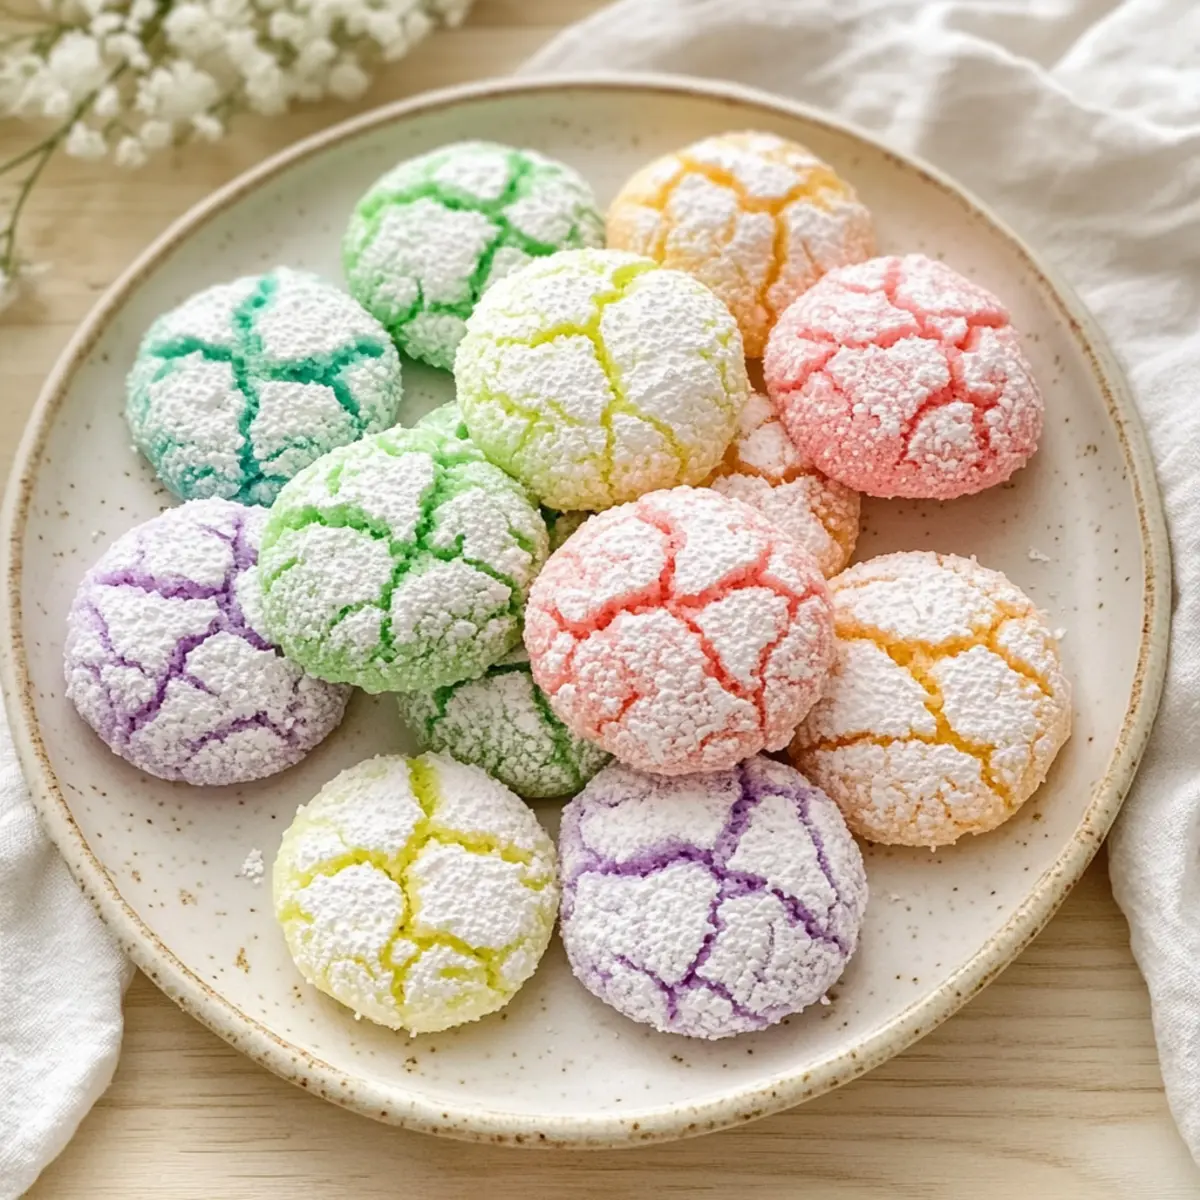
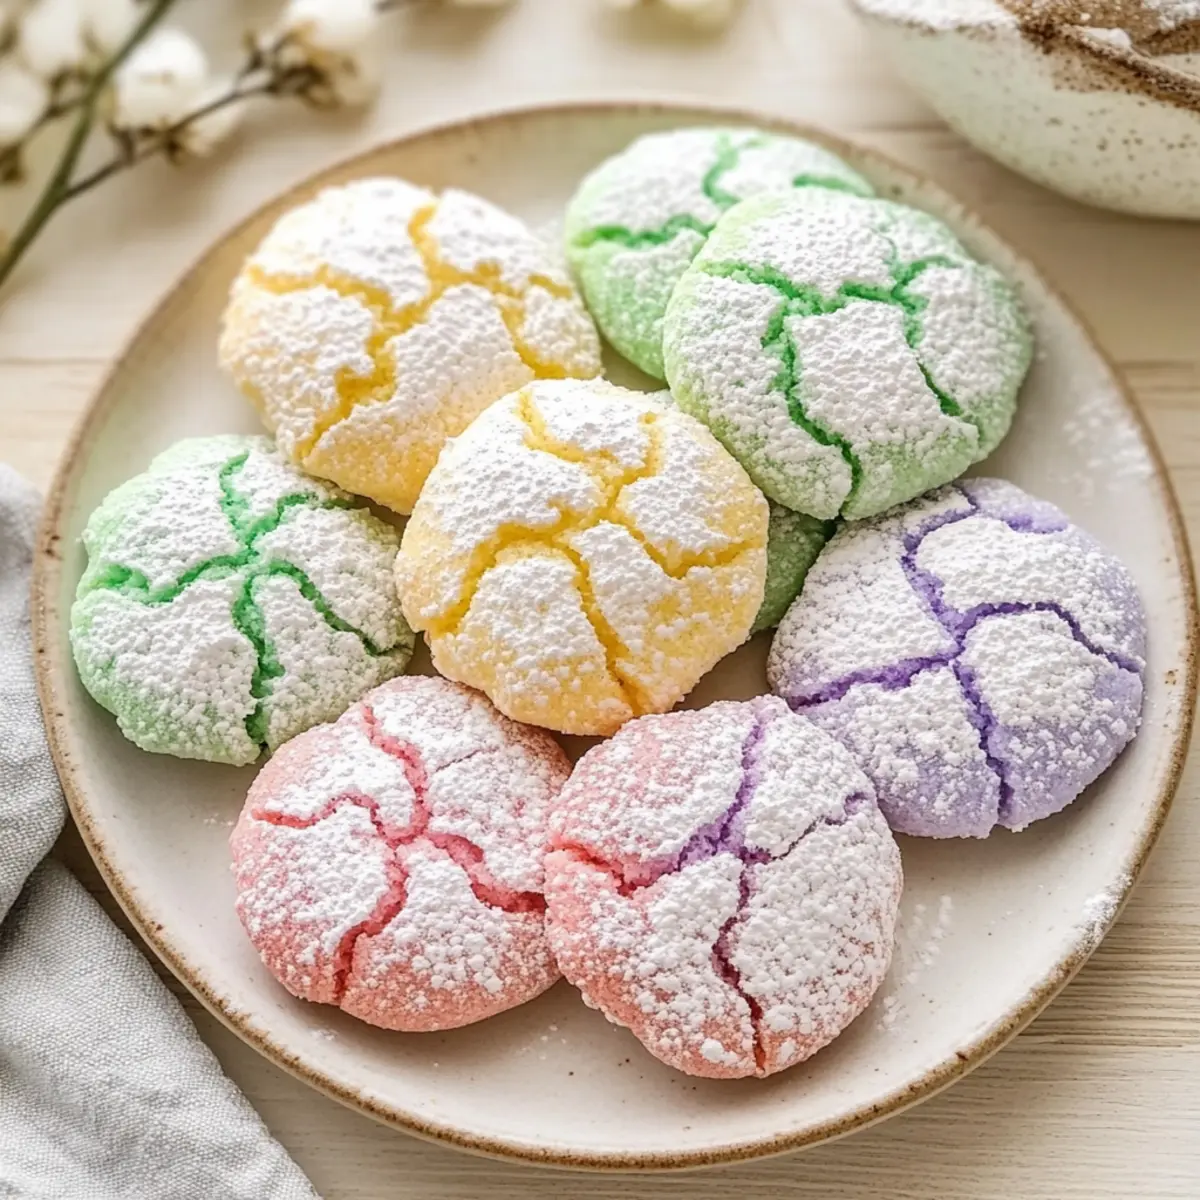
Bright, Playful Colors: These Springtime Crinkle Cookies are as much a feast for the eyes as they are for the palate, featuring charming pastel hues that add a festive touch to any occasion.
Quick to Prepare: With simple steps and minimal fuss, you can bake these delightful treats in just about 30 minutes, making them ideal for last-minute gatherings or a spontaneous sweet craving.
Chewy Centers & Crispy Edges: Enjoy the perfect texture combination that keeps everyone coming back for more: tender, chewy cookie centers juxtaposed with a subtly crunchy powdered sugar crust.
Endless Versatility: Feel free to experiment with different flavor extracts, like swapping almond for coconut, to customize your cookies and impress guests with unique twists.
Perfect for Sharing: These cookies are a hit at any gathering, from Easter celebrations to birthday parties, making them an excellent choice for bringing a touch of sweetness to your next event. For more creative ideas, be sure to check out my Birthday Cake Cookies or Coffee Cake Cookies!
Springtime Crinkle Cookies Ingredients
• Delightful components for a colorful treat.
For the Dough
- All-Purpose Flour – Provides structure for the cookies; no substitutions are recommended for best results.
- Baking Powder – Acts as a leavening agent, ensuring light, airy cookies.
- Salt – Enhances the flavor balance in the cookies, making every bite pop.
- Unsalted Butter – Adds richness and moisture; use room temperature for easy creaming with sugar.
- Granulated Sugar – Sweetens the cookies and helps achieve that chewy center we all adore.
- Large Eggs – Binds the dough for a fluffy texture; essential for success!
- Vanilla Extract – Infuses a comforting aroma and a delightful flavor into every cookie.
- Almond Extract (optional) – Introduces a subtle nutty note; swap for vanilla if you prefer a stronger vanilla flavor.
For the Coating
- Powdered Sugar – Creates the signature crinkle appearance; coat thoroughly for that eye-catching look.
For the Color
- Gel Food Coloring in Pastel Shades – Offers vibrant hues without compromising dough consistency; perfect for festive flair in your Springtime Crinkle Cookies!
Step‑by‑Step Instructions for Springtime Crinkle Cookies
Step 1: Preheat Your Oven
Start by preheating your oven to 350°F (175°C). This ensures that your Springtime Crinkle Cookies will bake evenly and develop that delightful texture. While the oven warms up, line a baking sheet with parchment paper to prevent sticking and to make for easy cleanup later on.
Step 2: Combine Dry Ingredients
In a medium bowl, whisk together 2 cups of all-purpose flour, 1 teaspoon of baking powder, and 1/4 teaspoon of salt. This dry mixture will provide the structure and lightness needed for the cookies. Make sure there are no lumps, as a well-mixed blend will result in consistent cookie texture.
Step 3: Cream Butter and Sugar
In a large mixing bowl, beat together 1/2 cup of softened unsalted butter and 1 cup of granulated sugar using an electric mixer until the mixture is light and fluffy, about 2-3 minutes. This process adds air to the cookie dough and enhances the overall flavor, making your Springtime Crinkle Cookies irresistibly soft.
Step 4: Add Eggs and Flavors
Next, add 2 large eggs, one at a time, mixing well after each addition to ensure a smooth batter. Then, stir in 2 teaspoons of vanilla extract and, if you choose, 1/2 teaspoon of almond extract. This aromatic blend creates a wonderfully rich base for your cookies.
Step 5: Mix in Dry Ingredients
Gradually fold the dry ingredients from Step 2 into the wet mixture to form a thick dough. Be gentle during this process to keep the air in the mixture, which will help your Springtime Crinkle Cookies rise beautifully. Stop mixing as soon as the flour is fully incorporated to avoid tough cookies.
Step 6: Color the Dough
Divide the dough into smaller portions to dye it with your chosen pastel gel food coloring. Using gloves, add a few drops of your favorite colors to each portion and knead until the colors are uniformly mixed. This process adds that fun and festive appearance to your cookies that everyone will love.
Step 7: Chill the Dough
Wrap the colored dough in plastic wrap and chill it in the refrigerator for at least 30 minutes. Chilling helps firm up the dough, making it easier to shape and reducing spread during baking. This step is essential for the perfect texture in your Springtime Crinkle Cookies.
Step 8: Shape and Coat the Cookies
Once chilled, roll tablespoon-sized balls of dough between your palms. After forming each ball, coat it thoroughly in powdered sugar, ensuring a generous layer that will create the signature crinkle effect. Place the coated dough balls about 2 inches apart on the prepared baking sheet.
Step 9: Bake the Cookies
Finally, bake the cookies in your preheated oven for 10-12 minutes, until the tops start to crack and the edges are set. The cookies should look soft but firm enough to hold their shape. Keep an eye on them, as every oven varies, and you want that lovely golden appearance to shine through.
Step 10: Cool and Enjoy
After baking, let the cookies cool on the baking sheet for 5 minutes before transferring them to a cooling rack. Allow them to cool completely to enhance their chewy texture. Now, you’re ready to share your delightful Springtime Crinkle Cookies with family and friends!
Make Ahead Options
These Springtime Crinkle Cookies are a fantastic choice for busy home cooks looking to save time! You can prepare the cookie dough and refrigerate it for up to 24 hours before baking, allowing you to manage your schedule while still enjoying fresh, homemade treats. Simply mix the dough, color it, and roll it into balls before coating them in powdered sugar. Once you’re ready to bake, just place the dough balls on a lined baking sheet and pop them in the oven. To maintain their quality, store any unbaked cookie dough in an airtight container in the fridge to prevent drying. Enjoy these vibrant, chewy cookies in no time!
Expert Tips for Springtime Crinkle Cookies
-
Chill for Success: Make sure to chill the dough for at least 30 minutes. This step prevents the cookies from spreading too much as they bake, ensuring they maintain their shape and chewy texture.
-
Avoid Liquid Coloring: When coloring your dough, always use gel food coloring. Liquid dyes can change the dough’s consistency, leading to cookies that may not turn out as intended.
-
Generous Sugar Coating: Coat your dough balls generously in powdered sugar before baking. A thorough coat ensures the iconic crinkle effect and adds a sweet touch to each bite of these Springtime Crinkle Cookies.
-
Room Temperature Ingredients: Ensure your butter is at room temperature for easier mixing. This helps incorporate air into the batter, resulting in a lighter, fluffier cookie texture.
-
Watch the Bake Time: Keep a close eye on the cookies as they bake. Ovens can vary in temperature, so pulling them out when the edges are just set but the centers are soft will yield the best results.
How to Store and Freeze Springtime Crinkle Cookies
Room Temperature: Store your cookies in an airtight container at room temperature for up to 5 days to maintain their chewy texture and vibrant colors.
Freezer: For longer storage, freeze your Springtime Crinkle Cookies in a single layer on a baking sheet until solid, then transfer to a freezer-safe container for up to 3 months.
Reheating: To enjoy frozen cookies, simply thaw them at room temperature or warm them in the microwave for a few seconds to rejuvenate their chewy centers.
Cookie Dough: If you want to make ahead, chill the dough for up to 24 hours before baking. Just roll and coat in powdered sugar before baking when you’re ready to cook!
What to Serve with Springtime Crinkle Cookies
Indulging in these delightful cookies opens the door to a world of scrumptious pairings that will elevate your dessert table.
-
Creamy Vanilla Ice Cream: A scoop of creamy vanilla ice cream offers a delightful contrast to the chewy cookie texture, melting luxuriously on your taste buds.
-
Fresh Berries Medley: Juicy strawberries, blueberries, and raspberries add a refreshing tartness, perfectly balancing the cookie’s sweetness and creating a vibrant plate.
-
Lemonade Spritzers: A zesty lemonade spritzer refreshes the palate, bringing a burst of citrusy brightness that complements the buttery flavors of the cookies.
-
Chocolate Dipping Sauce: Rich, warm chocolate sauce allows for a fun, interactive experience. Dip your Springtime Crinkle Cookies for a decadent chocolate twist!
-
Coconut Macaroons: These chewy coconut treats share that same delightful texture while providing an exotic flavor contrast that can enchant your guests.
-
Earl Grey Tea: A cup of warm Earl Grey tea, with its floral bergamot notes, pairs harmoniously, creating a calming contrast to the sweetness of the cookies.
-
Colorful Fruit Salad: A light, colorful fruit salad with a citrus dressing adds a bright and refreshing touch, making your dessert spread feel festive and satisfying.
-
Mini Cheesecake Bites: These sweet little bites are creamy and rich, creating an indulgent contrast to the airy crinkle cookies that everyone will love.
Springtime Crinkle Cookies Variations
Feel free to get creative and tailor these delightful cookies to your taste; the joy of baking is all about personal touches!
-
Almond-Free: Swap almond extract for coconut or orange extract for a different flavor profile.
Imagine the scent of fresh coconut wafting through your kitchen as you bite into these cookies. -
Colorful Swirls: Instead of pastel colors, mix vibrant hues for a fun visual twist that’s sure to impress!
Just think of a rainbow baking session where every cookie reveals a burst of color—such a treat for the eyes! -
Dairy-Free: Use coconut oil or a plant-based butter substitute for a dairy-free version.
These cookies will still provide that delightful chewiness while being kind to those with dietary restrictions. -
Nutty Add-in: Fold in some chopped nuts, like walnuts or pecans, to add texture and flavor.
The crunch of nuts perfectly complements the soft, chewy centers, creating bursts of flavor in every bite. -
Chocolate Chip Twist: Mix in semi-sweet chocolate chips for a chocolaty surprise.
The combination of chocolate with the sweet base creates a deliciously rich experience that no one can resist. -
Spicy Kick: Add a pinch of cinnamon or a dash of cayenne pepper for a subtle heat variation.
Just a hint of spice can elevate these cookies to new flavor heights, making every bite exciting!
For even more baking inspiration, check out my Birthday Cake Cookies for a festive treat or indulge in Style Oreo Cookies for a classic favorite!
Springtime Crinkle Cookies Recipe FAQs
What kind of flour should I use for these cookies?
I recommend using all-purpose flour for the best structure and texture in your Springtime Crinkle Cookies. Substituting with alternative flours can affect the cookies’ consistency and chewiness, so stick with all-purpose for delightful results!
How long can I store the cookies?
You can store your Springtime Crinkle Cookies in an airtight container at room temperature for up to 5 days. Make sure they’re completely cooled first to retain their chewy texture.
Can I freeze Springtime Crinkle Cookies?
Absolutely! For longer storage, freeze your baked cookies by laying them in a single layer on a baking sheet until solid. Then, transfer them to a freezer-safe container or bag, where they can stay fresh for up to 3 months. Just thaw at room temperature when you’re ready to enjoy!
How should I store the cookie dough?
If you want to prepare your cookie dough ahead of time, chill it in the refrigerator for up to 24 hours before baking. Just remember to roll the chilled dough balls in powdered sugar right before baking to get that beautiful crinkle effect.
What should I do if my cookie dough is too dry?
If you find your dough to be too dry while mixing, don’t fret! Just add a tablespoon of milk or water at a time until the dough comes together properly. Conversely, if it’s too cold and hard to shape, let it sit out at room temperature for about 10 minutes before rolling.
Are these cookies suitable for people with nut allergies?
If you’re making these Springtime Crinkle Cookies for someone with nut allergies, simply leave out the optional almond extract. The cookies will still taste delightful with just the vanilla extract!
Springtime Crinkle Cookies: Chewy, Colorful Delights for You
Ingredients
Equipment
Method
- Preheat your oven to 350°F (175°C). Line a baking sheet with parchment paper.
- In a medium bowl, whisk together the flour, baking powder, and salt.
- In a large mixing bowl, beat together the softened butter and granulated sugar until light and fluffy.
- Add the eggs one at a time, mixing well after each addition. Stir in vanilla and almond extract.
- Gradually fold in the dry ingredients to form a thick dough.
- Divide the dough and color with gel food coloring as desired.
- Chill the colored dough in the refrigerator for at least 30 minutes.
- Roll tablespoon-sized balls and coat them in powdered sugar.
- Bake the cookies for 10-12 minutes until cracked.
- Cool on the baking sheet for 5 minutes before transferring to a cooling rack.