

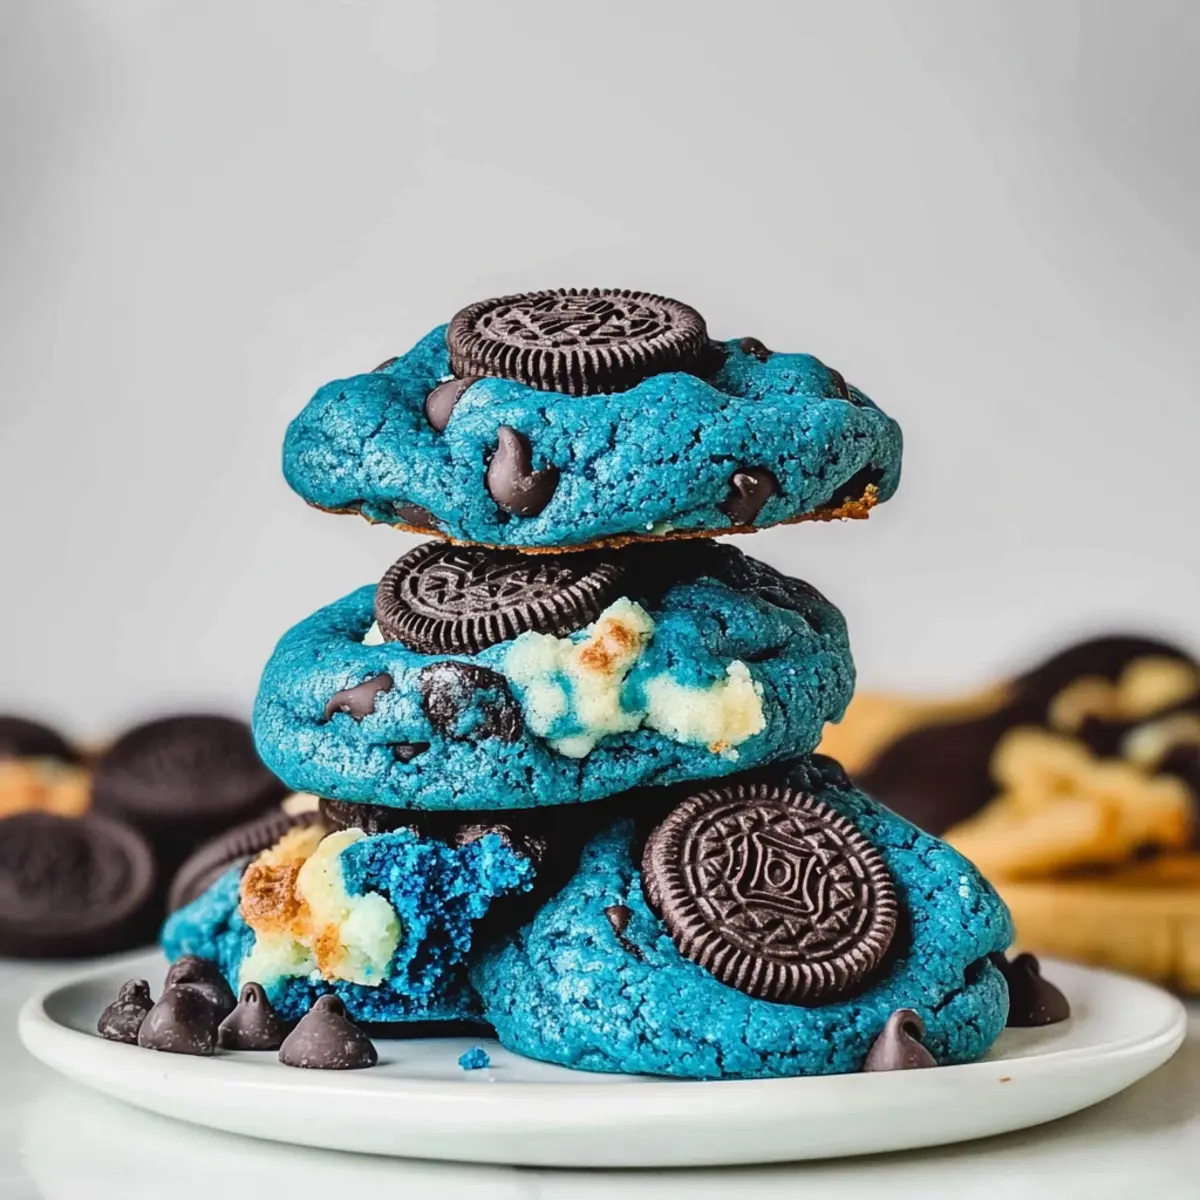
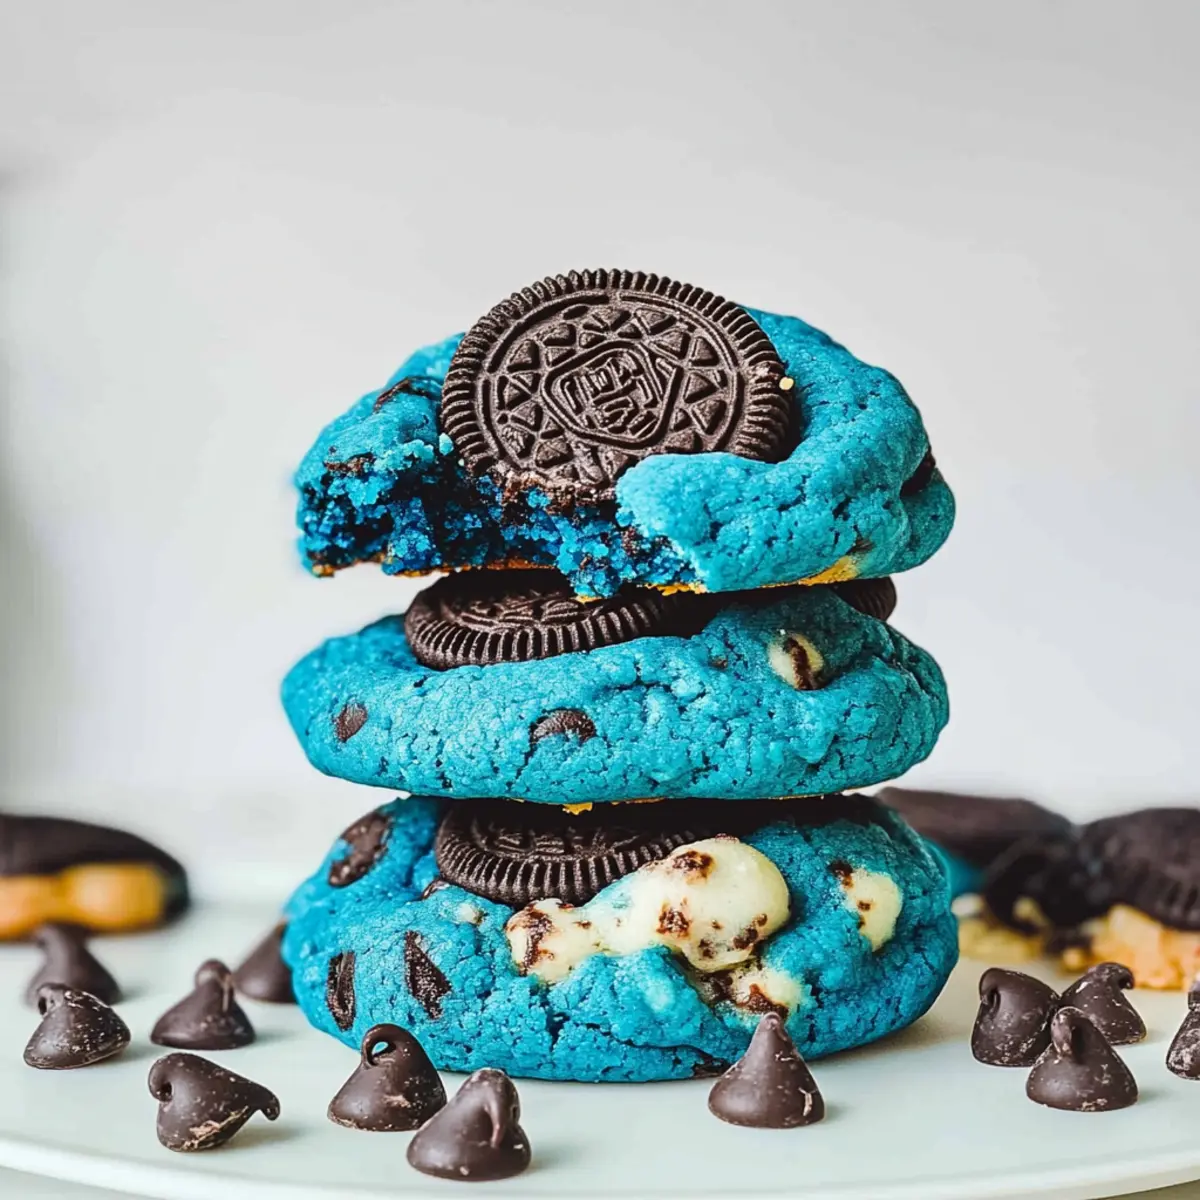
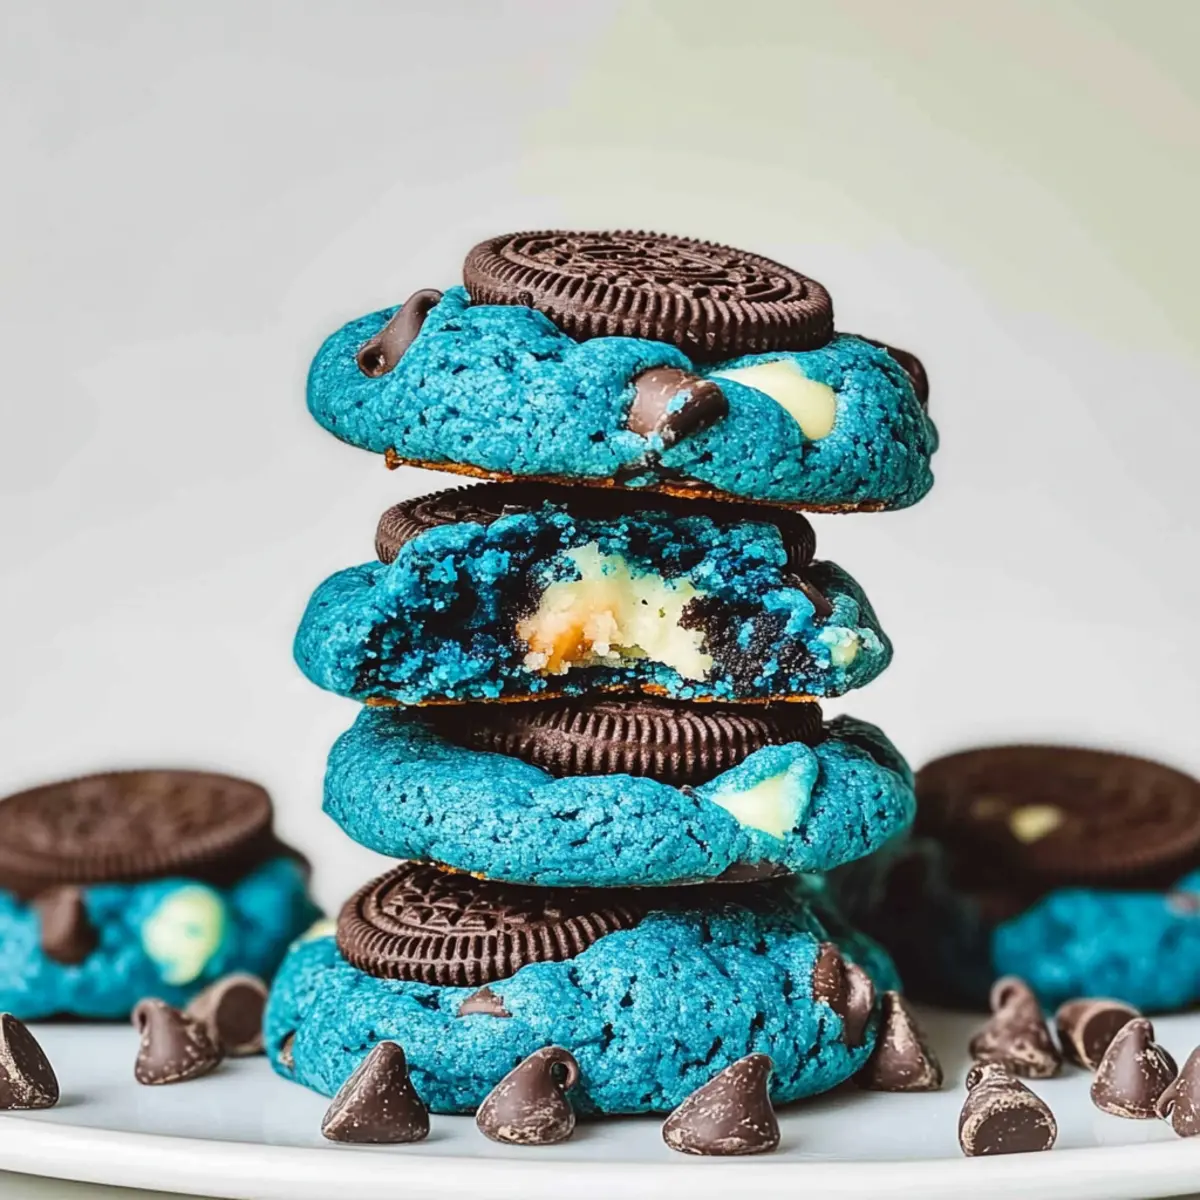
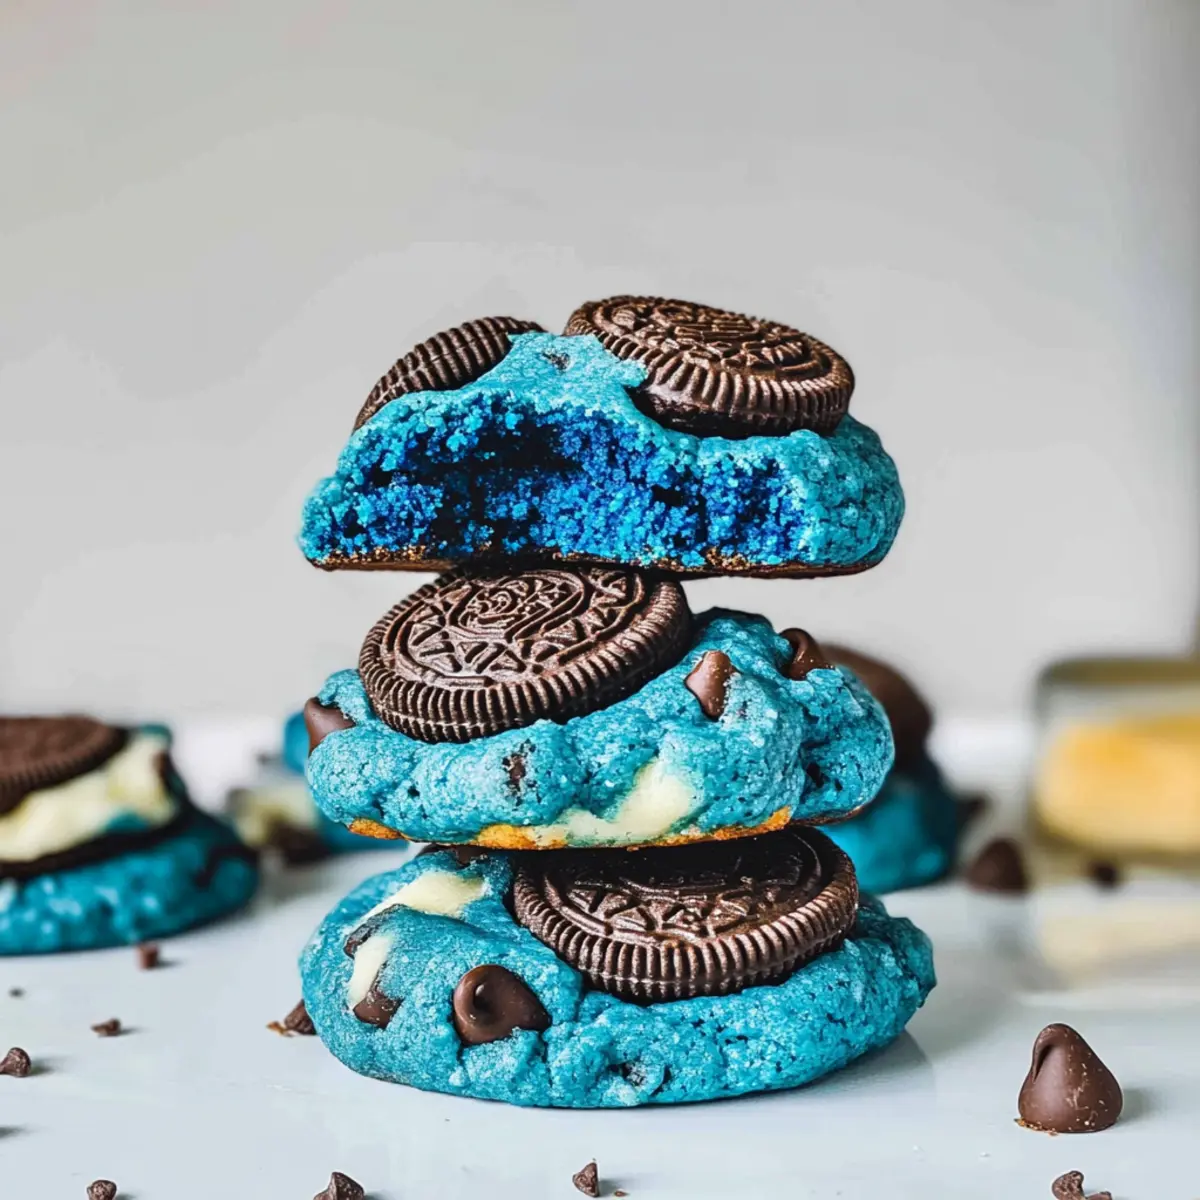
“Did you hear about the colorful cookie craze?” I overheard a few friends chatting at a coffee shop recently, their eyes lighting up at the mention of vibrant baked goods. That’s when I knew I had to share my take on the trend—Chewy Blue Cookie Monster Cookies stuffed with Oreos! Beyond their whimsical hue, these cookies bring two irresistible perks to your kitchen: they’re not only a fun conversation starter for parties, but they’re also quick to whip up, making them perfect for spontaneous gatherings or cozy nights in. Imagine sinking your teeth into a soft and chewy cookie with a delightful surprise of creamy Oreo goodness in each bite. Curious about how to bring these playful treats to life? Let’s dive into the recipe and color your world delicious!
Why are these Cookie Monster Cookies special?
Whimsical Color: The vibrant blue hue makes these cookies a stunning centerpiece for any occasion, instantly capturing attention.
Delightful Surprise: Each chewy bite hides a full Oreo, delivering a rich texture and flavor that transforms a simple cookie into an extraordinary treat.
Quick & Easy: With straightforward steps, these playful cookies come together in no time, making them ideal for last-minute gatherings or cozy family nights.
Customizable Fun: Feel free to swap the blue coloring for other fun hues, ensuring you can match these cookies to any theme or holiday, just like my Birthday Cake Cookies or colorful Bakery Style Oreo Cookies!
Kid-Friendly: Kids love getting involved in the baking process, making these cookies a fun family activity that results in delicious treats.
Social Media Ready: Their bright, cheerful appearance makes them perfect for sharing on your favorite platforms, putting your baking skills on display.
Cookie Monster Cookies Ingredients
• To create these delightful treats, gather the following essentials!
For the Cookie Dough
- Butter – Ensure it’s softened for easy mixing and a rich texture.
- Granulated Sugar – Adds sweetness and helps achieve crisp edges.
- Brown Sugar – Enhances moisture and chewiness with its molasses content.
- Egg – Acts as a binder, adding essential structure to the cookies.
- Vanilla Extract – Infuses depth and warmth to the overall flavor.
- Blue Gel Food Coloring – Provides the vibrant color; adjust for your preferred shade.
- All-Purpose Flour – The foundation of the cookie; weigh it for accuracy.
- Baking Powder – A leavening agent that helps create a soft texture.
- Baking Soda – Aids in browning and contributes to the rise of the cookies.
- Salt – Balances sweetness and enhances overall flavor.
For the Mix-ins
- Chocolate Chips – Adds sweetness and a delightful texture contrast; feel free to mix it up with flavored chips.
- Mini Cookie Pieces – Provides extra crunch and sweetness; use any cookie crumbs for this step.
- Oreos – The secret stuffing that brings a delicious surprise; consider swapping with your favorite filled cookies if desired.
By gathering these ingredients, you’ll be one step closer to whipping up eye-catching, mouthwatering Cookie Monster Cookies that are sure to impress your family and friends. Happy baking!
Step‑by‑Step Instructions for Cookie Monster Cookies
Step 1: Prepare the Dough
In a large mixing bowl, cream together 1 cup of softened butter, ½ cup granulated sugar, and ½ cup packed brown sugar using an electric mixer on medium speed for 1-2 minutes until smooth and fluffy. This mixture should appear light and creamy, creating the perfect base for your chewy Cookie Monster cookies.
Step 2: Mix Wet Ingredients
Add 1 egg, 1 teaspoon vanilla extract, and a few drops of blue gel food coloring to the creamed butter and sugars. Beat on low speed until all ingredients are well combined and the mixture turns a vibrant blue hue, showcasing the playful spirit of your cookie dough.
Step 3: Combine Dry Ingredients
In a separate bowl, whisk together 2 ½ cups of all-purpose flour, 1 teaspoon baking powder, 1 teaspoon baking soda, and ½ teaspoon salt. Gradually fold this dry mixture into the wet ingredients using a spatula or wooden spoon until just combined, being careful not to overmix to maintain softness in your Cookie Monster cookies.
Step 4: Add Mix-ins
Gently fold in 1 cup of chocolate chips, ½ cup of mini cookie pieces, and 10 coarsely chopped Oreos until they are evenly distributed throughout the dough. This delightful combination of textures will make every bite of your Cookie Monster cookies a fun experience.
Step 5: Shape Cookies
Take about 2 tablespoons of the dough and flatten it in your palm. Place a whole Oreo in the center and mold the dough around it, ensuring it’s completely encased. This technique will create the delightful surprise of an Oreo in each chewy Cookie Monster cookie.
Step 6: Chill Dough
Chill the shaped cookie dough balls on a cookie sheet lined with parchment paper for 30 minutes in the refrigerator, or for 15-20 minutes in the freezer. This step is crucial for preventing spreading and achieving thick, chewy textures during baking.
Step 7: Bake
Preheat your oven to 180°C (350°F). Place the chilled cookie dough balls on a lined baking sheet spaced apart. Bake for 12-15 minutes until the edges are golden brown and the centers remain soft; they will puff up slightly but should appear slightly underbaked for that perfect chewy texture in your Cookie Monster cookies.
Step 8: Cool
Once baked, allow the cookies to cool on the tray for about 5 minutes before transferring them to a wire rack. This cooling period will help them set and develop the delightful chewy goodness that makes these Cookie Monster cookies so irresistible.
What to Serve with Chewy Cookie Monster Cookies Stuffed with Oreos?
These vibrant cookies can easily be the centerpiece of a dessert table, beautifully complemented by a range of playful and delicious sides.
- Milkshake: A classic pairing that enhances the cookies’ creamy filling, a rich milkshake is a delightful way to cool down and savor each bite.
- Ice Cream Sundae: Scoop your favorite ice cream on top of a warm cookie and drizzle with chocolate sauce for an indulgent treat that’s simply irresistible.
- Fruit Platter: Fresh, juicy fruits like strawberries and blueberries provide a refreshing contrast to the sweetness of the cookies, adding color and vitamins to your dessert spread.
- Chocolate Fondue: Dip cookie pieces into warm, melted chocolate for a fun and interactive dessert experience that’s sure to bring smiles all around.
- Coffee or Espresso: A warm cup of coffee cuts through the sweetness while intensifying the chocolate flavors, making it an ideal comforting pairing for late-night cravings.
- Cake Pops: A fun addition to any dessert table, these bite-sized wonders can be decorated to match your cookies’ vibrant theme, creating a visually stunning display.
- Sparkling Lemonade: The tangy refreshment of some sparkling lemonade adds a zesty brightness that balances the richness of the cookies, ideal for gatherings or parties.
- Chocolate Dipped Pretzels: The salty crunch of pretzels, covered in chocolate, creates a delightful contrast in both flavor and texture that enhances your cookie experience.
Cookie Monster Cookies Variations
Feel free to play with these delightful Cookie Monster cookies, customizing them to suit your taste and occasion!
- Colorful Options: Swap the blue gel food coloring for other vibrant shades like pink, green, or purple to match any theme.
- Stuffing Substitutes: Try stuffing with Biscoff cookies or chocolate squares for a different flavor twist. Each option brings its unique flair!
- Spice It Up: Add a pinch of cinnamon or nutmeg for a warm, cozy flavor. A subtle spice can elevate the entire experience without overpowering.
- Nutty Delight: Incorporate chopped nuts, like walnuts or pecans, for a delightful crunch and extra richness in each bite. It’s a delicious way to add texture!
- Chunky Chocolate: Use a mix of dark, milk, and white chocolate chips for a decadent chocolate explosion. Who could resist that?
- Mini Version: Roll the dough into smaller balls for bite-sized cookies. They’re perfect for dessert platters or snack bowls!
- Gluten-Free Twist: Substitute all-purpose flour with a gluten-free blend for a delicious alternative without missing out on taste.
- Birthday Cookies: Add a handful of colorful sprinkles to the dough for a festive touch, similar to my Birthday Cake Cookies!
Embrace these variations and let your creativity shine! You could even consider combining these colorful cookies with my mouthwatering Bakery Style Oreo Cookies for a wonderful dessert spread. Happy baking!
Make Ahead Options
These Chewy Cookie Monster Cookies are a fantastic choice for meal prep, allowing you to whip up a delightful treat without the last-minute rush. You can prepare the cookie dough up to 24 hours in advance; simply shape the dough balls, include the Oreo center, and chill them in the fridge. For longer storage, you can freeze the dough for up to 3 months in an airtight container—just be sure to label it with the date! When you’re ready to bake, transfer the chilled or frozen dough directly to a lined baking sheet and add a couple of extra minutes to the baking time. This way, you’ll enjoy freshly baked cookies that are just as chewy and delicious as if you made them on the spot, perfect for busy weeknights!
How to Store and Freeze Cookie Monster Cookies
Room Temperature: Keep your cookies in an airtight container for up to 1 week, ensuring they retain their delightful texture and flavor.
Fridge: While it’s not necessary to refrigerate, you can store cookies in the fridge for about 1 week if you prefer them chilled.
Freezer: For longer preservation, freeze the dough balls before baking for up to 3 months or baked cookies for up to 2 months. Let them thaw at room temperature before enjoying!
Reheating: To refresh your cookies, pop them in the microwave for 10-15 seconds, avoiding dryness while bringing back their chewy goodness.
Helpful Tricks for Cookie Monster Cookies
-
Chill Dough: Ensure your dough is adequately chilled before baking to prevent spreading and achieve that thick, chewy texture characteristic of Cookie Monster cookies.
-
Weigh Your Flour: For precise measurements, weigh your flour instead of using volume measurements. This helps avoid a dry cookie that won’t rise properly.
-
Avoid Overmixing: Gently mix in your dry ingredients until just combined. Overmixing can lead to tough cookies rather than the soft, delightful texture we want.
-
Oven Temperature Check: Always preheat your oven properly. An uncalibrated oven can lead to uneven baking and affect the texture of your Cookie Monster cookies.
-
Customize Colors: Don’t hesitate to experiment with different gel food coloring shades for various occasions; your cookies will still taste amazing no matter the hue!
-
Store Properly: Once cooled, keep your cookies in an airtight container to maintain freshness for up to a week—or freeze for longer enjoyment!
Cookie Monster Cookies Recipe FAQs
What should I look for in ripe ingredients?
Absolutely! Start with soft, room temperature butter to ensure a smooth mix. For eggs, choose fresh ones, ensuring they have a uniform color with no cracks. If you’re adding any additional ingredients, like chocolate chips or mini cookie pieces, make sure they’re within their best by date for the utmost freshness in flavor.
How should I store my Cookie Monster Cookies?
Very simple! Once your delicious cookies have cooled, keep them in an airtight container at room temperature for up to one week. This helps them maintain their chewy consistency and delightful flavor. If you’re like me and want to keep some extra cookies on hand, they can also be refrigerated for a week, or freeze for up to two months in a labeled, sealed bag.
Can I freeze the Cookie Monster Cookies?
Absolutely! You can freeze the dough before baking for up to three months. Just shape the cookie dough into balls, space them out on a baking sheet, and freeze until solid. Then transfer them to a zip-top bag. When you’re ready to bake, let them thaw in the fridge overnight before baking, or bake from frozen, adding a couple of extra minutes to the baking time.
What should I do if my cookies spread too much while baking?
Oh no! If that happens, it typically means the dough wasn’t chilled enough. To remedy this in the future, make sure to chill your cookie dough for at least 30 minutes before baking. Additionally, weighing your flour for accuracy can help ensure your cookie texture is just right.
Are these cookies safe for pet consumption?
No, it’s best to keep these cookies away from pets! Ingredients like chocolate and certain sugars can be harmful to dogs. When making these delightful cookies, be sure to store them safely out of reach of your furry friends.
Can I substitute ingredients for dietary considerations?
Definitely! For a gluten-free option, substitute all-purpose flour with a gluten-free flour blend. Ensure your chocolate chips and Oreos are also gluten-free. If you’re catering to nut allergies, make sure to check labels on all mix-ins. Customize your cookie to stay within dietary preferences while still keeping that fun and playful spirit alive!
Chewy Cookie Monster Cookies Stuffed with Oreos Delight
Ingredients
Equipment
Method
- Cream together butter, granulated sugar, and brown sugar using an electric mixer for 1-2 minutes until smooth and fluffy.
- Add egg, vanilla extract, and blue gel food coloring. Beat on low speed until well combined.
- In a separate bowl, whisk together flour, baking powder, baking soda, and salt. Fold into wet ingredients until just combined.
- Gently fold in chocolate chips, mini cookie pieces, and chopped Oreos until evenly distributed.
- Shape about 2 tablespoons of dough around a whole Oreo.
- Chill shaped cookie dough balls for 30 minutes in the refrigerator.
- Preheat oven to 180°C (350°F). Bake for 12-15 minutes until edges are golden brown.
- Cool on the tray for 5 minutes before transferring to a wire rack.