

As I flipped through my well-worn cookbook, I stumbled upon a recipe for gyro bread that instantly transported me to a cozy Mediterranean café. This warm, fluffy delight is a staple in my kitchen, offering a perfect hug to everything from savory meats to vibrant veggies. Making homemade gyro bread is not only incredibly simple but also unbelievably versatile, making it a go-to option for lunches, dinner, or even a fun gathering with friends. Plus, it accommodates gluten-free diets with minimal fuss, ensuring everyone can join in on the deliciousness. So, are you ready to wrap your favorite fillings in this fluffy goodness? Let’s dive into the recipe!
Why is Gyro Bread a Must-Try?
Homemade Delight: There’s nothing quite like the comforting aroma of freshly baked gyro bread wafting through your kitchen.
Versatile Foundation: Perfect for wraps, dips, or as a side, this bread complements any filling, from grilled meats to roasted veggies.
Simple Ingredients: You likely have everything you need at home, making it an effortless choice for any meal. Plus, with gluten-free options available, it’s accessible for everyone.
Quick Preparation: In less than an hour, you can whip up a batch of these fluffy rounds, saving you time compared to store-bought alternatives.
This is one recipe you’ll want to keep on hand, like my popular Swirl Banana Bread or the indulgent Decadent Hot Fudge Brownie Bread.
Gyro Bread Ingredients
For the Dough
- Warm Water – Activates the yeast, ensuring your gyro bread rises perfectly.
- Sugar – Feeds the yeast for fermentation; optional for those who prefer no sugar.
- Active Dry Yeast – The leavening agent that gives the gyro bread its delightful fluffiness.
- All-Purpose Flour – Provides structure to the bread; substitute with gluten-free flour for a gluten-free gyro bread option.
- Salt – Enhances flavor and helps to strengthen the dough structure.
- Olive Oil – Adds necessary moisture and richness to the dough; brush extra on before cooking for extra flavor.
Step‑by‑Step Instructions for Gyro Bread
Step 1: Activate the Yeast
In a large mixing bowl, combine 1 cup of warm water (about 105°F), 1 tablespoon of sugar, and 2 teaspoons of active dry yeast. Stir gently until combined and let it sit for 5-10 minutes until the mixture becomes foamy and bubbly. This step is essential for ensuring your gyro bread rises beautifully, so keep an eye out for that foamy texture!
Step 2: Make the Dough
Once the yeast is activated, add 3 cups of all-purpose flour, 1 teaspoon of salt, and 2 tablespoons of olive oil to the bowl. Mix everything together until a shaggy dough forms. You should have a slightly sticky dough that pulls away from the sides of the bowl but still holds its shape. Use a wooden spoon or your hands for this step to ensure thorough mixing.
Step 3: Knead the Dough
Transfer the shaggy dough onto a floured surface. Knead the dough for about 3-4 minutes until it becomes smooth and elastic. The dough should spring back when lightly pressed. If it feels too sticky, sprinkle a little extra flour as you knead, but be cautious not to add too much, as we want a tender gyro bread.
Step 4: First Rise
Place the kneaded dough into a lightly oiled bowl and cover it with a clean kitchen towel. Let the dough rise in a warm area for about 30 minutes, or until it has doubled in size. This step is crucial for developing that light and fluffy texture in your gyro bread, so find a cozy spot for it to rest comfortably.
Step 5: Shape the Dough
After the dough has risen, punch it down gently to release the air. Divide it into 6 equal pieces and roll each piece into a smooth ball. Each ball will eventually become a delicious round of gyro bread, so make sure they are well-shaped and evenly sized for consistent cooking.
Step 6: Roll Out the Dough
Dust your surface with a bit of flour and take each dough ball, rolling it out into a 6-inch circle using a rolling pin or your hands. Aim for a uniform thickness of about 1/4 inch. The gyro bread should be smooth and even, allowing it to cook evenly on the skillet.
Step 7: Cook the Gyro Bread
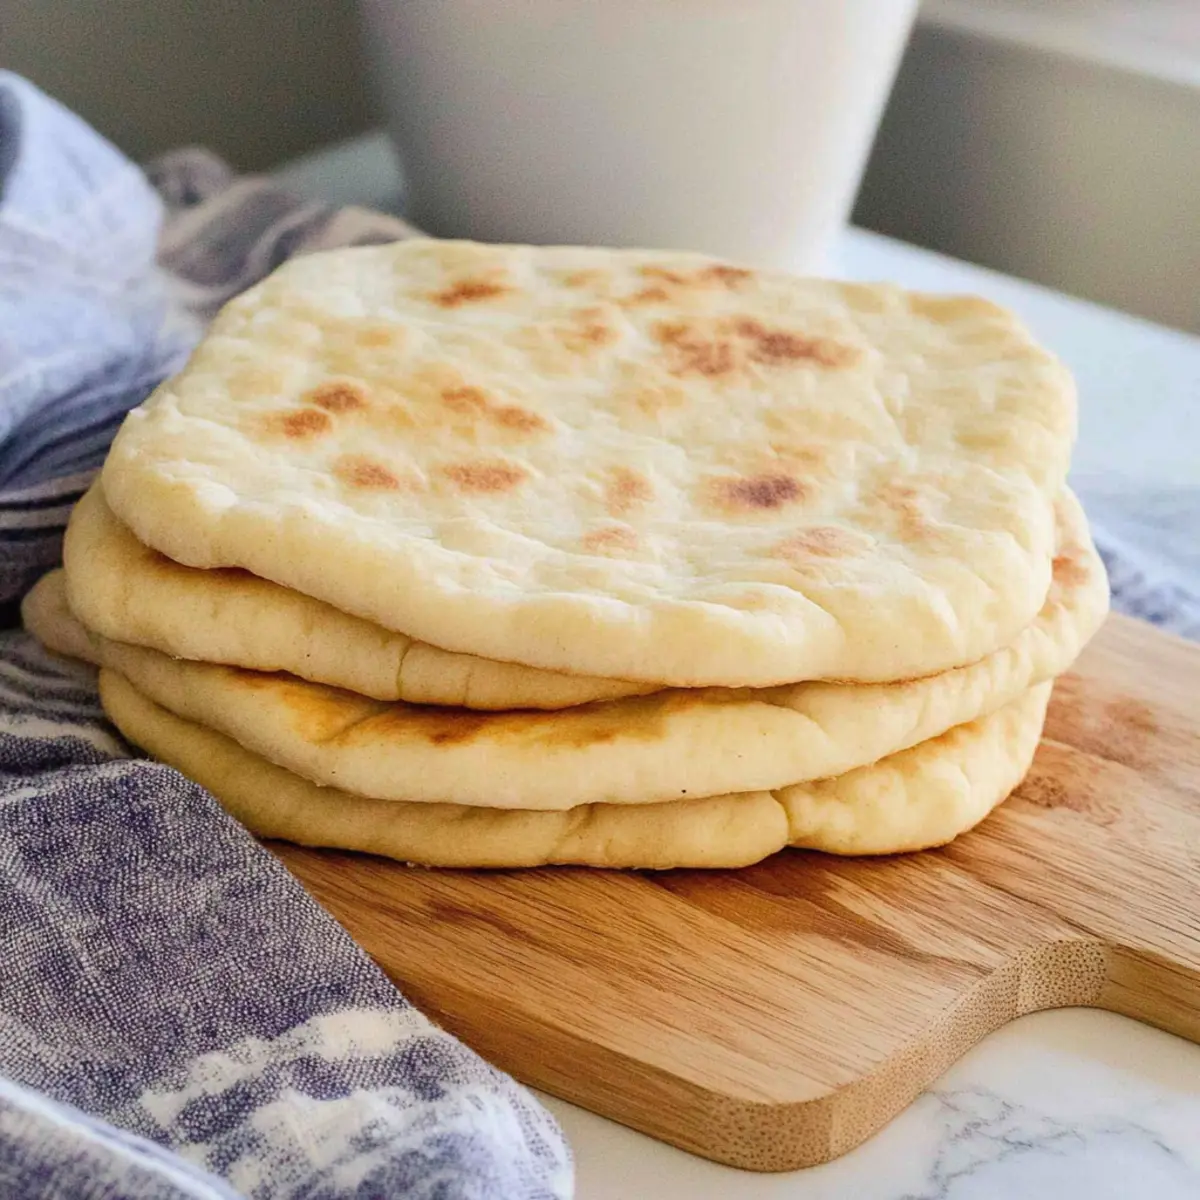
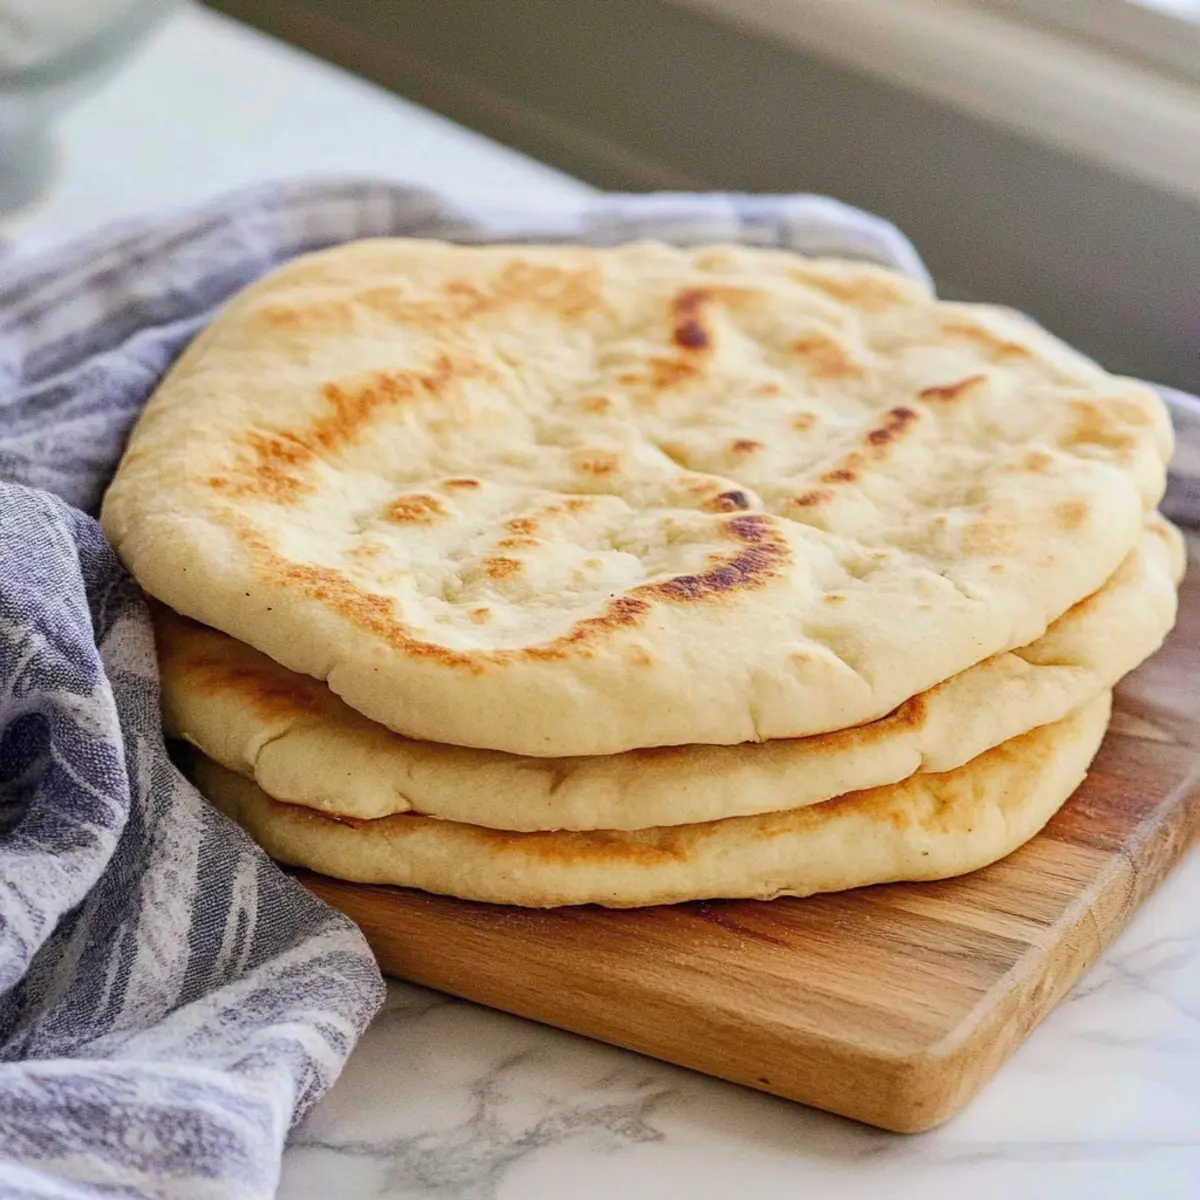
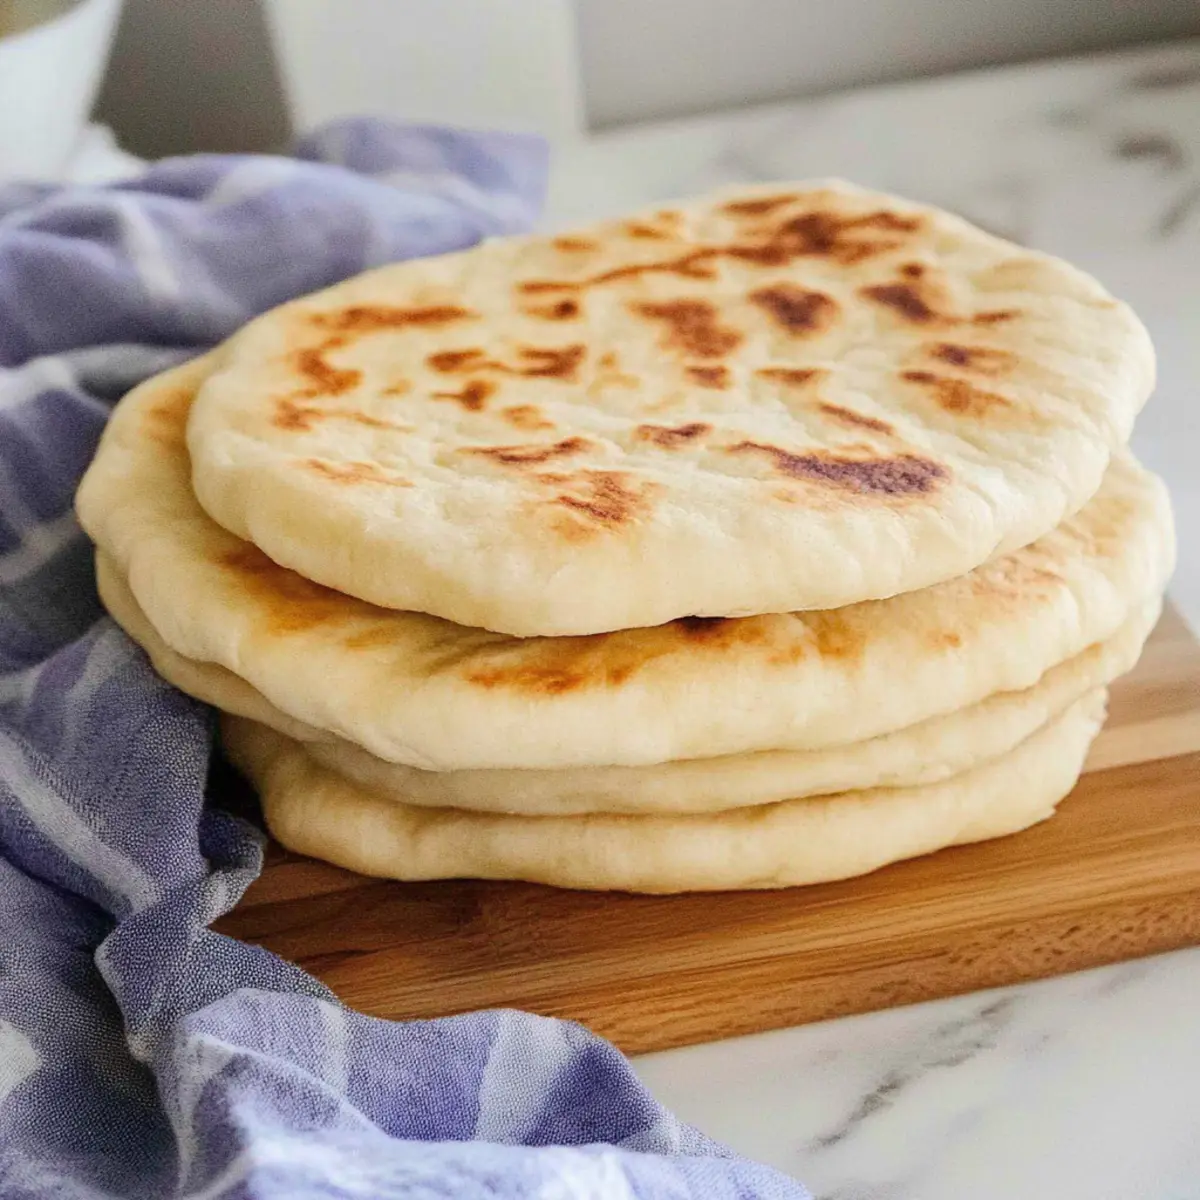
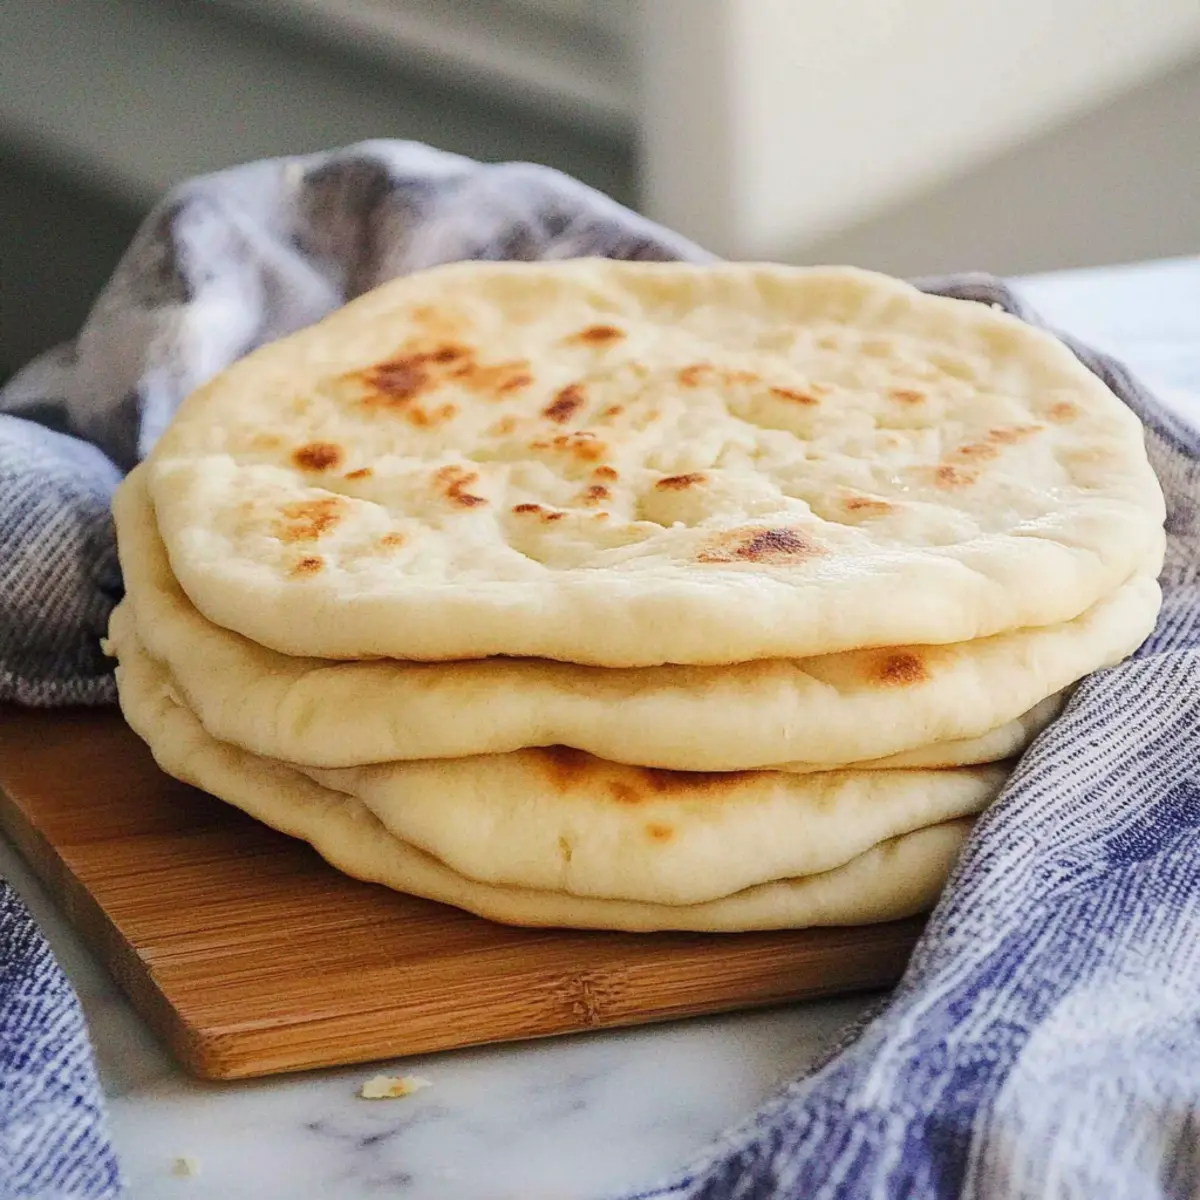
Heat a cast iron skillet over medium heat, lightly greasing it with olive oil. Carefully place one rolled-out dough circle in the skillet. Cook for about 2-3 minutes per side until golden brown spots appear and the bread puffs slightly. Watch for the golden color development to ensure a perfect gyro bread.
Step 8: Keep Warm and Serve
Once cooked, transfer the gyro bread to a clean towel and wrap it to keep warm. Repeat the cooking process with the remaining dough circles, serving them immediately. This way, your homemade fluffy gyro bread remains soft and supple, ready to embrace all your favorite fillings!
Expert Tips for Gyro Bread
-
Check Water Temperature: Ensure the water is around 105°F for optimal yeast activation, helping your gyro bread rise well.
-
Knead with Care: Knead just until smooth and elastic; over-kneading can make the bread tough, so stop as soon as it springs back when pressed.
-
Proper Resting: Let the dough rise in a warm place to double in size; this step is crucial for light and fluffy gyro bread.
-
Cooking Technique: Use a cast iron skillet for even heat distribution, ensuring your gyro bread cooks perfectly with golden-brown spots.
-
Keep Covered: Wrap cooked gyro bread in a towel to retain warmth and softness, allowing you to serve them fresh and fluffy.
Gyro Bread Variations & Substitutions
Feel free to get creative with your gyro bread to make it uniquely yours!
- Gluten-Free: Substitute all-purpose flour with a gluten-free all-purpose flour blend, ensuring it contains xanthan gum for the best texture.
- Whole Wheat: Use whole wheat flour instead of white flour for a nuttier flavor and extra fiber. It’ll add a wholesome touch to your gyro experience.
- Herb-Infused: Add dried herbs like oregano or thyme into the dough for bold Mediterranean flavors that infuse each bite with aromatic goodness.
- Spicy Kick: Mix in a pinch of cayenne pepper or paprika for a subtle heat that brings a delightful zing to your gyro bread.
- Garlic Bliss: Incorporate minced garlic into the dough for a deliciously fragrant twist. This pairs wonderfully with classic Greek fillings and will have everyone coming back for more.
- Cheesy Goodness: Sprinkle some grated cheese like feta or parmesan into the dough for a savory, cheesy version that melts beautifully when cooked.
- Dipping Sauce: Serve with a zesty garlic yogurt sauce or homemade tzatziki for a refreshing dip. It’s perfect to complement the flavors of the gyro and create a delightful dining experience.
- Fancy Dishing: Turn these into mini-pizzas by topping them with tomato sauce, cheese, and your favorite toppings before drizzling with olive oil—making them a versatile family favorite!
The beauty of homemade gyro bread lies in its adaptability! Whether you choose to bake them as traditional wraps or fancy them up, it’ll surely be a hit just like my popular Swirl Banana Bread or the indulgent Decadent Hot Fudge Brownie Bread.
Make Ahead Options
These homemade gyro bread are perfect for busy weeknights or meal prep enthusiasts! You can prepare the dough up to 24 hours in advance by following the first five steps, allowing the shaped dough to rest in the refrigerator instead of rising at room temperature. Just remember to cover it tightly to prevent it from drying out. When you’re ready to enjoy your gyro bread, let it sit at room temperature for about 30 minutes before rolling it out and cooking. This means fewer last-minute tasks, making your meals even more delicious and stress-free, all while maintaining that fluffy texture you love!
How to Store and Freeze Gyro Bread
Fridge: Store cooled gyro bread in plastic wrap or an airtight container for up to 3-5 days. This keeps them fresh and ready for your next meal.
Freezer: For longer storage, freeze gyro bread in a freezer-safe container for up to 3 months. To reuse, thaw in the fridge overnight before serving.
Reheating: Reheat gyro bread by placing it in a warm skillet for about 1-2 minutes on each side, or wrap in foil and warm in the oven at 350°F until heated through.
What to Serve with Homemade Fluffy Gyro Bread?
Imagine the delightful spread you’ll create around this soft, warm bread that beckons to cradle your favorite fillings.
-
Tzatziki Sauce: This creamy, cool dip made from yogurt, cucumber, and garlic perfectly complements the bread, elevating your meal with a refreshing taste.
-
Grilled Chicken: Savory and tender chicken marinated in Mediterranean spices adds a fulfilling protein choice that pairs beautifully with the airy texture of gyro bread.
-
Greek Salad: Fresh veggies tossed in a tangy dressing bring a vibrant crunch that balances the fluffy softness, making each bite a burst of flavor.
-
Falafel: Crispy on the outside and tender inside, these spiced chickpea fritters offer a satisfying crunch, making every wrap a delightful experience.
-
Hummus Trio: A selection of classic, roasted red pepper, and garlic hummus provides rich flavors and a beautiful contrast to the airy bread—perfect for dipping!
-
Mediterranean Spiced Fries: Crispy potatoes tossed with rosemary and sea salt make a warm, hearty side that pairs adorably with gyro bread, creating a complete Mediterranean feast.
-
Lemonade or Iced Tea: Refreshing drinks with tangy notes cleanse the palate and keep your meal lively and spirited.
Indulge in these complementing specialties for a meal that’s both satisfying and bursting with flavor, transforming every gathering into a memorable feast!
Gyro Bread Recipe FAQs
What ingredients should I look for to ensure ripeness?
Absolutely! For making gyro bread, the flour should be fresh and free from any clumping or strange odors. When selecting your active dry yeast, check the expiration date to ensure it’s still viable—fresh yeast will foam up nicely when activated.
How should I store gyro bread?
Very! To keep your gyro bread at its best, allow it to cool completely, then wrap it in plastic wrap or store it in an airtight container in the fridge for 3-5 days. This helps retain its soft texture and prevents it from drying out.
Can I freeze gyro bread for later use?
Absolutely! To freeze gyro bread, first allow it to cool completely. Then, stack the rounds with parchment paper between each piece to prevent sticking. Place the stack in a freezer-safe container or a resealable bag, removing as much air as possible. It can be stored in the freezer for up to 3 months. When you’re ready to enjoy, simply thaw it overnight in the fridge.
What should I do if my dough isn’t rising?
If you find your dough isn’t rising, first check the yeast; it might be expired or wasn’t activated properly. Also, ensure your water was warm enough (around 105°F) to awaken the yeast. If it’s too cold or too hot, the yeast won’t wake up. Placing the dough in a warm, draft-free area can also significantly help it rise—try your oven with the light on as a cozy spot.
Are there any dietary considerations I should be aware of?
Yes! For those with gluten sensitivities or celiac disease, I often recommend using a gluten-free all-purpose flour blend that includes xanthan gum to ensure the gyro bread maintains its fluffiness. Just check the labels to avoid any allergens related to other ingredients you might be using as fillings too, like certain sauces or meats.
How do I know when the gyro bread is cooked properly?
Great question! The gyro bread is ready when you see golden brown spots on each side and it has puffed slightly during cooking. If your bread is still pale, it could benefit from another minute or so in the skillet. Just be sure to keep an eye on it to avoid burning!
Fluffy Gyro Bread You Can Easily Make at Home
Ingredients
Equipment
Method
- In a large mixing bowl, combine 1 cup of warm water, 1 tablespoon of sugar, and 2 teaspoons of active dry yeast. Stir gently and let it sit for 5-10 minutes until foamy.
- Add 3 cups of all-purpose flour, 1 teaspoon of salt, and 2 tablespoons of olive oil. Mix until a shaggy dough forms.
- Knead the dough on a floured surface for about 3-4 minutes until smooth and elastic.
- Place the kneaded dough into a lightly oiled bowl, cover with a towel, and let it rise for about 30 minutes until doubled in size.
- Punch down the dough, divide it into 6 pieces, and shape each piece into a ball.
- Roll each dough ball into a 6-inch circle using a floured surface.
- Heat a cast iron skillet over medium heat and cook each rolled-out dough for 2-3 minutes per side until golden brown.
- Wrap cooked gyro bread in a towel to keep warm and serve immediately.